
Using a thermal imaging camera allows you to quickly spot drafts, leaks, and moisture issues in your home by visualizing temperature differences on surfaces. You can detect hidden problems behind walls or furniture without invasive methods. Proper preparation and understanding thermal patterns help you identify trouble spots like insulation gaps or water intrusion early. Keep practicing proper techniques, and you’ll become proficient at finding these issues—continue exploring, and you’ll discover how to get the most accurate results.
Key Takeaways
- Use thermal cameras to identify cool spots around windows, doors, and walls indicating drafts and air leaks.
- Scan for temperature anomalies behind furniture or curtains to detect hidden moisture or leaks.
- Focus on irregular thermal patterns that suggest insulation gaps or moisture intrusion early.
- Ensure proper calibration and environmental controls for accurate detection of temperature differences.
- Regularly interpret thermal images to target repairs, improve energy efficiency, and prevent costly damage.

TOPDON TC004 Mini Thermal Imaging Camera, 240 x 240 TISR Resolution, 15-Hour Battery Life, 128 x 128 IR Resolution, 25Hz Handheld Infrared Camera with High/Low Temp Alerts, Auto Shutdown- Blue
【Enhanced Thermal Clarity】Start with 128×128 thermal imaging and enhance to 240×240 resolution with TISR technology for greater details….
As an affiliate, we earn on qualifying purchases.
As an affiliate, we earn on qualifying purchases.
What Are Thermal Imaging Cameras and How Do They Work?
Thermal imaging cameras are devices that detect and visualize heat emitted by objects. They use thermal sensors to capture infrared radiation, which all objects emit based on their temperature. These sensors are highly sensitive and convert the infrared signals into electronic signals, creating a thermal image. Infrared technology allows you to see temperature differences, even in total darkness or obscured conditions. When you look through a thermal camera, warmer objects appear brighter, while cooler ones are darker. This capability makes thermal imaging invaluable for identifying heat loss, leaks, or moisture issues. Unlike regular cameras, thermal imaging cameras don’t rely on visible light—they detect heat patterns, providing a clear picture of temperature variations in your environment. Proper camera calibration ensures accurate temperature readings and reliable detection of moisture or drafts. Understanding infrared radiation is essential for interpreting thermal images accurately and effectively. Additionally, advanced thermal sensors improve the precision and clarity of thermal images, making them even more useful for detailed inspections.
TOPDON TC004 Mini Thermal Imaging Camera, 240 x 240 TISR Resolution, 15-Hour Battery Life, 128 x 128 IR Resolution, 25Hz Handheld Infrared Camera with High/Low Temp Alerts, Auto Shutdown- Blue
【Enhanced Thermal Clarity】Start with 128×128 thermal imaging and enhance to 240×240 resolution with TISR technology for greater details….
As an affiliate, we earn on qualifying purchases.
As an affiliate, we earn on qualifying purchases.
Why Use Thermal Imaging for Home Inspections?
Using thermal imaging in home inspections allows you to detect hidden problems that are invisible to the naked eye. This technology helps identify areas where insulation is lacking, improving energy efficiency by reducing heat loss and lowering utility bills. It also reveals safety hazards, such as electrical faults or moisture buildup that could lead to mold growth. By pinpointing drafts, leaks, and hidden issues early, you can address problems before they worsen, saving money and ensuring a safer living environment. Thermal imaging provides an all-encompassing view of your home’s condition, making it an invaluable tool for proactive maintenance. Whether you’re a homeowner or a professional inspector, using thermal imaging enhances your ability to diagnose issues accurately and efficiently. Crypto pump detection tools can also be used to monitor sudden market changes that may indicate underlying issues or opportunities. Additionally, understanding thermal patterns can help prioritize repairs and improvements for maximum energy savings and safety. Recognizing energy efficiency opportunities through thermal imaging can lead to significant long-term cost savings and environmental benefits. Incorporating thermal imaging data into your maintenance routine allows for smarter decision-making and targeted interventions. Moreover, the technology can be utilized for moisture detection, helping prevent costly water damage and mold growth.

HF96 Thermal Camera with Laser Pointer, Intelligent Scene Detection, Super Resolution 240 x 240, -4°F~1022°F, Thermal Imaging Camera 96 x 96 IR Resolution, 25 HZ Infrared Camera, 11h Runtime
【Intelligent Scene Recognition with IntellFault】HF96 features HSFTOOLS' unique IntellFault technology for automated scene detection. Powered by deep learning,…
As an affiliate, we earn on qualifying purchases.
As an affiliate, we earn on qualifying purchases.
How to Prepare Your Home for a Thermal Inspection
To get the most accurate results from a thermal inspection, it’s important to prepare your home beforehand. Start by making certain your home insulation is in good shape, as gaps or compressed insulation can affect thermal readings. Clear the area around exterior walls, windows, and doors to allow easy access and better visibility. Turn off any heat sources, like space heaters or fireplaces, to prevent false temperature readings. Keep windows and doors closed to maintain consistent indoor temperatures. Improving your home’s energy efficiency before the inspection helps highlight issues like drafts or leaks. Also, avoid recent renovations or temperature fluctuations that could skew results. Proper preparation ensures the thermal camera can accurately detect temperature differences, revealing insulation problems, leaks, or moisture issues effectively. Additionally, addressing potential indoor air quality concerns can help identify hidden moisture or mold issues that may impact your home’s health. Ensuring proper solar system placement can also prevent interference with thermal readings during inspections. Maintaining consistent indoor conditions minimizes the chances of thermal anomalies that could mislead the assessment. For optimal results, consider ventilation practices to stabilize indoor humidity levels, which can also influence moisture detection. A well-ventilated home can help prevent condensation formation that might otherwise be mistaken for leaks during thermal imaging.

H128 Handheld Thermal Camera, 240 x 240 TISR Resolution, 24h Battery Life Thermal Imaging Camera, 25 Hz Infrared Camera with Temperature Alarm, -4℉~ 842℉ Temp Range, IP65 Protection Level
Enhanced Clarity with 240×240 TISR Resolution: Equipped with TISR technology, the H128 infrared camera elevates your thermal imaging…
As an affiliate, we earn on qualifying purchases.
As an affiliate, we earn on qualifying purchases.
How to Use a Thermal Camera to Detect Drafts and Leaks

Start by slowly moving the thermal camera around your home’s walls and windows to spot cold spots indicating air leaks. Pay attention to the thermal images and look for areas that are notably cooler than their surroundings. Once you identify these spots, interpret what the temperature differences mean to confirm drafts and leaks. Incorporating thermal imaging technology can enhance your ability to detect hidden issues more accurately and efficiently.
Scan for Air Leaks
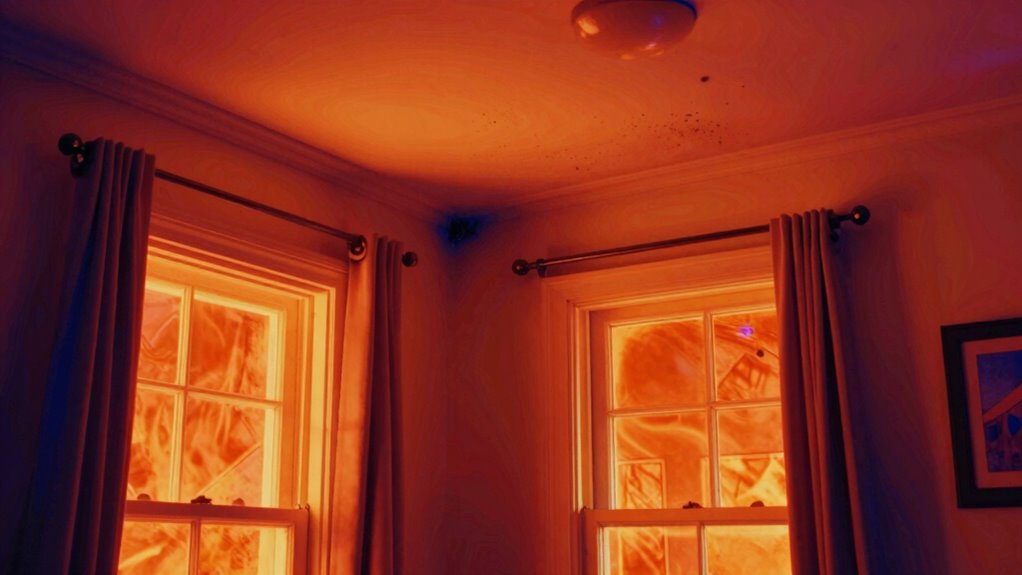
A thermal imaging camera is a powerful tool for quickly spotting air leaks and drafts around your home. To scan effectively, hold the camera steady and slowly move it around windows, doors, and other potential trouble spots. Look for areas where the temperature appears uneven, indicating poor window insulation or gaps in the building envelope. Pay special attention to the edges of windows and doors, as these are common leak points. Detecting these drafts helps improve HVAC efficiency by sealing leaks and reducing energy loss. Use the camera to identify hidden leaks behind curtains or furniture, which may be cooling or heating your home unnecessarily. Regularly scanning your home with a thermal camera can save you money and boost comfort by addressing air leaks promptly. Additionally, understanding your home’s thermal performance can help you make informed decisions about insulation and sealing improvements. Recognizing energy efficiency issues through thermal imaging allows for targeted repairs, saving both money and energy in the long run. Being aware of common draft sources can further enhance your efforts in maintaining a comfortable indoor environment.
Interpret Thermal Images
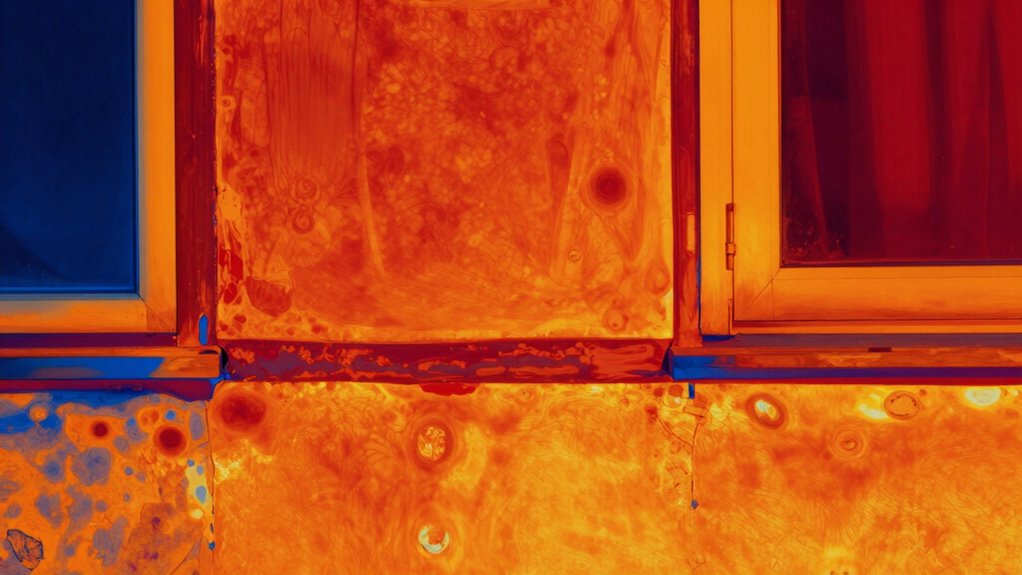
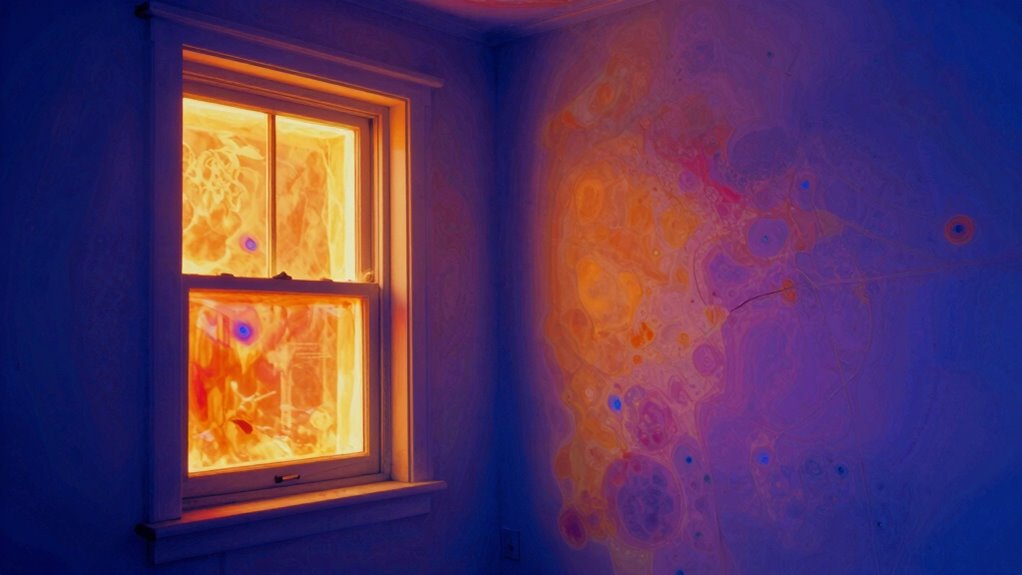
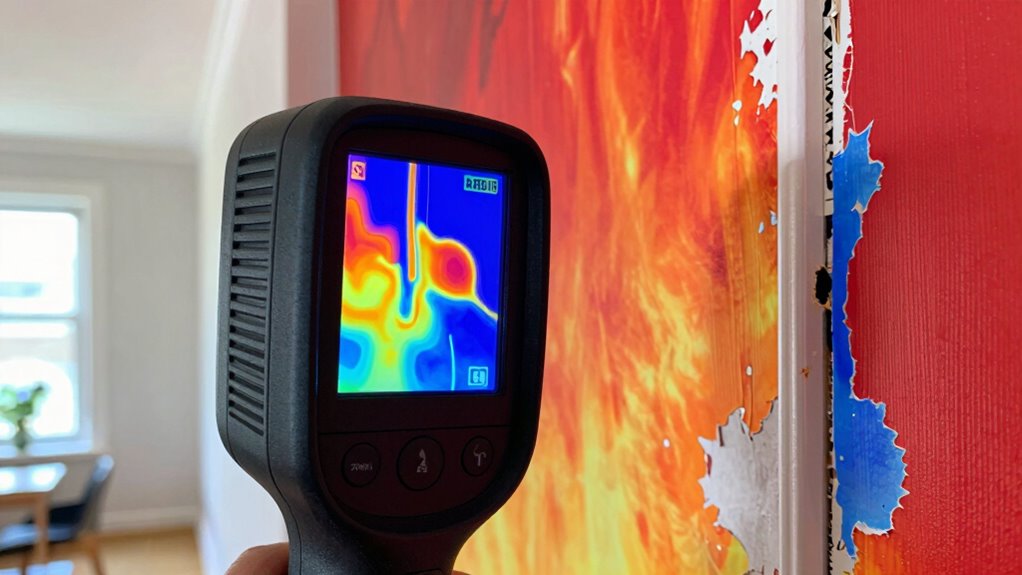
How can you tell if a thermal image reveals a draft or leak? Look at the thermal patterns and color scales. Drafts and leaks often show as areas with cooler or warmer temperatures that stand out from the surrounding environment. Pay attention to abrupt changes or irregular shapes in the thermal patterns. The color scales on your camera indicate temperature differences—blue or purple usually represent cooler spots, while red or yellow show warmer areas. Consistent color gradations suggest normal insulation, but sudden shifts may point to leaks or drafts. By interpreting these thermal patterns accurately, you can identify problem areas quickly. Remember, the key is to compare the colors and shapes in the image to understand where heat is escaping or entering your space. Proper interpretation of thermal images is essential for effective detection.
Interpreting Thermal Images to Find Moisture and Insulation Gaps

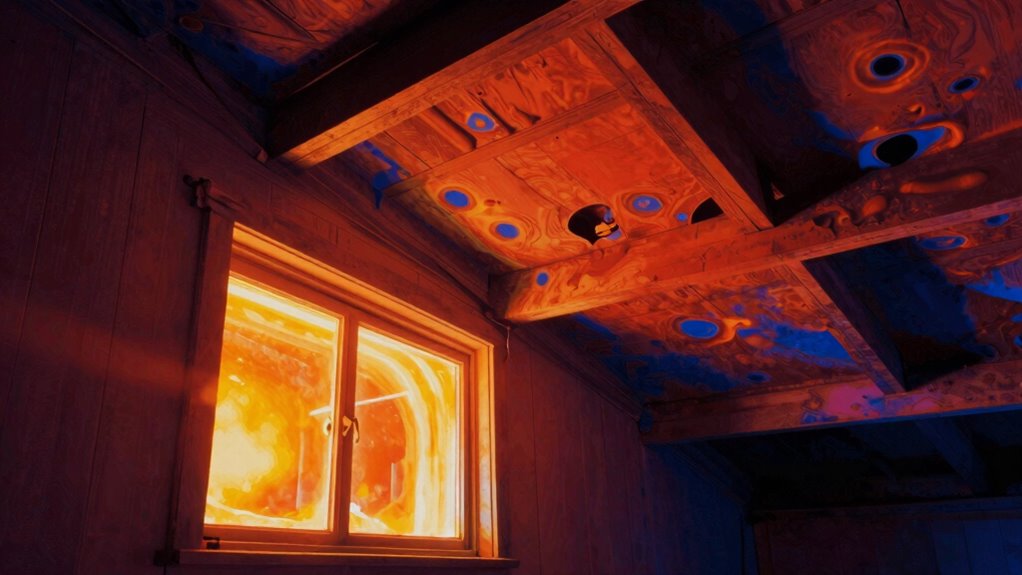
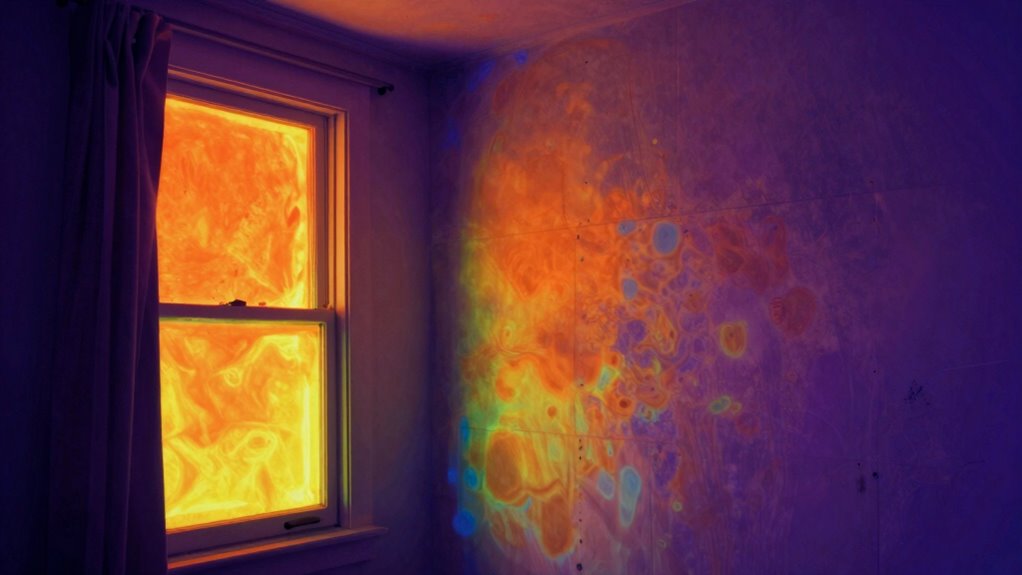
Interpreting thermal images to identify moisture and insulation gaps requires careful analysis of temperature variations across surfaces. Moisture detection often reveals cooler spots, as wet areas conduct heat away faster, creating temperature anomalies that stand out. Look for irregular patches with lower temperatures compared to surrounding areas, which indicate potential moisture intrusion. For insulation assessment, focus on areas where the surface appears unnaturally warm or cold, revealing gaps or thin spots in insulation layers. Consistent temperature differences help you pinpoint where insulation is missing or compromised. By accurately reading these variations, you can determine moisture presence and insulation deficiencies effectively, saving time and effort during inspections. Precise interpretation of thermal images empowers you to address issues before they worsen. Recognizing thermal anomalies is essential for effective diagnostics and preventative maintenance.
Common Mistakes When Reading Thermal Images and How to Avoid Them
Even experienced users can make mistakes when reading thermal images, which can lead to misdiagnosing issues or overlooking important details. Poor lighting conditions can distort temperature readings, so verify the environment is suitable for accurate imaging. Always check that your camera is properly calibrated; uncalibrated devices can produce misleading results. Common mistakes include misinterpreting temperature differences or ignoring reflective surfaces that reflect heat rather than emit it. To avoid these errors:
- Pay attention to lighting conditions to prevent false readings
- Regularly calibrate your camera for accurate measurements
- Recognize reflections that can mimic heat sources
- Use consistent angles and distances during inspections
Being mindful of these factors helps you interpret thermal images more precisely and avoid costly mistakes.
Tips for Conducting Safe and Accurate Home Thermal Inspections

Conducting a home thermal inspection requires careful attention to safety and accuracy to guarantee reliable results. Prioritize home safety by ensuring the area is free of hazards, such as electrical faults or structural issues, before starting your inspection. Always handle your thermal camera with proper thermal camera maintenance, including regular calibration and cleaning, to ensure precise temperature readings. Keep a clear line of sight and avoid obstructions that could distort images. Maintain a steady hand and control ambient conditions, like wind or direct sunlight, which can affect thermal readings. Use the correct settings on your device for different surfaces and environments. Additionally, understanding pressure washers and proper cleaning techniques can help prepare surfaces for thermal inspection. Regular device calibration is essential for maintaining measurement accuracy and reliable results. It’s also beneficial to be aware of environmental conditions that can influence thermal imaging outcomes. Properly managing ambient temperature can significantly improve the clarity of thermal images. By following these tips, you’ll conduct safer, more accurate inspections that help identify issues effectively.
Troubleshooting Unclear Results From Thermal Cameras
When thermal camera images appear unclear or distorted, it’s often because of calibration issues, environmental factors, or user error. To troubleshoot, start by checking your camera calibration to guarantee accurate temperature readings. Poor image resolution can also cause unclear images, so verify that your camera settings are optimized for detail. Environmental factors like humidity or extreme temperatures might interfere with results, so consider the conditions during inspection. Additionally, ensure you’re holding the camera steadily and at the correct distance for the best image quality. Here are some key points to keep in mind:
- Regularly recalibrate your camera for accuracy
- Use the highest suitable image resolution
- Minimize environmental interference
- Maintain proper camera handling techniques
- Proper maintenance and calibration are essential for consistent, reliable thermal imaging results
How Regular Thermal Inspections Save Money and Improve Comfort
Regular thermal inspections can markedly reduce energy costs by identifying hidden heat leaks and insulation issues before they escalate. When you catch drafts, moisture, or insulation gaps early, you improve your home’s energy efficiency and prevent costly repairs later. These inspections help you pinpoint problem areas that standard checks might miss, allowing you to make targeted improvements. As a result, your heating and cooling systems don’t have to work as hard, lowering your utility bills. Plus, a well-insulated, draft-free home enhances comfort by maintaining consistent indoor temperatures. Regular thermal inspections not only save you money but also create a more comfortable living environment. Staying proactive with thermal imaging ensures your home remains efficient and cozy year-round, delivering ongoing cost savings and peace of mind.
What Features Should You Look for in a Home Thermal Camera?
Choosing the right home thermal camera involves focusing on key features that guarantee accurate and reliable results. First, check the thermal resolution; higher resolution provides clearer images for detecting drafts, leaks, or moisture. Good battery life is essential for extended use without frequent recharging. Additionally, consider the camera’s ease of use—intuitive controls and a user-friendly interface make inspections smoother. Other important features include adjustable emissivity settings for accurate readings and a wide temperature range to cover various issues. For added convenience, look for models with a durable design and good storage options.
- High thermal resolution for detailed images
- Long battery life for continuous use
- Adjustable emissivity settings for accuracy
- User-friendly interface for easy operation
Frequently Asked Questions
Can Thermal Cameras Detect Electrical Faults Safely?
Yes, thermal cameras can detect electrical faults safely when used properly. You should prioritize electrical safety by wearing appropriate protective gear and maintaining a safe distance. Make sure the camera is correctly calibrated for accurate readings. By doing so, you can identify hot spots or unusual heat patterns in electrical systems without direct contact, minimizing risks and helping prevent potential failures or hazards effectively.
How Does Outdoor Temperature Affect Thermal Imaging Accuracy?
Did you know that outdoor temperatures can reduce thermal imaging accuracy by up to 30%? When ambient temperature is high or low, it affects thermal contrast, making it harder to detect subtle temperature differences. This means your camera’s ability to identify leaks or drafts diminishes. To get the best results, operate during moderate outdoor temperatures, ensuring enough thermal contrast for clear, reliable images.
Are There Legal or Privacy Considerations When Using Thermal Cameras?
When using thermal cameras, you need to consider privacy concerns and legal restrictions. You must respect others’ privacy rights, avoiding intrusive scans of private property without permission. Laws vary by location, so check local regulations before use. Failing to do so can lead to legal issues. Always obtain consent when necessary, and use thermal imaging responsibly to prevent privacy violations and stay within legal boundaries.
What Is the Typical Lifespan of a Consumer-Grade Thermal Camera?
Your thermal camera usually lasts around 5 to 10 years with proper thermal camera maintenance. To guarantee sensor durability, avoid dropping or exposing it to extreme temperatures and keep the lens clean. Regularly calibrate your device and store it in a protective case. Taking these steps helps preserve its functionality, so you can confidently find drafts, leaks, and moisture without worrying about premature wear or sensor failure.
Can Thermal Imaging Identify Mold or Pest Infestations?
Yes, thermal imaging can help you identify mold and pest infestations by detecting hidden moisture. Moisture detection is key because mold often thrives in damp, overlooked areas, and pests are attracted to moisture sources. While thermal cameras can’t directly see mold or pests, they reveal temperature differences caused by moisture or activity, aiding mold identification and pest detection. This makes thermal imaging a valuable tool in maintaining a healthy home.
Conclusion
Think of your home as a castle, where hidden leaks and drafts are like unseen invaders. A thermal imaging camera is your trusted sentinel, revealing these intruders before they cause damage or discomfort. Regular inspections keep your fortress secure and cozy, saving you money and stress. With this powerful tool, you become the guardian of your home, ensuring it stays warm, dry, and safe—turning the battle against unseen issues into your greatest victory.