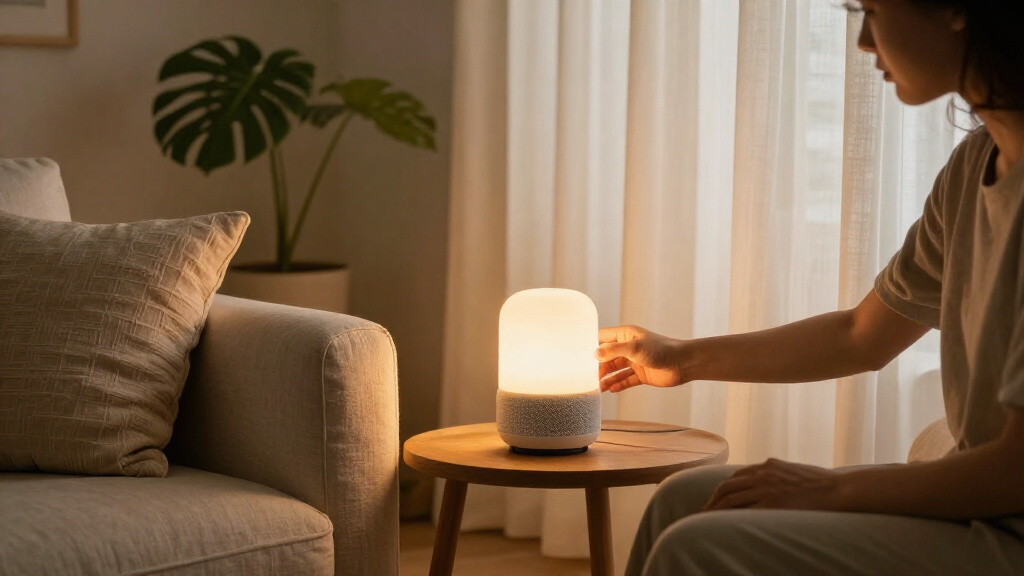
Set up smart lights, plugs, a speaker, or other compatible devices so you can control living room lighting and electronics by app, voice, or schedule. This guide is for beginners who can use a smartphone and home Wi-Fi; allow 1–2 hours, depending on the number of devices and your network.

Get furniture and decor delivered free with Prime
- Fast, free delivery on millions of items
- Prime Video, Amazon Music and more included
- Member-only deals all year

Amazon Echo Dot Max (newest model), Alexa speaker with room-filling sound and nearly 2x bass, Great for living rooms and medium-s…
- ✔ Dimensions: 4.27 × 4.27 × 3.9 in
- ✔ Weight: 17.82 oz
- ✔ Audio: Two-way mono; 0.8-inch tweeter and 2.5-inch woofer

Govee RGBIC Floor Lamp Basic, 1000lm LED Corner Lamp
- ✔ Height: 53.7 in
- ✔ Maximum brightness: 1,000 lumens
- ✔ Lighting: RGBIC color-changing LED

Blink Mini 2K+ (newest model) – Plug-in Home & Pet Indoor Security Camera with 2K video resolution, night vision, enhanced audio,…
- ✔ Video resolution: 2K (2560 × 1440)
- ✔ Field of view: 138° diagonal
- ✔ Zoom: Up to 4×
Difficulty: Beginner | Time: 1–2 hours
What You’ll Need
Tools & Materials:
- Smartphone or tablet with the manufacturer’s app store access
- Home Wi-Fi name and password
- Smart home devices and their power supplies
- A compatible smart home hub, if required by your devices
Knowledge:
- Basic use of smartphone apps and Wi-Fi
- Ability to identify which light switches and outlets serve the living room
Check each device’s Wi-Fi band, hub requirements, and supported smart home platform before buying. Many devices need 2.4 GHz Wi-Fi or a manufacturer hub. Keep device packaging and setup codes nearby, and install devices near their final locations when practical.
Amazon Echo Dot Max (newest model), Alexa speaker with room-filling sound and nearly 2x bass, Great for living rooms and medium-s…
For a living room that needs one central smart device, the Echo Dot Max is the most complete fit in this group. Its two-way mono speaker pairs a 2.5-inch woofer with a tweeter, and automatic room adaptation is intended to fine-tune playback to its surroundings. That gives it a stronger case as a shared music and voice-control device than the Govee lamp, whose contribution is lighting rather than full-room audio. It also has a built-in Zigbee, Matter, and Thread hub, so compatible lights and other devices can connect without a separate hub.Temperature and presence sensing can support routines, such as triggering a response when someone enters the room. Those capabilities make the Echo a more active control point than the Blink camera, which is focused on video monitoring and requires a separate plan for some smart detections. There are boundaries: the sound remains mono, and useful smart home control depends on compatible devices and Alexa setup. Its eero Built-in feature is also conditional—it needs a compatible eero router, linked accounts, and suitable placement, with stated limits on coverage, speed, and connected devices. Choose this model for audio plus broad Alexa control; skip it if you want a stereo-focused speaker or do not use Alexa-compatible devices.
Pros:
- Room-adaptive sound with a dedicated woofer and tweeter
- Built-in Zigbee, Matter, and Thread hub
- Presence and temperature sensors can support routines
- Can pair with compatible Echo devices for multiroom audio
Cons:
- Two-way mono playback is not stereo
- eero Built-in requires a compatible eero setup and has performance limits
- Some routines and device controls depend on compatible products and Alexa
Best for: Households looking for one Alexa-based living room speaker and smart home hub, especially those with compatible lights, locks, or sensors.
Not ideal for: Listeners who want stereo sound from one speaker, or households committed to another voice assistant ecosystem.
Bottom line: The Echo Dot Max is our strongest all-round living room pick when you want audio and smart home control from a single Alexa device.
“The Echo Dot Max is our strongest all-round living room pick when you want audio and smart home control from a single Alexa device.”
Govee RGBIC Floor Lamp Basic, 1000lm LED Corner Lamp
When the living room feels too plain after dark, the Govee RGBIC Floor Lamp Basic offers a direct way to change its atmosphere. Its RGBIC lighting can display multiple colors in separate segments at once, unlike a conventional single-color lamp, and the app includes dynamic scenes and DIY effects. Alexa and Google Assistant voice control make it easier to adjust alongside other room activities. Compared with the Echo Dot Max, however, it is a dedicated lighting accent: it does not replace a smart speaker or provide the same built-in device hub.At 1,000 lumens and 53.7 inches tall, Govee describes it as suited to corners and small spaces. That makes it a better supporting light than a dependable source for illuminating a large living room by itself. Music and gaming sync can add an animated effect for entertainment, though buyers who prefer calm, consistent lighting may find the modes distracting. Setup also depends on the Govee Home app and a 2.4 GHz Wi-Fi network; no remote is included. Pick this lamp when color and scene customization are the goal. For general smart home control, the Echo is more capable; for discreet monitoring, the Blink is more relevant.
Pros:
- RGBIC segments can show multiple colors at once
- Works with Alexa and Google Assistant
- App offers dynamic scenes and DIY effects
- Freestanding design can be moved between indoor rooms
Cons:
- 1,000 lumens is better suited to accent lighting than lighting a large room
- Supports 2.4 GHz Wi-Fi only
- Remote control is not included
Best for: People who want a freestanding, voice-controlled accent light with customizable multicolor effects for a living room corner.
Not ideal for: Buyers seeking bright, even primary lighting, a remote control, or a device that also handles audio and broad smart home control.
Bottom line: Choose the Govee when adjustable color is the main living room upgrade, and plan to keep a separate light for everyday illumination.
“Choose the Govee when adjustable color is the main living room upgrade, and plan to keep a separate light for everyday illumination.”
Blink Mini 2K+ (newest model) – Plug-in Home & Pet Indoor Security Camera with 2K video resolution, night vision, enhanced audio,…
The Blink Mini 2K+ fits a different living room need: checking on a shared space, pets, or activity while away. Its 2K video, 138-degree diagonal field of view, and up to 4× zoom give it more detail and framing flexibility than a simple low-resolution camera. Two-way audio with noise cancellation can make it easier to speak through the camera. The compact, plug-in unit can sit on a shelf or use the included mounting kit, so it takes less visual space than the Govee floor lamp.Its role is narrower than the Echo Dot Max. Blink does not provide room audio or lighting, and person and vehicle detection require an optional subscription plan. Cloud clip storage also depends on the subscription after the included 30-day trial, so buyers should check what recording approach suits them. For a living room, a visible camera can affect household privacy and comfort, and this model is designed for indoor use unless paired with a separately sold weather-resistant power adapter. Choose it for compact video monitoring; skip it if you want a general-purpose smart home device or prefer not to place a camera in a shared room.
Pros:
- 2K video resolution with up to 4× zoom
- 138-degree diagonal field of view
- Two-way audio with noise cancellation
- Includes stand, mounting kit, cable, and power adapter
Cons:
- Person and vehicle detection require an optional subscription
- Cloud clip storage features require a plan after the trial
- Uses 2.4 GHz Wi-Fi and is intended for indoor use without a separate adapter
Best for: Households that want a small plug-in camera to check on pets or monitor an indoor living room, and already use or are open to Blink and Alexa.
Not ideal for: People who want lighting, music, or broad device control, or who need smart detections and cloud recording without an ongoing plan.
Bottom line: The Blink Mini 2K+ is a capable compact monitor for a living room, provided its subscription-dependent features and camera placement suit your household.
“The Blink Mini 2K+ is a capable compact monitor for a living room, provided its subscription-dependent features and camera placement suit your household.”
As an Amazon Associate we earn from qualifying purchases.
Before You Start
Plan device placement first. Choose what you want to control, such as lamps, overhead lights, a television, or a speaker. Check that smart plugs are rated for the appliance you intend to connect; do not use them with high-load appliances unless the manufacturer explicitly permits it. Never put a plug where it can be covered, exposed to moisture, or reached by children or pets. If a smart bulb is connected to a wall switch, leave that switch on for app control.
Step-by-Step Instructions
Step 1: Choose the devices and control method
List the living room tasks you want to automate, then select compatible devices for them. For example, choose smart bulbs for lamps, a correctly rated smart plug for a compatible lamp, and a speaker or hub if you want voice control. Confirm each device works with your Wi-Fi and preferred app or voice assistant.
Tip:Start with a few devices. Adding one light and one plug makes it easier to learn the setup process and spot network issues.
Check: You have a short device list, know which app controls each device, and have checked any hub or network requirements.
Step 2: Prepare the room and network
Place your phone on the home Wi-Fi network you plan to use. Find the router’s network name and password, charge your phone, and check that the router has a stable signal in the living room. Put device setup codes or QR labels where you can scan them.
Tip:If your router combines 2.4 GHz and 5 GHz bands under one network name, follow the device maker’s setup instructions. Some devices require your phone to connect to 2.4 GHz during pairing.
Check: Your phone has internet access on the home network, and you can identify a strong Wi-Fi signal at the intended device locations.
Step 3: Install the device apps and accounts
Download the official app for each device maker from your phone’s app store. Sign in or create an account as prompted, then allow Bluetooth, local network, or location access when the app says it needs those permissions for setup.
Tip:Use a unique, memorable device name such as “Living Room Floor Lamp.” Avoid names that sound alike if you plan to use voice commands.
Check: The relevant apps open successfully, and you are signed in and ready to add a device.
Step 4: Connect any required hub
If your devices require a hub, connect it to power and to the router as directed by its maker. Open the hub’s app, add the hub, and wait for it to show as online before pairing devices that depend on it.
Tip:Place the hub in an open, central location. Avoid hiding it in a closed cabinet or placing it beside large metal objects that can weaken its wireless signal.
Check: The app lists the hub as online and shows no connection or update prompt.
Step 5: Install and pair the first device
Install or plug in one device according to its instructions, then open its app and choose the option to add a device. Scan its QR code or enter its setup code, select the living room Wi-Fi if prompted, and wait for pairing to finish. Assign it to the living room and give it a clear name.
Tip:For a smart bulb, turn off the lamp before replacing the bulb. Restore power to pair it, then leave the wall switch on during normal use.
Check: The device appears in the app with the correct name and room, and its status shows online.
Step 6: Add the remaining devices one at a time
Repeat the pairing process for each remaining device. Test each one before starting the next, and place it in the intended location after setup. For a smart plug, connect only a compatible appliance and keep the plug and appliance within their rated limits.
Tip:If a device fails to pair, move it closer to the router or hub for setup. You can move it to its final location after confirming the connection.
Check: Every intended device appears online in the app and responds to a basic on or off command.
If you want voice control, link the device service to your chosen assistant using its official app. Enable the required permission, discover devices, and test a short command using the exact device name. If other household members need access, invite them through the app’s sharing feature.
Tip:Keep device names distinct. If a command controls the wrong light, rename the devices to make their spoken names easier to tell apart.
Check: Your assistant can control the intended device, and any invited household member can see it in the shared home app.
Step 8: Create a simple scene or schedule
In the app, create one scene or schedule that matches a regular living room activity, such as dimming lights in the evening. Select only the devices involved, set the brightness or action, and choose a clear scene name. Run it manually before relying on a schedule.
Tip:Keep schedules easy to understand and review them if your household routine changes. Avoid automations that turn on devices when nobody is home unless you have a specific reason.
Check: Running the scene changes the intended devices and leaves other devices untouched.
Step 9: Test control and restore normal settings
Test each device from its app, then test voice control or the scene if configured. Confirm that physical switches still work as expected, that lamps return to the intended state, and that devices reconnect after a brief power interruption if the manufacturer supports it. Restore any brightness, volume, or schedule settings you changed during testing.
Tip:Do not repeatedly unplug devices to test recovery; use the app or manufacturer’s recommended restart method.
Check: All devices respond reliably from their intended controls, and the room is left in the lighting and power state you want.
Common Mistakes to Avoid
- Buying a device that cannot connect to the home network or hub. — Check Wi-Fi band, hub, app, and voice assistant compatibility before purchase.
- Turning off the wall switch that powers a smart bulb. — Leave the switch on and use app or voice controls, or use a compatible smart switch designed for the circuit.
- Pairing many devices at once and losing track of setup errors. — Add and test devices one at a time, naming and assigning each room as you go.
- Connecting an appliance that exceeds a smart plug’s rating. — Read the plug’s load rating and the appliance’s requirements; use only approved combinations.
Troubleshooting
Problem: The app cannot find the device during pairing.
Solution: Check that the device is powered and in pairing mode, enable the permissions requested by the app, and move it near the router or hub. Confirm the phone is using the required Wi-Fi band, then retry the maker’s reset and pairing instructions.
Problem: The device appears offline after setup.
Solution: Check the router connection and device power first. Move the device or hub to improve signal, then use the app’s reconnect option. If it remains offline, restart it as directed by the manufacturer and pair again only if needed.
Problem: A voice command controls the wrong device.
Solution: Rename devices with distinct, simple names, then refresh or rediscover devices in the voice assistant app. Test the command again using the new name.
Problem: A smart bulb stops responding after someone uses the wall switch.
Solution: Turn the wall switch back on and wait for the bulb to reconnect. Tell household members to leave that switch on, or replace the control method with a compatible smart switch setup.
What Success Looks Like
Your living room devices appear online in their app, respond to app controls, and perform any configured voice command or scene correctly. The lights and appliances remain usable through their intended physical controls, and smart plugs are connected only to compatible loads.
Next Steps
Keep the apps and device firmware current, review shared access when household members change, and remove schedules you no longer use. If you add devices later, check network capacity and compatibility, then pair and test each new device separately.
Frequently Asked Questions
Do all smart home devices need a hub?
No. Some connect directly to Wi-Fi, while others use a dedicated hub or a compatible home platform. Check the device requirements before buying.
Can I use smart bulbs with my existing wall switch?
Usually, but the switch must stay on for a smart bulb to receive power. If you want wall control, use a compatible smart switch or a manufacturer-approved remote.
Will smart devices work if the internet goes down?
It depends on the device and how it connects. Some local controls may continue working, while remote app access, voice assistants, or cloud automations may stop. Check the maker’s offline behavior for each device.
How many devices should I set up at once?
Set up one at a time, especially when you are new to the process. This makes it easier to confirm pairing, choose the right room, and identify connection problems.