
To guarantee safe operation in just 10 minutes, start by properly aligning your blade parallel to the miter slot and setting the correct height and tilt with measuring tools. Secure the rip fence and miter gauge, check safety features like blade guards and riving knives, and clear your workspace of clutter. Wear appropriate safety gear, then test your setup with a scrap piece to confirm stability. Keep watching, and you’ll discover more tips to prevent accidents during your work.
Key Takeaways
- Properly calibrate the blade parallel to the miter slot and fence before starting to ensure accurate, safe cuts.
- Secure all components like the rip fence, miter gauge, and safety devices, checking for smooth operation and damage.
- Organize the workspace by removing clutter, securing cords, and ensuring dust collection for a safe, distraction-free environment.
- Wear appropriate PPE and test the setup with a scrap piece to verify alignment, stability, and dust extraction effectiveness.
- Perform final safety checks, including lighting, safety features, and securing loose objects, before beginning operation.
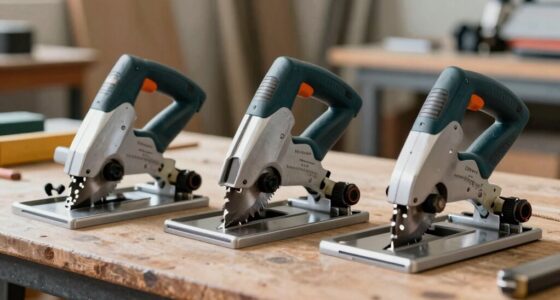
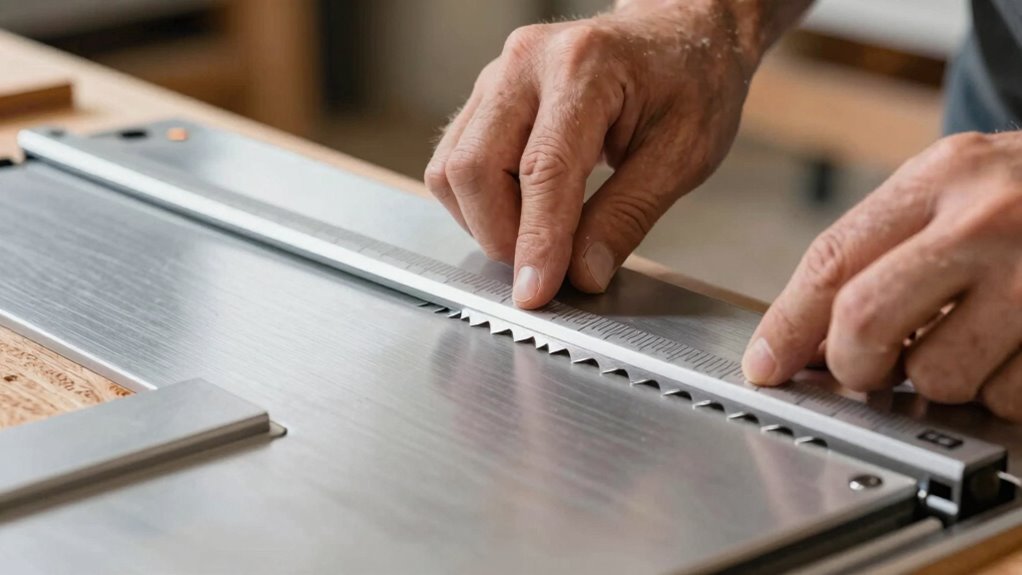
table saw blade alignment tool
As an affiliate, we earn on qualifying purchases.
As an affiliate, we earn on qualifying purchases.
Why a Proper Table Saw Setup Is Key to Safe Woodworking
A proper table saw setup is essential for safe woodworking because it guarantees the tool operates accurately and reduces the risk of accidents. Start by checking blade alignment, ensuring the blade is perfectly parallel to the miter slot and fence. Misaligned blades can cause kickbacks or uneven cuts, increasing safety hazards. Additionally, optimize dust collection by attaching a dust port and using a vacuum or dust extractor. Effective dust management keeps your workspace clear, preventing slips or inhalation of harmful particles. Regularly verifying blade alignment and maintaining a clean, dust-free environment helps you work confidently and safely. When your saw is properly set up, you decrease the chances of mishaps and improve the quality of your cuts, making your woodworking experience safer and more efficient. Proper projector calibration also plays a crucial role in ensuring accurate cuts and measurements when working on detailed projects. Keeping your tools calibrated and aligned is a fundamental aspect of workplace safety, and paying attention to safety procedures can further enhance your protection during woodworking projects.
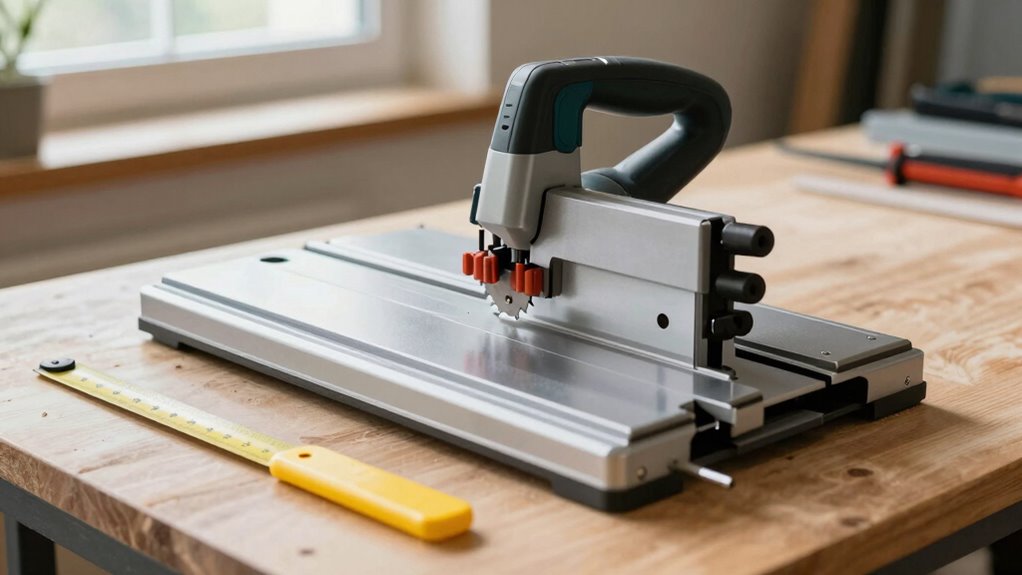
table saw safety guard
As an affiliate, we earn on qualifying purchases.
As an affiliate, we earn on qualifying purchases.
Prepare Your Workspace and Gather Tools (Get Ready in 10 Minutes)
Before you start cutting, spend a few minutes clearing your workspace so you have enough room to work safely. Gather all essential tools and safety equipment, like goggles and ear protection, so everything is within reach. Double-check that your safety gear is in good condition to guarantee you’re fully protected throughout your project. Consider incorporating Free Floating features to optimize your workspace layout for better safety and efficiency. Additionally, organizing your tools with proper storage solutions can help prevent accidents caused by clutter. Incorporating safety protocols into your setup routine can further reduce the risk of injury during operation. Remember that understanding electric power generation principles can help you identify potential hazards with electrical equipment in your workspace and improve overall workplace safety.
Clear Workspace Area
To guarantee safe and efficient table saw operation, start by clearing your workspace completely. Remove any clutter, tools, or debris that could interfere with your work or cause accidents. Make certain your dust collection system is functioning properly to keep the area clean and free of sawdust, which can be slippery or obscure hazards. Adequate workspace lighting is essential—bright, even light helps you see your cuts clearly and spot potential issues before they become dangerous. Keep cords organized and out of the way to prevent tripping. A tidy, well-lit area not only enhances safety but also improves your accuracy during cuts. Ensuring your workplace setup is optimal is crucial for both safety and precision. Taking these simple steps in just a few minutes sets a strong foundation for a safe and smooth operation. Additionally, regularly inspecting your safety equipment ensures it remains effective and ready when needed. Maintaining tool condition is vital to prevent malfunctions that could lead to accidents. Paying attention to your emotional well-being can also help you stay focused and calm during your work, reducing the risk of accidents.
Gather Essential Tools
Spending just 10 minutes to gather all essential tools guarantees you’re fully prepared for your project. Start by collecting your safety gear, such as safety glasses, ear protection, and a dust mask, to assure your safety from the start. Next, organize your workspace by gathering the necessary tools like measuring tapes, clamps, and push sticks, placing them within easy reach. Proper workspace organization minimizes distractions and prevents accidents, allowing you to focus on your task. Double-check that your blade guard and anti-kickback pawls are nearby and in good condition. Having everything ready not only streamlines your workflow but also reduces the risk of rushing or forgetting paramount safety steps. Being organized and equipped sets a solid foundation for a safe and efficient woodworking session.
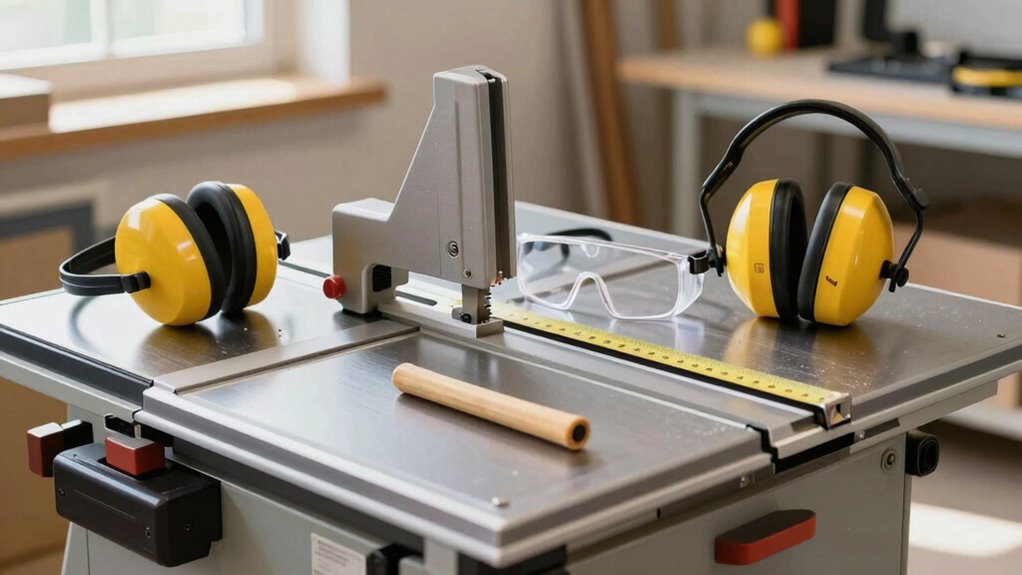
Check Safety Equipment
Have you double-checked that all your safety gear is ready and in good condition? Making sure your safety equipment is intact is vital before operating the table saw. Inspect your protective gear, including safety glasses, hearing protection, and dust masks, to confirm they’re clean and free of damage. Proper safety equipment acts as your first line of defense against accidents and injuries. Don’t overlook any items; damaged or missing protective gear compromises safety. Set out your safety equipment within reach, so you don’t have to search for it during operation. Taking these few minutes to verify your safety gear ensures you’re fully prepared to work safely, reducing risks and helping you focus on your task with confidence. Additionally, checking your filtration and suction devices ensures dust and debris are properly contained, maintaining a safer workspace. Regular system monitoring of your shop environment helps identify potential hazards before they become serious issues. Being aware of workplace safety protocols further enhances your overall safety while using power tools. In fact, familiarizing yourself with the safety standards specific to woodworking can provide extra layers of protection and peace of mind.
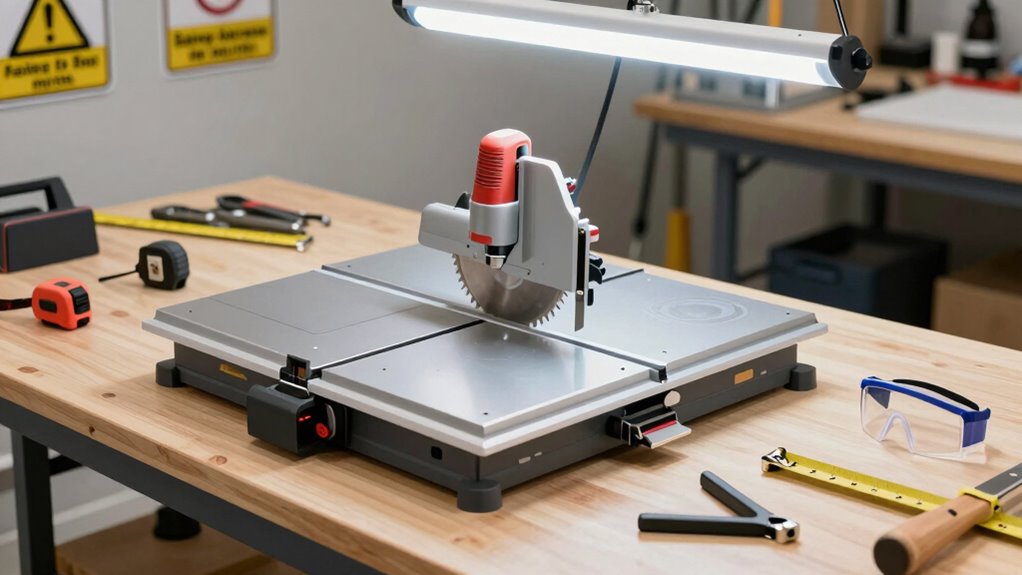
dust collection port for table saw
As an affiliate, we earn on qualifying purchases.
As an affiliate, we earn on qualifying purchases.
Make Sure Your Blade Height and Tilt Are Correctly Set for Safety
Before making cuts, double-check that your blade height is correct—too high or low can be dangerous. Always adjust the tilt before starting your cut to maintain control. Use proper measuring tools to guarantee precision and safety throughout your work. Incorporating quality safety gear such as goggles and push sticks can further reduce the risk of accidents during operation.
Check Blade Height Regularly
Regularly checking the blade height on your table saw is essential for safe operation. Proper blade height ensures effective blade maintenance and reduces the risk of accidents. You should set the blade so that it extends no more than a quarter-inch above the material you’re cutting. Frequent height adjustments keep the blade aligned and prevent it from binding or kickback. Always double-check the height before starting a new cut, especially if you’ve moved the saw or changed blades. A correctly set blade height minimizes kickback and ensures cleaner cuts. Remember, consistent height adjustment is a simple yet critical step in maintaining safe and efficient table saw operation. Taking a moment to verify the blade height helps prevent mishaps and keeps your workspace safe.
Adjust Tilt Before Cutting
Ensuring your blade tilt is correctly set is crucial for safe and accurate cuts. Proper tilt adjustment prevents kickback and guarantees your cuts meet your expectations. Before starting, double-check the tilt setting on your saw, aligning it with your project requirements. Remember, a misaligned tilt can cause binding or dangerous kickback. Use the tilt adjustment knob to set the blade to the desired angle, then tighten securely. To visualize, consider this:
| Task | Why It Matters | Tip |
|---|---|---|
| Adjust tilt before cutting | Prevents misaligned cuts and kickback | Confirm the angle matches your cut plan |
| Check blade tilt accuracy | Ensures safety and precision | Use a square or angle guide |
| Tighten tilt adjustment | Keeps settings stable during cut | Avoid over-tightening |
Proper blade tilt setup is essential for safe, clean cuts. Additionally, regularly calibrating your saw can help maintain consistent safety standards over time.
Use Proper Measuring Tools
Using proper measuring tools is essential to set your blade height and tilt accurately, which directly impacts your safety and cut quality. Precision instruments like a combination square, ruler, or digital angle finder help you achieve precise measurements. When adjusting the blade height, use a measuring tool to ensure it’s just slightly above the material’s surface, minimizing kickback risks. For tilt adjustments, a reliable angle gauge or digital inclinometer ensures you set the correct tilt, preventing dangerous misalignments. Accurate measurements reduce the chance of binding, kickback, or accidental cuts. Always double-check your settings with these precision instruments before making any cuts. Proper calibration of measuring tools ensures ongoing accuracy and safety in your setup. Additionally, regularly verifying your measuring tools for calibration accuracy helps maintain consistent safety standards. Proper use of measuring tools keeps your setup safe, consistent, and efficient, allowing you to work confidently and avoid costly mistakes.
ear and eye protection for woodworking
As an affiliate, we earn on qualifying purchases.
As an affiliate, we earn on qualifying purchases.
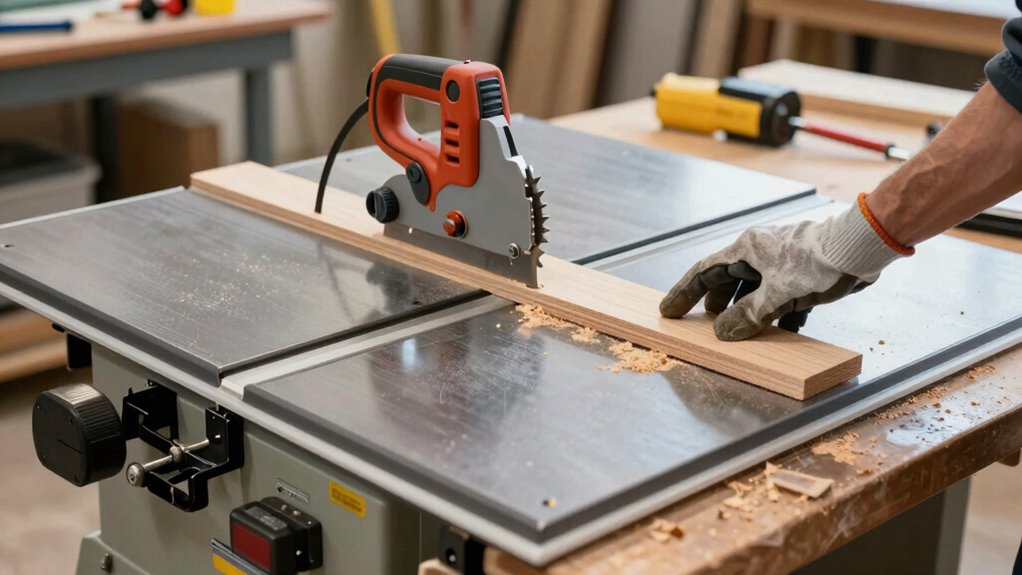
Secure and Check That Your Rip Fence and Miter Gauge Are Properly Installed
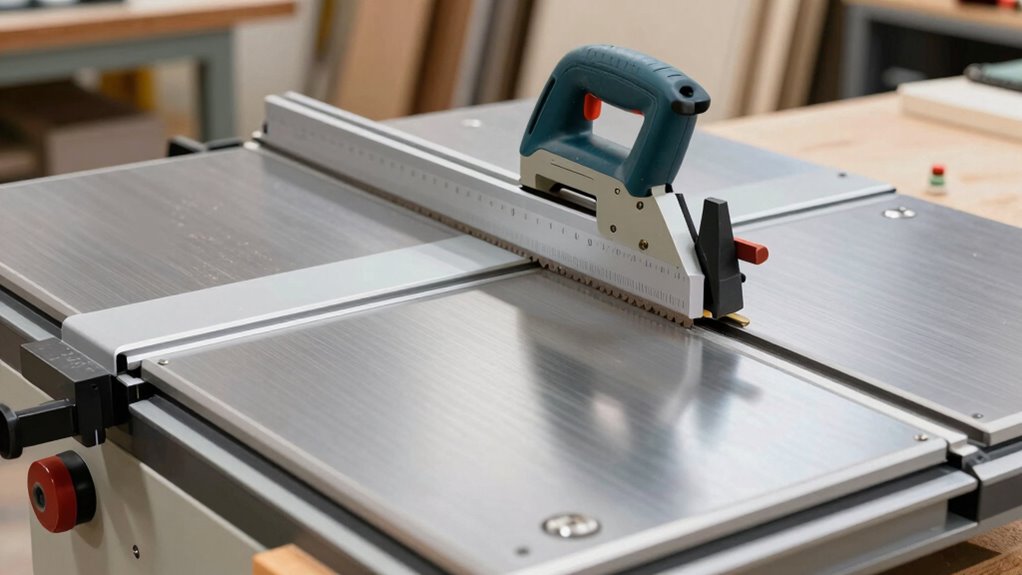
Before operating your table saw, double-check that the rip fence and miter gauge are properly installed and securely tightened. A loose rip fence can cause inaccurate cuts or kickbacks, while a misaligned miter gauge leads to unsafe angles. Make certain both are firmly in place and slide smoothly without wobbling. Use the following table to understand their importance:
| Component | Purpose |
|---|---|
| Rip Fence | Guides the wood for straight cuts |
| Miter Gauge | Sets precise angles for crosscuts |
| Proper Installation | Ensures safety and accuracy |
Secure and check these components before each cut to prevent accidents and improve your cutting precision. Properly installed rip fence and miter gauge are essential for safe, accurate woodworking. Understanding the importance of component stability can help you maintain safe and precise operations.
Check That Your Blade Guard and Safety Features Are Working Properly
To stay safe while operating your table saw, you need to verify that your blade guard and safety features are functioning correctly. Check that the blade guard moves smoothly and covers the blade completely, preventing accidental contact. Ensure that the safety features, such as anti-kickback pawls and riving knives, are securely in place and operate properly. Confirm that the blade guard stays in position during cuts and doesn’t lift unexpectedly. If any safety feature is damaged or malfunctioning, replace or repair it before use. These safety features are designed to protect you from injuries, so never bypass or disable them. Regularly inspecting your blade guard and safety mechanisms helps maintain a safe working environment and reduces the risk of accidents. Proper safety practices are essential for preventing injuries and ensuring a secure workspace.
Clear the Work Area and Remove Any Obstructions Before Cutting

Ensuring your work area is clear of clutter and obstacles is essential for safe table saw operation. A tidy space helps prevent accidents and makes dust collection more effective, keeping your workspace cleaner. It also reduces noise caused by loose materials bouncing around. Before cutting, check for and remove any unnecessary tools, scraps, or cords.
Consider these steps:
- Clear the table surface and surrounding floor area.
- Remove or secure loose objects that could get caught.
- Ensure dust collection systems are connected and functioning.
- Keep the workspace free of obstructions to reduce noise and improve safety.
A clean, organized area minimizes distractions and hazards, guaranteeing a safer, more efficient cutting process.
Choose and Wear the Right Safety Gear Before You Start
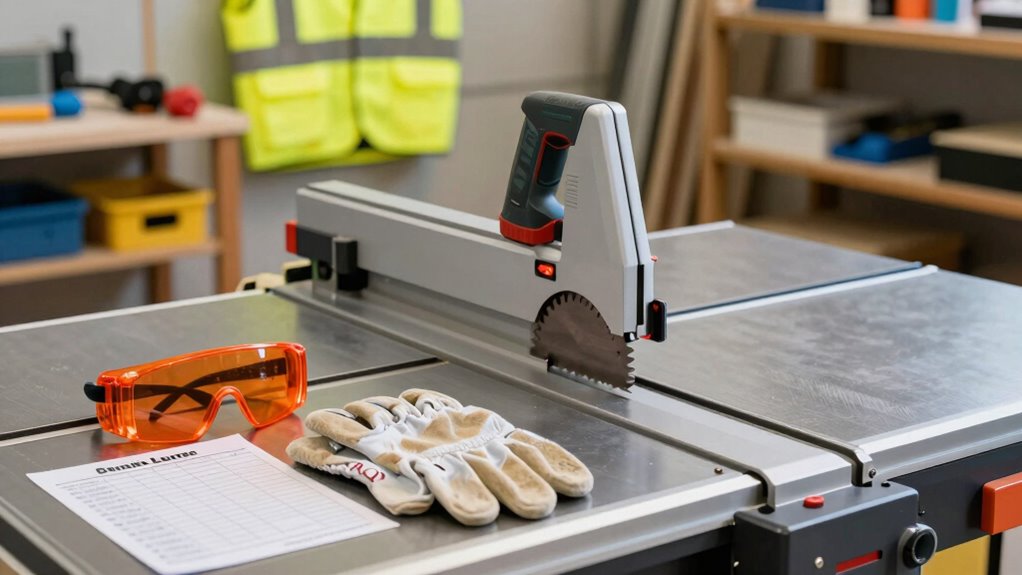
Wearing the right safety gear is vital for protecting yourself while operating a table saw. Your personal protective equipment (PPE) acts as an important barrier against potential injuries. Start with safety glasses or goggles to shield your eyes from flying debris and dust. A dust mask or respirator can prevent inhaling harmful particles, especially in enclosed spaces. Hearing protection like earplugs or earmuffs reduces the risk of hearing damage from prolonged noise. When it comes to safety gear selection, choose well-fitting items that stay secure during operation. Gloves might seem helpful, but they can pose hazards near rotating blades, so often it’s safer to avoid them. Prioritize PPE that covers your eyes, ears, and respiratory system to guarantee maximum safety before you start cutting.
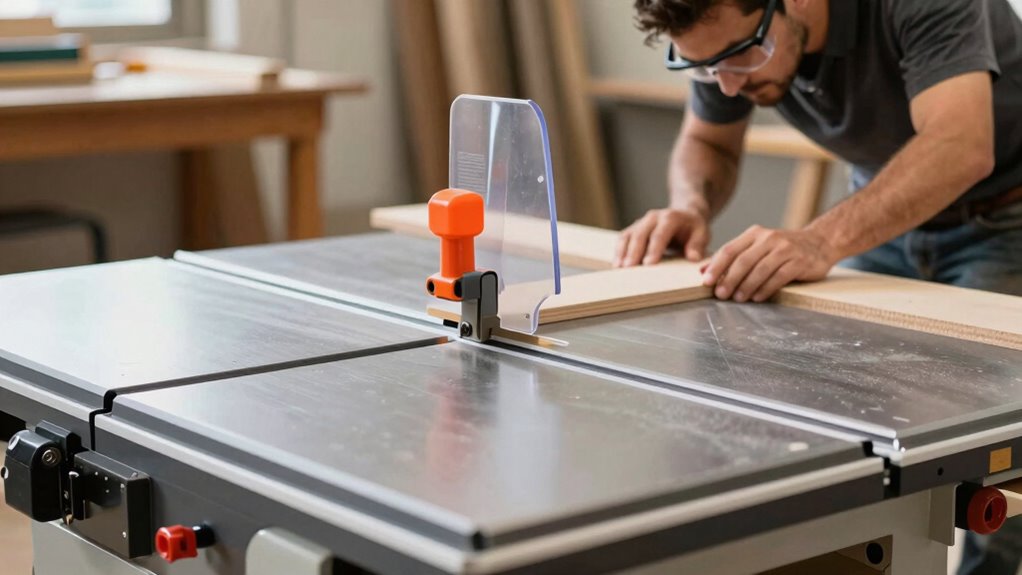
Test Your Setup With a Scrap Piece to Ensure Everything Is Stable and Safe
Before making your full cut, test your setup with a scrap piece of wood. This step helps verify that everything is stable and safe. First, feed the scrap slowly to check if the blade height and fence alignment are correct, especially after blade replacement. Second, observe your dust collection system; ensure it’s effectively capturing sawdust to keep your workspace clean and visibility clear. Third, confirm that the rip fence and miter gauge are secure and won’t shift during cutting. Fourth, listen for unusual noises or vibrations, which could indicate instability. If anything feels off, stop and readjust. This quick test prevents accidents, ensures proper dust collection, and confirms your saw is ready for safe operation.
Follow Safe Cutting Practices and Stay Focused While Working
Staying focused and following safe cutting practices are essential to prevent accidents and guarantee accurate results. Always keep your attention on the task, avoiding distractions. Before cutting, ensure your blade is well-maintained—sharp and properly aligned—to make clean cuts and reduce kickback risk. Use dust extraction systems to keep your workspace clear; dust buildup can obscure your view and cause slips. Maintain a firm grip on the material, and never reach over the blade. Adjust the riving knife and blade guard correctly, and feed material steadily without forcing it. Stay alert to changes in the cut, and pause if you feel fatigued. Concentration and proper blade maintenance, combined with a tidy work area, substantially reduce the chance of accidents and improve your cutting precision.
Frequently Asked Questions
How Often Should I Inspect My Table Saw for Safety Issues?
You should inspect your table saw for safety issues before each use to guarantee it’s in proper condition. Following a regular inspection schedule, such as weekly safety audits, helps catch potential hazards early. Make it a habit to check the blade, guards, and electrical components regularly. By staying consistent with your safety audit frequency, you minimize risks and keep your workspace safe, preventing accidents before they happen.
What Are Common Signs of a Malfunctioning Safety Feature?
When it comes to malfunction indicators and safety feature alerts, you should keep a close eye out. If the safety guard doesn’t move smoothly, the emergency stop doesn’t activate, or you notice unusual noises, these are red flags. Don’t ignore safety feature alerts—these signs mean something’s off. Catching issues early helps prevent accidents, so trust your instincts and perform regular checks to keep your workspace safe.
Can I Use a Damaged Blade Safely After Minor Repairs?
You shouldn’t use a damaged blade after minor repairs, as it poses safety concerns. Blade repair might temporarily fix visible issues, but hidden cracks or weakened spots can cause accidents. Always inspect the blade thoroughly after repairs and consider replacing it if you’re unsure. Using a compromised blade risks kickback or injury, so prioritize safety by replacing damaged blades instead of risking safety concerns with makeshift repairs.
How Do I Properly Store Accessories and Blades for Safety?
You should store blades and accessories in a dedicated, secure space to prevent accidents and damage. Use blade storage, like a rack or protective case, to keep blades sharp and avoid injury. Organize accessories in labeled containers or drawers, ensuring everything is easy to find and safe from dust or moisture. Proper blade storage and accessory organization keep your workspace safe, prolong tool life, and make your projects more efficient.
What Are the Best Practices for Cleaning and Maintaining My Table Saw?
To keep your table saw in top shape, regularly clean off dust and debris using a vacuum or compressed air, especially around the dust collection port. Check and maintain blade alignment to ensure precise cuts and safe operation. Lubricate moving parts as needed, and inspect the blade for dullness or damage. Proper cleaning and maintenance not only extend your saw’s lifespan but also promote safer, more accurate work.
Conclusion
By taking just 10 minutes to set up your table saw properly, you guarantee safety, improve precision, and prevent accidents. You prepare your workspace, check your tools, and test your setup—each step building confidence and control. Embrace these quick precautions to protect yourself, enhance your woodworking experience, and enjoy your projects worry-free. Because safety isn’t just a step—it’s a mindset, a habit, and a commitment to doing your best.