
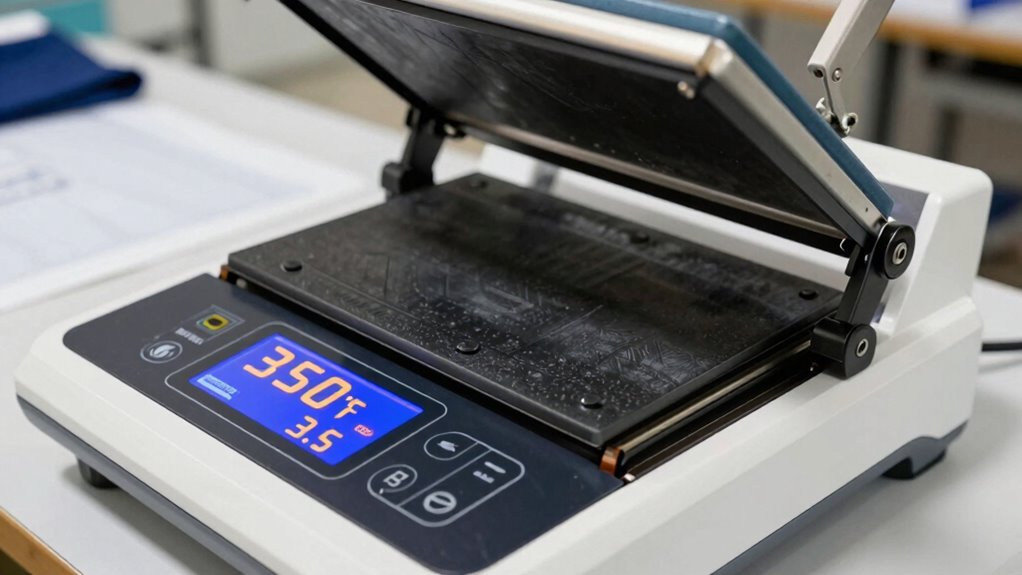
To achieve clean transfers, you need to focus on both temperature and pressure. Use the right temperature for your material—typically around 350°F for cotton and lower for delicate fabrics—while adjusting pressure to guarantee even contact without squeezing out ink. Regularly calibrate your press and test on scrap materials to find ideal settings. With proper adjustments, you’ll get vibrant, durable results every time—continue exploring to master these essential techniques.
Key Takeaways
- Use manufacturer guidelines and test on scrap materials to determine optimal temperature and pressure for each substrate.
- Maintain consistent temperature using calibrated thermometers to ensure vibrant and durable transfers.
- Apply even, firm pressure without excessive force, using gauges or calibration tools for accuracy.
- Adjust settings based on fabric type, design complexity, and transfer instructions for best results.
- Regularly monitor and fine-tune heat press calibration to achieve reliable, high-quality transfers.

Elegaperma 2pcs Tshirt Ruler Guide for Heat Press,Rotating Calibration Tool for V-Neck & Round Neck T-Shirt Alignment,Transparent PVC T Shirt Sewing Ruler Alignment Tool to Center Designs
Universal Tshirt Ruler: Elegaperma's tshirt ruler guide for heat press adapts to various shirt sizes, ensuring perfect alignment…
As an affiliate, we earn on qualifying purchases.
As an affiliate, we earn on qualifying purchases.
Heat Press 101: Why Temperature and Pressure Are Key to Perfect Transfers
Understanding why temperature and pressure are essential in heat pressing is fundamental for achieving perfect transfers. Proper settings help guarantee excellent color blending, so your design looks vibrant and seamless. If the temperature is too low, the ink may not fully adhere, causing dull colors or incomplete transfers. Too high, and you risk damaging the substrate or causing color bleeding. Pressure also plays a pivotal role; too much pressure can smudge colors or distort the design, while too little may prevent proper adhesion. Being mindful of substrate compatibility is key—different materials respond differently to heat and pressure. Additionally, understanding how digital content formats can influence the transfer process enables you to optimize your settings for various surfaces. Adjusting heat transfer parameters based on the specific material ensures consistent results across different projects. Recognizing the importance of proper calibration of your heat press can further enhance transfer quality, reducing errors and material waste. Moreover, selecting the right heat press settings for different substrates can significantly impact the durability and appearance of your transfers. By mastering these basics, you’ll improve transfer quality, ensuring crisp, professional results every time, regardless of the fabric or surface you work with.

5 Tons Heat Press Machine with 4.7" X 4.1" Dual Heated Plates Manual Press with LCD Digital Display Screen & Precise Pressure Gauge 110V/220V
【High-Efficiency】: The maximum pressure of manual pressing can reach 5 tons, and users can press it to their…
As an affiliate, we earn on qualifying purchases.
As an affiliate, we earn on qualifying purchases.
How to Choose the Right Temperature for Different Fabrics and Materials
Selecting the appropriate temperature for various fabrics and materials is essential to guarantee a successful heat transfer. Different fabric types have unique heat sensitivities that influence the ideal temperature. For example, delicate fabrics like polyester or nylon require lower temperatures to prevent damage or melting. Cotton and polyester blends can handle higher temperatures without compromising quality. Always check manufacturer guidelines, as some materials may need specific settings for best adhesion and durability. Using too high a temperature can scorch or weaken delicate fabrics, while too low may lead to poor transfers. Understanding fabric heat sensitivities helps you adjust your heat press accordingly, ensuring vibrant, lasting results without damaging your materials.

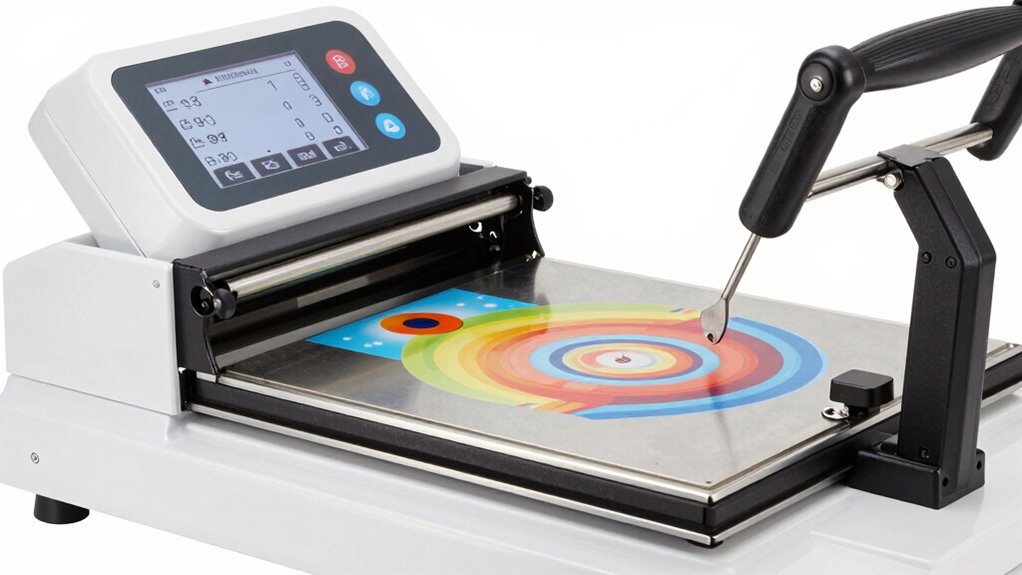
HTVRONT Auto Heat Press 2 – Heat Press Machine for T Shirts with Adjustable Pressure & Higher Heating Height, Heats Up Fast & Evenly Heat Press 15×15 for HTV, Sublimation, Heat Transfer Projects
【Pressure Customization】HTVRONT Auto Heat Press 2 can effectively avoid the situation of insufficient pressure. You can adjust the…
As an affiliate, we earn on qualifying purchases.
As an affiliate, we earn on qualifying purchases.
How to Set the Correct Pressure for Consistent, Professional Results
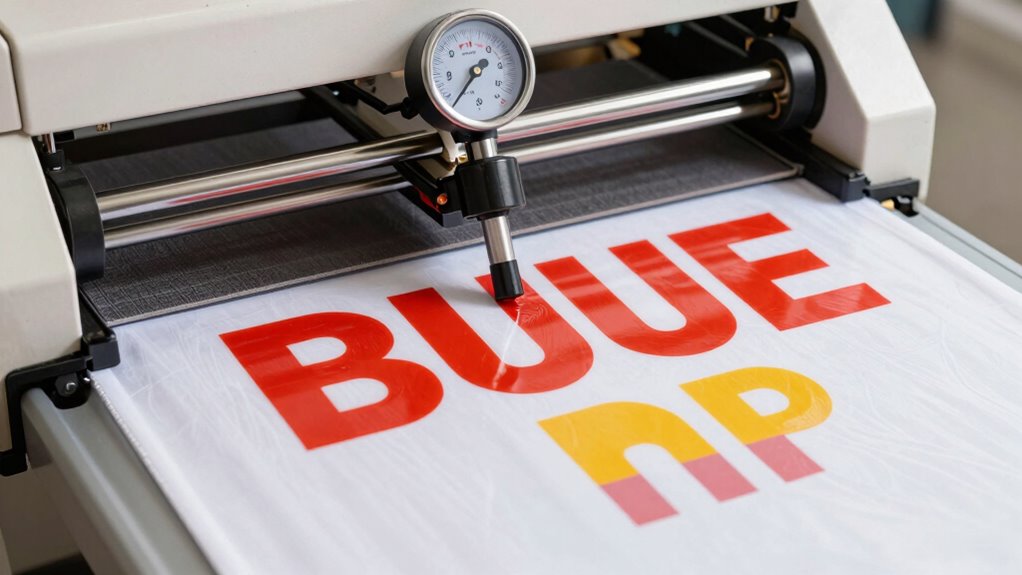
Proper pressure application is key to achieving professional, long-lasting heat transfers. Too much pressure can cause image distortion, while too little leads to poor adhesion. To guarantee transfer consistency, regularly check your pressure calibration and adjust accordingly. Here are four tips to set the correct pressure:
- Use a pressure gauge or calibration tool for accuracy.
- Apply firm, even pressure without excessive force.
- Test on scrap material before starting your project.
- Adjust the press’s pressure settings based on transfer results.
- Regularly monitor your pressure calibration to maintain consistent results. Additionally, understanding the heat press settings for temperature and pressure ensures optimal transfer quality. Consistent pressure application is essential for achieving reliable, professional results every time. Maintaining awareness of contrast ratio and other projector settings can also help create a more immersive viewing experience, especially in home cinema setups. Properly calibrating your equipment ensures that all settings work synergistically for the best transfer outcome.

Calogy Mini Heat Press, Heat Transfer Machine, Constant Temp Control, Insulated Safety Base, Fits for Crafts, T-Shirt, Hat, Cap, Pillows(White Pink)
Only 1 Button Design: Press 1 time to increase temp; press 2 times to decrease temp; Press 3…
As an affiliate, we earn on qualifying purchases.
As an affiliate, we earn on qualifying purchases.
Adjusting Time Settings for Different Designs and Materials
You need to adapt your heat press time based on the material you’re working with, as different fabrics and surfaces require specific settings. Keep in mind that complex designs may need longer pressing times to ensure proper adhesion, while simpler images may need less. By fine-tuning these variables, you’ll achieve better results tailored to each project. Additionally, considering material compatibility can help prevent issues like scorching or incomplete transfers. Recognizing fabric type considerations is essential for selecting appropriate time settings and avoiding damage. Paying attention to heat transfer techniques can also ensure consistent and professional-looking results. Understanding pinball machine weight is important when moving or installing equipment to prevent damage or injury. Moreover, adjusting pressure levels is crucial for different materials to guarantee even heat distribution and optimal transfer quality.
Material-Specific Timing
Adjusting the heat press timing for different designs and materials is essential for achieving ideal results. Proper timing ensures your heat transfer chemistry works effectively without compromising fabric durability. Different fabrics respond uniquely, so customizing the time helps prevent damage or poor adhesion. For example, using the proper water resistance can help achieve better transfer outcomes on specific materials. Additionally, understanding the material composition allows you to fine-tune the heat press settings for optimal adhesion and longevity. Incorporating material testing into your process ensures that you select the best timing for each project, reducing waste and improving quality. Recognizing the importance of seasonal variations can also influence optimal heat press parameters, especially for outdoor or temperature-sensitive materials. Being aware of environmental conditions such as humidity and ambient temperature can further refine your heat press adjustments for consistent results.
Design Complexity Factors
Design complexity plays a crucial role in determining the ideal heat press time, as intricate or highly detailed designs often require more precise adjustments to prevent smudging or incomplete transfers. When dealing with complex designs, you might need to increase the pressing time slightly to ensure all fine lines and details are properly transferred. Similarly, color complexity impacts timing; designs with many colors or gradients often need longer presses to allow each layer to adhere fully. Pay attention to the design’s intricacy — delicate details may need a gentler approach, while bolder, simpler designs can usually be pressed more quickly. Always test before doing large batches, and adjust the time based on the design’s complexity and the material’s response to achieve the best results. Understanding design intricacy can help you make more accurate adjustments for optimal transfer quality, especially when working with various materials and design types. Being aware of material behavior during pressing can also influence your timing decisions and improve overall transfer success. Additionally, considering heat transfer properties of different materials can further refine your pressing technique to ensure consistent results.
Common Heat Press Settings for Popular Fabrics Like Cotton, Polyester, and Vinyl

Different fabrics require specific heat press settings to guarantee the best results without damaging the material. For cotton, set the temperature around 350°F with 15-20 seconds of pressure. Polyester typically needs lower temperatures, about 310-330°F, for 12-15 seconds, to prevent melting. Vinyl transfers usually require 330-340°F for 10-15 seconds, ensuring a smooth, durable finish. When working with fabric blends, adjust settings based on the dominant fiber—cotton blends often need similar temps to pure cotton. Using the right heat press accessories, like Teflon sheets or silicone pads, helps protect delicate fabrics. Always test on scrap material first to fine-tune your settings for consistent, high-quality transfers.
Troubleshooting Common Transfer Problems: Dull Colors, Peeling, and More
When your transfers don’t turn out right, it’s often due to ink issues, improper pressure, or not giving enough curing time. These problems can cause dull colors, peeling, or other defects that ruin your design. Let’s look at how to identify and fix these common transfer challenges.
Ink Compatibility Challenges
Ink compatibility issues often cause common transfer problems like dull colors, peeling, or cracking. If your transfer isn’t adhering well or the colors appear faded, the ink might not be compatible with your substrate or heat press process. Ensuring proper ink compatibility is key to achieving strong transfer adhesion. Here are some tips to troubleshoot:
- Check if the ink is designed for your material type.
- Test different ink brands for better adhesion and color vibrancy.
- Adjust curing times to improve ink bonding.
- Ensure the ink is fully dried before pressing.
Addressing ink compatibility helps prevent peeling and cracking, resulting in cleaner, more vibrant transfer results. Proper ink selection and preparation are essential steps toward successful heat transfers.
Incorrect Pressure Application
Incorrect pressure application is a common cause of transfer problems like dull colors, peeling, and incomplete adhesion. When pressure issues occur, the transfer may not bond properly or may wear out quickly. Application mistakes, such as applying too much or too little pressure, can compromise the transfer’s durability and appearance. Too much pressure can cause the transfer to bleed or distort, while too little can result in incomplete transfer or peeling. It’s essential to adjust your heat press to the recommended pressure settings for your material and transfer type. Always check your pressure gauge and ensure even application across the entire surface. Proper pressure is vital for a clean, vibrant transfer and long-lasting results. Avoid guesswork—use consistent, correct pressure to prevent common transfer problems.
Insufficient Curing Time
Have you ever noticed dull colors or peeling transfers? Insufficient curing time could be the culprit. When you rush the process, the adhesive doesn’t fully set, leading to poor adhesion and dull results. To avoid this, focus on proper time management during each press. Regular equipment maintenance ensures your heat press maintains consistent heat and pressure, preventing under-curing. Here are key tips:
- Allocate enough time for each transfer, following manufacturer guidelines.
- Check your equipment regularly to maintain ideal performance.
- Use a timer to prevent rushing or skipping steps.
- Allow transfers to cool completely before handling to ensure proper curing.
Testing and Fine-Tuning Your Heat Press Settings for Best Results
To achieve the best results with your heat press, you need to carefully test and fine-tune its settings before starting your main projects. Begin by performing test runs on scrap materials, adjusting temperature and pressure incrementally. Focus on color matching; slight variations can affect the final look. Use a thermometer to calibrate your heat press’s temperature accurately, ensuring it matches your desired settings. Consistent temperature calibration prevents color fading or bleeding. Record your ideal settings for different materials and transfers. Check the results after each test, looking for even, vibrant colors and clear transfers. Fine-tuning these variables guarantees consistent, professional-quality results and minimizes wasted time or materials during production. This careful calibration is key to mastering your heat press.
Safety Tips for Using Your Heat Press Like a Pro
Using a heat press safely is essential to guarantee accidents and assure high-quality results. Always wear appropriate safety gear, like heat-resistant gloves and eye protection, to prevent burns and injuries. Familiarize yourself with emergency procedures, such as how to quickly unplug the press or shut off the power in case of malfunction. Keep the work area clear of clutter to avoid accidents. Here are four safety tips:
- Always read the manufacturer’s instructions before operating.
- Use safety gear to protect your hands and eyes.
- Never leave the heat press unattended while in use.
- Know the emergency procedures for your equipment.
Following these tips helps you work confidently, reduces risks, and keeps your workspace safe.
Expert Tips for Achieving Flawless, Professional-Quality Transfers

Achieving flawless, professional-quality transfers requires attention to detail and proper technique. To guarantee a perfect heat transfer, always double-check your heat press settings for ideal temperature and pressure. This helps maintain color accuracy, preventing dull or faded results. Use high-quality transfer materials and align your design carefully for sharp, clean images. Keep the heat transfer surface clean to avoid imperfections. Be mindful of timing; too long or too short can affect transfer quality and color vibrancy. Test on scrap material first to fine-tune your settings. Consistent pressure is key to uniform application, which enhances both the heat transfer and color accuracy. With these expert tips, you’ll produce seamless, professional results every time.
Frequently Asked Questions
How Does Ambient Temperature Affect Heat Press Performance?
Ambient temperature directly impacts your heat press efficiency. If it’s too cold, the press may struggle to reach and maintain the ideal transfer temperature, leading to uneven results. Conversely, high ambient temperatures can cause the heat to escape or fluctuate, affecting consistency. To guarantee clean transfers, keep your workspace at a stable, moderate temperature, and monitor your press regularly for peak performance regardless of outside conditions.
What Impact Does Humidity Have on Transfer Quality?
Humidity effects can totally sabotage your transfer quality, making it feel like an impossible mission. When humidity is high, it can cause your materials to sweat or bubble, ruining the crispness of your design. Conversely, low humidity can lead to static and uneven heat transfer. So, keep an eye on humidity levels—maintaining ideal conditions ensures your transfers stay perfect, sharp, and professional every time.
Can Different Heat Press Brands Require Different Settings?
Yes, different heat press brands can require different settings due to brand compatibility and model-specific factors. You should always consult your specific machine’s guidelines, as temperature and pressure may vary. Even similar models from different brands might need adjustments. Always test small transfers first to dial in the ideal settings for your equipment, ensuring clean, professional results every time.
How Often Should I Recalibrate My Heat Press?
A stitch in time saves nine, so you should recalibrate your heat press every 25-30 uses or monthly, whichever comes first. Regular calibration guarantees consistent transfers and prolongs your equipment’s life. Follow maintenance tips like checking for uneven heating and inspecting pressure. Staying proactive helps catch issues early, saving you time and money, and keeps your projects flawless. Consistent calibration is key to professional results every time.
Are There Specific Tips for Transferring Onto Textured or Uneven Surfaces?
When transferring onto textured or uneven surfaces, you should use a lower pressure setting to prevent damaging the material. Apply firm, even pressure, and consider using a Teflon sheet to help distribute heat more evenly. Pre-press the surface to smooth out minor bumps, and test on a small area first. Patience and gentle handling ensure a clean transfer without distorting the design or damaging the textured surface.
Conclusion
Mastering heat press settings is like tuning a fine instrument—you bring out the vibrant symphony of flawless transfers. When you understand temperature, pressure, and timing, your creations come alive with clarity and durability. Think of each perfect press as a brushstroke on your canvas, turning blank fabric into a masterpiece. Keep experimenting, stay safe, and let your passion for quality shine through every transfer. Your craft deserves nothing less than perfection.