
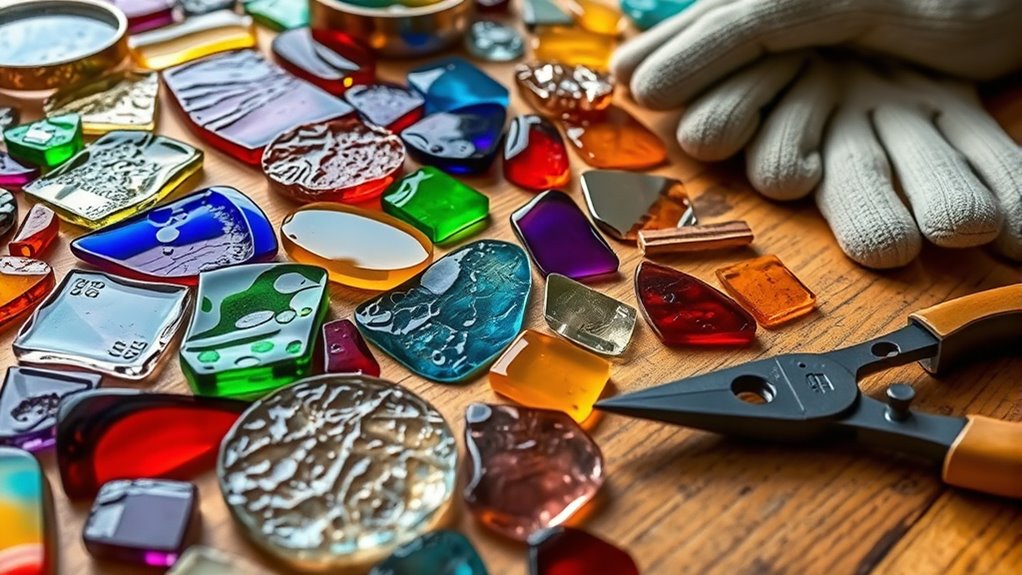
To start with DIY stained glass, you’ll want to understand different glass types like transparent, opaque, and textured options that create unique effects. You’ll need tools such as glass cutters, soldering irons, and safety gear for assembly. Learning techniques like using lead came for sturdy frames or copper foil for close-fitting joints will help your project succeed. Keep exploring these basics, and you’ll gain the skills to craft beautiful stained glass pieces step by step.
Key Takeaways
- Choose appropriate glass types such as colored, textured, or iridescent to enhance your design and lighting effects.
- Use lead came for structural support, handling it carefully with gloves and safety gear to avoid hazards.
- Apply the copper foil method by thoroughly cleaning edges, applying smooth foil, and ensuring proper burnishing for tight solder joints.
- Select high-quality solder and flux, and practice steady soldering techniques for durable, clean connections.
- Prioritize safety by working in well-ventilated areas, wearing protective gear, and properly storing lead materials.
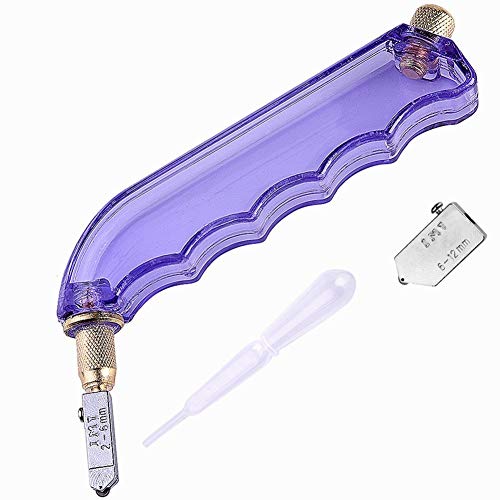
IMT Pistol Grip Oil Feed Glass Cutter Tungsten Carbide, Professional Stained Glass Cutting Tool with 2 Replaceable Head and Oil Reservoir- 2mm-12mm
【Ergonomic Pistol Grip for Comfort】Experience reduced wrist fatigue and superior control. The pistol grip design allows you to…
As an affiliate, we earn on qualifying purchases.
As an affiliate, we earn on qualifying purchases.
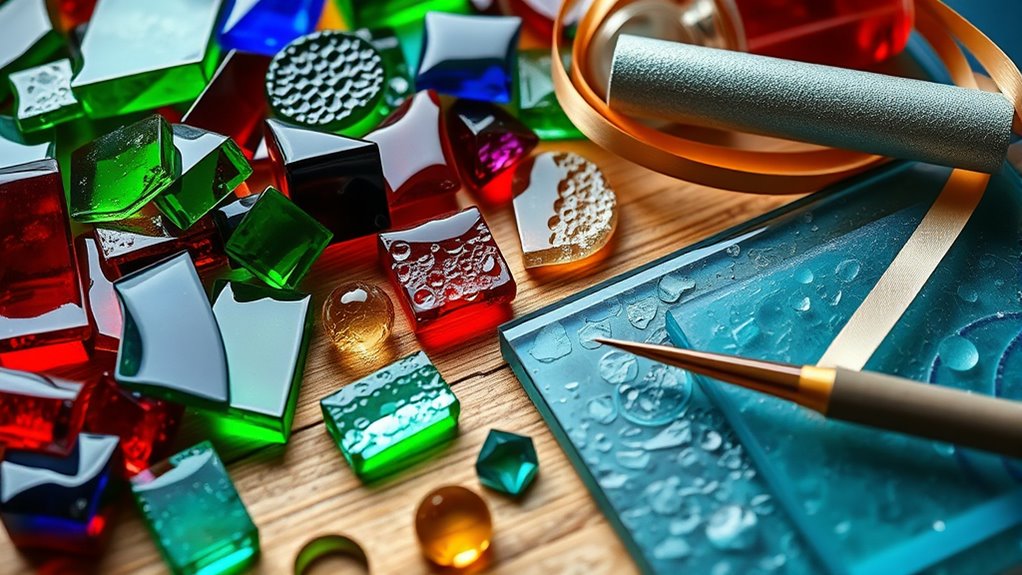
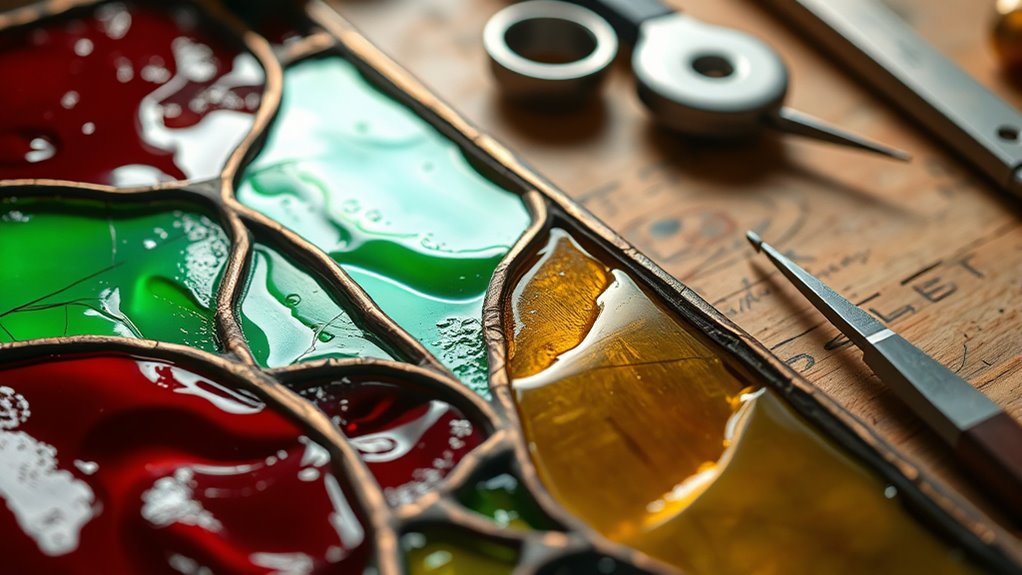
Types of Glass Used in Stained Glass Art
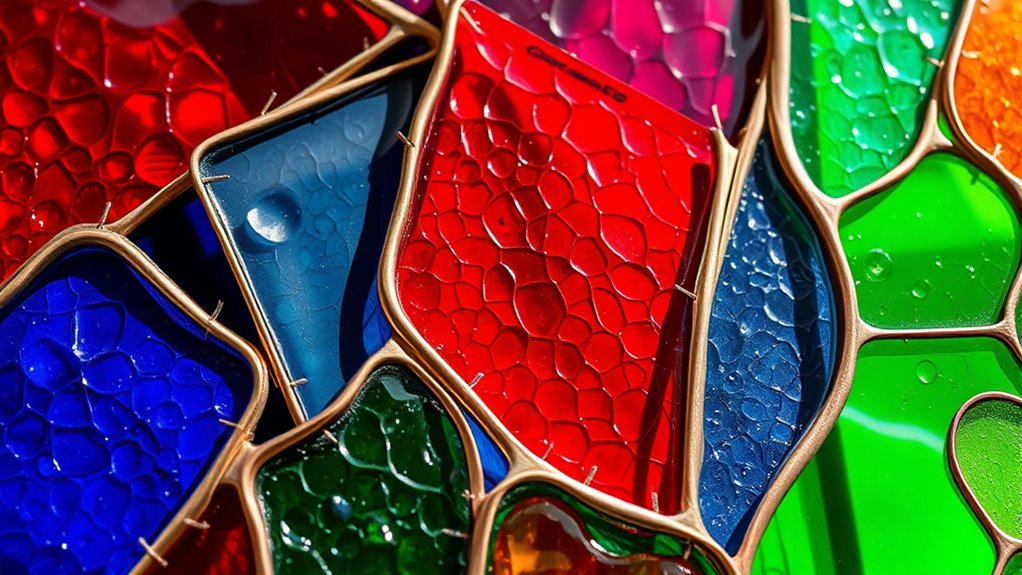
Have you ever wondered what kinds of glass artists choose for their stained glass projects? The answer lies in the variety of glass options available. Colored glass is a staple, offering vibrant hues that bring your designs to life. You can select from transparent, opaque, or iridescent shades to create depth and visual interest. Textured glass adds another dimension, featuring ripples, swirls, or frosted surfaces that diffuse light beautifully. This type of glass not only enhances the aesthetic appeal but also provides privacy and a unique tactile experience. When choosing glass for your project, consider how these options will complement your overall design and how their qualities can influence the light and mood of the finished piece.

Stained Glass Supplies Kits, Glass Cutting Tools, Black Backed and Silver Backed Copper Foil Tape for Stained Glass Making (Basic Kit)
Stained glass basic kits includes: glass cutting grid mat x1, stained glass work surface x1, layout block system…
As an affiliate, we earn on qualifying purchases.
As an affiliate, we earn on qualifying purchases.
Tools and Materials for DIY Stained Glass Projects
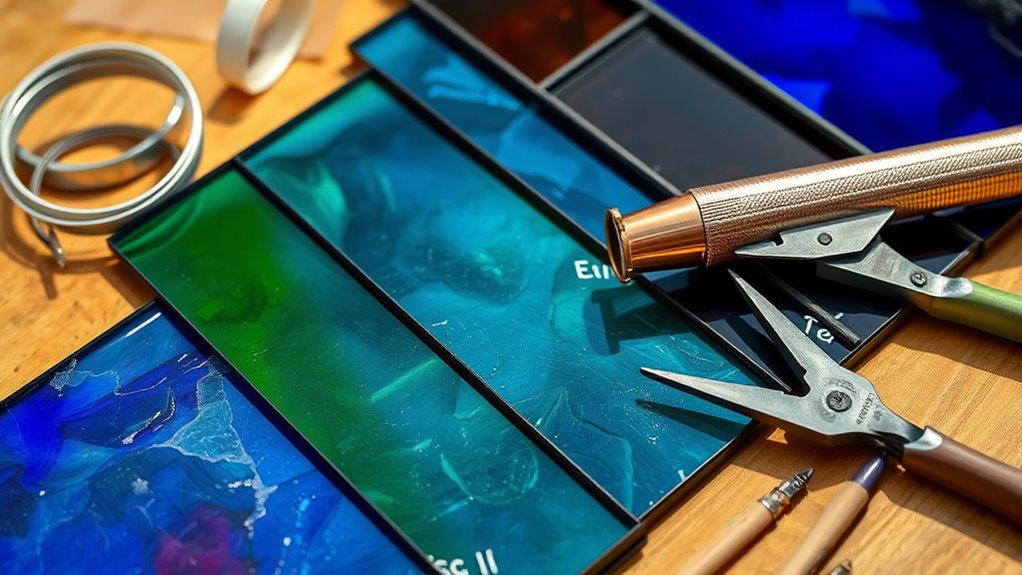
Getting started with DIY stained glass projects requires gathering the right tools and materials to guarantee precise cuts and safe handling. You’ll need a glass cutter, a soldering iron, and a variety of tools like pliers and a glass grinder. When selecting glass, focus on color selection to achieve your desired aesthetic, making certain the glass types are compatible with your project. For soldering techniques, high-quality solder and flux are indispensable to create strong, clean joints. Safety supplies such as gloves and eye protection are also vital. Proper tools help you cut and shape glass accurately, while the right materials ensure durability and vibrant colors. Mastering these tools and materials sets a solid foundation for successful stained glass projects.

3/16" Round U Lead Came for Stained Glass | 2 6ft Hobby Came for Stained Glass | Strong & Malleable for Smooth Soldering | Ideal for Panels, Windows & Crafts | Lead roll for Hobbyists & Artists
Flexible & Strong for Easy Use – Glassco Unstreached lead came for stained glass features a durable yet…
As an affiliate, we earn on qualifying purchases.
As an affiliate, we earn on qualifying purchases.
Techniques for Assembling Stained Glass Pieces
To guarantee your stained glass pieces come together seamlessly, mastering proper assembly techniques is essential. Start with precise glass cutting tips to ensure each piece fits perfectly within your design. Use a glass cutter to score the glass confidently, then gently snap along the score line. When soldering, apply consistent heat and use smooth, even strokes to join pieces securely. Keep your soldering techniques steady to avoid gaps or warping. Clean the glass edges thoroughly before soldering to promote strong bonds. Work in a well-ventilated area and wear safety gear. Properly assembled pieces will result in a durable, visually appealing stained glass project. Practice these techniques to improve your craftsmanship and achieve professional-looking results every time. Additionally, understanding the divorce process in your state can help you plan for major life changes during your creative projects.

Hakko FX601-02 – Soldering Iron with High Heat Capacity
Dial controlled temperature selection
As an affiliate, we earn on qualifying purchases.
As an affiliate, we earn on qualifying purchases.
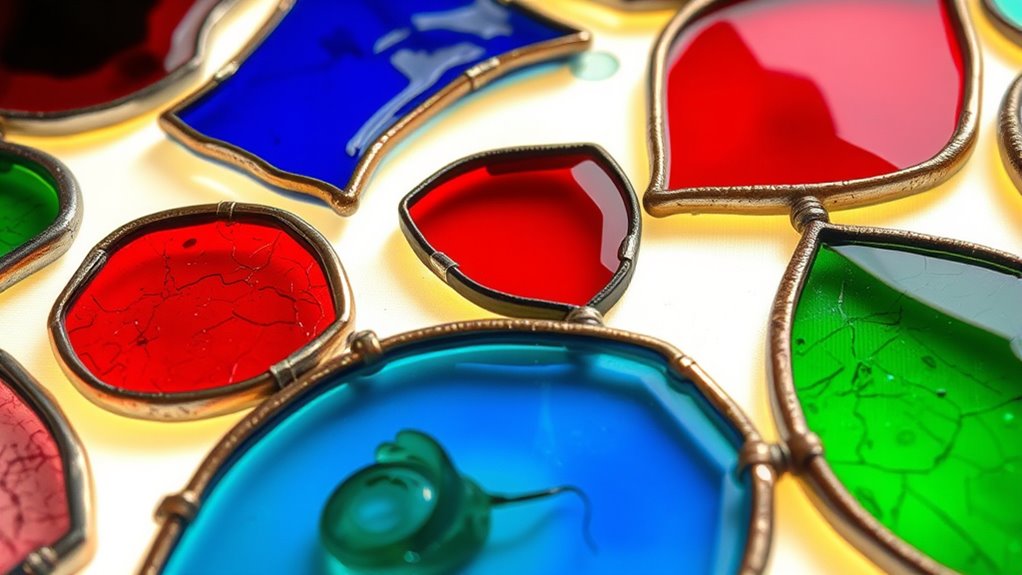
Working With Lead Came: Steps and Safety Tips
Working with lead came provides a sturdy framework for your stained glass project, but it requires careful handling and attention to safety. Lead came is flexible yet sharp, so always wear gloves and eye protection when cutting or shaping it. Use proper tools like a lead nippers and a lead knife, and work on a stable surface. To avoid lead dust, work in a well-ventilated area and wash your hands thoroughly afterward. When soldering, keep the area clear of flammable materials and wear a mask if fumes become strong. Store lead came securely, away from children and pets. Following these safety precautions ensures your project stays safe and your workspace remains hazard-free while you achieve quality results. Additionally, understanding the contrast ratio of your materials can help you select the best lighting conditions for viewing your finished stained glass piece.
Copper Foil Method: Process and Best Practices
The copper foil method offers a precise and flexible way to join stained glass pieces, especially for intricate designs or smaller segments. To guarantee a clean, strong connection, you should focus on proper soldering techniques and accurate glass cutting tips. First, thoroughly clean the copper foil and glass edges to promote adhesion. Second, apply the foil smoothly, avoiding wrinkles or overlaps, and burnish it firmly to ensure good contact. Third, when soldering, use steady, controlled heat and work in small sections to prevent melting the foil or damaging the glass. Remember, precise glass cutting tips help create tight fits, reducing gaps that complicate soldering. Additionally, selecting the appropriate solder type ensures optimal flow and durability, resulting in a beautiful, durable stained glass piece with clean lines and minimal flaws.
Frequently Asked Questions
How Do I Choose the Right Glass Texture for My Project?
You should choose glass textures based on your aesthetic choices and the effect you want to achieve. Smooth glass offers a sleek, modern look, while textured glass adds depth and privacy. Consider how light interacts with different textures; frosted or rippled glass creates diffused lighting, perfect for ambiance. Match your glass texture to your project’s style, ensuring it complements your overall design and enhances the visual appeal.
What Are the Environmental Impacts of Different Stained Glass Materials?
Think of stained glass as a garden—you want it to flourish without harming the Earth. Different materials have varying impacts: recycling stained glass reduces waste, making it eco-friendly, while choosing sustainable, non-toxic materials minimizes environmental harm. Lead, copper foil, and glass types each have footprints, but opting for eco-friendly options helps protect our planet. Your choices can make your art beautiful and environmentally kind.
Can I Combine Lead Came and Copper Foil in One Design?
Yes, you can combine lead came and copper foil in one design. This mixed material technique enhances your design’s complexity and visual interest. To guarantee smooth design integration, plan your pattern carefully, balancing the structural strength of lead came with the delicate detailing possible with copper foil. Using both materials allows you to create intricate, sturdy stained glass pieces that showcase your craftsmanship and creative vision effectively.
How Do I Repair or Restore Damaged Stained Glass Pieces?
To repair or restore damaged stained glass pieces, you first carefully clean the area. Use glass repair kits or resin for small cracks or chips, guaranteeing proper adhesion. For more extensive damage, remove the broken sections and replace them with matching glass. Focus on material restoration by sealing joints and reinforcing weak spots. Handle everything gently, and consider consulting a professional for delicate or valuable pieces to ensure a seamless glass repair.
What Are Beginner-Friendly Alternative Methods to Traditional Stained Glass Techniques?
Did you know that faux stained glass projects are growing in popularity, with a 30% increase in DIY kits sold last year? You can try stained glass paints or create faux stained glass with colored adhesive films for beginner-friendly results. These methods are simple, affordable, and require no special skills, making it easy to achieve beautiful, vibrant designs without traditional lead or copper foil techniques. Give them a try to start your stained glass journey!
Conclusion
Now that you know the basics of stained glass, remember that patience and practice are key. Like a mosaic, your skills will come together piece by piece, revealing a beautiful masterpiece. Don’t rush the process—each step is a chance to learn and refine your craft. With dedication, you’ll transform simple glass and metal into stunning art. As they say, good things come to those who wait and work with care.