
To craft beautiful, scented soaps for your home decor, start by gathering all your supplies and setting up a clean, organized workspace. Choose your favorite soap bases, fragrances, and colors, then melt and mix the soap carefully, adding botanicals or exfoliants for texture. Pour into molds, let them set, and finish with decorative touches like trimming edges or adding labels. Keep experimenting with designs and scents—there’s plenty more to discover if you keep going.
Key Takeaways
- Select soap bases and natural colorants to customize scents and hues for a personalized home decor.
- Melt and mix soap ingredients carefully, incorporating botanicals or exfoliants for visual appeal and texture.
- Use creative pouring techniques like layering and swirling to design visually interesting soap pieces.
- Finish by trimming edges, adding decorative carvings, and packaging with labels or wrapping for an attractive presentation.
- Experiment with fragrances and colors to create unique, aromatic soaps that enhance your home environment.
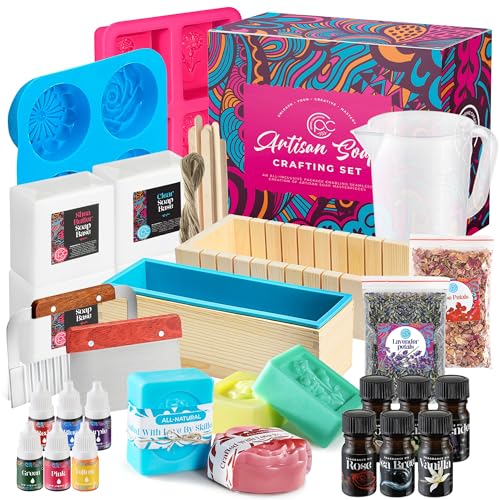
Soap Making Kit with Melt & Pour Base, Cutting Box, Molds, Fragrances – for Adults & Kids by Prime Creations.
1.GET CREATIVE AT HOME: Get to choose your personal choice of soap every day! With 6 fragrances and…
As an affiliate, we earn on qualifying purchases.
As an affiliate, we earn on qualifying purchases.
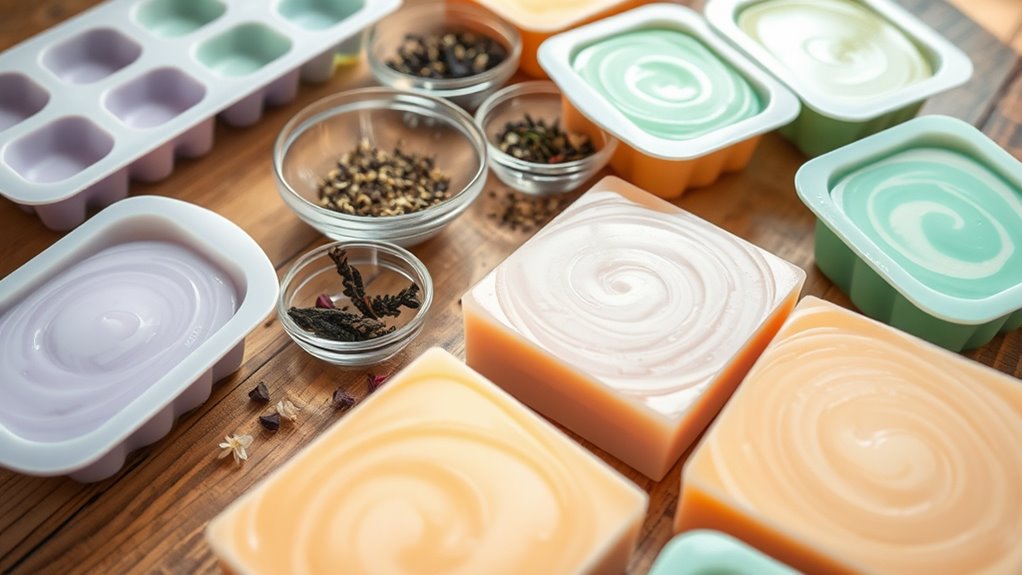
Gathering Supplies and Preparing Your Workspace
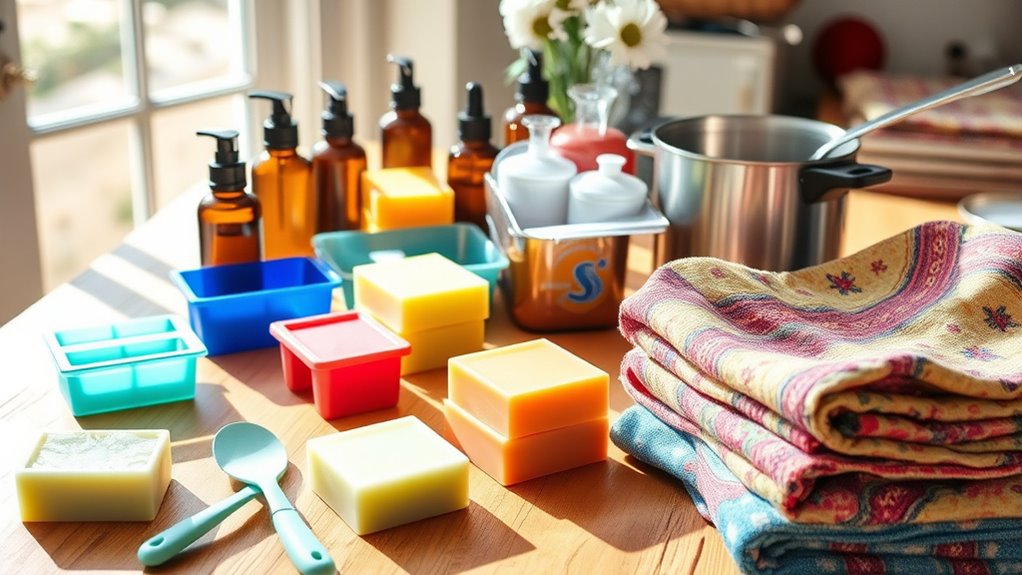
Before you start making soap, it’s important to gather all the necessary supplies and set up a clean, organized workspace. Proper workspace organization helps you stay efficient and minimizes mistakes. Arrange your ingredients, tools, and containers within easy reach, and keep your work area clutter-free. Safety precautions are essential; wear gloves, goggles, and an apron to protect your skin and eyes from hot liquids and lye. Ensure good ventilation and have a fire extinguisher nearby in case of emergencies. Clear the surface of any distractions, and designate specific zones for prepping ingredients, mixing, and curing soap. Keeping your workspace tidy and safe not only makes the process smoother but also helps prevent accidents, so you can enjoy soap making confidently. Additionally, understanding the best laundry detergents can be useful for testing your soap’s cleaning efficacy.

SJ Silicone Soap Molds 3 Packs, Rectangle Soap Molds for Soap Making, 6 Cavity Mold for Homemade Craft Soap Mold, Jelly, Chocolate & Ice Cube Trays(Blue, Purple & Pink)
Food-Safe & Premium Silicone: SJ soap mold crafted from soft, flexible, high-grade silicone for superior durability. Features a…
As an affiliate, we earn on qualifying purchases.
As an affiliate, we earn on qualifying purchases.
Choosing Your Soaps, Fragrances, and Colors
Choosing the right soap base sets the foundation for your project, so pick one that suits your skin and style. Once you have your base, you can start blending fragrances and colors to create a unique scent and appearance. Experimenting with different combinations helps you craft personalized soaps that stand out. Incorporating mindful visualization techniques during the process can enhance your creativity and contribute to a calming crafting experience.
Selecting Soap Bases
Have you ever wondered how to pick the perfect soap base for your homemade creations? Your choice depends on understanding the different soap base varieties and the selection criteria that suit your needs. First, consider the skin type you’re targeting—go for a gentle, moisturizing base if you have sensitive skin. Second, evaluate the ingredients: natural or organic bases can appeal to eco-conscious buyers. Third, think about the final look and feel you want; some bases produce a creamier texture, while others are firm. By focusing on these factors, you’ll guarantee your soap base aligns with your goals. Remember, choosing the right soap base varieties is key to crafting beautiful, high-quality soaps that match your scent and decor ambitions. Additionally, considering modern trends in tableware, such as eco-friendly materials, can inspire your soap presentation and packaging choices.
Blending Fragrances & Colors
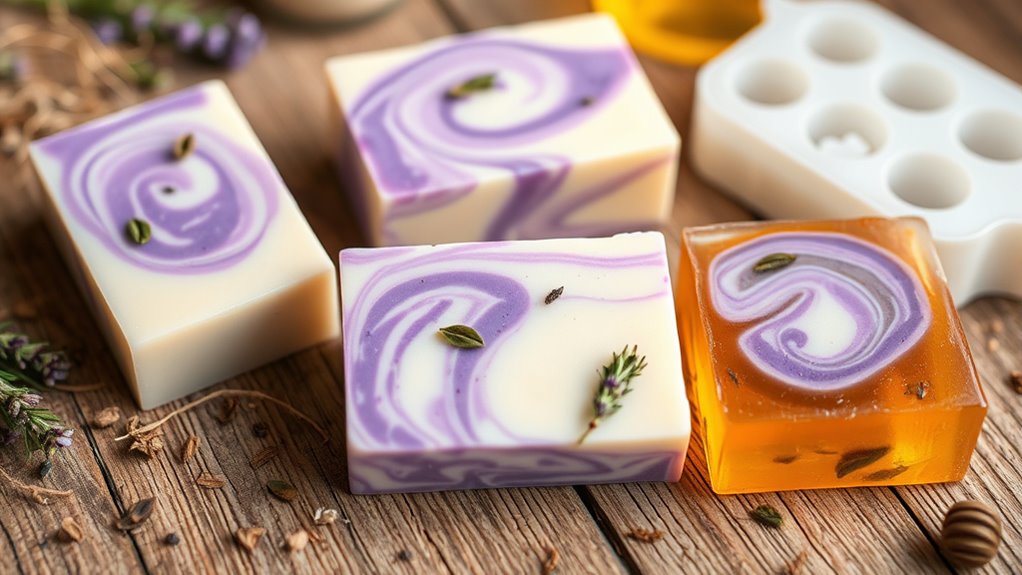
Blending fragrances and colors allows you to create unique and appealing soap designs that reflect your personal style or brand. When choosing essential oil blends, consider how different scents complement each other and evoke desired moods. Experiment with layerings or swirling techniques to add visual interest. Applying color theory helps you select shades that enhance your soap’s aesthetic; for example, using contrasting colors for bold designs or analogous hues for subtle effects. Use natural colorants like clays, herbs, or mica powders to achieve your desired hues. Remember, the right combination of fragrance and color not only makes your soap attractive but also enhances the overall sensory experience. Embracing attention in creative practice can help you refine your techniques and achieve more harmonious results. Keep experimenting until you find blends that perfectly match your vision.

Natural Soap Making Colorant Set – Dye Pigment Powder Soap Supplies Sampler Kit Variety Pack for Handmade Cosmetics Bath & Body Scrubs, Masks, Bath Bombs & More DIY
16 Convenient Resealable Packets of Natural Soap Colors. Easy & Quick Without Having to Source and Purchase in…
As an affiliate, we earn on qualifying purchases.
As an affiliate, we earn on qualifying purchases.
Melting and Mixing the Soap Base
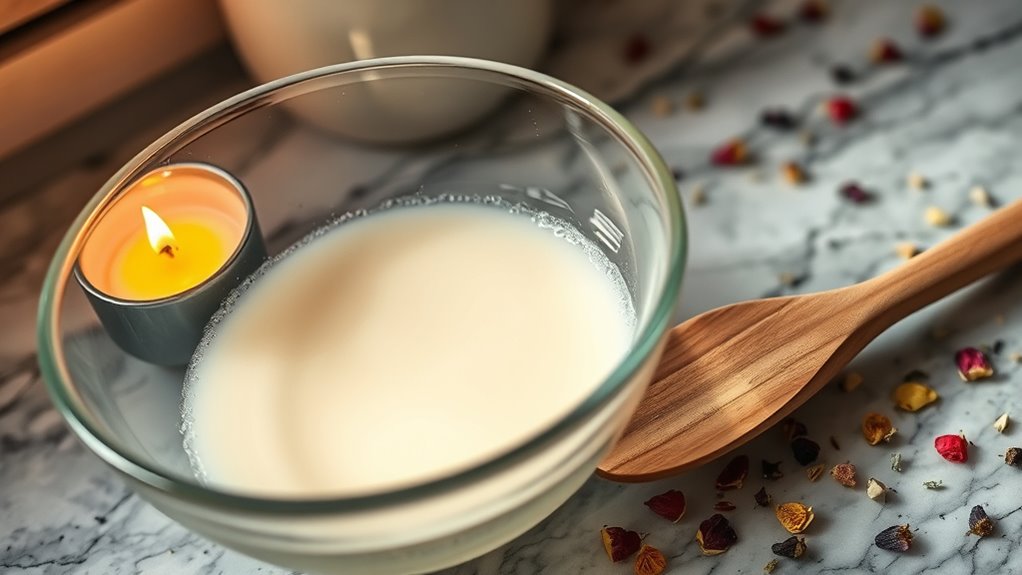
To melt and mix the soap base effectively, start by cutting it into small, uniform chunks. This ensures even melting and reduces the risk of burning. Use a microwave or double boiler, stirring gently until fully melted. Remember, soap curing takes time, so avoid rushing the process. Always follow safety precautions: work in a well-ventilated area, wear gloves, and handle hot liquids carefully. Here are some tips to keep in mind:
- Keep the heat low to prevent overheating.
- Stir continuously for a smooth mixture.
- Never leave melting soap unattended.
- Incorporate natural materials like dried herbs or flower petals for added aesthetic appeal.
Once melted, mix thoroughly to incorporate any fragrances or additives. Proper melting and mixing set the foundation for beautiful, well-cured soap bars.

PHATOIL 3.38FL.OZ Coconut & Vanilla Fragrance Oils for Aromatherapy, Essential Oils for Diffusers for Home, Perfect for Diffuser, Yoga, DIY Candle and Soap Making – 100ml
High Quality Glass Bottle with Free Dropper: The fragrance oils come in high-quality glass bottles and are infused…
As an affiliate, we earn on qualifying purchases.
As an affiliate, we earn on qualifying purchases.
Customizing Your Designs With Colors and Additives
You can create striking soap designs by experimenting with vibrant color combinations that catch the eye. Adding unique additives like herbs, exfoliants, or shimmer creates special effects that make your soap truly stand out. With a little creativity, your homemade soaps will be both beautiful and personalized. Incorporating color additives can further enhance the visual appeal and uniqueness of your creations.
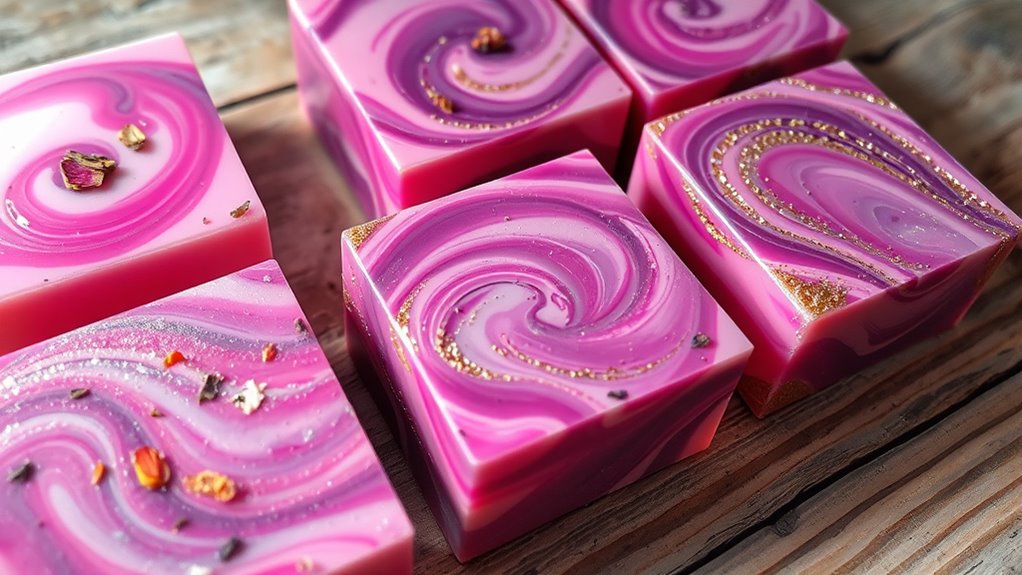
Vibrant Color Combinations
Vibrant color combinations can transform plain soap into eye-catching masterpieces, and choosing the right hues and additives allows you to personalize your designs. Using color theory helps you select complementary and contrasting shades for striking effects. Seasonal palettes can inspire your choices, like warm autumn tones or cool winter hues, making your soap reflect the time of year. To create engaging designs, consider these tips:
- Mix contrasting colors for bold, energetic looks.
- Use analogous shades for harmonious and soothing effects.
- Incorporate seasonal palettes to match the mood or decor.
- Understanding color accuracy can help ensure your soap colors appear vibrant and true to your intended design.
Unique Additive Effects
Ever wondered how to make your soap designs truly stand out? You can achieve this by adding unique additives like botanical infusions or exfoliating additives. Botanical infusions, such as lavender or chamomile, not only enhance the soap’s scent but also add subtle natural colors and textures. Exfoliating additives like oatmeal, coffee grounds, or poppy seeds create visual interest and provide a gentle scrub for your skin. Incorporate these elements carefully—pour them into the soap at just the right moment to ensure even distribution. These additives elevate your soap’s appearance and functionality, making each bar a personalized masterpiece. Experimenting with different botanical infusions and exfoliating textures allows you to craft truly distinctive soaps that delight the senses and elevate your decor. Incorporating unique additives can also reflect popular trends in the industry, helping your creations stand out in a competitive market.
Pouring, Setting, and Unmolding Your Soaps
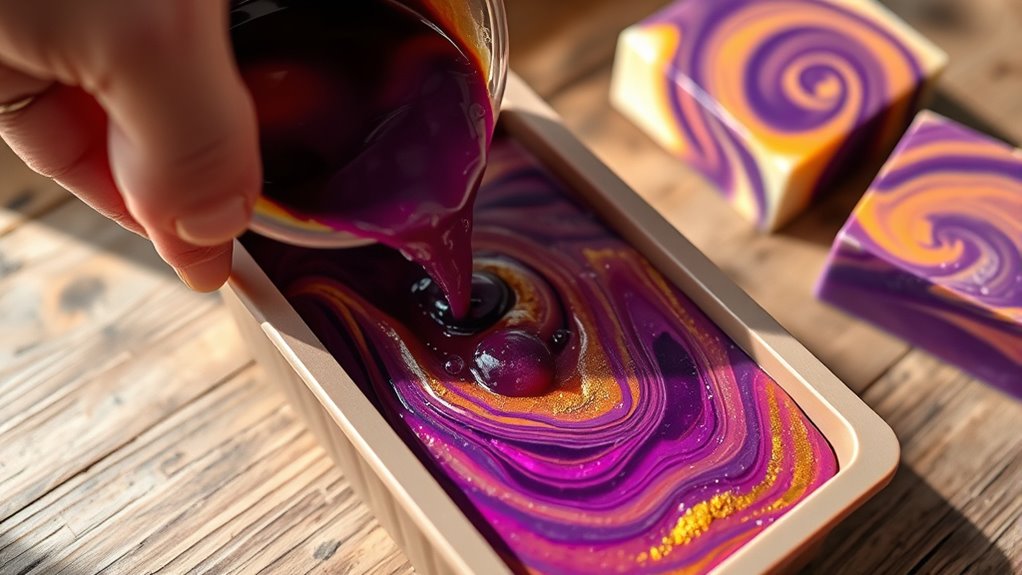
Once your soap mixture has cooled to the appropriate temperature, it’s time to pour it into molds. Choose decorative molds that showcase your creativity and enhance your soap’s appearance. When pouring, consider scent layering by adding different fragrances at various stages to create a multi-dimensional aroma. To guarantee a smooth surface, pour slowly and steadily, avoiding overfilling. Here are some tips to keep in mind:
- Tap the molds gently to release any trapped air bubbles.
- Use a spatula to smooth the surface of the soap.
- Cover molds with plastic wrap to prevent dust and contaminants.
- Be mindful of ambient temperatures, as climate conditions can affect the setting process.
After pouring, let the soap set undisturbed in a cool, dry place. Once fully hardened, carefully unmold your soap to reveal your beautiful creation.
Finishing Touches and Creative Packaging
After your soap has fully hardened and been unmolded, you can enhance its final appearance with finishing touches like trimming rough edges or adding decorative carvings. These finishing techniques give your soap a polished, professional look. To elevate your presentation, explore packaging inspiration ideas such as wrapping with colorful tissue, tying with rustic twine, or placing soaps in vintage boxes. Creative packaging not only protects your soap but also makes it more gift-ready. Feel free to experiment with labels, stickers, or custom tags to personalize each piece. These small details add charm and uniqueness, making your homemade soap stand out. Additionally, understanding personal debt forgiveness bills can help you manage your finances better when investing in supplies or packaging materials. With thoughtful finishing touches and creative packaging, your soap becomes a beautiful, memorable decor item or thoughtful gift.
Frequently Asked Questions
Can I Reuse Soap Molds From Previous Projects Safely?
Yes, you can reuse soap molds from previous projects safely. Just make sure to thoroughly clean the molds with warm water and mild soap, paying attention to any soap residue. To guarantee safety, sterilize the molds by soaking them in a solution of water and disinfectant or boiling if they’re heat-safe. Proper mold cleaning and sterilization help prevent contamination and keep your soap making safe and enjoyable.
What Are the Best Storage Conditions for Homemade Soap?
Think of your homemade soap as a treasure—protect it carefully. You should store it in airtight storage containers in a cool, dry place, away from direct sunlight. Proper temperature control keeps soap from melting or sweating, preserving its scent and texture. Avoid humid areas like bathrooms. By maintaining these conditions, your soap stays fresh and beautiful, ready to brighten your home whenever you need a fragrant touch.
How Do I Prevent Air Bubbles in My Soap?
To prevent air bubbles in your soap, focus on air bubble prevention by using proper soap pouring techniques. Pour slowly and steadily, minimizing agitation that can trap air. To further reduce bubbles, consider pouring from a height to break surface tension or use a heat gun to pop surface bubbles after pouring. These methods help create a smooth, professional finish, ensuring your homemade soap looks as good as it smells.
Are There Skin-Safe Colorants and Additives for Soap?
You can use skin-safe additives like natural pigments, which are perfect for soap making. For example, a homemade lavender soap might include mica powders or plant-based dyes that are harmless for skin. These natural pigments enhance your soap’s appearance without irritation. Always check labels to guarantee all colorants and additives are labeled as skin safe, so your soap remains gentle and lovely for everyday use.
How Long Does Homemade Soap Typically Last Before Spoiling?
Homemade soap typically lasts about one year before spoilage might occur if stored properly. To extend its shelf life, keep your soap in a cool, dry place and guarantee it’s thoroughly dried between uses. Spoilage prevention is key; avoid excess moisture and exposure to direct sunlight. Properly stored, your soap remains safe and fragrant, maintaining quality for months, so you can enjoy your custom creations longer.
Conclusion
As you step back to admire your handcrafted soaps, you realize how each scent and color reflects your unique touch. It’s funny how a simple idea sparked during a quiet afternoon turned into a beautiful home decor piece. Every swirl and splash tells a story, blending creativity with comfort. Now, every time you use or gift your soap, you’ll remember this serendipitous journey—proof that the smallest moments can lead to something truly special.