
To explore DIY leather working for simple home accessories, start by selecting high-quality leather and practicing basic techniques like dyeing, stamping, and stitching. Easy projects include making leather keychains, coasters, wallets, phone holders, and bookmarks. Focus on neat edges, even stitching, and color application for a professional finish. As you build skills, you’ll discover new ways to personalize your items and create durable, stylish accessories that add a handmade touch to your home.
Key Takeaways
- Choose high-quality, durable leather and practice dyeing with even strokes for vibrant, consistent colors.
- Use stamping techniques to personalize accessories like coasters, bookmarks, or keychains.
- Finish edges with burnishing tools and apply conditioners to enhance durability and appearance.
- Punch holes carefully for stitching or attaching hardware, ensuring neat and secure joins.
- Allow sufficient curing time (e.g., 24 hours) before using finished leather accessories for optimal results.
Crafting a Stylish Leather Keychain
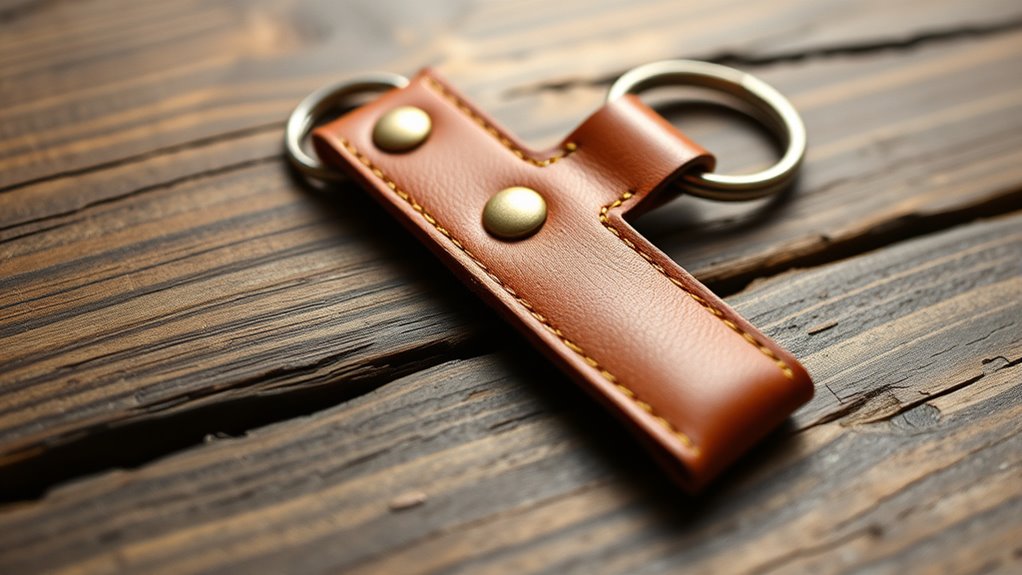
Creating a stylish leather keychain is a simple and rewarding project that allows you to customize your accessories. Start by selecting quality leather and practicing leather dyeing to achieve your desired color. Use smooth, even strokes to apply dye, blending shades if you like, and let it dry completely. Once dyed, focus on stitching techniques to assemble your keychain. You can choose simple saddle stitches or decorative patterns to add personality. Use strong, durable thread and a sharp needle to ensure neat, tight stitches that hold up over time. Carefully punch holes along the edges before stitching, and keep your work even and consistent. Paying attention to color accuracy during dyeing can help you achieve more vibrant and true-to-life hues. With patience and attention to detail, you’ll craft a unique, stylish leather keychain that reflects your personal style.
Making Personalized Leather Coasters
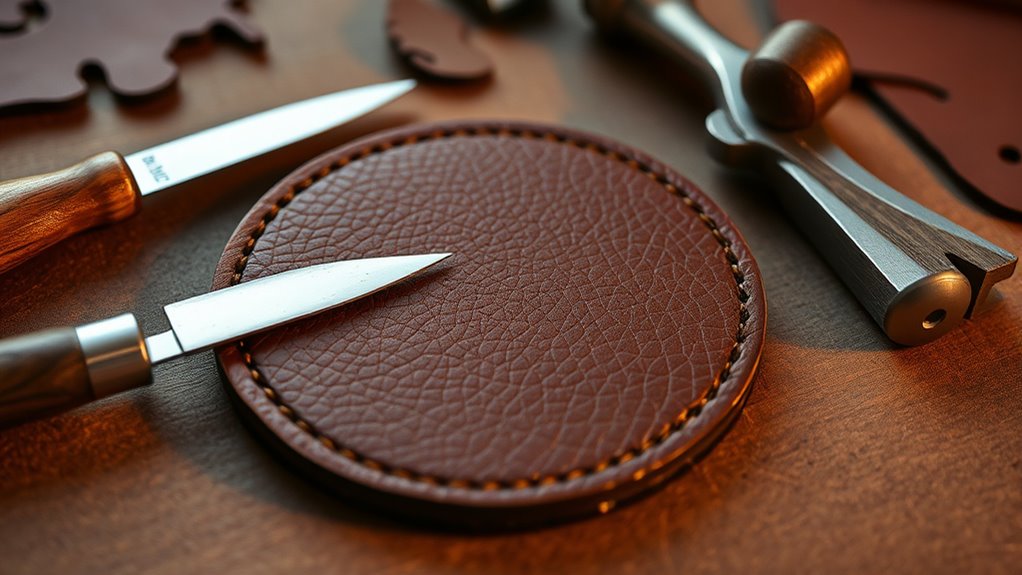
Have you ever wanted to add a personal touch to your home decor? Making personalized leather coasters is a fun, simple project. Start by cutting leather into squares, then use leather stamping to create unique designs. Experiment with dyeing techniques to add color and depth. You can emboss initials, patterns, or symbols for a custom look. Here’s a quick overview:
| Step | Technique | Tips |
|---|---|---|
| Cut leather | Cutting | Use a sharp utility knife |
| Stamp design | Leather stamping | Press firmly for clear impressions |
| Apply dye | Dyeing techniques | Use sponges for even coverage |
| Seal the coaster | Finishing touch | Apply leather conditioner |
| Let dry | Curing | Wait 24 hours before use |
This method guarantees your coasters are both functional and personalized. Incorporating proper sealing techniques ensures your designs stay vibrant over time.
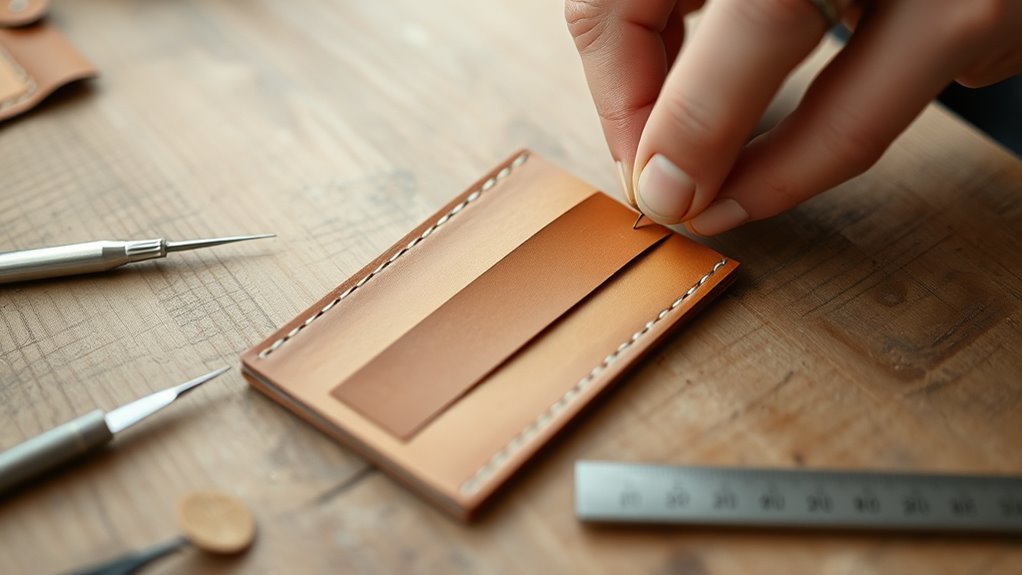
Designing a Simple Leather Wallet
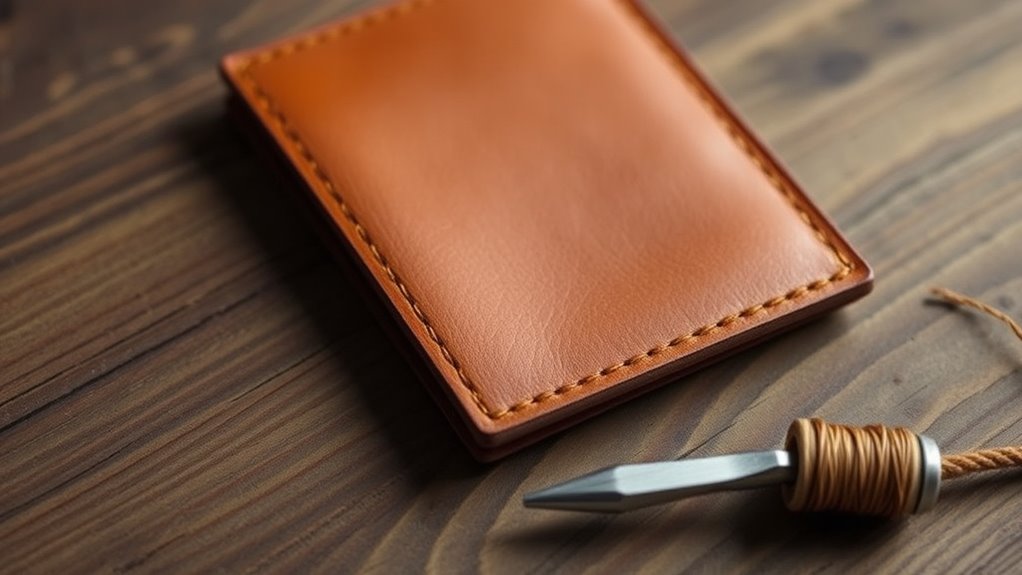
Ever wondered how to craft a sleek, personalized leather wallet? Start by selecting a smooth, durable piece of leather. Use leather stamping to create unique designs or initials on the surface, adding a personal touch. Before assembling, punch holes along the edges for wallet stitching. Carefully sew the pieces together with strong, even stitches, ensuring durability and a clean look. Focus on tight, consistent wallet stitching to reinforce the wallet’s structure. Once stitched, trim any excess leather and smooth the edges with a burnishing tool. This simple design keeps your wallet slim and functional, perfect for everyday use. With patience and attention to detail, you’ll have a professional-looking, handcrafted wallet that reflects your style. The importance of craftsmanship in leatherworking ensures your accessories are both beautiful and long-lasting.
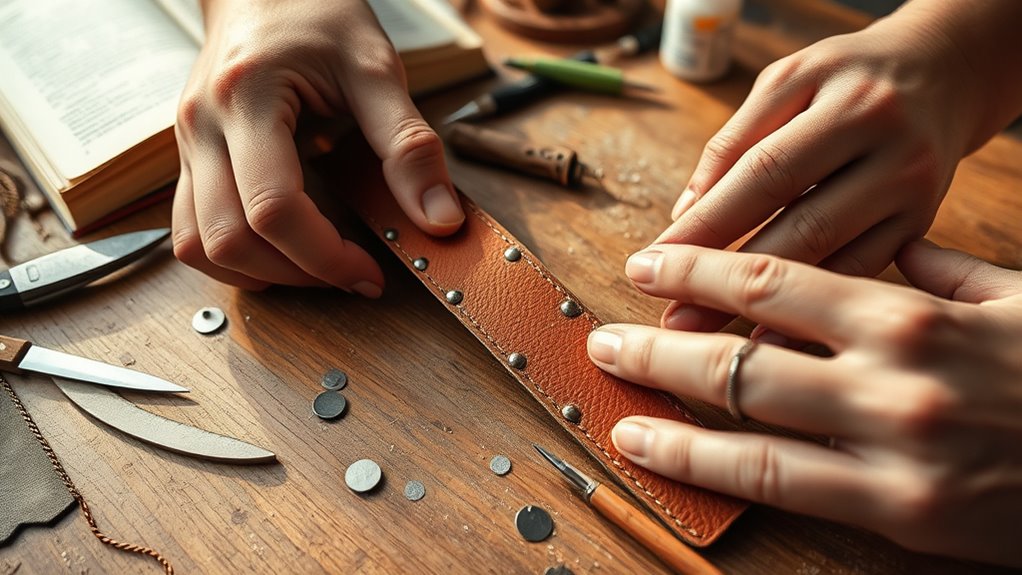
Creating a Functional Leather Phone Holder

To make a functional leather phone holder, start by selecting a piece of soft, yet sturdy leather that can comfortably fit your device. Cut the leather to size, then use leather stamping to add personalized designs or initials for a customized look. Next, carefully finish the edges using edge finishing techniques to create a smooth, professional appearance. This step enhances durability and improves the overall aesthetic. To assemble, punch holes for a strap or closure and secure with rivets or snaps. For added strength, consider applying a leather conditioner after stamping and edge finishing. Remember, attention to detail makes your holder both practical and stylish. With these steps, you’ll craft a durable, sleek leather phone holder that’s perfect for everyday use. For extra durability, you might also consider edge finishing techniques, which help protect the leather from wear over time.
Assembling a Custom Leather Bookmark
Once you’ve prepared your leather piece by cutting it to the desired size, the next step is assembling your custom leather bookmark. Start by adding a splash of leather dyeing to give your bookmark a unique color, ensuring you apply it evenly for a smooth finish. Once the dye dries, focus on edge finishing—use a burnishing tool or edge paint to smooth and seal the edges for a professional look. If you want to add extra durability, consider applying a light coat of leather conditioner. This helps protect the surface and maintains flexibility. Finally, you can add a decorative element, like a stamped design or a small charm, to personalize your bookmark further. With these steps, your custom leather bookmark will be both functional and stylish.
Frequently Asked Questions
What Type of Leather Is Best for Beginners?
You should start with vegetable tanned leather, which has a softer leather grain, making it easier to cut and sew for beginners. Opt for a thickness around 3-4 oz (1.2-1.6 mm), providing durability without being too stiff. This type of leather offers a good balance between flexibility and strength, helping you develop your skills while creating quality accessories. As you gain experience, you can explore different leather grains and thicker options.
How Do I Prevent Leather From Cracking or Drying Out?
Like a wise old oak, your leather needs nourishment to stay strong. To prevent cracking or drying out, regularly apply leather conditioning to keep it supple. Store your leather properly—away from direct sunlight and extreme temperatures—using storage tips like keeping it in a cool, dry place. These simple steps guarantee your leather remains flexible and durable, transforming it into a lasting masterpiece, just like a treasure chest of memories.
What Tools Are Essential for Leather Crafting?
You’ll need essential tools like a sharp utility knife, leather punches, and stitching needles for your leather crafting. To enhance your projects, consider leather dyeing supplies such as dyes and applicators, and stamping tools to add decorative designs. These tools make it easier to cut, decorate, and personalize your accessories, ensuring professional-looking results. With the right gear, you’ll bring your creative ideas to life efficiently and beautifully.
Can I Use Recycled or Scrap Leather?
Using recycled or scrap leather is a fantastic idea—it’s like turning trash into treasure! You can absolutely use sustainable materials and employ upcycling techniques for your projects. Just guarantee the scraps are clean, free of holes, and manageable in size. This not only helps reduce waste but also adds unique character to your accessories. So go ahead, embrace your creativity and make something beautiful from leftover leather!
How Do I Securely Attach Hardware Like Clasps or Rivets?
To securely attach hardware like clasps or rivets, you should use proper hardware attachment techniques. For rivets, follow rivet installation methods by punching a hole, inserting the rivet, and setting it with a rivet setter or hammer. For clasps, use strong adhesives or sew them with durable thread, ensuring they’re firmly attached. Always double-check your work to avoid any loosening or detachment over time.
Conclusion
By forging these leather accessories, you’re shaping more than just objects—you’re crafting your own story, etched in timeless material. Each stitch and cut symbolizes your creativity and patience, turning raw hides into meaningful keepsakes. As these pieces age, they become silent witnesses to your journey, a proof to your craftsmanship. Embrace the process, and let your handmade leather creations remind you that true beauty lies in the details you bring to life.