To get perfectly straight lines on crooked walls with a laser level, choose a self-leveling model with adjustable mounting and a bright laser beam for visibility. Ascertain the device is properly calibrated and securely mounted on a stable surface. Mark reference points along the laser line to verify accuracy and make adjustments as needed. Keeping these tips in mind helps you work precisely — explore further to master every step for flawless results.
Key Takeaways
- Use self-leveling laser levels with adjustable mounts for better alignment on uneven surfaces.
- Confirm calibration and perform accuracy checks before starting your project.
- Securely mount the laser level to prevent movement and ensure consistent lines.
- Mark reference points along the laser line to verify straightness on crooked walls.
- Regularly maintain and clean the laser device and batteries for optimal precision.

Laser Level with Tripod, 100 feet Green Cross Line Self Rotary Leveling Laser Level, Vertical and Horizontal Line, Rotatable 360 Degree, Manual Self leveling and Pulse Mode,IP54 Waterproof & Battery
🏅ABS Laser Class II <1mW 【Accurate & Reliable】 The Motover 100ft Green Cross Line Laser Level LL-T2 projects…
As an affiliate, we earn on qualifying purchases.
As an affiliate, we earn on qualifying purchases.
How Do Laser Levels Work and Why Are They So Effective?
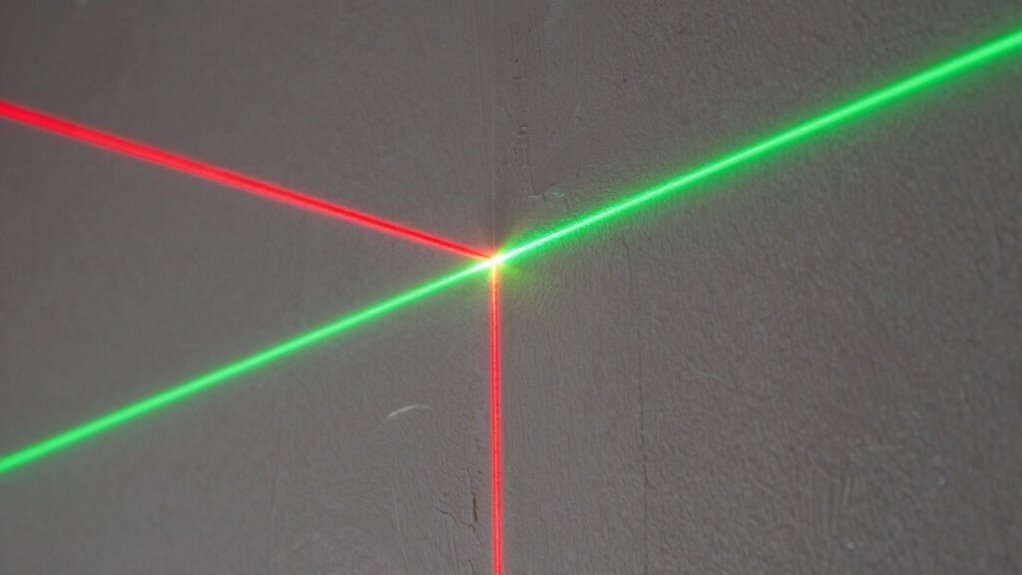
Laser levels work by projecting a precise, straight laser beam onto surfaces, creating a visible line or point that helps you align objects accurately. This laser beam’s accuracy ensures your lines are perfectly straight, saving you time and reducing errors. Modern laser levels use advanced technology to maintain stability and precision, even on uneven surfaces. When using a laser level, it’s vital to take into account laser beam safety; always avoid direct eye exposure to prevent injury. Proper safety practices include wearing protective eyewear and keeping the device at a safe distance. Because laser levels deliver consistent, reliable lines, they’re highly effective for a variety of tasks, from hanging pictures to installing cabinets, making your projects more precise and professional-looking. Understanding laser beam technology helps explain why these tools are so reliable.

Huepar Laser Level, 100Ft Self Leveling Green Cross Line Laser for Picture Hanging, Tile, Decoration & DIY Construction – 360° Magnetic Base & AA Battery, Indoor Use
【2 Way to Turn ON】When the pendulum is in the locked position, press the power button to enter…
As an affiliate, we earn on qualifying purchases.
As an affiliate, we earn on qualifying purchases.
How to Choose the Best Laser Level for Crooked or Uneven Walls
When working on crooked or uneven walls, choosing the right laser level is essential to guarantee accurate alignment. Consider these key factors:
- Wall surface considerations: Opt for a laser level with adjustable mounting options or a magnetic base to handle textured or uneven surfaces effectively. Additionally, selecting a laser level with self-leveling features can further improve accuracy on irregular surfaces. An effective laser level should also be compatible with different surface types to provide consistent results across various textures and materials.
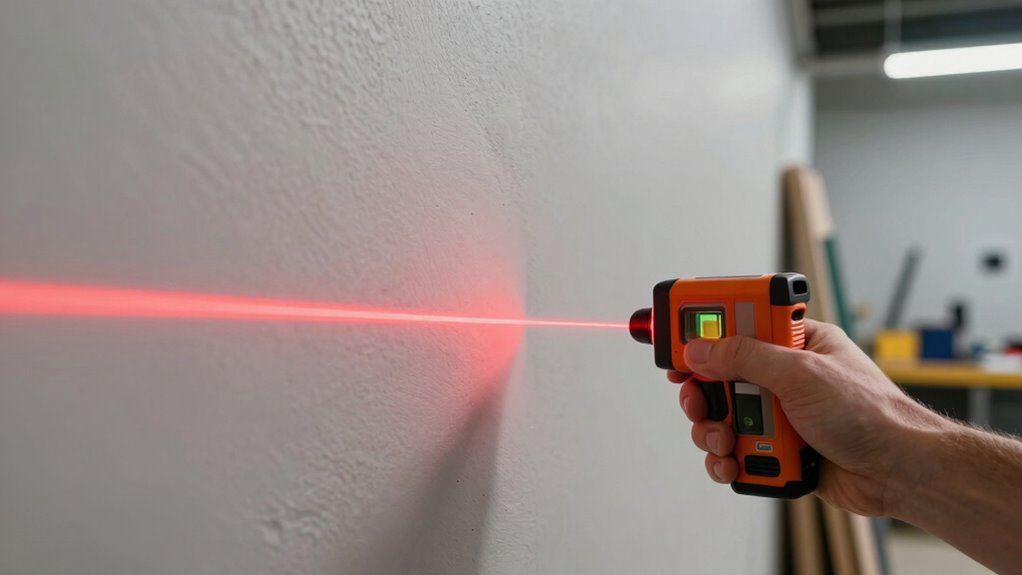
- Laser beam visibility: Ensure the laser produces a bright, clearly visible line, especially in well-lit areas or on reflective surfaces.
- Self-leveling features: Select models with self-leveling capabilities to compensate for wall irregularities automatically.
- Beam range and accuracy: Check that the laser’s range suits your project size, and confirm it maintains precision despite wall imperfections.
- Adaptability to surface types: Choosing a laser level that is designed to work efficiently on different wall surface considerations ensures consistent results across various textures and materials.
Focusing on these points helps you choose a laser level that adapts to crooked or uneven surfaces, ensuring straight, professional results.

Self-Leveling Laser Level, 100Ft Green Cross Line Rotary Laser Tool – 4 Brightness Modes, Manual & Pulse Mode for Indoor/Outdoor Use, IP54 Waterproof with Carrying Bag
【High Precision Green Laser & Enhanced Visibility】 Experience superior accuracy with the Motovera LL-T2 Green Cross Line Laser….
As an affiliate, we earn on qualifying purchases.
As an affiliate, we earn on qualifying purchases.
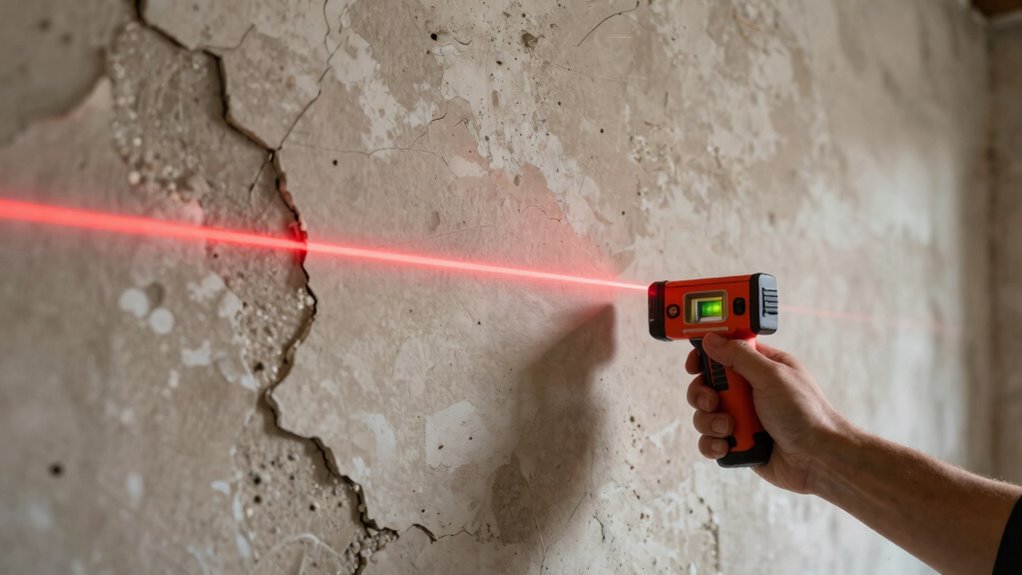
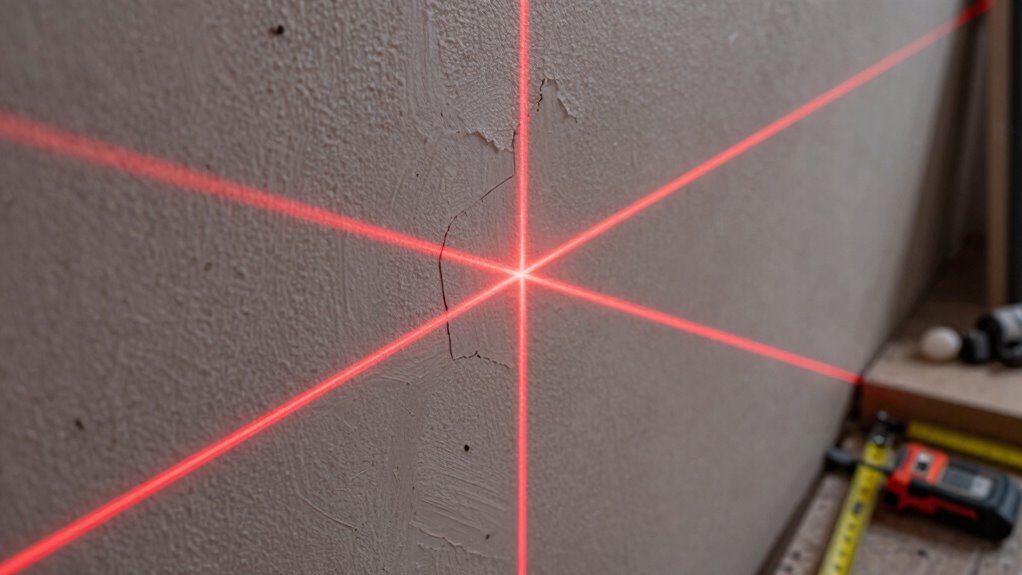
Step-by-Step: Using a Laser Level on Crooked Walls for Perfect Lines
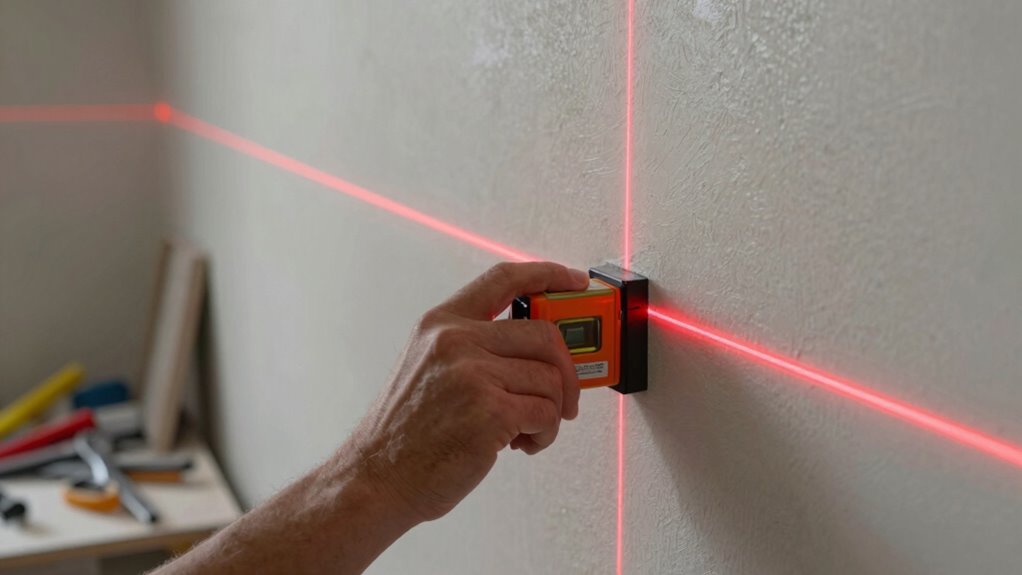
Using a laser level on crooked walls requires careful setup and technique to achieve perfectly straight lines. First, ensure the laser is properly calibrated; perform a laser calibration check to confirm accuracy. Next, prepare the wall surface by cleaning it thoroughly, removing dust, debris, and any loose paint that could interfere with the laser’s visibility. Mount the laser level securely, making sure it’s stable and level, even on uneven surfaces. Use the laser’s self-leveling feature if available, or manually adjust until the laser beam aligns correctly. Mark reference points along the laser line to verify straightness. Regularly check the calibration throughout your project to maintain precision. Properly understanding the fundamentals of knife handling can also help in ensuring precision in your projects. Additionally, understanding contrast ratio can help you interpret how well your project will display details, especially in different lighting conditions. Being aware of laser safety precautions is essential to prevent accidents during use. For added accuracy, consider using leveling kits to adjust your laser setup on uneven surfaces. Following these steps ensures your lines stay straight, even on crooked walls.

HUPILAN ADAS Calibration Tool Radar Reflective Board for Vehicle Centerline Alignment – Enhance ADAS Calibration with 5 Line or 2 Line Radar Level Accuracy for Vehicle
【Enhanced performance】: By using the laser reflector plate, the full potential of the laser level can be unlocked,…
As an affiliate, we earn on qualifying purchases.
As an affiliate, we earn on qualifying purchases.
Tips and Tricks for Ensuring Straight Lines and Avoiding Mistakes
To guarantee your lines stay straight and prevent common mistakes, it’s essential to double-check your laser level’s calibration regularly, especially if you move it around during the project. Proper setup reduces decorating dilemmas and ensures paint precision. Here are some tips:
- Always level your laser before starting to avoid crooked lines.
- Use a pencil or painter’s tape to mark reference points for extra accuracy.
- Take your time to align the laser with existing edges or surfaces for consistency.
- Keep the laser at a stable height to prevent misalignment caused by accidental bumps.
- Regularly verify your laser level’s calibration to maintain accuracy throughout your project.
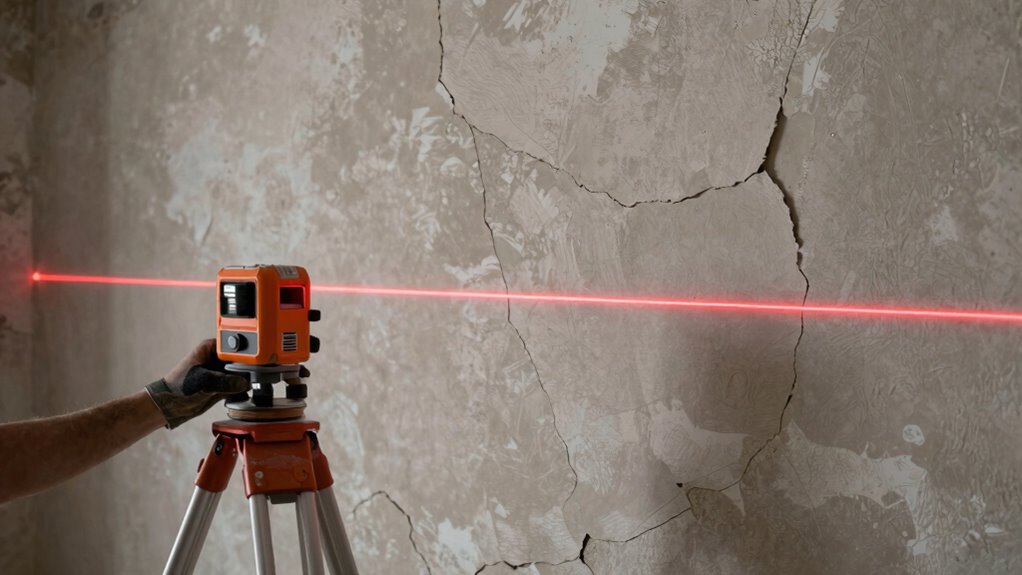
- Understanding performance cookies can help you analyze how your tools are functioning during your project to improve precision. Additionally, investing in a quality tripod can help keep the laser steady and improve overall accuracy.
- Using proper measuring techniques ensures your lines are consistent and reduces the need for correction later. Incorporating laser line visibility enhancements can also make the lines easier to see in bright or challenging lighting conditions.
Following these steps helps you avoid mistakes, saves time, and assures professional-looking results, even on tricky, crooked walls.
Troubleshooting Your Laser Level and Keeping It Accurate
Even the most precise laser levels can lose accuracy if not properly maintained or if they encounter issues. Calibration issues are common, causing lines to be off-level or plumb. To troubleshoot, first check if your laser level needs recalibration—many models have self-leveling features, but some require manual adjustments. Battery maintenance is also vital; weak or dead batteries can cause inconsistent laser lines or erratic behavior. Always replace batteries regularly and ensure they’re properly seated. If you notice the laser drifting or not projecting straight lines, verify the device is on a flat, stable surface. Cleaning the lens and bubble vials can also improve accuracy. Regularly calibrating and maintaining your laser level ensures it stays precise, saving you time and avoiding costly mistakes. Additionally, understanding how laser levels work with time can help you better anticipate and troubleshoot timing-related issues, ensuring consistent performance. Moreover, being aware of common calibration errors can assist in maintaining the device’s accuracy over time. Checking for environmental factors like vibrations or temperature fluctuations can also help preserve calibration stability.
Frequently Asked Questions
Can Laser Levels Be Used Outdoors in Bright Sunlight?
Yes, you can use laser levels outdoors in bright sunlight, but solar glare can be a challenge. To guarantee visibility, choose laser levels with high-lumen output designed for outdoor use. Look for weather-resistant models that withstand rain or dust, and consider using laser enhancement accessories like glasses or screens. This way, you get accurate lines even in tough outdoor conditions, making your project easier and more precise.
What Is the Typical Battery Life of a Laser Level?
The battery life of a laser level varies depending on the model and power sources, but typically, you can expect it to last between 4 to 12 hours. High-quality laser levels often use rechargeable batteries, offering better battery longevity, while some rely on standard batteries. To guarantee continuous use, carry spare batteries or consider models with longer-lasting power sources, especially if you’re working on extended projects.
Are There Any Safety Precautions for Using Laser Levels?
Yes, you should wear safety glasses to protect your eyes from laser beams and guarantee your workspace is well-ventilated to avoid inhaling dust or fumes. Always read the manufacturer’s instructions and keep the laser level away from children. Avoid pointing the laser at people or reflective surfaces. Taking these precautions helps prevent injuries and ensures safe, effective use of your laser level during projects.
How Do I Calibrate My Laser Level for Maximum Accuracy?
To calibrate your laser level for maximum accuracy, start by gathering calibration tools like a spirit level or a known straight edge. Place the laser on a flat, stable surface, then turn it on and compare its laser line to the reference. Use the accuracy tips to adjust the device if it’s off. Repeat this process regularly to guarantee your laser level maintains precise alignment for all your projects.
Can Laser Levels Be Used for Interior and Exterior Projects?
Absolutely, laser levels work great for both interior and exterior projects. You can use them for wall marking, aligning shelves, or hanging artwork indoors, guaranteeing everything is straight and precise. Outdoors, they help with fence lines, deck layouts, or landscaping. Their versatility makes them essential for interior design tasks and exterior construction, providing clear, level lines whether you’re working inside or out. Just make certain your laser level is suitable for outdoor use if needed.
Conclusion
A laser level is your guiding star, cutting through chaos to reveal clarity and precision. When you trust this tool, you’re not just creating straight lines—you’re building confidence and transforming your space into a canvas of perfection. Like a steady hand in stormy seas, it steadies your vision, turning crooked walls into flawless masterpieces. Embrace it, and let your craftsmanship shine as brightly as the laser’s beam—your symbol of mastery and pride.