
To create herbariums and botanical wall art, start by selecting vibrant, healthy plants like roses or lavender and press them between absorbent papers until fully dried. Arrange your specimens thoughtfully, focusing on composition, contrast, and balance, then mount or frame them with acid-free materials for durability. Adding labels and incorporating these into custom displays can transform your space with natural beauty. If you keep exploring, you’ll discover step-by-step techniques to craft stunning botanical art that lasts.
Key Takeaways
- Select vibrant, healthy plants and press them between absorbent paper with weights or a plant press for proper drying.
- Ensure thorough drying to preserve color and prevent mold, which takes days to weeks depending on plant thickness.
- Arrange pressed specimens thoughtfully, considering composition, color contrast, and focal points for an appealing display.
- Use framing, shadow boxes, or mounting with acid-free adhesives to protect and enhance the botanical artwork.
- Label specimens with scientific names and collection details to add educational value and maintain long-term preservation.
Creating herbariums and botanical wall art offers a beautiful way to bring nature indoors and showcase your love for plants. These projects not only add aesthetic appeal but also serve as a form of plant preservation, allowing you to keep the beauty of your favorite specimens alive long after they’ve been harvested. When you immerse yourself in botanical design, you get to combine artistry with the science of preserving plant life, creating captivating displays that celebrate nature’s diversity. Whether you’re working with pressed flowers, leaves, or entire plants, your goal is to capture their essence and display it in a way that lasts.
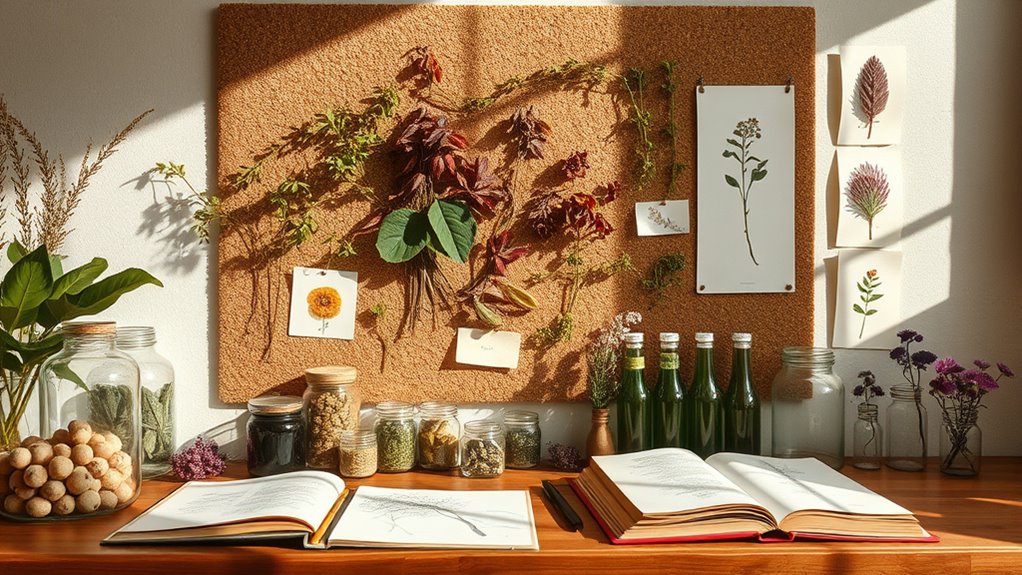
To start, you need to select the right plants for preservation. Choose specimens that are vibrant and healthy, ensuring they’ll retain their color and form during the drying process. Florists often use flowers like roses, daisies, or lavender, but you can include leaves, ferns, or even small branches. Once you’ve collected your specimens, you’ll need to press them properly. Place the plants between sheets of absorbent paper, then weigh them down with heavy books or a plant press. This process can take several days to a few weeks, depending on the thickness and moisture content of the plants. Proper plant preservation is key to maintaining their structural integrity and color, which directly influences the overall impact of your botanical design.
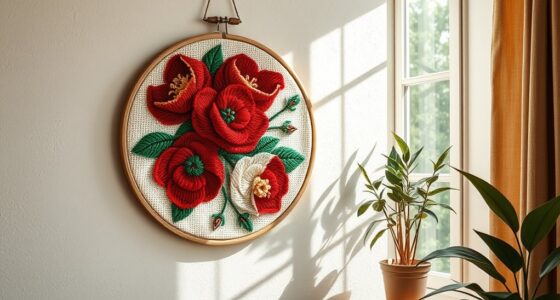
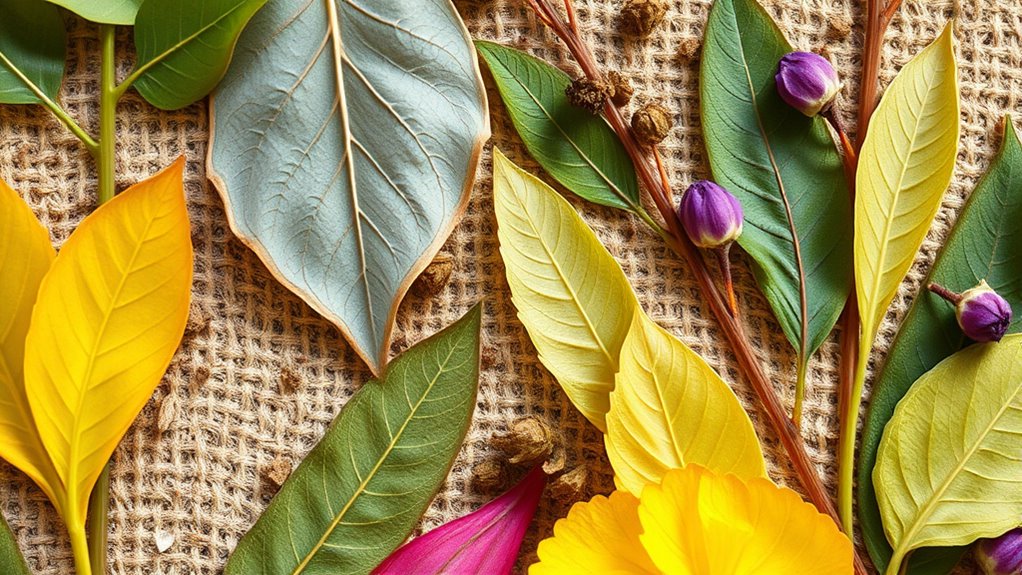
When your specimens are thoroughly dried, you can begin arranging them for your herbarium or botanical wall art. Think about composition—balance, color contrast, and focal points matter. You might opt for a minimalist style with a few carefully selected pieces or create a lush collage that fills an entire wall. Use acid-free adhesive, framing, or mounting techniques to secure your specimens without damaging them over time. If you’re making a herbarium, consider labeling each specimen with its botanical name and collection date to add educational value and authenticity. Additionally, understanding size restrictions and building codes for display areas can help ensure your botanical art fits well within your space.
Botanical wall art can also include framing pressed plants behind glass or creating shadow box displays. This not only preserves your work but enhances its visual appeal. Remember, the key to successful botanical design lies in precision and care—your attention to detail ensures that your preserved plants remain stunning for years to come. Creating these botanical displays is a rewarding process that allows you to celebrate nature’s intricate beauty while developing a personal, artistic connection to the plants you love.

WOKK Flower Press with Herbarium Journal | Flower Preservation Kit, Leaf Press Kit for Making Cards, Plant Press for Adults and Kids, Added Journal for Pressed Plants Art Preservation
- Includes Herbarium for Storage: Store pressed plants with details
- Versatile Flower Pressing Kit: Create cards, wall art, and more
- Helpful Pressing Tips Included: Guidance for best results
As an affiliate, we earn on qualifying purchases.
As an affiliate, we earn on qualifying purchases.
Frequently Asked Questions
What Are the Best Preservation Techniques for Delicate Plant Specimens?
To preserve delicate plant specimens, you should use pressing techniques, which flatten and dry plants evenly, preventing decay. Additionally, chemical preservation methods like applying glycerin or silica gel help maintain color and structure. Handle specimens gently throughout the process, and guarantee they are stored in a cool, dry place. Combining pressing with chemical treatments gives you the best results, keeping your botanical treasures vibrant and intact for years to come.
How Can I Prevent Mold and Decay in My Herbarium Collections?
To prevent mold and decay, you should maintain proper humidity control in your herbarium. Keep the environment between 40-50% humidity to inhibit mold growth. Use mold-resistant treatments on your specimens, such as silica gel or fungicidal sprays, to further protect your collection. Regularly inspect your herbarium for signs of mold or decay, and guarantee good airflow. Consistent care and proper storage are key to preserving your botanical treasures.
Which Framing Materials Are Safest for Botanical Wall Art?
You should choose archival framing materials to protect your botanical wall art. Opt for UV-protective glass or acrylic to prevent fading and damage. Glass offers excellent clarity and is less prone to scratches, while acrylic is lightweight and shatter-resistant, making it safer. Both options help preserve your pieces, but verify they are acid-free and archival quality for long-term preservation. This way, your artwork stays vibrant and protected over time.
How Do I Choose the Right Plants for My Herbarium Based on Climate?
You should choose plants for your herbarium based on plant suitability and climate considerations. Focus on species that thrive in your local climate conditions, whether it’s humidity, temperature, or sunlight levels. Research each plant’s needs and select those that naturally grow in similar environments. This guarantees your herbarium remains vibrant and healthy over time, making it easier to maintain and enjoy your botanical collection.
What Are Eco-Friendly Options for Creating Botanical Wall Art?
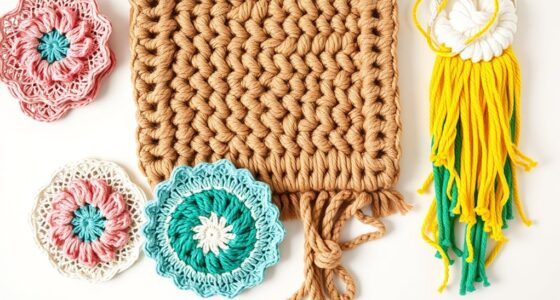
Like a butterfly emerging from a cocoon, you can craft eco-friendly botanical wall art using recycled materials and natural dyes. Opt for reclaimed wood frames, glass jars, or canvas made from sustainable fibers. Dyes derived from plants, fruits, and vegetables add vibrant color naturally. This approach not only reduces waste but also celebrates nature’s beauty, making your wall art both stunning and environmentally conscious.
Conclusion
Now that you’ve woven nature’s artwork into your space, your herbarium and botanical wall art become a living tapestry, whispering stories of leaves and blooms caught in time. Like a secret garden on your wall, each pressed specimen adds color and life to your world. With your creativity as the brush, you’ve crafted a vibrant sanctuary—where nature’s beauty blooms eternally, turning your home into a lush, artistic oasis that invites curiosity and wonder daily.