To start DIY embroidery, pick the right fabric, a suitable hoop size—larger for bigger designs or textured fabrics—and make certain it’s snug but not tight. Choose quality threads that match or contrast your design, and organize them for easy use. Practice basic stitches like running, backstitch, and satin stitch on scrap fabric to build confidence. Properly transferring your design onto fabric is key—using transfer paper or tracing tools. Keep exploring, and you’ll discover more tips for smooth stitching and perfect finishes.
Key Takeaways
- Choose the right embroidery hoop size based on your fabric type and design complexity for proper tension.
- Select quality embroidery threads in suitable colors and organize them for easy access during stitching.
- Practice basic stitches like running, backstitch, and satin stitch to build foundational embroidery skills.
- Use transfer methods such as tracing or transfer paper to accurately set your design on fabric.
- Ensure fabric is taut and smooth within the hoop to achieve even, professional-looking stitches.
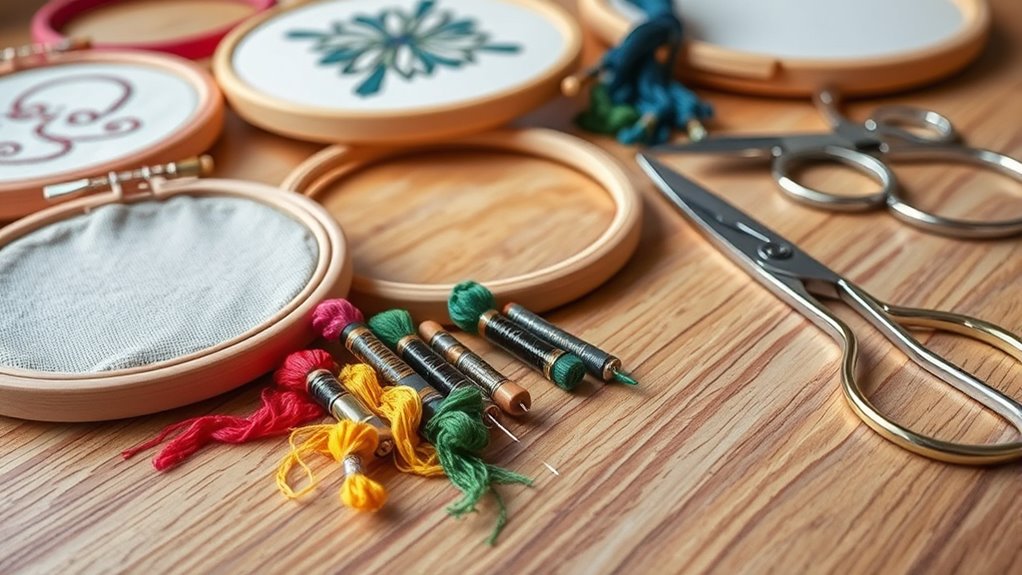
Essential Embroidery Tools and Materials

To get started with embroidery, you need the right tools and materials. The foundation begins with choosing the right embroidery fabric, such as cotton or linen, which provides a smooth surface for stitching. Next, consider the needle types; there are various options, like sharp needles for detailed work and chenille needles for thicker threads. Selecting the appropriate needle ensures your stitches are even and your fabric remains undamaged. You’ll also want a selection of embroidery threads, scissors, and a thimble for protection. Having these essential tools ready will make your embroidery experience smoother and more enjoyable. Remember, using the correct fabric and needle types helps you achieve cleaner, more professional-looking stitches from the start. Additionally, understanding embroidery stitches can enhance your technique and overall project quality.
Choosing the Right Embroidery Hoop
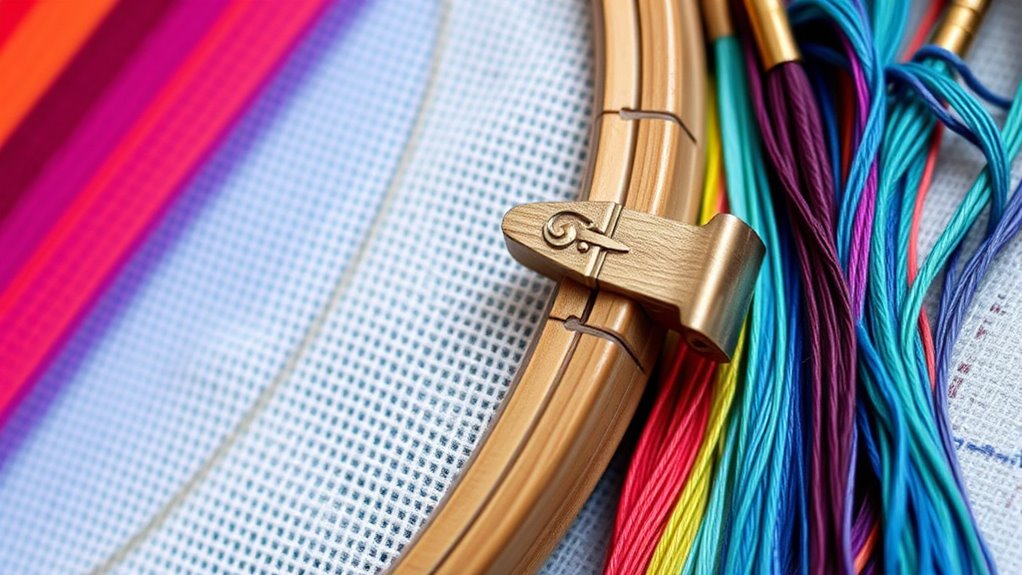
Choosing the right embroidery hoop is essential for achieving neat, even stitches. The key is to match hoop sizes to your fabric types and project scope. For lightweight or delicate fabrics like silk or chiffon, opt for smaller hoops to prevent stretching or damage. Thicker or more textured fabrics, such as denim or canvas, need larger hoops to hold the fabric taut without bunching. Consider the size of your design; smaller hoops work well for detailed, intricate stitches, while larger hoops give more room for larger patterns. Guarantee the hoop is snug but not overly tight, so the fabric remains taut without warping. Selecting the proper hoop size helps maintain consistent tension, resulting in cleaner, professional-looking embroidery. Additionally, understanding fabric characteristics can guide you in choosing the most suitable hoop for your project.
Selecting and Preparing Thread for Projects
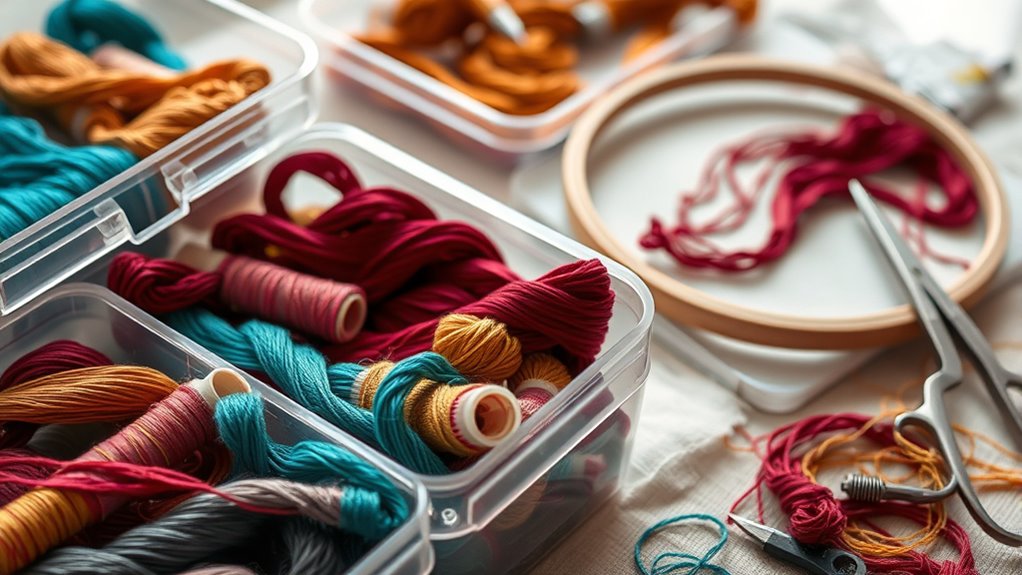
Selecting the right thread is a vital step in ensuring your embroidery project turns out beautifully. Start by considering your thread color selection; choose shades that complement your fabric or create the desired contrast. Bright colors can add vibrancy, while muted tones offer elegance. It’s also important to prepare your thread properly before stitching. Use quality thread to prevent breakage and uneven stitches. To keep your threads organized, invest in effective thread storage solutions like spool racks or small containers—this makes color matching faster and keeps your workspace tidy. Always unwind a length of thread that’s manageable, avoiding tangles. Properly selecting and preparing your thread sets the foundation for neat, professional-looking embroidery and minimizes frustration during your project.
Basic Embroidery Stitches and Techniques

Getting started with basic embroidery stitches is essential for building your skills and creating detailed designs. Start by practicing simple stitches like the running stitch, backstitch, and satin stitch. These stitches form the foundation for more complex techniques and help improve your control. When choosing an embroidery pattern, consider the complexity and your skill level to ensure a smooth learning process. Color coordination techniques are also crucial; selecting thread colors that complement each other enhances your design’s overall look. Experiment with different stitches and color combinations on scrap fabric before working on your main project. As you become more comfortable, you’ll be able to combine stitches creatively, adding texture and depth to your embroidery pieces. Incorporating embroidery tools can also improve your precision and ease of stitching during practice.
Tips for Transferring Designs Onto Fabric
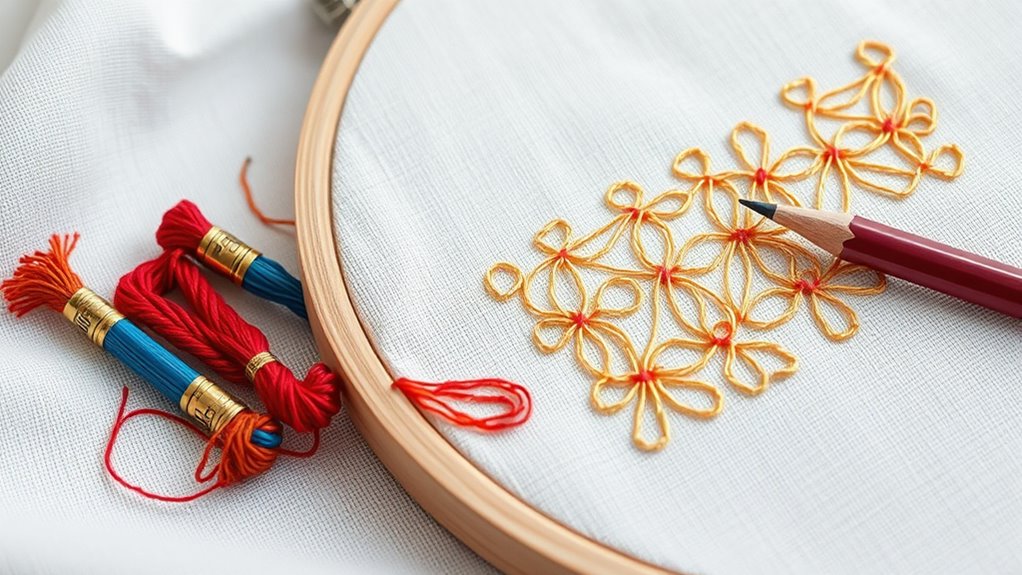
Transferring your embroidery design accurately onto fabric is essential for a polished final piece. Using transfer paper is one of the easiest methods; you simply trace your design onto the paper, then place it on your fabric and follow the instructions for transfer. For more detailed or complex designs, tracing methods like lightbox tracing or tracing with a water-soluble pen can be effective. Lightly sketch or trace your design onto the fabric’s reverse side, then go over it on the front. Make sure your fabric is smooth and taut before transferring, and double-check that your design is centered. These techniques help ensure your design stays clear and precise, setting a strong foundation for your embroidery work. Additionally, choosing the right fabric and understanding its texture and weave can significantly impact the transfer process and the final outcome.
Troubleshooting Common Embroidery Challenges
Even experienced crafters encounter common embroidery challenges that can affect the quality of their work. One frequent issue is uneven stitches caused by improper thread tension. If your stitches are too tight, they can pucker the fabric; too loose, and they may look sloppy. Adjust your tension accordingly to maintain a smooth, even stitch. Another challenge is fabric stability—if your fabric shifts or wrinkles, your design will distort. To prevent this, ensure your fabric is securely hooped and taut before starting. Using a stabilizer can also help keep the fabric steady throughout your stitching. Regularly check your work as you go, making adjustments as needed. Troubleshooting these issues early guarantees cleaner, more professional-looking embroidery results. Additionally, understanding the different types of cookies used on related websites can help you manage privacy settings that might affect your browsing experience while researching techniques.
Frequently Asked Questions
How Do I Choose the Best Embroidery Needle for Different Fabrics?
You should choose embroidery needles based on fabric types and needle sizes. For delicate fabrics like silk or chiffon, use a fine needle size 9 or 10 to prevent damage. Thicker fabrics like denim or canvas require larger sizes, such as 90 or 100, for easy stitching. Match your needle size to your fabric’s weight, ensuring smooth stitches without puckering or skipping. Always test on scrap fabric first.
What Are Some Beginner-Friendly Embroidery Design Ideas?
Feeling overwhelmed by fancy embroidery patterns? Don’t worry—start simple! Think cute flowers, smiley faces, or basic geometric shapes. Use bright colors and small stitches to keep it fun and easy. For embroidery pattern inspiration, browse online galleries or stitch your initials for a personal touch. Remember, beginner design tips mean keeping it simple, so you can enjoy the process and build confidence before tackling more complex projects.
How Can I Prevent Thread Tangling During Stitching?
To prevent thread tangling during stitching, focus on maintaining proper thread tension and managing your bobbin carefully. Keep your tension even to avoid loops or knots, and regularly check your bobbin to make sure it’s wound smoothly. Use fresh thread and avoid pulling too hard, which can cause tangles. By staying attentive to tension and bobbin management, you’ll enjoy smoother stitching and neater embroidery projects.
What Are Alternative Methods for Transferring Complex Designs?
To transfer complex designs, you can use transfer paper to trace your pattern directly onto fabric, ensuring accuracy. Alternatively, a lightbox tracing allows you to see through the fabric and trace your design with ease. Both methods help you maintain detail and precision, especially for intricate patterns. Choose transfer paper for quick transfers and a lightbox for more delicate, detailed work, depending on your project needs.
How Do I Maintain and Store Embroidery Hoops Properly?
Think of your embroidery hoop as a treasured keepsake; keep it shining with gentle hoop cleaning after each use. Store your hoops in a designated container or drawer to prevent scratches and deformation, using storage solutions like padded cases or labeled boxes. Keep them in a dry, cool place, avoiding humidity, so they stay smooth and ready for your next creative project, ensuring your hoops remain in perfect shape over time.
Conclusion
Now that you’ve got the basics down, you’re ready to bring your embroidery ideas to life. Think of your tools and stitches as the paintbrushes for your creative masterpiece—every stitch adds color and character. With patience and practice, your projects will flourish like a garden in full bloom. So, pick up your hoop, thread, and needle, and let your imagination weave its magic. Happy stitching and watch your skills grow stronger with each new design!