To make scented candles from scratch, start by gathering supplies like wax, wicks, fragrances, and dyes, and set up a clean, safe workspace. Melt the wax carefully using a double boiler, then pour it into prepared containers with centered wicks. Add your favorite fragrances and colors, ensuring thorough mixing. Trim wicks for safe burning and allow the candles to cure for ideal scent and appearance. Continue exploring for detailed tips on each step and creating beautiful, personalized candles.
Key Takeaways
- Prepare a clean workspace, gather supplies, and ensure safety precautions before melting wax.
- Use a double boiler and monitor temperature (~170°F) while melting wax to prevent accidents.
- Add fragrances and dyes gradually, stirring thoroughly to create personalized scents and colors.
- Select and attach the appropriate wick securely at the center of the candle for an even burn.
- Cure candles for 24-48 hours, trim wicks, and store in a cool, dark place for optimal safety and quality.
scented candle making kit
As an affiliate, we earn on qualifying purchases.
As an affiliate, we earn on qualifying purchases.
Gathering Your Supplies and Preparing Your Workspace
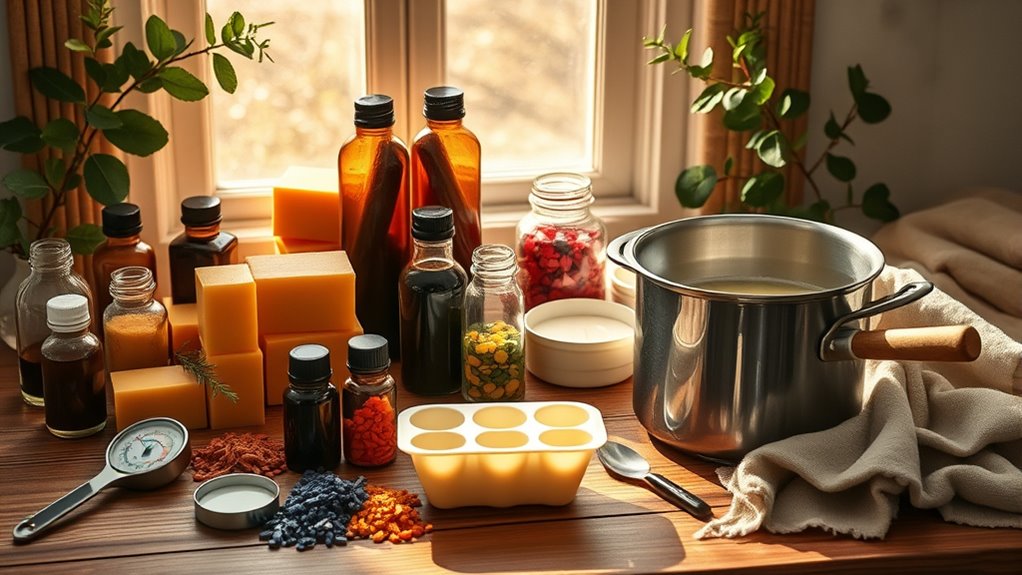
Before you begin making candles, it’s important to gather all the necessary supplies and set up a clean, organized workspace. Safety precautions are key—keep flammable materials away from heat sources and work in a well-ventilated area. Use heat-resistant containers for melting wax, and have a fire extinguisher nearby just in case. When organizing your supplies, store wax, wicks, scents, and dyes in sealed containers to prevent spills and contamination. Proper storage tips also include keeping your supplies in a cool, dry place away from direct sunlight, which can degrade certain ingredients. Creating a tidy workspace helps prevent accidents and makes the process smoother. By preparing with safety and storage in mind, you set yourself up for a successful and enjoyable candle-making experience. Additionally, understanding industry trends can inspire your scent and design choices for a more professional finish.
wax melting double boiler
As an affiliate, we earn on qualifying purchases.
As an affiliate, we earn on qualifying purchases.
Melting and Pouring the Wax
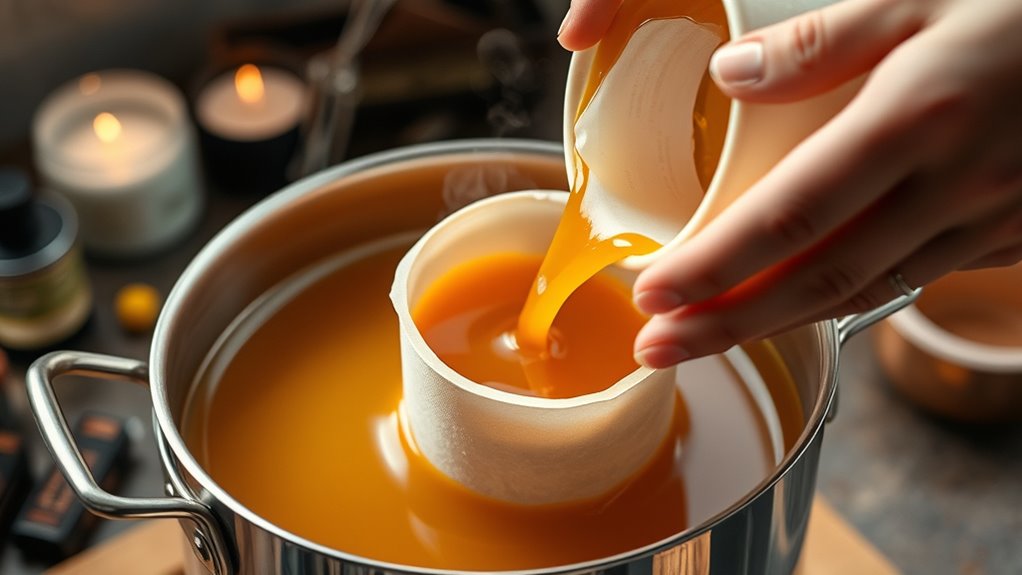
Once your workspace is set up and all supplies are ready, it’s time to melt the wax. Use a double boiler or a melting pot to heat the wax gently, avoiding direct heat that can cause accidents. Always follow safety precautions: wear gloves, work in a well-ventilated area, and keep a fire extinguisher nearby. As the wax melts, monitor the temperature carefully, aiming for around 170°F (77°C). Choosing the right wick sizing is essential to ensure even burning; consult a wick sizing chart to match your candle’s diameter. Here’s a quick guide:
| Candle Diameter | Wick Size | Notes |
|---|---|---|
| 2-3 inches | Small | For smaller candles |
| 3-4 inches | Medium | Standard size |
| 4+ inches | Large | Heavier wax loads |
| All sizes | Use a thermometer | Maintain safe temps |
| Safety | Always supervise | Prevent accidents |
Additionally, selecting the appropriate wax type can influence the final appearance and burn quality of your candles.
candle wick size chart
As an affiliate, we earn on qualifying purchases.
As an affiliate, we earn on qualifying purchases.
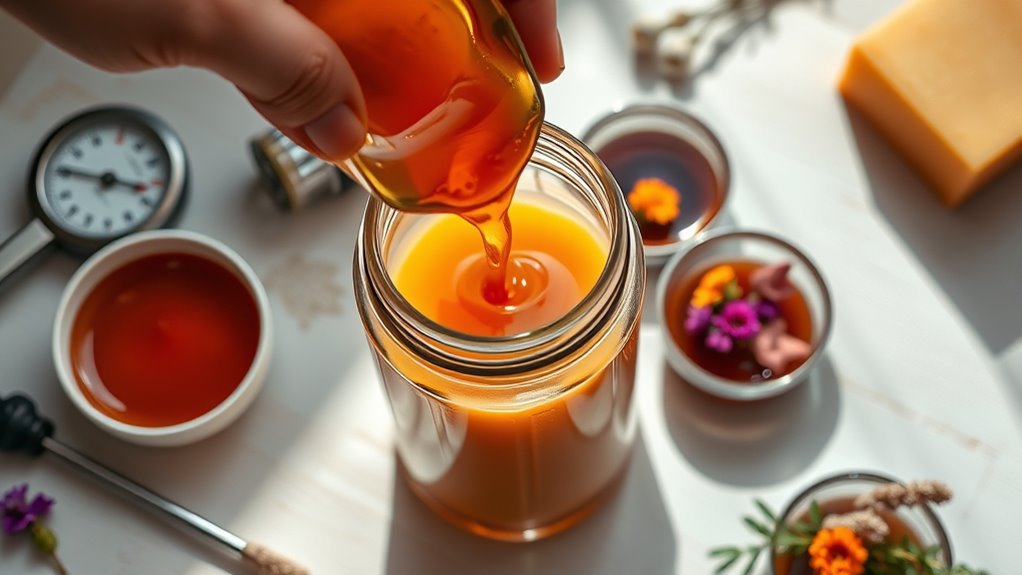
Adding Fragrance and Color for Personal Touches

Have you considered how adding fragrance and color can transform a simple candle into a personalized masterpiece? Using natural essential oils allows you to infuse your candles with pure, subtle scents that suit your mood or decor. When choosing fragrances, start with small amounts—about one ounce per pound of wax—and adjust as needed. For color, explore various dye options like liquid dyes, color blocks, or powder dyes, which offer different intensity levels. Add the dye gradually, stirring thoroughly until you reach your desired hue. Combining your chosen natural essential oils with the right color dye options lets you craft candles that are not only visually appealing but also smell uniquely yours. Personal touches like these make your candles truly special. Additionally, incorporating cultural elements can inspire unique designs that reflect your personal heritage or interests.

MAYJAM Tea Tree 20 Pcs Pure Essential Oil Gift Set, for Diffuser, Humidifiers, Skin Care, Massage, Fragrance Oil Scent for DIY Candle and Soap Making, Gift for Friend (5ML)
Wonderful Scent: Our essential oils are highly concentrated liquids that are derived from flowers, leaves, and other plant…
As an affiliate, we earn on qualifying purchases.
As an affiliate, we earn on qualifying purchases.
Selecting and Attaching the Perfect Wicks
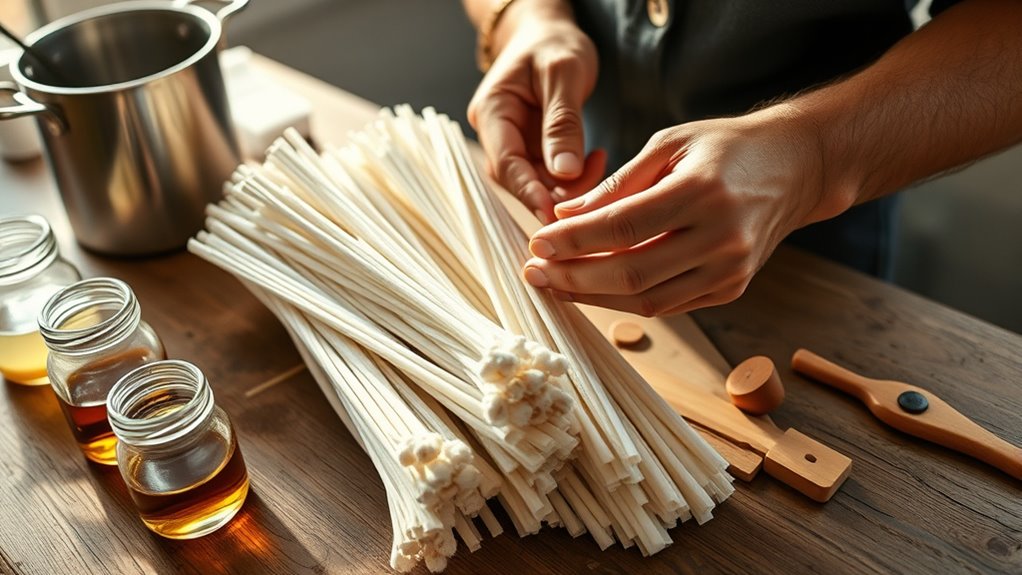
Choosing the right wick is key to ensuring your candle burns evenly and safely. The wick size matters because it determines how much wax is melted at once, affecting the flame and burn time. A wick that’s too small may result in tunneling, while one that’s too large can cause excess soot or uneven burning. When selecting wick material, consider options like cotton, wood, or hemp, each offering different burning qualities. Cotton wicks are versatile and widely used, while wood wicks create a crackling sound and unique aesthetic. Attaching the wick properly is equally important; secure it at the candle’s center using a wick sticker or hot glue to prevent shifting during pouring. Always trim the wick to the recommended length before lighting. Proper wick selection and attachment contribute to a safer and more enjoyable candle experience, especially considering well-being tips that emphasize safe practices.
Finishing Touches and Curing Your Candles
After you’ve poured the wax and allowed it to cool slightly, it’s important to focus on finishing touches and proper curing to guarantee your candle burns perfectly. Decorating techniques, like adding a decorative top or embellishments, can enhance your candle’s look. Be sure to trim the wick to about a quarter-inch for a clean burn. Once your candle is fully cured, usually for 24-48 hours, it will burn more evenly and last longer. Proper storage solutions, such as wrapping your candles in tissue paper or storing them in a cool, dark place, prevent dust and damage. Additionally, understanding candle safety practices ensures your candles remain safe to use over time. These finishing touches not only improve aesthetics but also assure your candle remains in pristine condition, ready to light whenever you desire.
Frequently Asked Questions
How Do I Choose Eco-Friendly or Vegan Wax Options?
To choose eco-friendly or vegan wax options, look for candles made from sustainable sourcing, like soy, coconut, or beeswax, but verify they’re vegan-certified if avoiding animal products. Check labels carefully for certifications and ingredient sources. Avoid paraffin, which is petroleum-based. By selecting waxes with clear eco-friendly credentials, you support sustainability and ensure your candles align with vegan principles.
What Safety Precautions Should I Take During Candle Making?
When making candles, prioritize candle safety by wearing gloves and working in a well-ventilated area. For example, if you accidentally spill hot wax, handle it with care using proper wax handling techniques to prevent burns. Keep a fire extinguisher nearby and never leave melting wax unattended. Always keep the wick trimmed and avoid overfilling containers to reduce fire risks. These precautions guarantee a safe, enjoyable candle-making experience.
How Can I Troubleshoot Common Candle Pouring Issues?
If your candle isn’t pouring smoothly, check your wick troubleshooting—ensure it’s centered and the right size for your container. Also, control the temperature by keeping the wax within the recommended range; too hot or cold can cause issues. If you notice uneven surfaces, adjust your pouring temperature, and re-melt any imperfections. Consistently monitoring wick placement and temperature helps prevent common pouring problems and results in a cleaner, more professional finish.
What Are Creative Ways to Customize Candle Shapes and Designs?
You can customize candle shapes and designs by using decorative molds to create unique forms. Experiment with layered designs, pouring different colored waxes in stages to add depth and visual interest. Combine various molds for intricate patterns or embed decorative objects into the wax for a personalized touch. Play with textures and colors to make your candles stand out, and don’t be afraid to get creative with unconventional shapes!
How Do I Store Finished Candles to Ensure Longevity?
To maximize your candle’s shelf life, store finished candles in a cool, dark place away from direct sunlight and temperature fluctuations. Use airtight containers or wrap them in tissue paper to protect from dust and humidity. Proper candle storage prevents discoloration and melting, ensuring your creations stay beautiful longer. Keep them upright and avoid stacking to maintain their shape and scent integrity, so you enjoy your candles for as long as possible.
Conclusion
Now that you’ve mastered the basics, your candles are almost ready to reveal their true magic. But will your final touches elevate them to perfection or leave you questioning your choices? The secret lies in the smallest details—perhaps a hint of scent or a delicate finish—that can transform a simple creation into a stunning centerpiece. Keep experimenting, stay curious, and soon you’ll uncover the full potential of your homemade candles. The next masterpiece is just a spark away.