Your projector’s throw distance is how far it needs to be from the screen to display a clear, properly sized image. It depends on both the projector’s throw ratio and your room size. Short-throw models work in small spaces, while standard and ultra-short throw projectors suit larger rooms or limited spaces. Accurate setup guarantees sharp, distortion-free images. Keep exploring this guide to learn how to measure, select, and optimize your projector for the best picture quality.
Key Takeaways
- Throw distance is the space between the projector and the screen, affecting image size and clarity.
- The throw ratio relates lens-to-screen distance to image width, guiding proper placement.
- Short throw projectors can produce large images from close distances, ideal for small spaces.
- Proper measurement and calibration ensure optimal picture quality and prevent distortion.
- Ambient lighting and room size influence the ideal throw distance for clear, vibrant images.

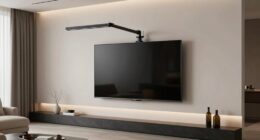
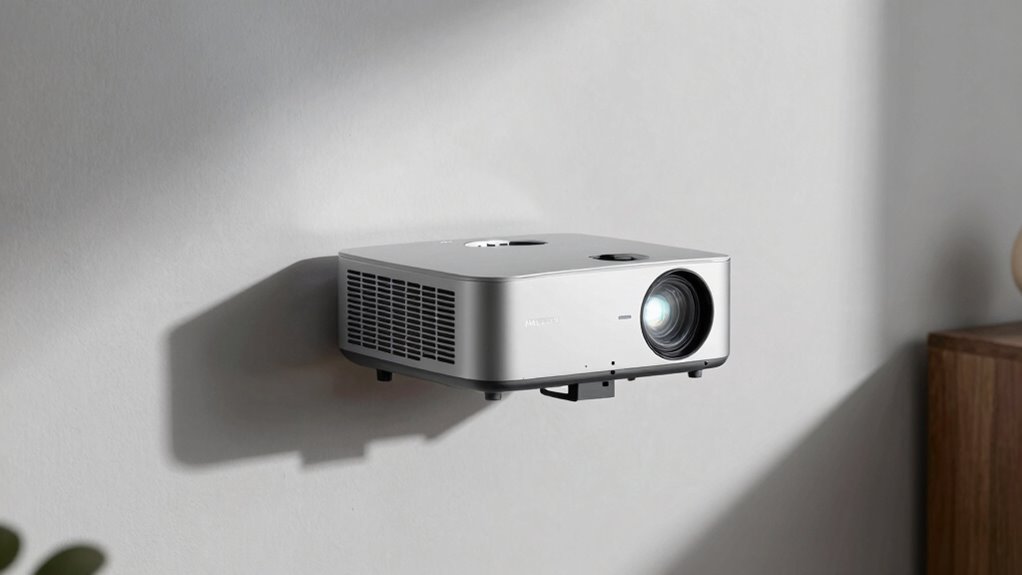
Short Throw Projector 4K Compatible with Netflix,1200ANSI Ceiling Projector Portable for Bedroom/Outdoor Auto focus 6D Keystone Dolby Smart Home Projector with WiFi and Bluetooth 200''
- Short Throw Ratio: Projects 100-inch image from 2.44m
- Compact and Portable: Includes handle and lens cap for travel
- Built-in Streaming Apps: Native Netflix and full TV OS support
As an affiliate, we earn on qualifying purchases.
As an affiliate, we earn on qualifying purchases.
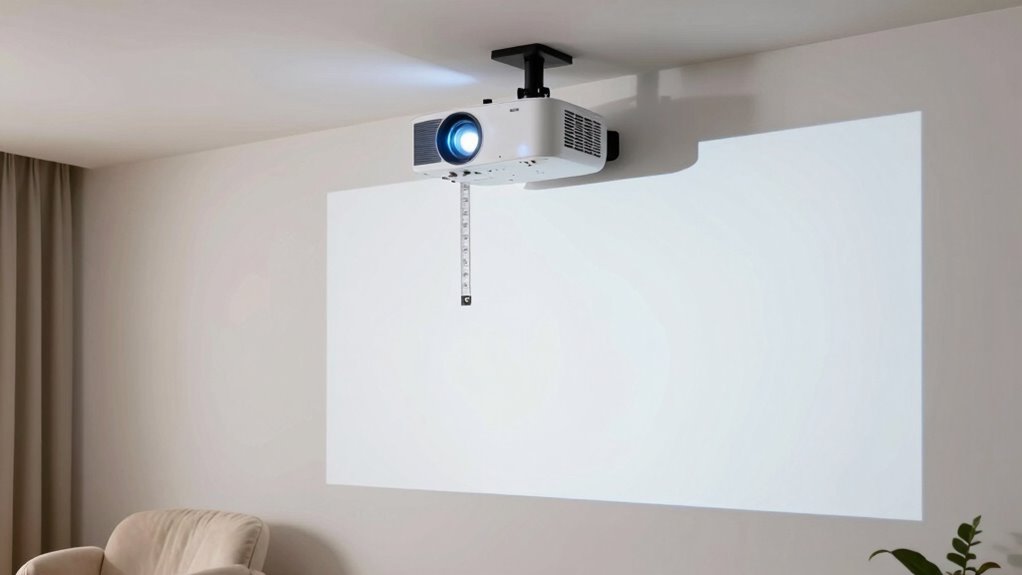
What Is Throw Distance and Why It Matters
Understanding throw distance is essential because it determines how far your projector needs to be from the screen to produce a clear, properly sized image. Knowing this distance helps guarantee accurate screen calibration, so your picture isn’t blurry or distorted. It also affects audio synchronization, as positioning the projector correctly can improve sound quality and reduce lag issues. If your throw distance is too short or too long, you might struggle to align the image properly or experience delays between visuals and audio. By understanding your projector’s throw distance, you can optimize setup, achieve sharp images, and ensure seamless audio-visual harmony. Additionally, projection technology influences how throw distance impacts image quality and setup flexibility. This foundational knowledge helps you create a more immersive viewing experience without the hassle of constant adjustments. Recognizing how throw ratio interacts with room size enables more precise placement for optimal viewing, especially when selecting projectors with specific throw distances for different environments. Moreover, understanding image resolution can assist in choosing the right projector for your desired clarity and detail. Being aware of screen size considerations can also help tailor your setup for the best viewing experience.
What Is Throw Ratio and How It Affects Your Setup
The throw ratio is a key specification that directly influences how you set up your projector. It tells you the relationship between the lens-to-screen distance and the image width. A lower throw ratio means the projector can produce a large image from a short distance, which helps when space is tight. Conversely, a higher throw ratio requires more distance for the same size image. Your setup also depends on lens calibration to ensure sharp focus across the screen. Keep in mind, ambient light affects image quality more than throw ratio, but a proper setup considers both. Understanding your projector’s throw ratio helps you choose the right placement, avoid distortion, and optimize image clarity—especially important when adjusting for room lighting conditions. Proper cabling solutions ensures your setup remains reliable and free of failures. Additionally, selecting the correct room lighting control further enhances image performance, complementing the considerations of throw ratio. To maximize image quality, it’s also beneficial to account for ambient light levels during setup. Being aware of the **throw ratio** can assist you in making more precise adjustments for different environments.
Furthermore, considering fabric technology can help in environments where projectors are used regularly, as certain fabrics are designed to reduce glare and improve image visibility.
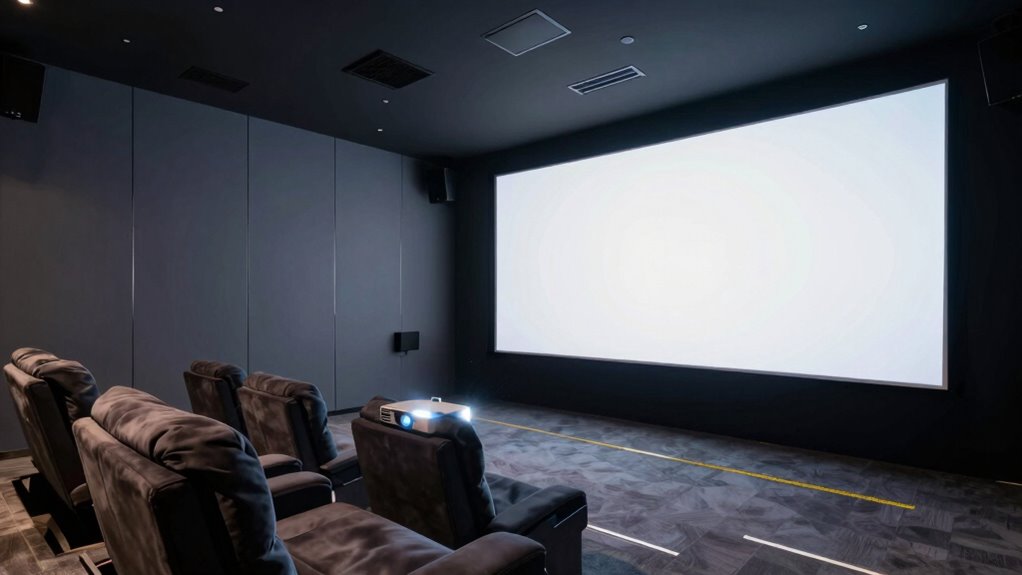
Types of Throw Distances: Short, Standard, and Ultra-Short
Choosing the right throw distance depends on your room size and viewing needs. Short throw projectors are ideal for small spaces, as they can produce a large image on a projection surface from a short distance, making setup easy even with limited room. Standard throw projectors are versatile, suitable for medium-sized rooms, and require a moderate distance to fill the screen. Ultra-short throw projectors are perfect for very limited spaces or close-up setups, projecting large images from just inches away. Keep in mind, ambient lighting impacts your choice—higher ambient light may require a short or ultra-short throw projector to minimize washout and ensure clear images. Understanding these types helps you select the right projector based on your room’s size and lighting conditions. Additionally, ambient lighting considerations can influence the optimal throw distance to achieve the best viewing experience. To optimize your setup, consider projector placement and how it interacts with room features and furniture. Moreover, analyzing light conditions in your space can help determine the most suitable throw distance for optimal image clarity.
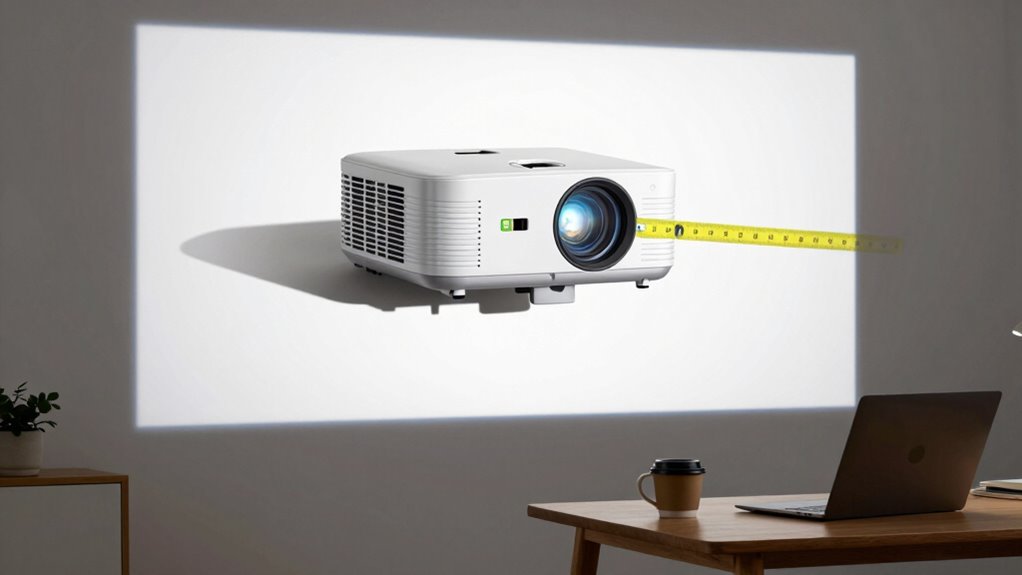
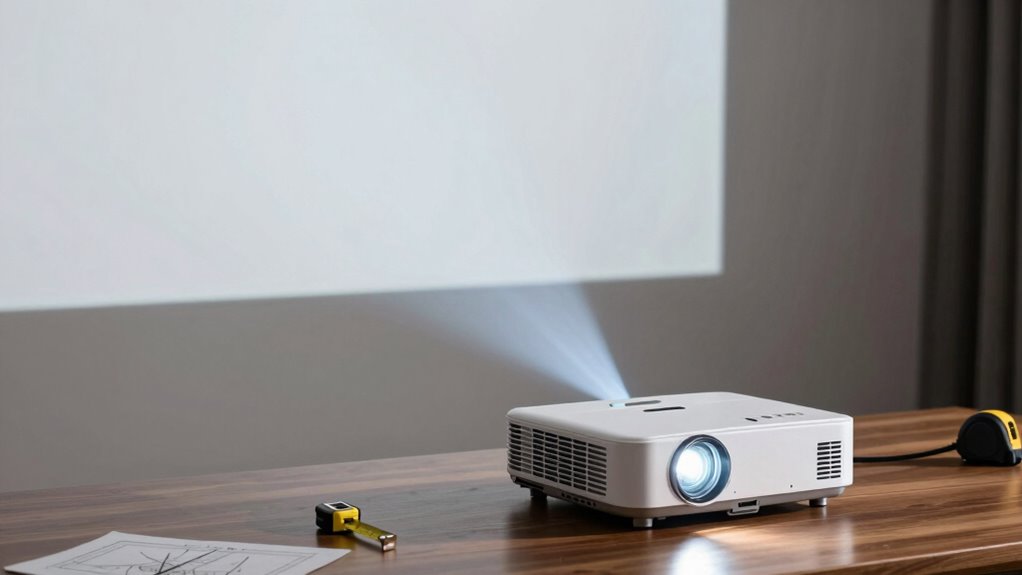
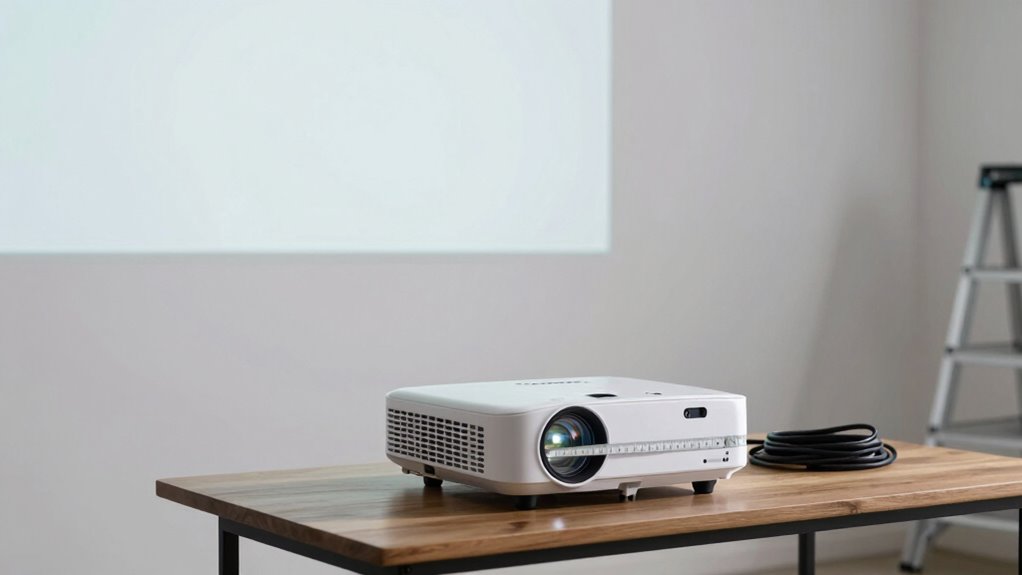
How to Measure Your Projector’s Throw Distance
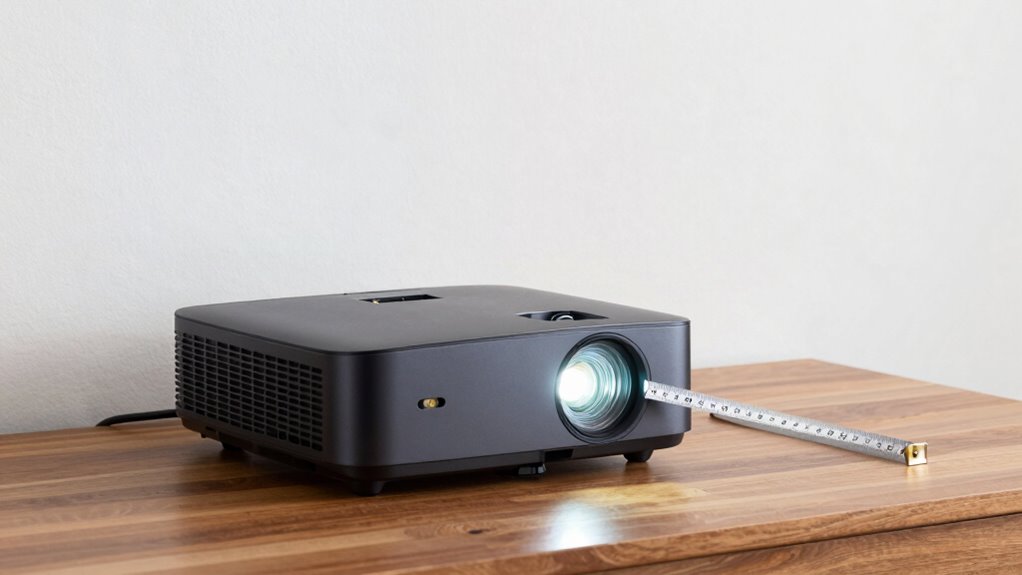
To measure your projector’s throw distance accurately, start by identifying the placement of your projector relative to your screen or wall. Ensure your setup has good cable management to avoid clutter and maximize placement. Consider ambient lighting, as brighter rooms may require a shorter throw or higher brightness. Use a tape measure to determine the distance from the projector lens to the screen’s surface. Refer to the projector’s manual or specifications, which often provide a throw ratio. Here’s a quick reference:
| Throw Ratio | Distance from Screen | Image Size |
|---|---|---|
| 1.5:1 | 10 feet | 100 inches |
| 2:1 | 15 feet | 100 inches |
| 2.5:1 | 20 feet | 100 inches |
| 3:1 | 25 feet | 100 inches |
| 4:1 | 30 feet | 100 inches |
Accurate measurement guarantees excellent image quality and setup.
How to Choose the Right Throw Distance for Your Space
Selecting the right throw distance depends on your available space and the size of the image you want to project. To maximize your setup, consider these key factors:
- Screen Brightness: Ensure the projector’s brightness matches your room’s lighting; a longer throw distance may require higher brightness for clear images.
- Audio Calibration: Proper positioning affects sound quality. Choose a throw distance that allows optimal audio calibration for clear, balanced sound.
- Image Size & Clarity: Measure your space carefully. A shorter throw keeps the image sharp and bright, while a longer throw can produce larger images but may need adjustments for brightness and focus.
Balancing these elements ensures your projector fits perfectly, delivering the best viewing experience without sacrificing image quality.
Common Mistakes That Reduce Image Quality

Even when you’ve set up your projector with the correct throw distance, several common mistakes can still compromise your image quality. One key error is neglecting proper color calibration, which causes washed-out or overly saturated images. Regularly calibrate your projector to guarantee accurate colors and sharpness. Additionally, ambient lighting plays a big role; too much light can wash out the picture, reducing contrast and clarity. Keep curtains closed or use dim lighting in the room to improve image visibility. Another mistake is positioning the projector unevenly or at an incorrect angle, which distorts the picture. Being aware of your projector’s setup environment and relationship rewind can help prevent these issues. Proper environmental lighting control is essential for optimal projection quality. To further improve image clarity, consider checking your projector’s filter maintenance to ensure dust or debris isn’t affecting performance. Also, ensure your projector’s lens alignment is correct to avoid distorted or blurry images. By paying attention to color calibration and controlling ambient lighting, you can markedly enhance your projected image, even if the throw distance is perfect.
Tips to Adjust Throw Distance for the Best Picture
Adjusting your projector’s throw distance is essential to achieving the best picture quality. To optimize your setup, consider these tips:
Optimizing throw distance ensures the best picture quality and clarity.
- Calibrate your screen to ensure the image fits perfectly and isn’t distorted, which helps your projector display at the ideal throw distance. Proper calibration prevents distortion and image quality issues that can occur from improper setup. Additionally, regular calibration can help maintain optimal image clarity over time.
- Adjust for ambient lighting by controlling or reducing light sources, so the image remains sharp and vibrant regardless of the distance.
- Experiment with throw distance incrementally, using your projector’s guidelines, to find the balance where screen calibration and ambient lighting complement each other for the clearest picture.
- Be aware of the importance of proper setup in preventing family photoshoot fails and ensuring a successful viewing experience. Proper setup is especially crucial in environments where supporting visual clarity is necessary for family or group viewing.
- Incorporate professional calibration techniques when possible, as they can significantly improve your projector’s performance and image quality.
Final Tips to Perfect Your Projector Setup
To guarantee the best picture quality, start by adjusting the keystone correction so your image stays straight and proportional. Next, double-check your screen placement to make sure it’s centered and at the right height. These final tweaks can make a big difference in achieving a crisp, professional-looking setup. Additionally, considering seasonal lighting conditions can help optimize your viewing experience. Being mindful of ambient light control can further enhance image clarity and contrast.
Adjust Keystone Correctly
Properly adjusting the keystone guarantees your projected image remains rectangular and sharp. When you perform keystone correction, you prevent image distortion caused by projector tilt. To get it right, follow these tips:
- Use the projector’s keystone correction feature to straighten the image without moving the projector.
- Avoid excessive correction, as it can degrade image quality and cause blurriness.
- Check the edges of your image after correction to ensure it’s properly aligned and not skewed.
Optimize Screen Placement
Optimizing your screen placement is essential for achieving a clear, bright, and properly proportioned image. First, choose a screen size that fits your space and viewing preferences without overwhelming the room. Position the screen at eye level for the best viewing experience. Consider ambient light; if your room has lots of windows or bright lighting, use blackout curtains or move the projector to minimize glare. Avoid placing the screen in direct sunlight or bright spots that wash out the image. Keep the screen away from heat sources or reflective surfaces that can distort colors. Proper placement ensures your projector’s throw distance aligns with the screen size, delivering sharp images and vibrant colors. Take these steps to create an ideal viewing environment and enhance your overall projection quality.
Frequently Asked Questions
Can I Change My Projector’s Throw Distance After Installation?
Yes, you can change your projector’s throw distance after installation. Adjusting the screen size or using lens shift allows you to modify the image positioning without moving the projector itself. Lens shift helps you align the image perfectly, while changing the screen size can impact the throw distance needed. Just make certain your projector supports these features, and follow the manufacturer’s instructions for safe adjustments.
How Does Throw Distance Impact Overall Picture Brightness?
Your projector’s throw distance impacts picture brightness because a longer distance can reduce brightness, especially if lens calibration isn’t ideal. Ambient lighting also plays a role; brighter rooms require a brighter image, which means you might need to adjust lens calibration or reposition the projector. Keeping the throw distance appropriate for your space ensures the image remains clear and bright, even in well-lit environments.
Are There Projectors With Adjustable Throw Ratios?
Many projectors feature adjustable throw ratios, giving you lens flexibility and zoom capability to adapt to different spaces. It’s like having your cake and eating it too, offering convenience and versatility. With these projectors, you can easily tweak the image size without moving the device, making setup a breeze. This flexibility guarantees you get the perfect picture, no matter where you’re projecting from.
What Are the Signs of a Misaligned Projector Throw?
You’ll notice a misaligned projector throw if the image appears distorted or trapezoidal, even after adjusting keystone correction. You might also see parts of the image cut off or unevenly projected, indicating the need for lens shift adjustments. Proper alignment involves using keystone correction for minor skewing and lens shift for precise positioning, ensuring your image is straight and centered without distortion.
Does Room Size Influence the Optimal Throw Distance Choice?
Room size definitely influences your ideal throw distance, like fitting a puzzle piece perfectly. Larger rooms with bigger screen sizes need a longer throw distance to fill the space, while smaller rooms require a shorter throw to avoid distortion. Measure your room dimensions carefully to choose the right projector placement, ensuring clear images without strain or misalignment. This helps you enjoy a crisp, immersive viewing experience tailored to your space.
Conclusion
Getting your projector’s throw distance right can transform your viewing experience. For example, if you’re setting up a home theater in a small room, choosing an ultra-short throw projector ensures a large image without clutter. By understanding throw ratio and measuring carefully, you prevent blurry or distorted images. Take your time to adjust and fine-tune, and you’ll enjoy sharp, vibrant pictures every time—making your setup perfect for movie nights or presentations.