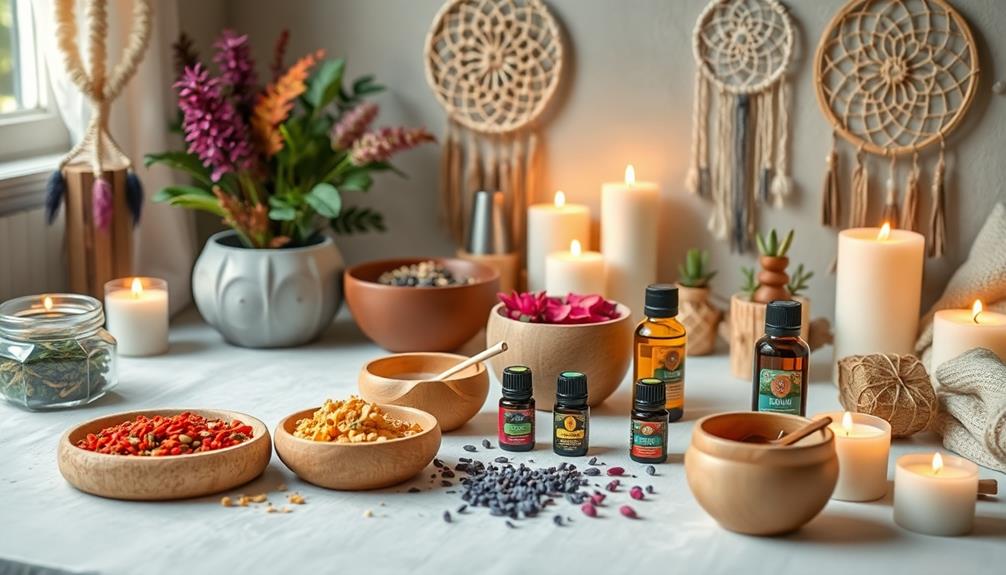
Making your own boho-style incense is a fun way to express creativity. Start by grinding dried herbs like lavender or eucalyptus and blend them with a base resin, like Xanthorrhoea, in a 2:1 ratio. Add honey or distilled water until you achieve a dough-like consistency. Shape your mixture into cones or sticks and place them in a cool, dry spot to dry for about seven days, turning them regularly. When you're ready to burn your incense, use a heat-resistant dish and guarantee proper ventilation. You're about to discover how to customize your scent profiles even further.
Key Takeaways
- Gather ingredients such as base resin, dried herbs, and a binder like honey to create your incense mix.
- Crush herbs using a grinder, blending them with resin in a 2:1 ratio for optimal fragrance.
- Gradually add honey or distilled water until the mixture achieves a dough-like consistency for shaping.
- Mold the incense into cones or sticks and allow them to dry in a cool, well-ventilated area for about 7 days.
- Use a heat-resistant surface and proper lighting techniques when burning your homemade incense safely.
Ingredients Needed for Incense
When you're ready to make boho-style incense, you'll need a few key ingredients. Start with Xanthorrhoea resin or an alternative tree resin as your base. This resin is vital for its aromatic properties, which form the foundation of your incense.
Next, gather a variety of dried herbs to enhance the fragrance. Consider using lavender, rose petals, or eucalyptus, tailoring your selection to your personal scent preferences.
You'll also need a binder like honey or distilled water. This ingredient is important for achieving a dough-like consistency when you blend the resin and herbs.
To prepare the herbs, use a grinder to crush them into a fine powder, and mix them in a 2:1 ratio of herbs to resin for best fragrance release.
If you want to take your scent profile up a notch, consider adding essential oils. These optional additions allow you to further personalize your incense, creating a unique aromatic experience.
With these ingredients on hand, you're well on your way to making your own incense that reflects your boho style and personal touch.
Preparation Steps for Incense
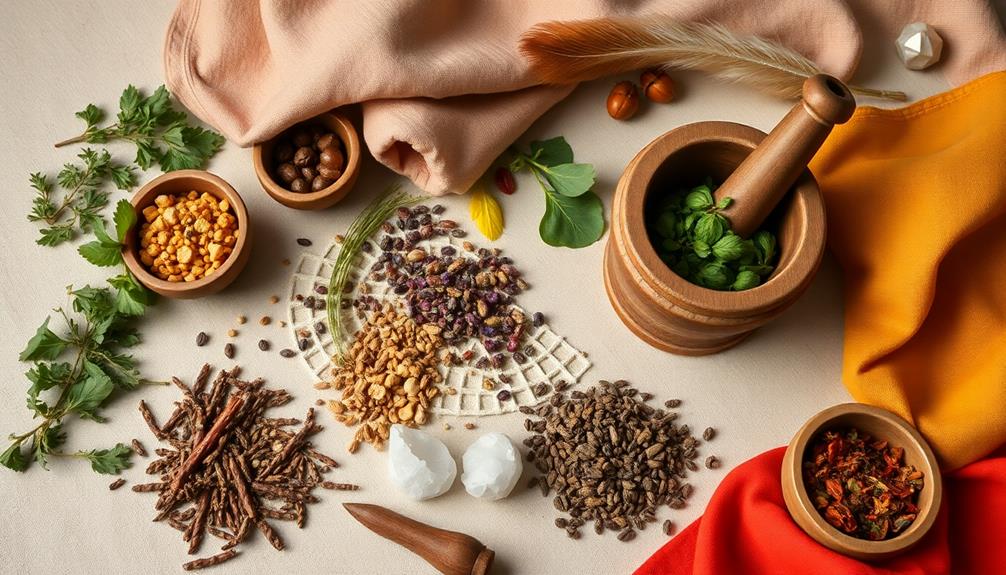
To create your boho-style incense, you'll often start by crushing your chosen dried herbs using a grinder. This step releases their fragrance and helps achieve a fine powder consistency, which is vital for effective incense making.
Next, blend Xanthorrhoea resin into a fine powder, making sure it integrates well with the herb mixture in a 2:1 ratio (herbs to resin).
Once you have your herb-resin blend, gradually add a binder, like honey or water. Mix until the combination reaches a dough-like consistency, making it easier to shape. At this point, you can mold the incense mixture into your desired forms, such as cones or sticks. Make certain they're compact to promote even burning during use.
After shaping, it's important to let the incense dry properly. Place your creations in a cool, dry spot with good air circulation, allowing them to dry for about 7 days.
This drying period is vital, as it prevents cracking and guarantees your incense burns beautifully and evenly when you finally light it. Enjoy the process of incense making, and look forward to the delightful aromas you'll create!
Shaping and Drying Incense
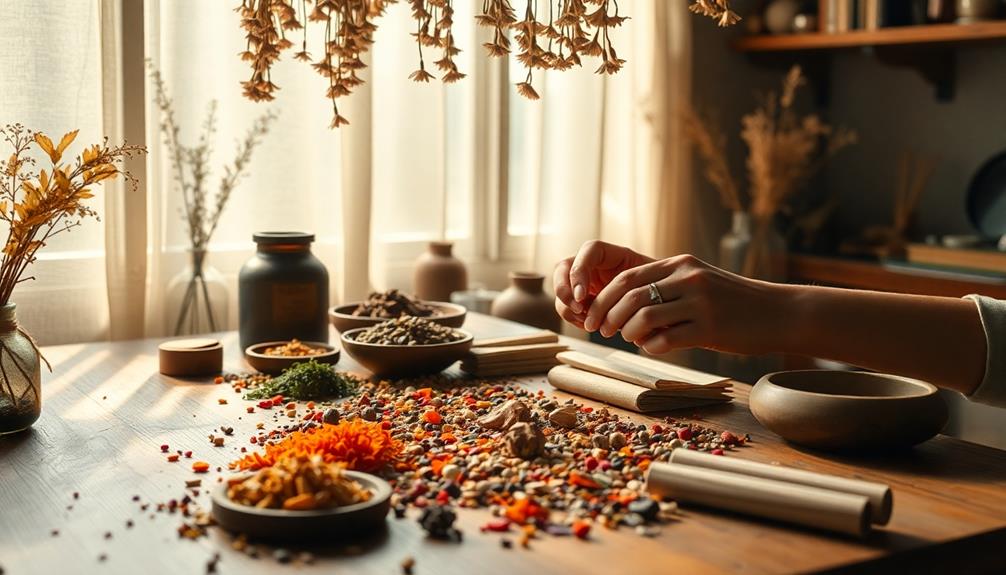
Now that you've mixed your incense ingredients, it's time to shape them into your preferred forms.
Whether you're crafting cones or sticks, the techniques you use will affect how well they dry and maintain their quality.
Let's explore the best practices for molding your incense and the ideal conditions for drying.
Moulding Techniques for Incense
Shaping incense requires a careful approach to achieve the right consistency and form. Start by grinding your ingredients using a mortar and pestle until you have a fine powder. Then, blend in your binding agent—like water or honey—gradually. Aim for a dough-like consistency that makes molding easy.
Once you've got the right texture, you can use molds or your hands to create your desired shapes. You might want to roll pea-sized balls or form cones for even burning. These uniform shapes help guarantee that your incense burns consistently and releases its delightful fragrance.
As you shape your incense, remember that turning them regularly during the drying process is key. This helps all sides dry evenly, preventing moisture from accumulating, which can lead to cracking. Aim to let your incense shapes dry for about seven days, though keep in mind that drying time may vary based on your climate and humidity levels.
Store your drying incense in a cool, dry place, avoiding direct sunlight to maintain the integrity of the shapes and prevent deterioration. This careful approach guarantees you end up with beautifully crafted incense ready for use.
Ideal Drying Conditions
Creating the perfect environment for drying your incense is essential for achieving the best results. Start by placing your incense cones in a well-ventilated area to guarantee proper air circulation. This helps prevent mold and allows for even drying.
Avoid direct sunlight, as it can cause cracking and uneven drying of your shapes. Typically, drying takes around seven days, but this can vary based on humidity and temperature. Keep an eye on your incense cones and monitor their progress regularly.
To promote even moisture evaporation, turn the incense shapes periodically during the drying process. This simple step prevents them from sticking to the surface and guarantees they dry uniformly.
Make certain to store your drying incense in a cool, dry place. This helps maintain quality and keeps them safe from excess moisture or heat, which can compromise their structure.
Storage During Drying
Proper storage during the drying process is essential for guaranteeing your incense turns out just right. Start by placing your shaped incense on a drying rack or parchment paper, making sure to avoid direct sunlight. Sunlight can cause cracking and uneven drying, which you definitely want to avoid.
Aim for a cool, dry place with good air circulation to prevent mold and guarantee even drying. For added fragrance, consider using essential oils like lavender or eucalyptus in your incense mix, as these oils not only enhance the aroma but also provide essential oils for aromatherapy benefits such as relaxation and respiratory health.
The recommended drying time is about 7 days, but keep an eye on your incense. Factors like humidity and temperature can affect this timeline. Make sure to turn the incense shapes regularly during this period to help them dry evenly and prevent moisture from accumulating on one side. This simple step can make a significant difference in the quality of your final product.
Once the incense is dry, store it away from high humidity areas to maintain its quality and fragrance. When you're ready to use your homemade incense, place it in an #incenseburner and enjoy the aromatic experience you've crafted.
With the right storage practices, you'll create beautiful, fragrant incense that reflects your boho style.
Burning Techniques for Safety
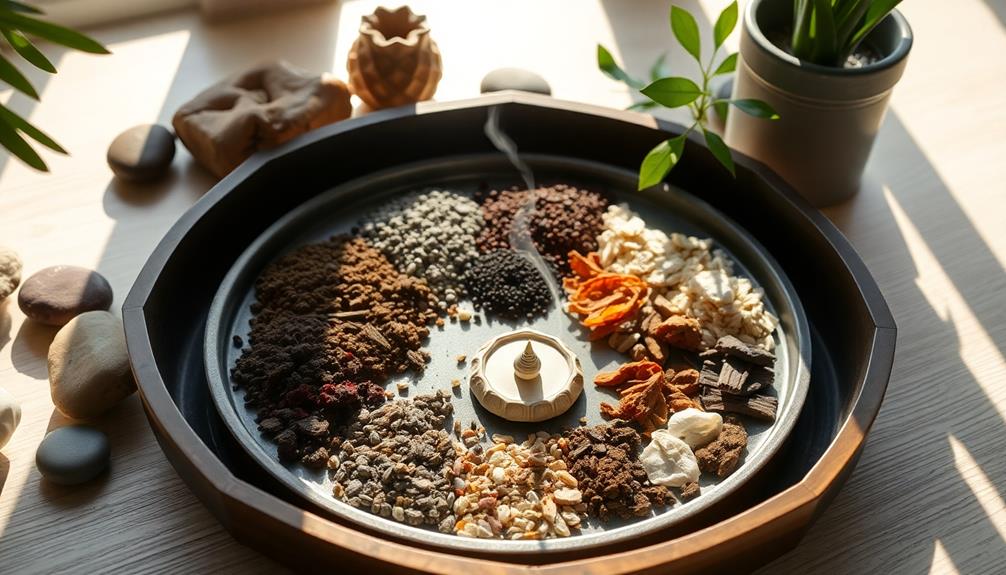
When it comes to burning incense, safety should always be a top priority. Start by using a heat-resistant surface, like a ceramic dish or metal tray, to minimize fire hazards.
When you're ready to light your incense stick or cone, make sure to let the tip catch fire for a few seconds before blowing it out, allowing it to smolder properly. Additionally, maintaining good air quality in your space can enhance the enjoyment of your incense, so consider operating an air purifier for ideal performance while you burn it.
Ventilation is essential, so open a window or use a fan to help disperse the smoke, which can also prevent triggering smoke alarms. Remember, you should NEVER LEAVE burning incense unattended. Always keep it out of reach of children and pets to avoid any accidents.
When it's time to extinguish your incense, do so safely by placing it in sand or water. This will help put out the embers and prevent any potential fire risks.
Benefits of Homemade Incense
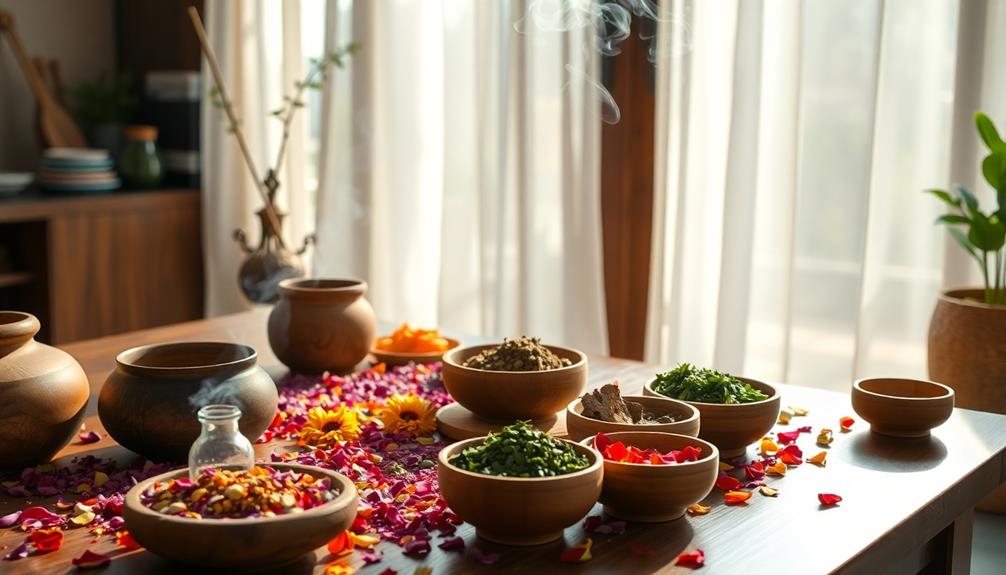
Making your own incense gives you the freedom to create customizable scent profiles that match your personal preferences and intentions.
You'll also enjoy the benefits of natural ingredients, steering clear of synthetic additives found in many store-bought options.
Plus, crafting your incense at home is a cost-effective way to enhance your aromatherapy experience without breaking the bank.
Customizable Scent Profiles
Creating your own incense offers a world of customizable scent profiles that cater to your unique preferences. By selecting specific combinations of dried herbs and resins, you can create aromas that resonate with your emotions and spiritual needs. For instance, mixing lavender with sandalwood can result in a calming scent perfect for relaxation.
You can also incorporate white sage for its cleansing properties, enhancing the overall experience. Additionally, you might consider blending in essential oils, such as eucalyptus and peppermint, which can provide added benefits like respiratory support and a reviving ambiance essential oils for respiratory health.
Making homemade incense eliminates the synthetic ingredients often found in commercial products, giving you a natural and eco-friendly option. Plus, crafting your own incense is usually more cost-effective, allowing you to create larger quantities of your personalized blends without breaking the bank.
Engaging in this DIY process fosters creativity, enabling you to explore various herbal blends and binding techniques. This hands-on approach not only enhances your connection to the scents but also improves your overall mood and mindfulness during relaxation or meditation practices.
With your unique scent profiles, you'll create an atmosphere that truly reflects your personality and preferences, making your incense a special part of your daily routine.
Natural Ingredients Advantage
Homemade incense offers a significant advantage by avoiding synthetic ingredients that are often found in commercial products. By engaging in incensemaking, you create a healthier alternative for yourself and your environment. You can handpick natural herbs and resins, tailoring the scents to match your personal preferences and intentions.
Here's a comparison to illustrate the benefits of homemade versus commercial incense:
| Feature | Homemade Incense | Commercial Incense |
|---|---|---|
| Ingredients | Natural herbs & resins | Synthetic additives |
| Customization | Fully customizable | Limited options |
| Environmental Impact | Sustainable & foraged | Mass-produced goods |
| Creativity | Engages DIY skills | Often impersonal |
| Health Benefits | Chemical-free | Possible irritants |
Crafting incense at home not only allows you to express your creativity but also connects you with nature. Choosing sustainable materials reduces reliance on mass production, promoting environmental consciousness. So, immerse yourself in the art of incensemaking and enjoy the numerous benefits of using natural ingredients in your aromatic creations!
Cost-Effective Crafting Experience
Crafting your own boho-style incense can be a surprisingly cost-effective experience. When you immerse yourself in incense-making, you get to customize scents that best suit your preferences using affordable, natural ingredients like dried herbs and tree resin. This DIY approach not only saves you money but also allows you to create multiple batches for the price of just one store-bought item.
Additionally, making your own incense can support environmental sustainability by utilizing locally sourced or foraged materials. By avoiding synthetic additives commonly found in commercial products, you promote a healthier atmosphere in your space. Plus, using foraged ingredients or herbs from your garden minimizes waste and supports sustainable practices.
Engaging in this crafting process encourages creativity and mindfulness, making incense-making a therapeutic and enjoyable activity. You'll find that the satisfaction of creating your own unique scents far outweighs the convenience of purchasing pre-made incense.
With each batch, you're not only saving money but also enriching your environment with personalized fragrances. So, gather your materials, release your creativity, and experience the joy of crafting your own boho-style incense while keeping your budget intact!
Crafting a Personalized Experience
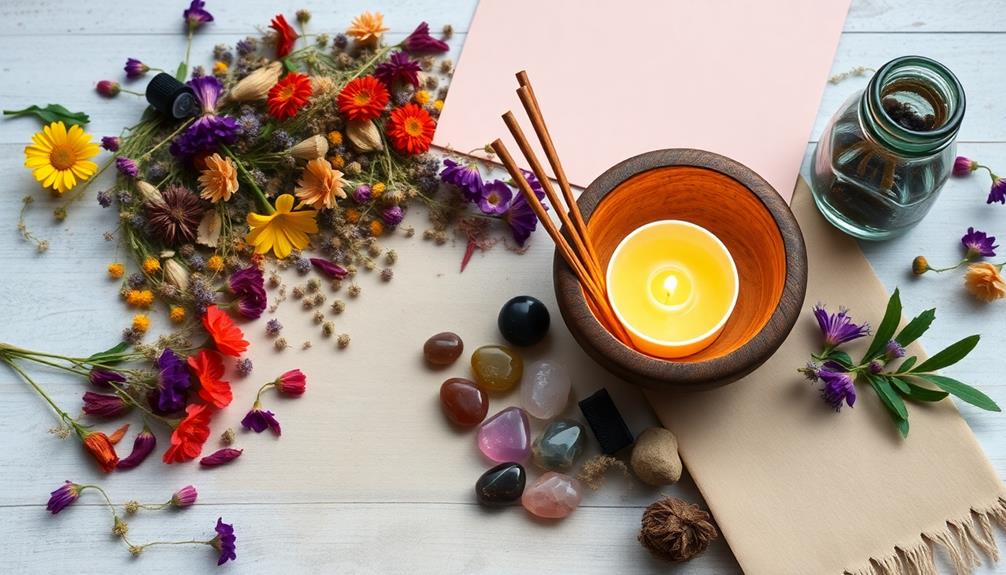
Personalizing your incense can transform your space into a sanctuary that reflects your unique spirit. Start by selecting a combination of dried herbs that resonate with you. Lavender can bring relaxation, while eucalyptus offers clarity. These choices will form the foundation of your personalized scent profile.
For an added sensory experience, consider incorporating elements that promote hands-on learning and exploration, as the process of creating your incense can be both educational and engaging.
In your incense-making process, aim for a 2:1 ratio of dried herb powder to resin, blending them thoroughly to guarantee an even distribution of fragrance and binding properties. Add a minimal amount of a binder, like honey or distilled water, until your mixture achieves a dough-like consistency. This will make it easier to shape your incense into your desired forms.
To further enhance your blend, experiment with adding essential oils. This can make your incense even more unique to your preferences.
Once you've crafted your incense, allow it to dry for about seven days in a cool, dry place. Remember to turn them regularly to promote even drying and prevent cracking.
Packaging and Gifting Ideas
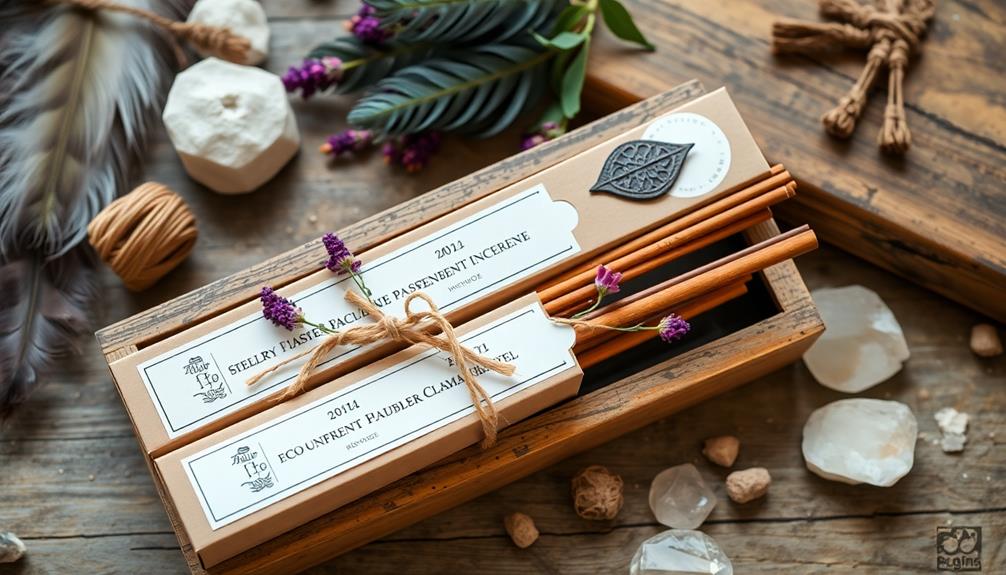
Once you've created your unique incense blend, it's time to reflect on how to present it. Good packaging enhances your incense-making experience and makes for a thoughtful gift. Here are some great packaging and gifting ideas to contemplate:
- Glass Spice Jars: Use airtight glass spice jars with screw-top lids to package your homemade incense. This keeps the scent fresh and ready for use.
- Match Lighting Surface: Adhere sandpaper or a paper punch to the underside of the jar lid with white craft glue, providing a striking surface for lighting matches.
- Heat-Resistant Dish: Include a small heat-resistant dish for burning incense. This makes your gift complete and practical.
- Personalized Touch: Decorate the jars with twine, dried flowers, or hand-written labels to enhance the boho aesthetic.
Additionally, reflect on adding a small card with safety instructions on how to burn the incense effectively.
This thoughtful touch not only showcases your creativity but also guarantees the recipient enjoys their incense safely.
With these packaging and gifting ideas, your homemade incense will be a cherished gift!
Frequently Asked Questions
How to Create Your Own Incense?
To create your own incense, start by selecting dried herbs and resins. Grind them, mix with a binder until doughy, shape into forms, and let them dry for about a week before using. Enjoy!
What Can You Use Instead of Makko Powder?
You can use arrowroot powder, charcoal powder, cornstarch, rice flour, or powdered herbs like althea root instead of makko powder. These alternatives will help bind your mixture and enhance the fragrance while ensuring a clean burn.
What Herbs Are Good for Making Incense?
Ever wondered what scents can transform your space? For incense, you'll love using lavender for calmness, eucalyptus for freshness, and a mix of sweet and bitter herbs like rose and sage for balance.
Can You Make Incense Without DPG?
Yes, you can make incense without DPG. Use natural binders like honey or distilled water for consistency. Experiment with herbs and resins, ensuring the mixture's moisture balance is just right for ideal burning.
Conclusion
Creating your own boho-style incense can be a transformative experience, much like tending to a garden. Just as nurturing plants brings joy and fragrance to your home, crafting incense fills your space with personalized scents that reflect your spirit. Each blend you create is a unique reflection of your journey, infusing your environment with warmth and tranquility. So, roll up your sleeves, release your creativity, and let these aromatic creations elevate your senses and your space!

