
As a beginner, you have the ability to easily craft beautiful macramé plant hangers using basic knots and a few supplies. Begin by gathering 3mm natural cotton cord and a 6-inch gold metal ring. Cut eight pieces of cord, each measuring ten feet long. Learn essential knots such as the square knot and half hitch to create a robust design. Thread the cords through the ring, tie them together, and trim any excess length. Hang your planter securely and enjoy the charming addition to your space. Continue practicing to uncover more tips and techniques to enrich your crafting skills.
Key Takeaways
- Start by cutting eight 10-foot pieces of 3mm natural cotton macramé cord for your plant hanger project.
- Use essential knots like square knots and lark's head knots to create a stable and decorative structure.
- Loop the cords through a sturdy 6-inch gold metal ring to begin your hanger design.
- Maintain consistent spacing of 4-5 inches between knots to achieve a netting pattern for plant support.
- Trim excess cord for a neat finish and consider sealing ends to prevent fraying.

MAOQIAN 3 in 1 Macrame Kit for Beginners, 3mm x 220yards Cotton Macrame Cord, 3 DIY Macrame Plant Hanger Kits for Adults with Instructions Macrame Supplies Best for Macrame Plant Hanger Kit
- All-in-One Macrame Kit: Includes cord, rings, beads, hooks, and tools
- Detailed Instruction Manual: Provides 3 weaving methods for plant hangers
- Natural Cotton Cord: Soft, non-toxic, dye-free, and chemical-free
As an affiliate, we earn on qualifying purchases.
As an affiliate, we earn on qualifying purchases.
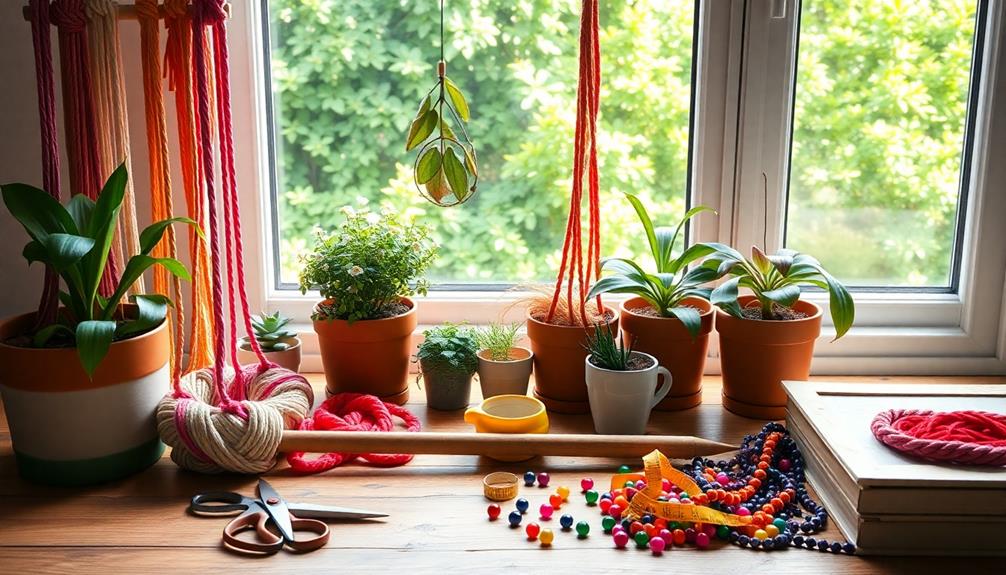
Project Overview and Supplies
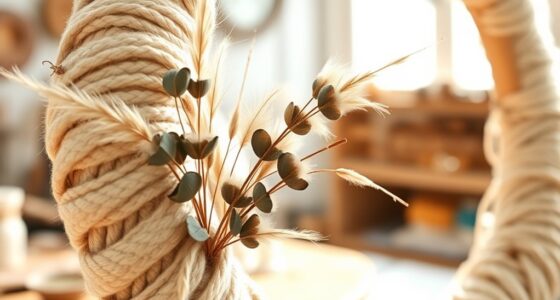
Creating a DIY macramé plant hanger is a fun and rewarding project that can enhance your home decor with a touch of creativity. This project is perfect for beginners, as it requires just two basic knots. To get started, gather your supplies: 3mm natural cotton macramé cord for durability, a 6-inch gold metal ring for structure, and a pot with a tray. You can even spray-paint the pot to match your decor.
Additionally, consider how the colors of your planter will complement your overall home design, similar to how color accuracy impacts projector image quality.
You'll need to cut eight pieces of macramé cord, each ten feet long, and loop them through the gold metal ring to create sixteen evenly distributed strands. This setup guarantees that your DIY macramé plant hanger will be sturdy enough to hold your plants.
The knotting process involves using wrapped knots to secure the cords and creating rows of square knots. This technique maintains proper spacing and contributes to a balanced design, making your project visually appealing.
Once you finish knotting, tie all cords together below the last row, trim any excess cord, and hang your planter securely from a ceiling hook that can support its weight. Enjoy your new macramé creation!
Initial Steps and Knotting

To kick off your macramé plant hanger, start by cutting eight pieces of macramé cord, each measuring 10 feet long. Loop these cords through a gold metal ring to create a total of 16 strands for even distribution.
It's important to verify your chosen materials are safe and eco-friendly, aligning with practices like eco-friendly toy selection. Next, use a wrapped knot at the top of the cords to secure them to the metal ring, establishing a stable foundation for your macramé plant holder.
Now, it's time to create your first row of square knots. Measure 20 inches down from the wrapped knot and begin knotting all 16 strands together. This will form the base of your design.
After completing the first row, measure approximately 5 inches below it to create a second row of square knots. This spacing verifies a consistent design pattern, which enhances the overall look of your simple DIY macramé plant.
Once you've finished knotting the two rows, gather all the cords together and tie them with a final knot about 7 inches below the last row. This step secures your design and prepares the hanger for inserting your plant, completing the initial knotting process!
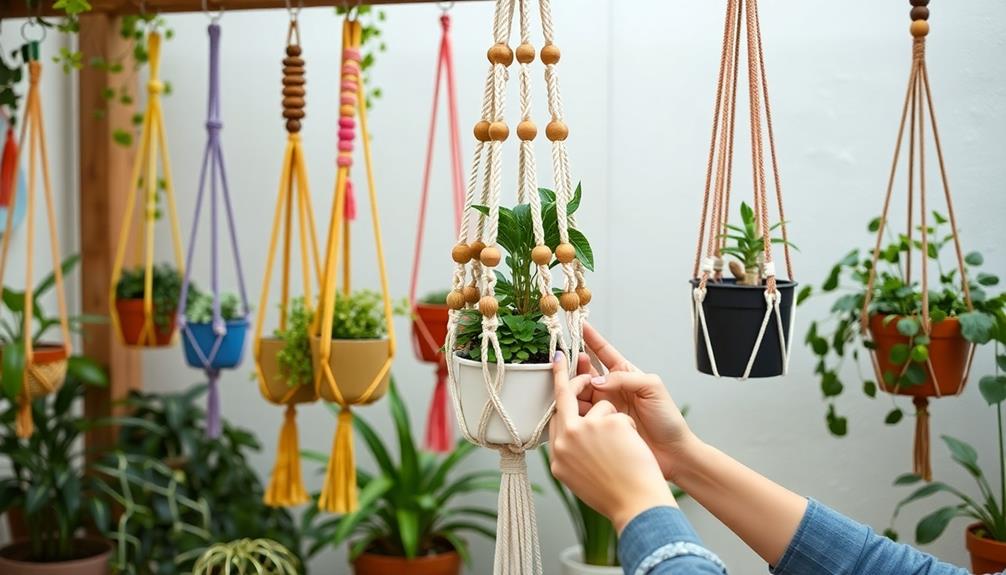
Creating the Plant Holder

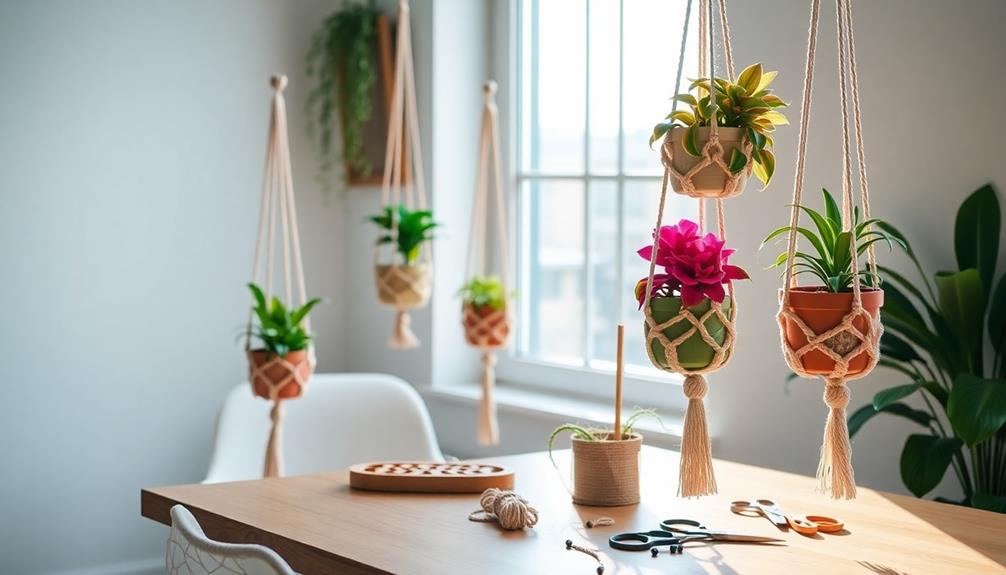
Now that you've completed the initial knotting, it's time to focus on forming the actual plant holder. Begin by moving your plant into the new pot and preparing eight pieces of macramé cord, each 10 feet long.
Double them through a gold metal ring so you have 16 evenly distributed strands for balance. Secure these with a gathering knot at the top, ensuring the knots are snug but adjustable for a clean finish. Keeping your space tidy while crafting can help reduce allergens and improve your overall health and wellness benefits during this process.
Next, measure down about 18-20 inches from the gathering knot to start tying pairs of cords together. Keep the knots loose initially; this allows for adjustments and symmetry as you progress.
Tie additional knots at intervals of 4-5 inches below the top, maintaining even spacing to create a netting pattern that effectively supports the planter.
As you work step by step, remember to check that everything is even. Finish by tying a final gathering knot about 3.5 inches below the last set of knots. Trim any excess cord for a polished look, ensuring your pot fits securely within the hanger.
Your plant hangers are coming together beautifully!
Finalizing the Hanger

To finalize your macramé plant hanger, start by tying all the cord strands together with a secure knot about 7 inches below your last square knot.
This step not only secures your work but also allows the hanger to exhibit its artistic charm, similar to the rich cultural heritage represented by Indonesian Decor Masks.
Next, trim any excess cord carefully to keep things looking neat but leave a bit of length for future adjustments if necessary.
Once that's done, you can insert your planter and hang it securely for a polished finish.
Securing Final Knot
Gathering all your cords approximately 7 inches below the last row of square knots is essential for securing the final knot of your macramé plant hanger. Make certain your cords are evenly aligned to create a balanced look. You can use a gathering knot to tie the cords securely together, guaranteeing they can support the weight of your planter when hung.
Here's a quick reference table illustrating different knot types and their suitability for securing your plant hanger:
| Knot Type | Strength | Ease of Tying |
|---|---|---|
| Gathering Knot | High | Easy |
| Square Knot | Medium | Moderate |
| Bowline Knot | High | Moderate |
| Reef Knot | Low | Easy |
Before hanging, double-check that the final knot is snug but not overly tight, allowing for slight adjustments if necessary. Finally, test the overall stability of the hanger by gently lifting it to confirm that the final knot holds securely and that the planter sits evenly within the hanger. This step guarantees your macramé plant hanger is both functional and stylish!
Trimming Excess Cord
After securing your final knot, it's time to trim the excess cord to give your macramé plant hanger a polished look. Start by holding the hanger up with the pot inside to gauge the final length and guarantee it hangs evenly. Aim to leave about 1-2 inches of cord below the final knot for a balanced appearance.
Keeping in mind that a well-structured design can enhance your home's aesthetics, you might also consider how home security systems can complement your overall decor.
Using sharp scissors, carefully trim the excess cord, guaranteeing each cut is clean. This not only achieves a neat finish but also helps prevent fraying, which can ruin the overall aesthetic of your project.
Pay attention to the lengths of the cords as you trim; uneven lengths can detract from the visual appeal. For a more finished look, consider sealing the ends of the trimmed cords with a small amount of clear nail polish or fabric glue. This extra step will further prevent fraying and enhance the durability of your macramé plant hanger.
With these final touches, you'll have a beautiful, functional piece that adds charm to any space. Enjoy the satisfaction of your hard work and the beauty of your new macramé plant hanger!
Crafting Tips and Techniques
When you're crafting your macramé plant hanger, mastering essential knot techniques is key to achieving a polished look.
Pay attention to your material selection, as the right cord can make a big difference in both durability and style.
Plus, don't forget to adjust your cord lengths to guarantee you have enough for all those beautiful knots and adjustments along the way.
Essential Knot Techniques
Understanding essential knot techniques is crucial for anyone looking to create beautiful macramé plant hangers. Start with the lark's head knot, which is perfect for attaching your macramé cord to a ring or dowel. This knot provides a secure starting point for your project.
As sneaker culture continues to evolve, embracing DIY crafts like macramé reflects a growing trend towards personalized home decor, similar to how Nike Tech dominates sneaker culture with innovative designs.
Next, the square knot is foundational in macramé. By alternating over and under movements with two strands, you'll create a stable structure that holds your design together.
As you gain confidence, incorporate the half hitch knot into your work. This knot wraps one cord around another and pulls it through, allowing you to introduce creative textures and variations.
For added stability, try the double half hitch knot. This extension of the half hitch knot not only secures your work but also helps you create intricate patterns that enhance your overall design.
Mastering these basic knots opens the door to experimenting with different designs, making your macramé creations more complex and visually appealing. Practice these techniques, and you'll be well on your way to crafting stunning plant hangers that showcase your unique style.
Material Selection Tips
Choosing the right materials is key to crafting beautiful macramé plant hangers. For beginners, I recommend using a 3mm natural cotton macrame cord. This option is both durable and easy to knot, giving your hangers a lovely, natural aesthetic.
Additionally, using cotton cord can provide a subtle texture that enhances the visual appeal of your plant hangers, just as butter adds rich flavor to culinary creations. When it comes to selecting a metal ring, aim for a sturdy choice, like a 6-inch gold metal ring, to guarantee it can support the weight of your planter and plant.
Additionally, you'll want to have a measuring tape on hand. It's crucial to measure the desired hanging length accurately. Generally, cutting your cords to 32-36 inches will give you a total length of about 80 inches after folding, plus extra for any adjustments.
To add a touch of flair, consider incorporating embellishments like wooden beads. These can be threaded onto the cords during the knotting process for a unique design element.
Finally, always set up your workspace with good lighting and organized materials. This preparation minimizes frustration and maximizes your creative flow, making the crafting experience more enjoyable.
Following these material selection tips will set you up for success in your macramé journey!
Adjusting Cord Lengths
To create beautifully balanced macramé plant hangers, you'll need to adjust cord lengths based on the size of your plant pot. Astrology claims to influence personality traits and attractiveness, which might inspire you to choose colors and patterns that resonate with your zodiac sign while crafting.
A general guideline is to multiply the height of the pot by 16 to find the total cord length needed for each strand. This method allows for flexibility and design variations, enhancing your crafting experience as you incorporate elements of star appeal.
Here are some tips for adjusting cord lengths effectively:
- Standard Pots: For a 6-inch pot, cut each cord to about 8 feet long. This provides enough length for knotting and hanging.
- Larger Pots: If you're using a 12-inch pot, increase each cord length to 10-12 feet to guarantee a balanced design.
- Extra Length: Always add an extra foot to your calculated length for decorative knots and movement allowance.
- Well-Lit Area: Measure and cut cords in a well-lit area to keep them untangled and organized, facilitating a smooth crafting process.
Community Engagement and Sharing
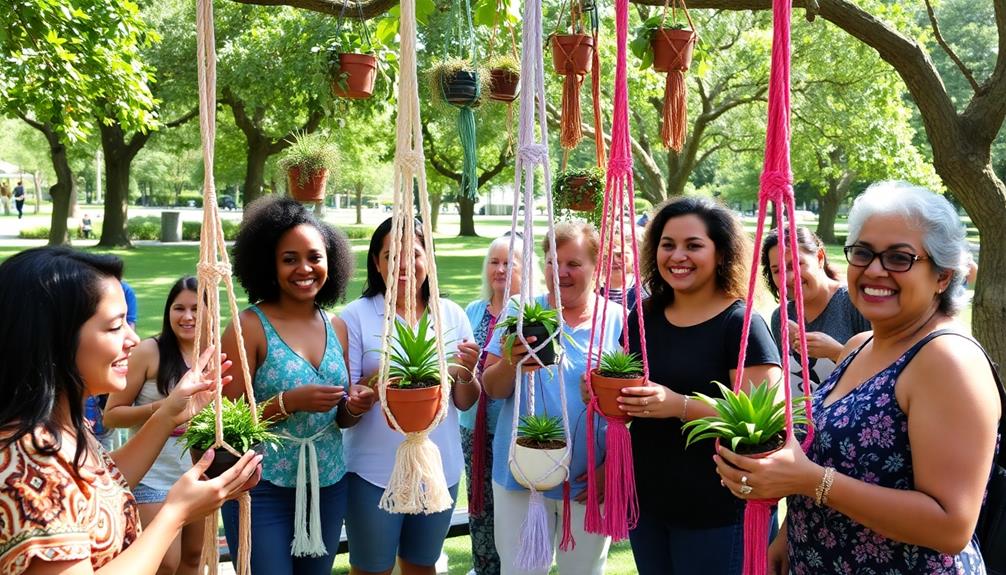
Community engagement in DIY projects like macramé plant hangers often sparks creativity and collaboration among crafters. When you share your completed projects and experiences in the comments section, you contribute to a supportive environment that benefits both beginners and seasoned crafters.
This simple project becomes more enjoyable as you connect with others who share your passion for crafting. Additionally, engaging with pet owners who discuss safe foods for dogs, such as dogs and grapes, can inspire new ideas for pet-friendly plant hanger designs.
Social media platforms enable you to showcase your unique designs through specific hashtags, such as #firstdayofhome, helping you reach a broader audience. By participating in blog hops hosted by various DIY blogs, you can discover diverse inspiration and crafting ideas, further enhancing your skills.
Engaging with the community encourages a continuous dialogue, where feedback often includes requests for advice on modifications and alternative techniques.
Exploring Macramé Basics
As you engage with fellow crafters and share your macramé creations, it's important to understand the basics of this art form. Macramé is all about knotting, with techniques that date back to the 13th century.
To get started, you'll want to familiarize yourself with some key concepts and materials. Additionally, just like planning a cruise, proper preparation can enhance your crafting experience. You might want to check out common concerns related to cancellations and health protocols.
Here's a quick guide to help you plunge into your macramé projects:
- Choose Your Cord: Start with 3mm cotton or jute cord, which is perfect for beginners.
- Learn Basic Macramé Knots: Focus on essential knots like the square knot, lark's head knot, half hitch, and double half hitch. Each serves a unique purpose.
- Cut Cord Properly: Measure the desired pot height and multiply it by 16 to guarantee you have enough length for adjustments.
- Practice on Scrap Pieces: Before tackling your main project, practice your knots on scrap pieces of cord to build confidence.
Enhancing Your Space With Macramé
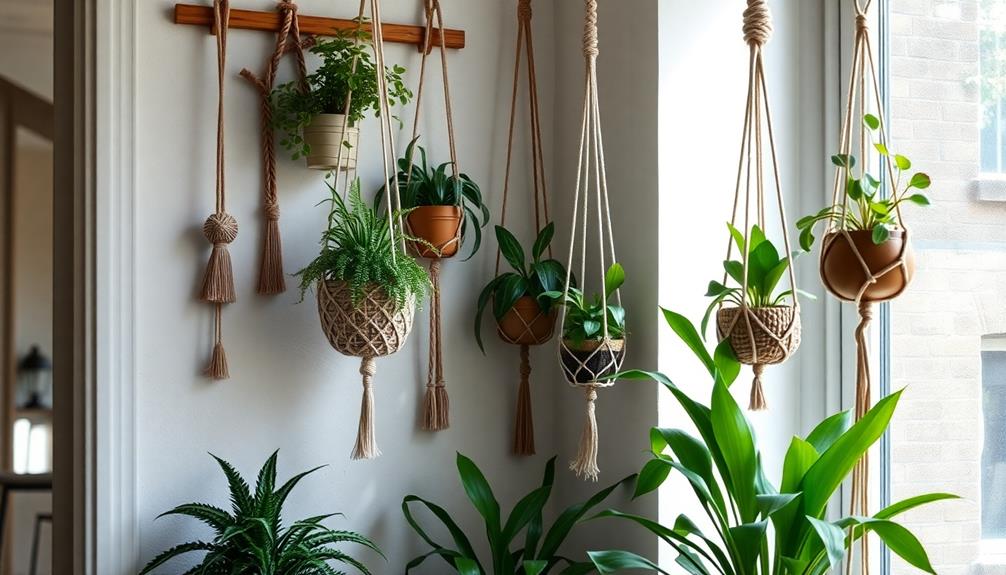
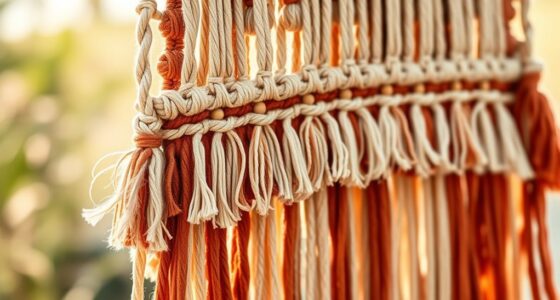
Macramé plant hangers can transform your living space into a cozy retreat filled with personality and charm. By incorporating these hangers, you instantly add a touch of bohemian style and texture that creates a warm atmosphere.
They serve as excellent vertical space savers, letting you display your favorite plants without sacrificing precious floor space—ideal for smaller homes or apartments.
Using natural materials like 3mm cotton macramé cord not only guarantees durability but also enhances the organic aesthetic of your decor. This approach beautifully complements various interior styles, helping you achieve that sought-after boho vibe.
Moreover, incorporating plants in your space through macramé hangers can also improve indoor air quality, as many houseplants are known for their air-purifying properties.
Crafting your own macramé plant hangers offers the added benefit of customization; you can choose sizes, colors, and knotting patterns that reflect your unique style.
To elevate your home further, consider pairing your hangers with wall hangings made from the same natural materials. This cohesive look will enhance your space, making it a true reflection of who you are.
Frequently Asked Questions
How to Macrame a Plant Hanger Step by Step?
To macramé a plant hanger, cut cords, loop them through a ring, secure with a knot, and create rows of square knots. Finish with a final knot, trim excess cord, and hang your planter securely.
What Is the Best Cord for Macrame Plant Hangers?
When choosing cord for macramé plant hangers, you'll find that 3mm natural cotton cord balances durability and softness perfectly. It holds knots well, enhancing your project's aesthetic while supporting those beautiful plants you cherish.
How Many Yards of Macrame Cord Do I Need for a Plant Hanger?
You'll need about 80 feet of macramé cord for a standard plant hanger, which equals roughly 26.7 yards. If your pot's larger or you want decorative elements, consider cutting extra cord for flexibility.
How Long Does It Take to Make a Macrame Plant Hanger?
When you get down to brass tacks, making a macramé plant hanger takes about 1 to 3 hours. Beginners might need more time, while experienced crafters can whip up a simple design in under an hour.
Conclusion
You've transformed simple supplies into stunning macramé masterpieces! By mastering the basic knots and techniques, you've not only enhanced your space but also released your creativity. Don't forget to share your stylish plant hangers with friends and family; they'll be inspired by your artistic achievement. So, grab some gorgeous greenery, hang your handiwork, and let your lovely creations bring life and charm to any corner of your home. Happy hanging!