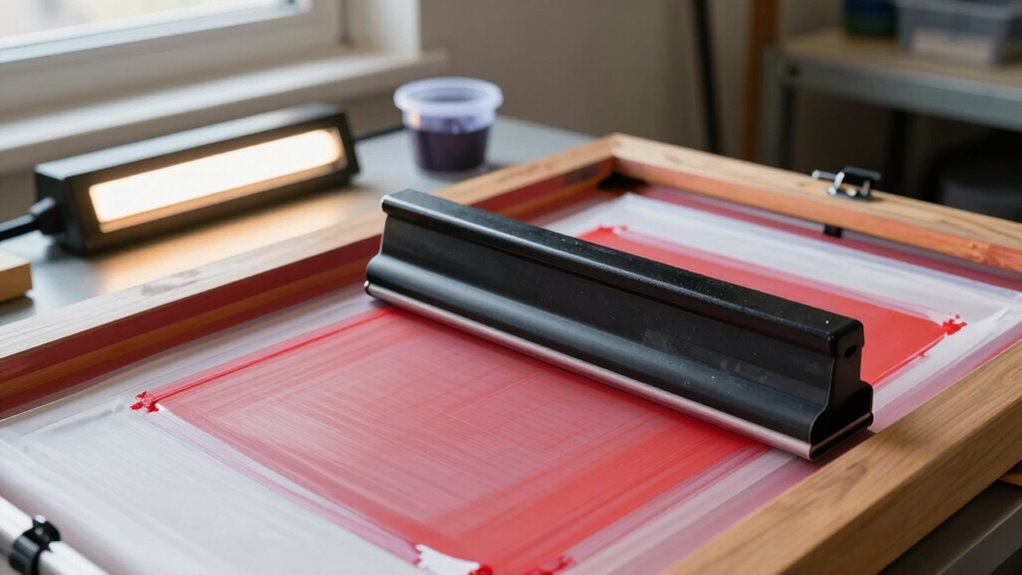

Setting up a successful home screen printing station involves choosing the right equipment like durable screens, a reliable light source, and quality inks suited for your projects. You’ll need proper workspace organization, safety gear, and tools for preparing and drying prints. Avoid common pitfalls by selecting equipment tailored to your needs and surfaces. Keep your process steady and organized, and you’ll produce professional results. If you keep exploring, you’ll discover how to build a fully functional setup step by step.
Key Takeaways
- Use durable frames (wood or aluminum) with appropriate mesh count for your design detail and ink deposit needs.
- Select high-quality emulsion and proper stencil creation methods for crisp, long-lasting prints.
- Ensure a clean, well-ventilated workspace equipped with drying racks, UV lights, and safety gear for safe operation.
- Choose inks compatible with your substrates—water-based for eco-friendliness, plastisol for durability.
- Maintain organized tools and equipment, and follow proper process control for consistent, professional results at home.

Ecoofor 53Pcs Screen Printing Kit All-in-One Set with 50W UV Exposure Lamp, 3 Size Wooden Screen Printing Frames, 6 Color Screen Printing Inks, 15 A4 Size Inkjet Transparency Films
- Complete Screen Printing Kit: Includes tools and detailed guide for beginners
- Fast UV Exposure: 50W UV lamp speeds up curing process
- Variety of Colors: Six colors plus blending options
As an affiliate, we earn on qualifying purchases.
As an affiliate, we earn on qualifying purchases.
Why Screen Printing at Home Is a Great Hobby
Screen printing at home is a rewarding hobby because it allows you to create custom designs with hands-on control and flexibility. Understanding its history reveals how this art form evolved from early techniques used by famous artists like Andy Warhol, who made screen printing a pop art staple. By practicing at home, you tap into a rich tradition that combines creativity with craftsmanship. You can experiment with different styles, colors, and materials, making each project uniquely yours. This process also offers a sense of achievement, as you see your designs come to life on various surfaces. Plus, it’s a versatile hobby, blending art, commerce, and personal expression—all while connecting you to a notable artistic legacy. Additionally, mastering proper screen printing techniques ensures your projects are successful and professional-looking. Developing a strong understanding of printmaking fundamentals can further enhance your skills and results. Moreover, exploring halal-friendly materials can help ensure your projects align with ethical and dietary considerations. Incorporating innovative tools can also streamline your workflow and improve precision. Engaging with artistic history can inspire new ideas and deepen your appreciation for this craft.
Essential Materials and Supplies for Beginners
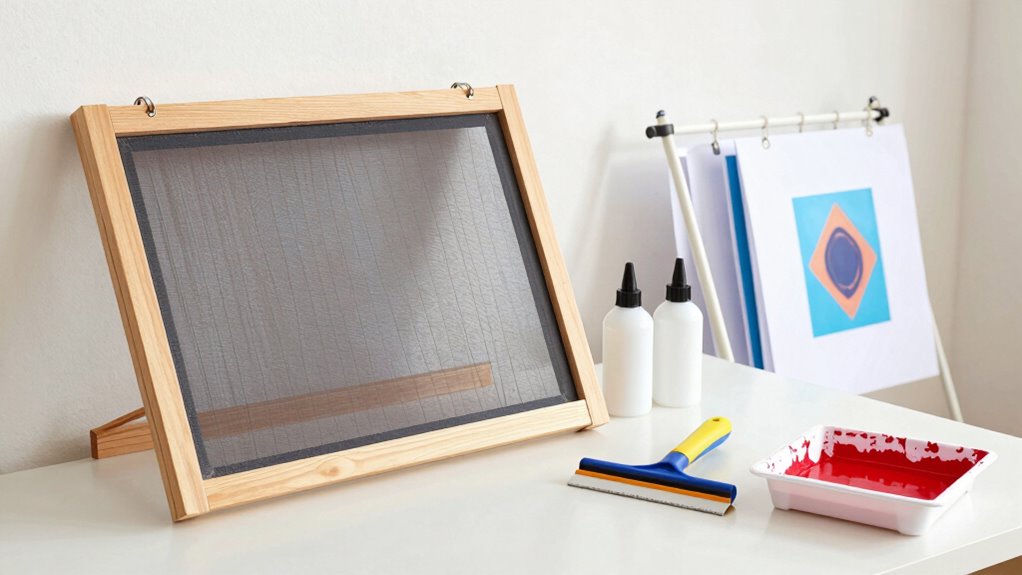
To start screen printing at home, you’ll need essential supplies like screens, inks, and squeegees. Basic tools such as a light source, a scoop coater, and a palette knife will make the process smoother. Don’t forget safety gear like gloves and masks to protect yourself and keep your workspace clean. Additionally, understanding proper paint strainers can help ensure your inks are free of debris, resulting in cleaner prints. Incorporating ink mixing techniques can also improve your color consistency and overall print quality. Mastering light exposure techniques is crucial for achieving sharp, detailed images in your prints.
Essential Printing Supplies
Getting started with home screen printing requires gathering a few essential supplies. You’ll need quality inks suited for your projects, focusing on proper ink formulations that match your desired results. To achieve the perfect color, you’ll want to experiment with color mixing, blending primary shades to create custom hues. Make sure to have a palette or mixing tray handy for blending inks before printing. Additionally, keep plenty of squeegees, mixing sticks, and clean containers for handling your inks. It’s important to choose ink types compatible with your chosen fabric or surface. By paying attention to ink formulations and mastering color mixing, you set a strong foundation for successful prints. Incorporating free floating techniques can help enhance your design process and achieve more natural results. Exploring different printing methods can also expand your creative possibilities and improve your overall results. Paying close attention to print durability ensures your designs remain vibrant over time. Properly preparing your screen mesh and ensuring tight, even tension can significantly impact the quality of your prints. Additionally, understanding the different ink types available helps in selecting the best option for your specific project. These supplies will help you produce vibrant, long-lasting designs without unnecessary complications.
Basic Screen Printing Tools
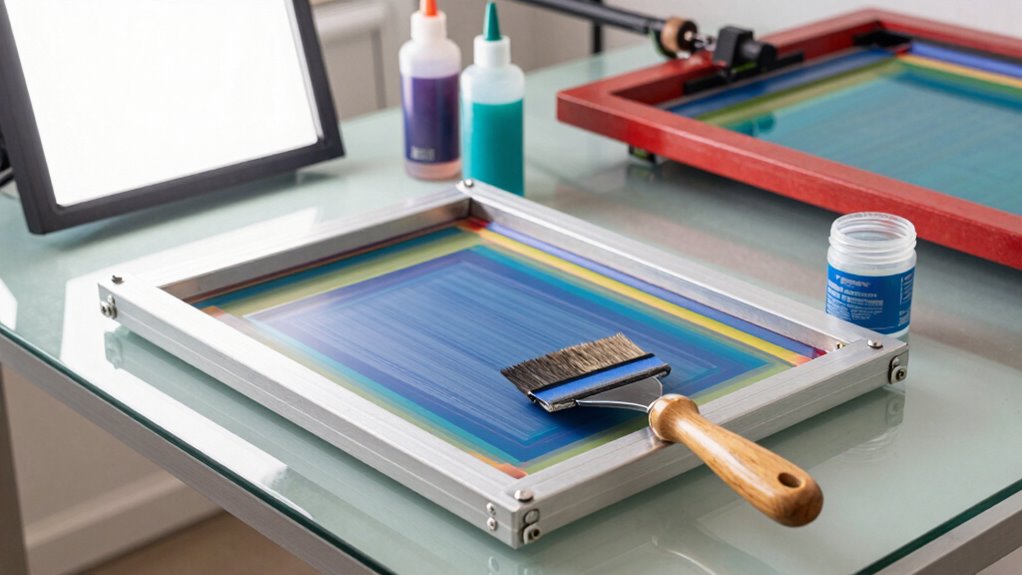
Starting your home screen printing journey requires gathering the right basic tools to guarantee smooth and successful projects. One essential item is the screen mesh, which forms the foundation for your stencil. Choose a mesh with the appropriate mesh count for your design complexity. You’ll also need emulsion supplies, including emulsion and a scoop coater, to prepare your screens properly. These supplies help create a durable, detailed stencil that resists tearing. A squeegee is crucial for spreading ink evenly across the screen, ensuring sharp, consistent prints. Additionally, have a light source for exposing your screens and some masking tape to secure stencils. Gathering these basic tools sets a solid foundation for your screen printing projects and makes the entire process much smoother.
Safety and Maintenance Gear
Having the right safety and maintenance gear is essential for a safe and successful home screen printing experience. Always wear gloves and a mask when handling inks and cleaning supplies to protect your skin and lungs. Keep a well-ventilated workspace to avoid fumes from ink mixing or cleaning chemicals. Regularly check your frame tension; uneven tension can cause mishaps and uneven prints. Use safety goggles when cleaning screens or adjusting equipment to prevent splashes from damaging your eyes. Maintain your tools by cleaning screens thoroughly and inspecting them for damage. Store inks and chemicals properly, away from children and pets. Proper safety gear and regular maintenance not only keep you safe but also ensure high-quality results and longer-lasting equipment. Being familiar with Gold IRA Markets can also help diversify your investments once you’re comfortable with your printing setup. Additionally, understanding equipment maintenance best practices can extend the lifespan of your tools and improve your overall printing quality. Incorporating protective gear into your routine is crucial for avoiding accidents and exposure to hazardous materials, and staying informed about safety protocols can further enhance your workspace safety. Regularly reviewing safety procedures helps you stay prepared for any unforeseen issues that might arise during your printing projects.
How to Choose the Right Screen and Frame for Your Projects
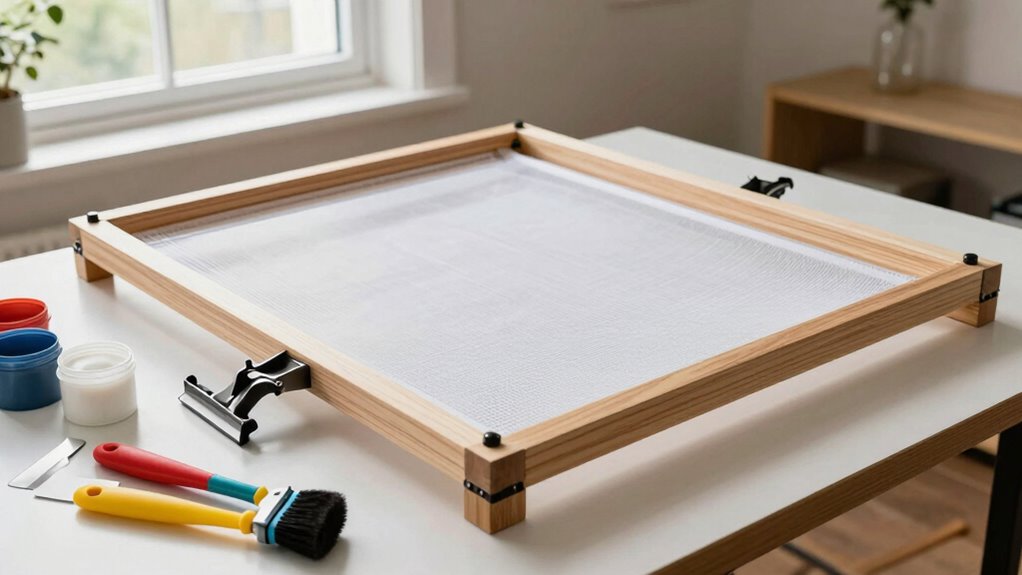
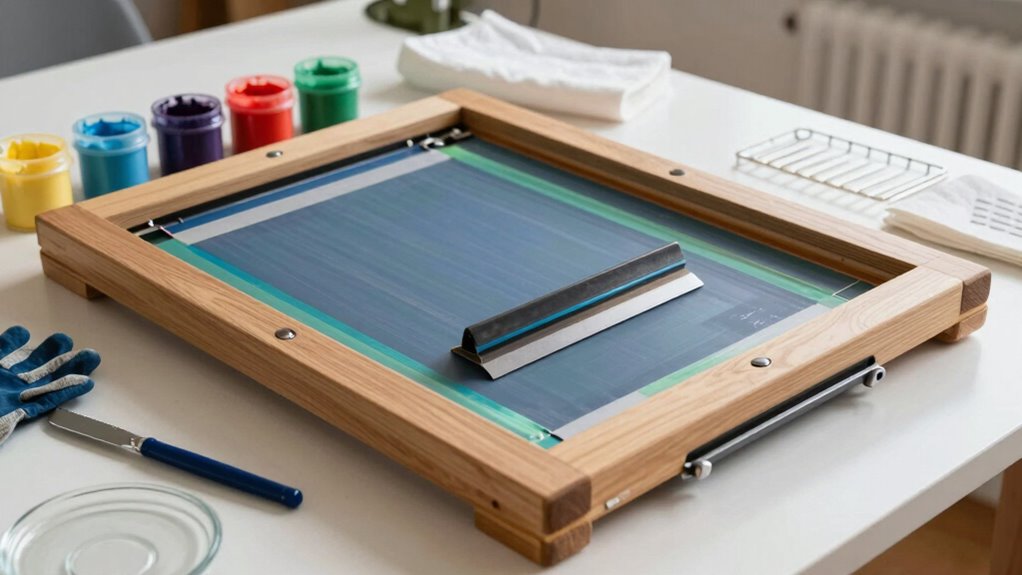
Choosing the right screen and frame is essential for achieving sharp, clean prints. When selecting, consider the type of project and detail level. Choosing frames involves deciding between wood or aluminum, with aluminum offering durability and stability. Screen mesh options vary in thread count; higher counts produce finer detail, while lower counts allow for thicker ink deposits. Here’s a quick guide:
| Choosing Frames | Screen Mesh Options |
|---|---|
| Aluminum or wood | 110-360 mesh counts |
| Sturdy and lightweight | Finer meshes for detail |
| Easy to assemble | Coarser meshes for bold prints |
Matching your frame type and mesh to your project ensures crisp results. Think about your design complexity and ink consistency when making your choices. For optimal results, consider the mesh tension to ensure even ink application and prevent print blurring. Proper screen preparation also plays a crucial role in achieving professional-quality prints, especially when working with different mesh types to match your desired outcome. Additionally, understanding the capacity of your screen setup can help you select equipment that meets your production volume without sacrificing quality. Ensuring your equipment is compatible with your desired output quality will help maintain consistent results throughout your projects.
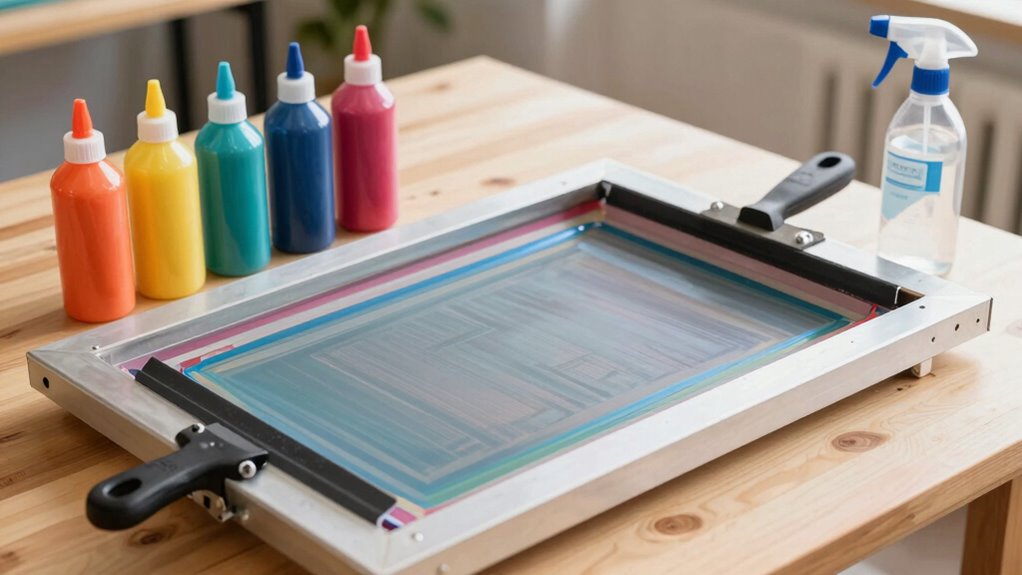
Picking the Best Ink Types for Home Screen Printing
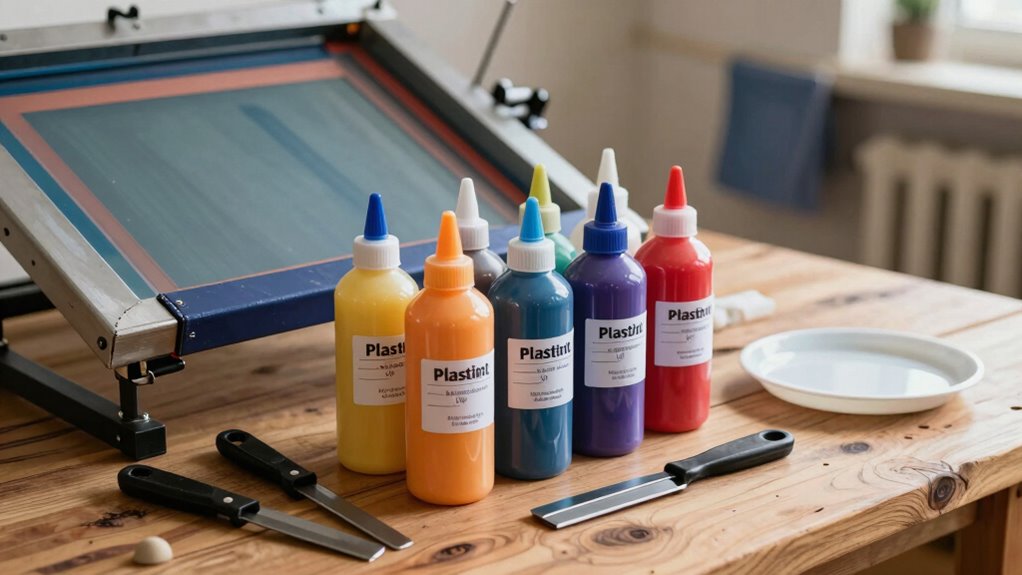
Selecting the right ink type is essential for achieving vibrant, durable prints in home screen printing. You want inks with strong ink durability to ensure your designs last through washes and wear. Water-based inks are popular for their eco-friendliness and ease of cleanup, but they may require more curing time. Plastisol inks offer excellent durability and vibrant color, making them ideal for long-lasting prints. Consider how you’ll mix colors; transparent inks allow for better color blending, giving you more creative control. Opaque inks are great for covering dark fabrics. Think about the material you’re printing on and your desired finish. Choosing the correct ink type helps you create professional-looking prints that stand up over time while giving you flexibility with color mixing.
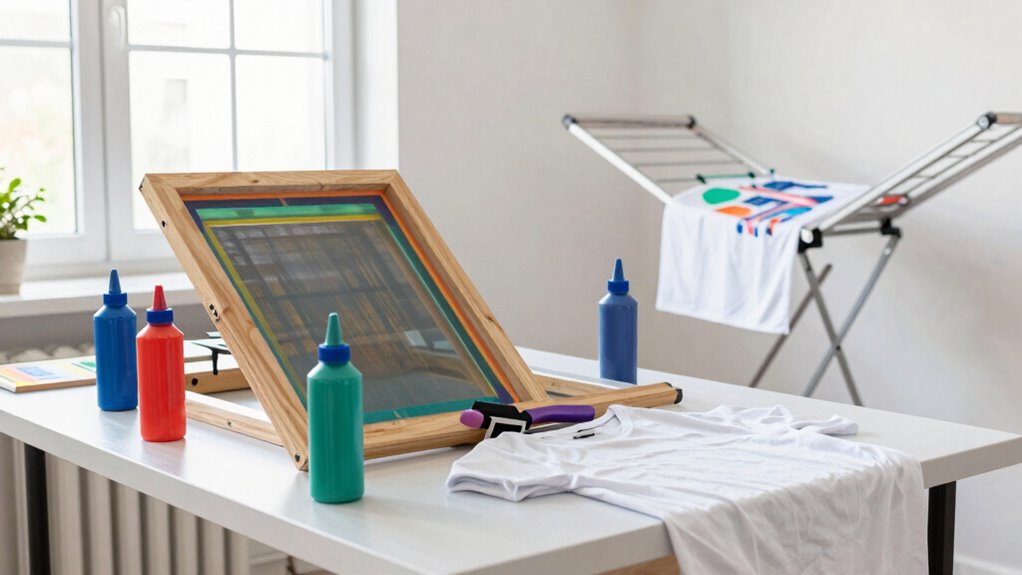
Setting Up a Safe and Efficient Workspace at Home

To create a safe and efficient workspace, you need proper ventilation to prevent fumes from building up. Organizing your tools and materials keeps your area clean and speeds up your workflow. By setting up thoughtfully, you’ll enjoy a smoother, safer screen printing experience at home. Incorporating storage solutions can further improve your organization and accessibility.
Proper Ventilation Setup
Creating a well-ventilated workspace is essential for safe and efficient screen printing at home. Proper ventilation helps manage fumes, dust, and odors that come from inks, solvents, and cleaning chemicals. Install an air filtration system or use exhaust fans to draw out contaminants and keep the air fresh. This not only improves air quality but also helps control strong odors, making your workspace more comfortable and safer to work in. Keep windows open when possible, and consider adding a portable air purifier with HEPA filters for added odor control. Regularly maintaining your ventilation setup guarantees fumes don’t accumulate, reducing health risks. Prioritizing air circulation and filtration creates a healthier environment, allowing you to focus on your craft without worry.
Organized Workspace Design
A well-organized workspace is essential for safe and efficient home screen printing. Proper workspace organization ensures you can work smoothly and reduces accidents. Focus on ergonomic design to prevent fatigue and strain. Visualize a clean worktable with easy access to tools, a dedicated space for inks, and proper lighting. Keep your screens, squeegees, and cleaning supplies within reach. Use shelving to store materials neatly and prevent clutter. An ergonomic setup includes adjustable chairs and screens at comfortable heights. Clear pathways for movement and safety equipment like gloves and masks are critical. This thoughtful layout minimizes disruptions, boosts productivity, and keeps your environment safe and inspiring.
Basic Stencils and Emulsion Supplies You Need to Know
If you’re setting up for home screen printing, understanding the essential stencil and emulsion supplies is crucial. You’ll need a good emulsion, which is key for stencil creation, and supplies for stencil preparation, like a squeegee and a fine brush. Emulsion mixing requires careful measurement and thorough blending to ensure even coating. Choose a water-based or photopolymer emulsion based on your project needs. For stencil preparation, make sure you have a clean, flat surface to apply the emulsion smoothly. Light exposure tools, such as a UV light source or exposure unit, are also necessary for creating detailed stencils. Having these supplies ready will streamline your process, making it easier to produce crisp, durable stencils for consistent screen printing results.
How to Find and Prepare the Best Substrates for Printing
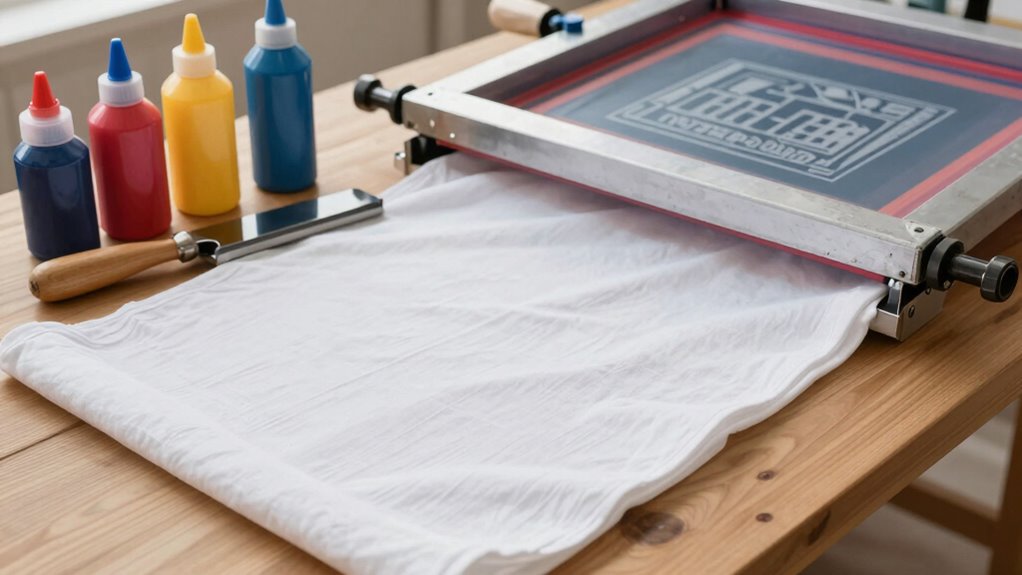
Choosing the right substrate is essential for achieving high-quality screen printing results. Your substrate selection impacts ink adhesion and overall finish. Start by inspecting surfaces for smoothness and cleanliness. Proper surface preparation guarantees the ink adheres evenly and lasts longer. Consider these options for substrates:
- Smooth, untextured fabric like cotton or polyester
- Flat, non-porous surfaces like acrylic or glass
- Sturdy, coated paper or cardboard
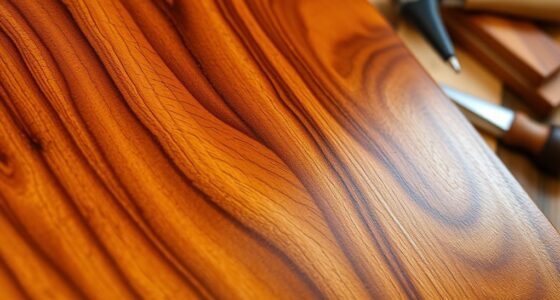
- Cleaned, sanded wood for a rustic look
- Specialty materials like metal or plastic sheets
Before printing, clean your substrate thoroughly to remove dust, oils, or grease. Light sanding may improve adhesion on rougher surfaces. Proper surface preparation creates a reliable base, ensuring your prints come out sharp and durable.
Tools for Drying, Curing, and Finishing Your Prints

To get professional results, you need the right environment for drying and curing your prints. A proper drying space helps prevent smudges and imperfections, while the right curing equipment guarantees your ink sets properly. Investing in these tools makes finishing your prints easier and more reliable.
Proper Drying Environment
Creating the right environment for drying, curing, and finishing your screen prints is crucial to guarantee professional results. Proper airflow and organization help prevent smudges and ensure consistent quality. Use effective ventilation systems to keep the air circulating, reducing humidity and speeding up drying. Maintain a clean, clutter-free workspace to avoid accidental smears or dust settling on wet ink. Keep prints away from direct sunlight, which can cause uneven curing. Set up a dedicated drying zone with flat surfaces and good lighting. Think of a space where you can easily monitor each print’s progress without disruptions. To visualize:
- Ventilation fans gently circulating air
- Organized shelves for drying prints
- Clean, dust-free surfaces
- Adequate lighting for inspection
- A designated, clutter-free workspace
Curing Equipment Essentials
Having the right curing equipment is essential to achieve professional-quality screen prints. UV curing lights are a popular choice for quickly setting inks, especially for detailed or intricate designs. They provide fast, efficient curing without high heat, reducing the risk of print distortion. A heat press can also serve as an effective curing tool, applying consistent heat and pressure to ensure ink bonds properly to the substrate. This method is ideal for plastisol or specialty inks that require heat activation. Combining UV curing with a heat press gives you flexibility and control, allowing you to customize curing times and conditions for different projects. Proper curing not only improves durability but also enhances the overall look of your finished prints.
Common Mistakes to Avoid When Building Your Equipment Kit
Building your equipment kit for screen printing can seem straightforward, but overlooking common mistakes can lead to frustration and wasted resources. One mistake is neglecting regular equipment maintenance, which can cause ink buildup and printing issues. Avoid rushing the setup; carefully check each piece of equipment to ensure proper functioning. Don’t overlook troubleshooting techniques—identifying problems early saves time and material. Be cautious about buying incompatible tools or supplies, which can hinder the process. In the end, skipping detailed planning can lead to missing essential items, delaying your project. To prevent these pitfalls, keep your workspace organized, regularly clean and maintain your equipment, and familiarize yourself with troubleshooting techniques. Doing so will streamline your workflow and improve your print quality.
Final Tips for Successful Screen Printing at Home
To guarantee your screen printing projects turn out professional-looking, focus on staying organized and patient throughout the process. Don’t fall for screen printing myths that suggest it’s overly complicated; with proper preparation, it’s simple and rewarding. Use eco friendly inks to reduce environmental impact and ensure a safe workspace. Keep your workspace tidy, and double-check your equipment setup before starting each project. Visualize your work like this:
| Clean workspace | Properly aligned screen | Consistent ink flow |
|---|---|---|
| Patience during drying | Accurate registration | Quality final product |
| Knowledge of myths | Eco friendly inks | Steady hand for details |
This approach helps avoid mistakes and achieves vibrant, durable prints. Remember, patience and organization turn beginner efforts into professional results.
Frequently Asked Questions
What Safety Gear Is Essential During Home Screen Printing?
You should always wear protective gear like gloves, goggles, and a mask to guarantee safety during home screen printing. These safety precautions prevent exposure to harmful inks, chemicals, and fumes. Make sure your workspace is well-ventilated, and handle chemicals with care. Wearing the right protective gear minimizes health risks, keeping you safe while you enjoy your creative process. Always prioritize safety to make your home screen printing experience enjoyable and risk-free.
How Do I Troubleshoot Common Screen Printing Problems?
Think of your screen like a musical instrument—if the strings are loose or tight, the tune is off. To troubleshoot, check ink consistency; if it’s too thick or thin, it’ll clog or spread unevenly. Also, inspect mesh tension—if it’s sagging or too tight, prints will be blurry or faint. Adjust these elements carefully, and your prints will hit the right note every time.
Can I Use Household Items as Makeshift Screen Printing Tools?
Yes, you can use household items as makeshift screen printing tools with some DIY alternatives. For example, a fine mesh laundry bag or sheer curtain fabric works well as a screen. You can use a craft knife for stenciling or a piece of cardboard for a squeegee. Just make certain these household substitutes are clean and sturdy enough to handle the ink, and you’ll be able to create quality prints at home.
What Maintenance Does My Screen Printing Equipment Require?
You better keep your screen printing gear in shape, or it’ll rebel. Regularly clean your screen mesh care with gentle solutions to prevent ink buildup and guarantee sharp prints. Don’t forget emulsion removal after each session—no one wants stubborn remnants ruining the next design. Check for tears or warping, and store your equipment properly. Proper maintenance keeps your tools working smoothly, so your prints stay crisp and professional—unlike your patience!
How Do I Clean and Store Screens After Printing?
After printing, you should clean your screens thoroughly with a proper screen cleaning solution to remove ink and emulsion residues. Use soft brushes or a pressure washer if available. Once clean, dry your screens completely to prevent mold or damage. Store them in a protective, flat storage solution or upright in a cool, dry place. Proper cleaning and storage guarantee your screens stay in good condition for future use.
Conclusion
Starting screen printing at home is rewarding and cost-effective, with over 60% of hobbyists improving their skills within the first few months. By choosing the right equipment and materials, you set yourself up for success. Remember, a dedicated workspace and proper preparation make all the difference. With patience and practice, you’ll create professional-looking prints that showcase your creativity—turning your home into a personal print shop in no time.