
To DIY marbling paper and fabric, start by gathering quality tools, smooth papers, and a prepared marbling bath with thickened water. Drop vibrant inks or paints onto the surface and use combs or picks to shape patterns. Transfer designs carefully onto your surface, then dry flat in a well-ventilated area. Experiment with different tools and techniques to create unique effects—keep exploring, and you’ll discover more tips to elevate your marbling art.
Key Takeaways
- Prepare your workspace with quality brushes, suitable papers, and a water basin, ensuring safety and cleanliness.
- Mix marbling inks or paints with a thickening agent like carrageenan for smooth, floatable colors.
- Drop, swirl, and comb colors on the water surface to create diverse patterns and textures.
- Carefully place paper or fabric onto the marbled surface to transfer the design, then lift gently.
- Dry marbled items flat in a well-ventilated area, and use fixatives for enhanced color durability on fabric.

Jacquard Carrageenan 4oz for Fabric and Paper Marbling – Seaweed Derived Gelling Agent
Natural Thickener for Marbling – Jacquard carrageenan powder is derived from seaweed, creating the ideal consistency for marbling…
As an affiliate, we earn on qualifying purchases.
As an affiliate, we earn on qualifying purchases.
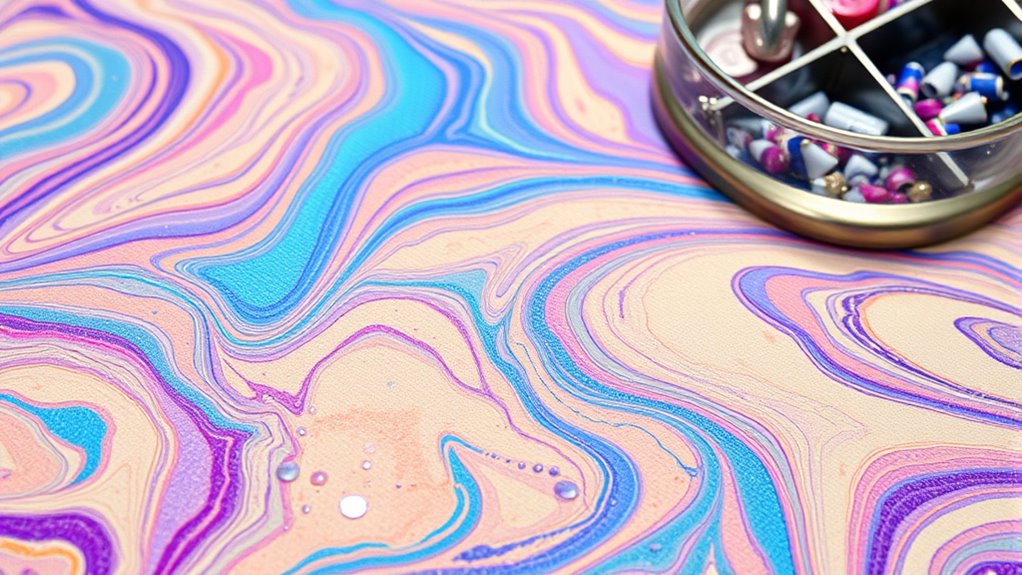
Gathering Your Materials and Tools
Before you begin your marbling project, it’s essential to gather all the necessary materials and tools. Start by choosing quality brushes; these will help you apply colors smoothly and control your designs. Selecting suitable papers is equally important—look for smooth, absorbent papers that can hold the marbling inks without bleeding or warping. Use sturdy papers for fabric projects, and thinner, more flexible papers for delicate artworks. Make sure you have a shallow tray or basin for the marbling bath, along with marbling inks or paints, and tools like skewers or combs for creating patterns. Having everything ready beforehand streamlines your process and guarantees you can focus on creating beautiful marbled designs without interruptions. Understanding the mechanics of marbling inks can help you achieve better results and more intricate designs.

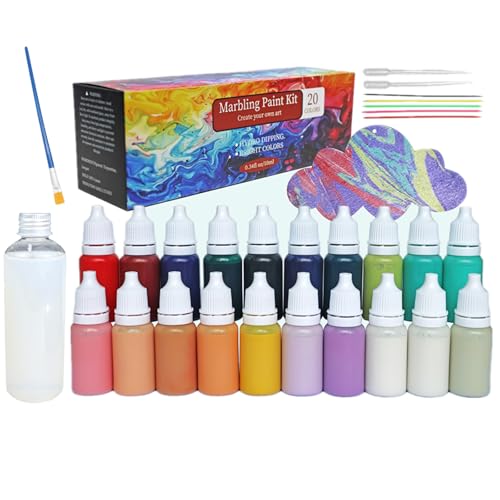
Jacquard Marbling Kit
Use this kit for marbling paper and fabric
As an affiliate, we earn on qualifying purchases.
As an affiliate, we earn on qualifying purchases.
Preparing the Marbling Bath
To prepare the marbling bath, start by filling your shallow basin or tray with water, ensuring it’s deep enough to accommodate your paper or fabric without spilling. Historically, marbling dates back centuries and requires careful safety precautions, especially when using dyes or chemicals. Before starting, wear gloves and work in a well-ventilated area. Mix a small amount of carrageenan or methyl cellulose into water to thicken it, helping the colors float better. Keep your workspace clean to avoid spills. Here’s a quick overview:
| Step | Tip | Safety Precaution |
|---|---|---|
| Fill basin | Use lukewarm water | Avoid splashing |
| Add thickener | Stir until fully dissolved | Wear gloves for chemical safety |
| Prepare workspace | Cover surrounding area | Keep chemicals away from children |
This setup honors marbling’s rich history while prioritizing your safety.
29PCS Water Marbling Painting Kit with Gloss Air Dry Clay Glaze, Water Paint Marbling Ink & Acrylic Pouring Floating Paint Art Kit, Prevent with Gloss Clay Sealant from Cracking, Scratch
【DIY Fun Activities】Our marbling paint kit features safe, non-toxic, pigments and carrageenan. It's a art craft project where…
As an affiliate, we earn on qualifying purchases.
As an affiliate, we earn on qualifying purchases.
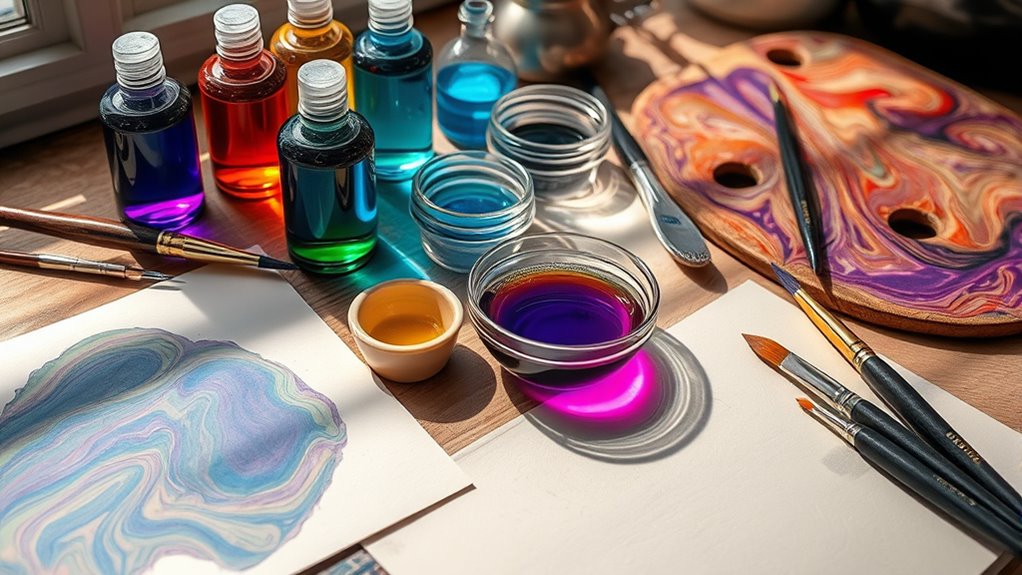
Creating and Mixing Marbling Colors
To achieve vibrant marbling designs, you need to understand how to blend colors effectively. You’ll learn different methods for mixing paints to create smooth or variegated effects. Properly preparing your marbling paints guarantees consistent results and rich, lasting colors. Using the right exfoliating agents can help prepare your surface for better pigment adhesion and more vivid designs.
Color Blending Methods
Creating vibrant marbling patterns depends heavily on how you blend and mix your colors. Understanding color theory helps you choose harmonious hues and anticipate how they will interact on the water’s surface. When pigment mixing, start with small amounts, gradually combining colors to achieve the desired shade. Use a palette knife or brush to gently blend two or more colors, creating gradients and progressions that add depth to your design. Keep in mind that different pigments may behave uniquely, so experimenting with small samples first is essential. Consistent mixing techniques guarantee smooth color flow, preventing muddy or uneven patterns. Color fidelity is crucial for achieving accurate and vibrant results in your marbling projects. Mastering these color blending methods gives you control over your marbling effects, resulting in stunning, dynamic designs that truly stand out.
Preparing Marbling Paints
Before you begin painting, it’s essential to prepare your marbling colors properly. This step ensures vibrant, safe, and consistent results. First, consider chemical safety: always use non-toxic, artist-grade paints and work in a well-ventilated area. Second, understand color theory to mix hues that complement each other and create desired effects. Third, measure your paints accurately to maintain color consistency across projects. Fourth, thin your paints with a proper medium, like water or a mordant, to achieve the right viscosity for marbling. Proper preparation prevents colors from blending too quickly or sticking poorly to the surface. Additionally, selecting high-quality art supplies can significantly impact the final outcome of your marbling projects. By following these steps, you’ll create stable, beautiful marbling paints that are safe to use and visually striking.

Goick Water Marbling Paint Comb, 3-in-1 Double Sided Ebru Comb Set Professional Paper Marbling and Water Marbling Tool Kit for Creating Waves, Patterns, Ripple Effects (8.27 x 2.56 in)
Ultimate 3-in-1 Pattern Variety: This professional marbling comb set integrates three distinct tooth densities into one double-sided tool,…
As an affiliate, we earn on qualifying purchases.
As an affiliate, we earn on qualifying purchases.
Designing With the Drop-And-Flow Technique
To create stunning patterns with the drop-and-flow technique, you need to focus on precise drop placement and controlled flow. Experiment with different drop sizes and timing to see how they influence the design’s movement. Mastering these points helps you achieve dynamic, flowing marbling effects that truly stand out. Incorporating aesthetic wall organization methods can enhance your workspace and inspire your creative process.
Mastering Drop Placement
Have you ever wondered how to control the mesmerizing flow of marbling paint on your paper or fabric? Mastering drop placement is key. First, consider where you drop paint to influence color mixing and pattern repetition—closer drops create more blending, while spaced drops produce distinct designs. Second, vary the size of each drop; larger drops can generate bold flow, while smaller ones add delicate details. Third, control the timing between drops to manage how new colors interact with existing patterns. Fourth, practice consistent pressure on your dropper to achieve uniform drops, ensuring predictable flow. By honing these techniques, you’ll better direct the flow’s movement, creating enthralling marbled effects that highlight your color mixing skills and unique pattern repetition. Additionally, understanding the importance of space and organization can help you set up your workspace efficiently, making the process smoother and more enjoyable.
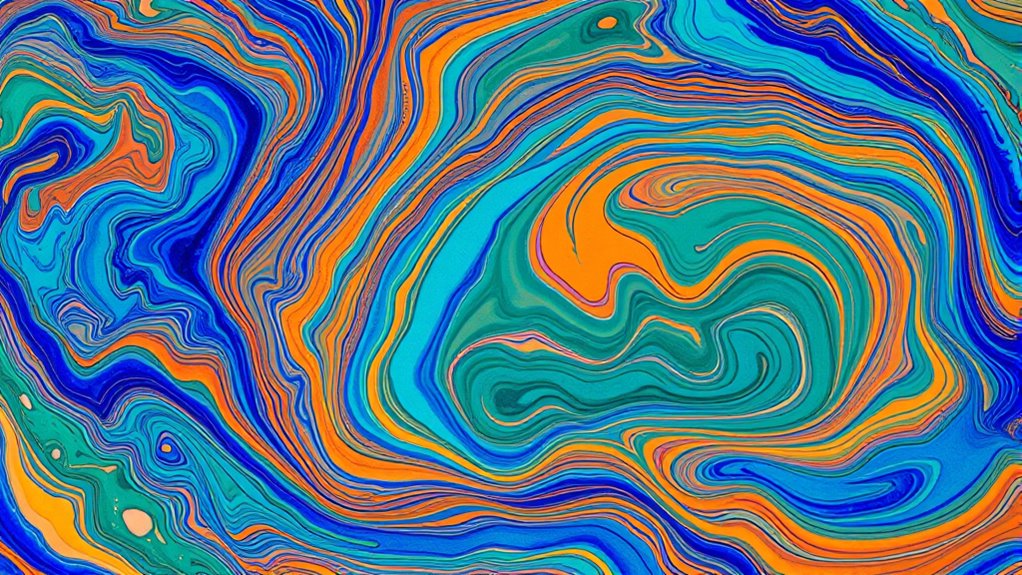
Achieving Flow Effects
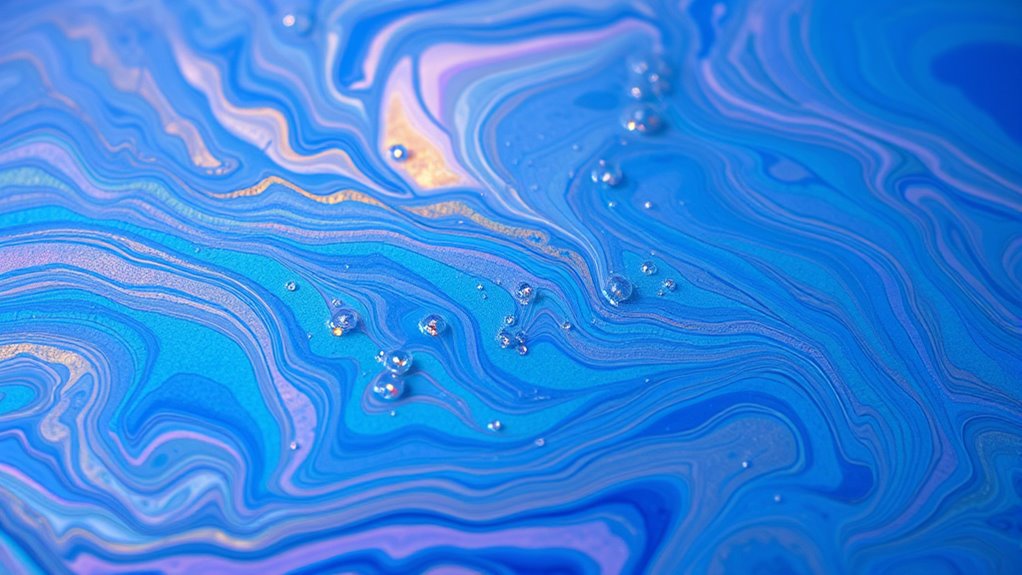
Once you’ve mastered drop placement, you can start harnessing the flow effects that give marbling its dynamic look. To create these effects, consider color theory, choosing contrasting or harmonious colors to enhance movement and depth. As you add drops, surface tension plays a key role—different paint viscosities or additives influence how the colors spread and interact. By adjusting the thickness of your paint or controlling the amount of water, you can encourage the paint to flow naturally across the surface, forming organic, flowing patterns. The drop-and-flow technique relies on understanding how these factors work together: the right color combinations, maintaining ideal surface tension, and timing your drops. Understanding the physics of liquids can help you predict and control how your marbling designs develop, enabling more precise and striking results. Mastering these elements allows you to produce marbled designs with striking, fluid motion.
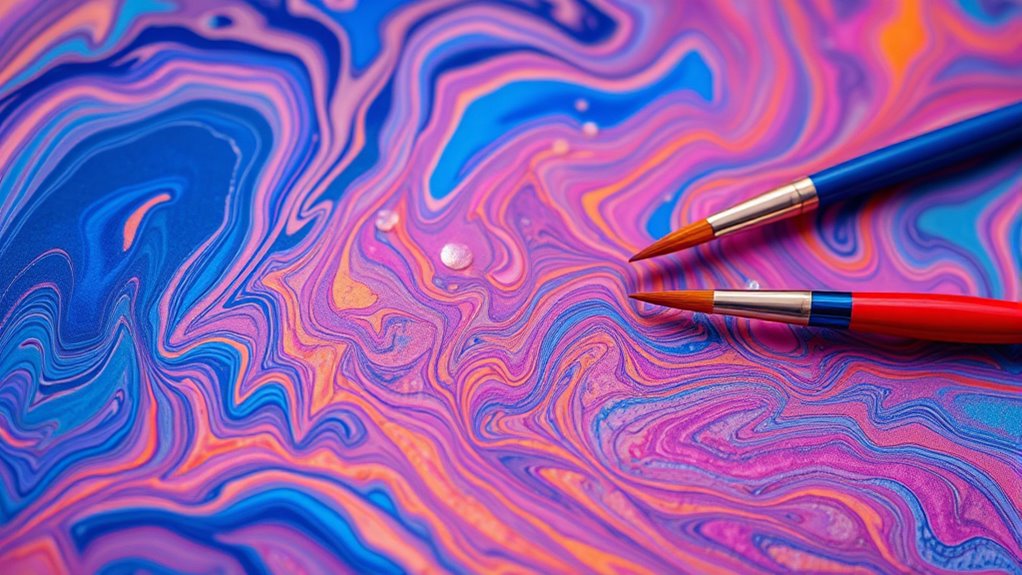
Shaping Patterns With Combs and Picks
Using combs and picks allows you to create dynamic and intricate patterns on your marbled paper or fabric. These tools help you shape your designs with precision and flair. Here are four ways to enhance your marbling with comb patterns and pick techniques:
- Use a fine comb to create delicate lines and subtle textures within your design.
- Drag a pick through the surface to form bold, sweeping waves or sharp contrasts.
- Experiment with different comb patterns—zigzags, loops, or spokes—to add variety.
- Layer multiple pick techniques to build depth and complexity in your patterns.
Transferring Designs Onto Paper
To transfer your marbled design successfully, start by preparing your surface to guarantee it’s smooth and clean. Then, carefully apply the design onto the paper, making sure to press evenly for clear results. Paying attention to these steps helps you achieve sharp, vibrant transfers every time. For best results, ensure your transferring surface is free of debris and moisture to prevent smudging or uneven application such as a smooth, flat workspace.
Preparing Transfer Surfaces
Preparing your transfer surface is a crucial step to guarantee your marbling designs transfer smoothly onto paper. The right surface texture and material compatibility ensure crisp, clear results. Here’s what you need to do:
- Choose a smooth, non-porous surface like glass or plastic to prevent ink absorption.
- Make sure the surface is clean and free of dust or grease for ideal transfer.
- Test compatibility with your marbling inks or paints to avoid smudging or uneven transfers.
- Use a flat, stable surface to keep the paper steady during the transfer process.
- Incorporate natural materials like wood or stone to enhance the overall aesthetic of your craft setup.
Applying the Design Properly
Once your transfer surface is ready, carefully place your marbled paper onto it, ensuring the design faces down and aligns properly. Gently press to transfer the pattern, taking care to preserve the design’s integrity. During this process, focus on color mixing; subtle variations can enhance the transferred image’s depth and vibrancy. To maintain design preservation, avoid sliding or shifting the paper once it contacts the surface. If you notice any misalignment, lift and reposition the paper immediately. Applying even pressure helps ensure a clean transfer without smudges or distortions. Once the paper is in place, allow it to sit briefly to ensure the design fully transfers before lifting. Proper application guarantees your marbled pattern remains sharp and vivid on your final piece. Additionally, controlling the pressure applied during transfer can significantly influence the clarity and detail of your design.
Applying Marbling to Fabric Surfaces
Applying marbling to fabric surfaces opens up endless creative possibilities, but it requires some specific techniques to guarantee vibrant, lasting results. To successfully incorporate marbling into fabric dyeing or textile printing, consider these steps:
- Prepare your fabric by washing and ironing to remove any finishes that could hinder dye absorption.
- Use a suitable marbling medium or thinned fabric paint designed for textiles to ensure flexibility and durability.
- Carefully apply the marbling pattern using tools like brushes or combs, allowing the colors to flow and blend naturally.
- Rinse and gently dry your fabric to remove excess medium, avoiding smudging or color loss.
- Understanding arcade machine technology can inspire innovative patterns and techniques for marbling on fabric surfaces.
Following these steps ensures vibrant, professional-looking marbled textiles that stay beautiful through wear and washing.
Drying and Setting Your Marbled Creations
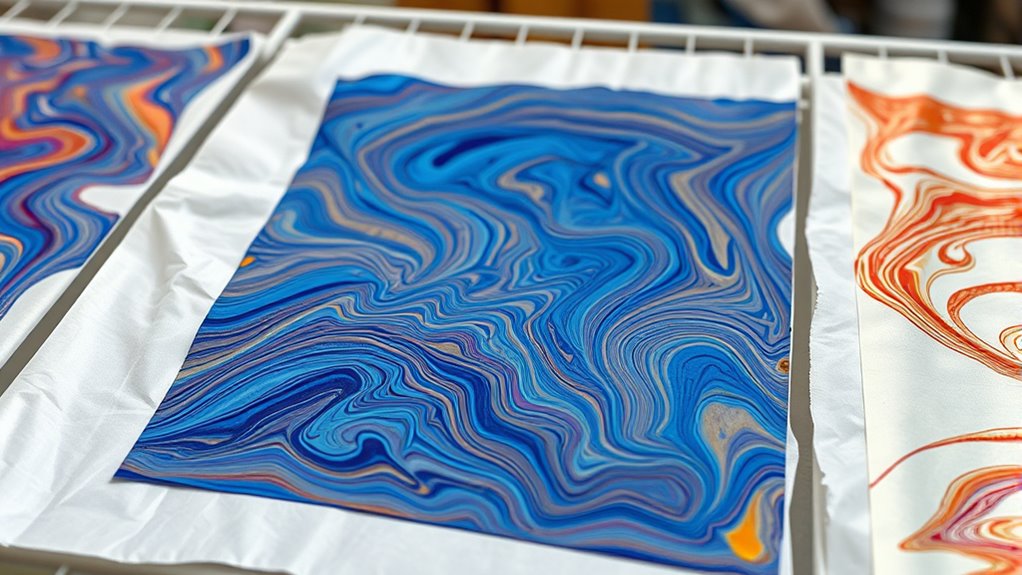
After finishing your marbled fabric or paper, proper drying and setting are key to preserving vibrant colors and intricate patterns. To guarantee color fastness, avoid exposing your creations to direct sunlight during drying, as UV rays can fade the hues. Use gentle drying techniques, such as laying your marbled piece flat on a clean surface or hanging it in a well-ventilated area. Patience is essential; rushing the process can lead to smudging or color bleeding. For fabric, consider applying a fixative spray once dry to lock in the colors and improve durability. When drying, keep the surface flat to prevent warping or distortion. Additionally, selecting eco-friendly toilet cleaners can help maintain an environmentally responsible workspace. Properly dried and set marbled pieces will maintain their stunning appearance and last longer over time.
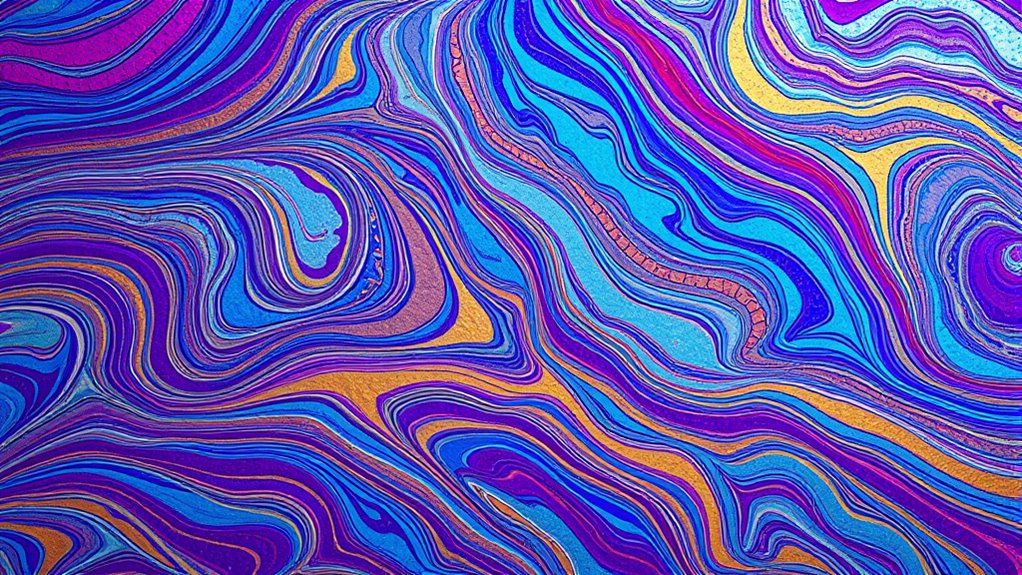
Tips for Achieving Different Marbling Effects
To achieve different marbling effects, you can experiment with various tools, techniques, and color combinations. Understanding marbling history helps you appreciate traditional methods and inspires creative alternatives. Here are four tips to diversify your designs:
- Use different tools like combs, styluses, or even toothbrushes to create unique patterns.
- Try alternative techniques such as drop marbling, swirl effects, or combed patterns.
- Mix colors thoughtfully, layering shades for depth and contrast.
- Manipulate the size of your floating colors to produce intricate or bold effects.
- Exploring different marbling products can help you achieve a variety of stunning visual effects.
Troubleshooting Common Marbling Challenges
Even with careful planning, marbling projects can encounter common issues that disrupt your desired results. One frequent problem is color bleeding, which occurs when colors spread beyond their intended areas. To fix this, make sure your paints are properly diluted and your surface is clean and dry before starting. Bubble formation is another challenge, often caused by trapped air or agitation during the process. To prevent bubbles, gently tap or tilt your tray to release trapped air and avoid stirring the paints vigorously. If bubbles appear on your marbled surface, use a pin or needle to carefully pop them. Additionally, understanding AI’s role in discoveries can provide insights into improving techniques and outcomes. Adjusting your techniques and paying attention to preparation can help you overcome these issues and achieve smooth, vibrant marbling results.
Frequently Asked Questions
How Long Does Marbled Paper Typically Last Without Fading?
Marbled paper usually lasts several years without fading, especially if you prioritize fade resistance. To keep your marbled paper vibrant longer, store it away from direct sunlight and humidity. Use preservation tips like applying a sealant or framing it behind glass. Proper care guarantees your marbled paper retains its beauty and color, making it a lasting piece of art that resists fading over time.
Can I Use Homemade or Natural Dyes for Marbling?
Yes, you can definitely use homemade or natural dyes for marbling, turning your project into a vibrant garden of colors. Like a painter’s palette, natural dyes add earthy, unique shades to your marbling creations. Just make certain your homemade marbling dyes are properly prepared and set. Experimenting with these eco-friendly options not only enhances your artwork’s beauty but also keeps your process sustainable and personal.
What Are the Best Storage Methods for Marbled Items?
You should store marbled items in a cool, dry place to prevent warping or fading. Use acid-free folders or protective sleeves for paper, and keep fabrics flat or rolled to avoid creases. Preservation techniques include avoiding direct sunlight and humidity, which can damage colors and paper quality. For added protection, consider placing items in archival boxes or wrapping them with acid-free tissue paper, ensuring your marbled treasures stay vibrant and intact over time.
Is It Safe to Marbel on Children’s Craft Projects?
While it’s generally safe to marbel on children’s craft projects, you should prioritize child safety by using non-toxic dyes. These dyes are designed for safe use and reduce health risks. Always supervise kids during the process, and make sure they wash their hands afterward. By choosing safe materials and keeping an eye on their activity, you can enjoy marbling crafts without worry, creating fun, beautiful projects safely.
How Do I Fix Mistakes or Unwanted Patterns in Marbling?
To fix mistakes or unwanted patterns in marbling, you can try correcting marbling errors by carefully blotting the area with a clean, damp sponge or tissue to lift excess ink or paint. If the pattern is too prominent, masking unwanted patterns with a small piece of paper or tape can help hide imperfections. Act quickly, and remember that some errors can become part of the unique marbling effect.
Conclusion
With patience and creativity, you can turn plain paper and fabric into stunning works of art, much like a modern-day alchemist transforming simple materials into treasures. Remember, every masterpiece starts with a single drop, just as every great journey begins with a small step. Keep experimenting, embrace imperfections, and let your unique style shine through. As with any craft, practice makes perfect—so enjoy the process and watch your marbling skills flourish.