
To DIY upcycle furniture, start by choosing pieces with vintage charm and solid construction. Prepare your workspace with tools like sanders, brushes, and protective gear, and thoroughly assess the furniture for damage or wear. Use coarse grit sandpaper to smooth surfaces, then apply your chosen paint or stain in even coats. Finish with protective sealants to boost durability, and add personal touches like hardware updates or decorative accents. Keep experimenting to perfect your skills; more tips await as you continue.
Key Takeaways
- Properly assess furniture condition, focusing on structural integrity and surface wear, before starting sanding or painting.
- Prepare a well-ventilated workspace with essential tools like sanders, brushes, and protective gear for efficient work.
- Use appropriate sanding techniques, starting with coarse grit then finishing with fine grit to achieve a smooth surface.
- Choose suitable paint, stain, or finish, applying multiple coats and protective sealants for durability and aesthetic appeal.
- Update hardware and add decorative accents to enhance style, then seal and maintain the piece regularly for longevity.
electric handheld sander for furniture
As an affiliate, we earn on qualifying purchases.
As an affiliate, we earn on qualifying purchases.
Choosing the Right Furniture for Upcycling
Selecting the appropriate furniture for upcycling is essential to guarantee your project’s success. Look for pieces with unique character, like vintage charm, which can be transformed into stunning focal points. Avoid furniture with extensive damage or structural issues, as repairs can be time-consuming and costly. Instead, choose items with solid frames and minimal hardware that’s easy to replace or update. Consider your desired style—whether you aim for a shabby chic look or sleek modern aesthetics—and select pieces that align with your vision. Small tables, dressers, or chairs often work well for upcycling projects. Being aware of local business hours can help you plan visits to thrift stores or flea markets to find the perfect furniture pieces. By choosing the right furniture, you set a strong foundation for your creative process, ensuring your finished piece will be both beautiful and durable.
interior paint brushes set
As an affiliate, we earn on qualifying purchases.
As an affiliate, we earn on qualifying purchases.
Preparing Your Workspace and Tools
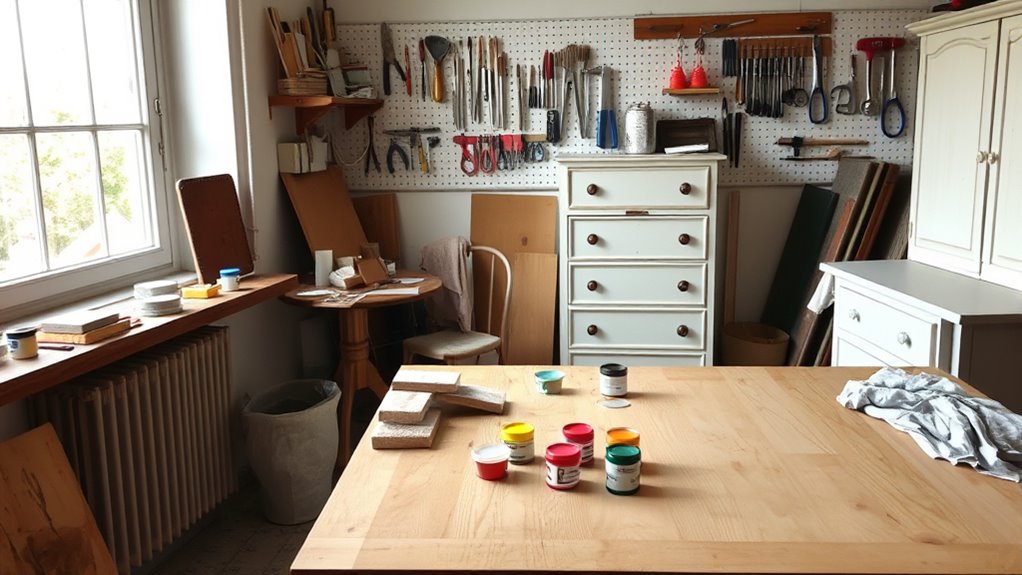
Before you begin your upcycling project, it’s important to prepare your workspace and gather the right tools. Start by organizing your workspace to keep everything within reach and ensure a clutter-free environment. Clear a large, well-ventilated area to work safely and comfortably. Gather essential tools like sanders, paintbrushes, rollers, and protective gear. Safety equipment is a must; wear gloves, goggles, and a dust mask to protect yourself from dust, fumes, and splinters. Use proper lighting to see details clearly and prevent accidents. Keep your workspace tidy throughout the project, storing tools properly when not in use. Proper workspace organization and safety equipment help you work efficiently, reduce hazards, and achieve professional results in your furniture upcycling. Additionally, understanding materials safety and proper handling techniques can further enhance your project’s success.
protective gear for DIY painting
As an affiliate, we earn on qualifying purchases.
As an affiliate, we earn on qualifying purchases.
Assessing the Condition of Your Piece
Before starting your project, you need to assess your piece’s condition. Check for any structural damage and see if the joints or legs are sturdy. Also, evaluate the surface for wear or scratches and identify any repairs or sanding needed to prepare for upcycling. Additionally, consider the color accuracy of the existing finish to determine if a new paint or stain will enhance the piece effectively.
Check for Structural Damage
When evaluating your furniture for upcycling, it’s crucial to check for any structural damage that could affect its stability and safety. Look closely for signs of wood rot, especially in joints, legs, and areas exposed to moisture. Damaged wood weakens the overall structural integrity, risking collapse or failure after your work. To better understand the importance of assessing damage, consider this table:
| Damage Type | Impact on Structure |
|---|---|
| Wood rot | Weakens joints, causes instability |
| Cracks or splits | Compromises load-bearing capacity |
| Loose joints | Leads to wobbling or collapse |
Address any issues before sanding or painting to ensure your piece remains safe and solid once upcycled. Recognizing structural issues early can save you time and money in the long run.
Evaluate Surface Wear
After confirming your furniture’s structural integrity, it’s time to assess the surface wear. Carefully examine the piece for surface damage, such as scratches, dents, or chips. Check the finish for signs of peeling, cracking, or discoloration, which indicate wear or deterioration. Perform a thorough finish assessment by running your hand over the surface to feel for rough spots or uneven areas. Pay attention to areas that receive the most use, like edges or corners, where wear is typically more pronounced. Identifying the extent of surface damage helps determine whether sanding is needed to smooth out imperfections or if the existing finish can be refreshed with a new coat. Accurate evaluation ensures your upcycling project starts with a clear understanding of what’s necessary for a successful transformation.
Identify Necessary Repairs
Evaluating the condition of your furniture piece involves examining all components for damage or structural issues that could affect your upcycling plans. Look for cracks, loose joints, or wobbling surfaces that compromise stability. Check for missing or damaged hardware, like handles or hinges, which may need replacing. Assess the vintage appeal—are there scratches, stains, or worn finishes that detract from its charm? Consider how repairs might enhance its ergonomic design, making it more comfortable and functional. Identifying these necessary repairs early helps you determine whether the piece is worth restoring or if it needs more extensive work. Addressing issues now guarantees your sanding, painting, and finishing steps will result in a polished, upcycled piece that maintains its vintage appeal while improving its usability. Additionally, inspecting for structural integrity can prevent future safety concerns and ensure your efforts lead to a durable, lasting transformation.
wood sealant and protective finish
As an affiliate, we earn on qualifying purchases.
As an affiliate, we earn on qualifying purchases.
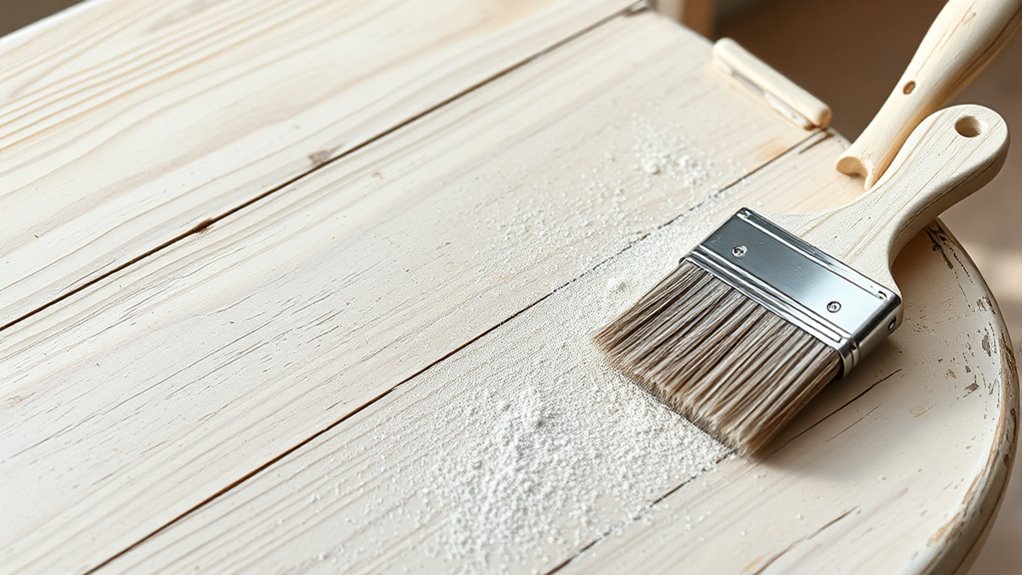
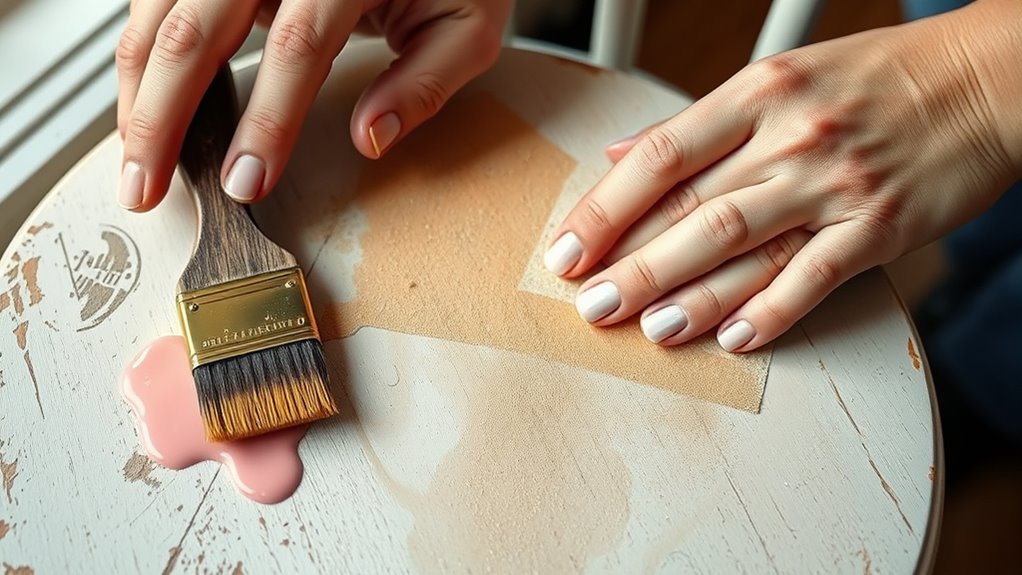
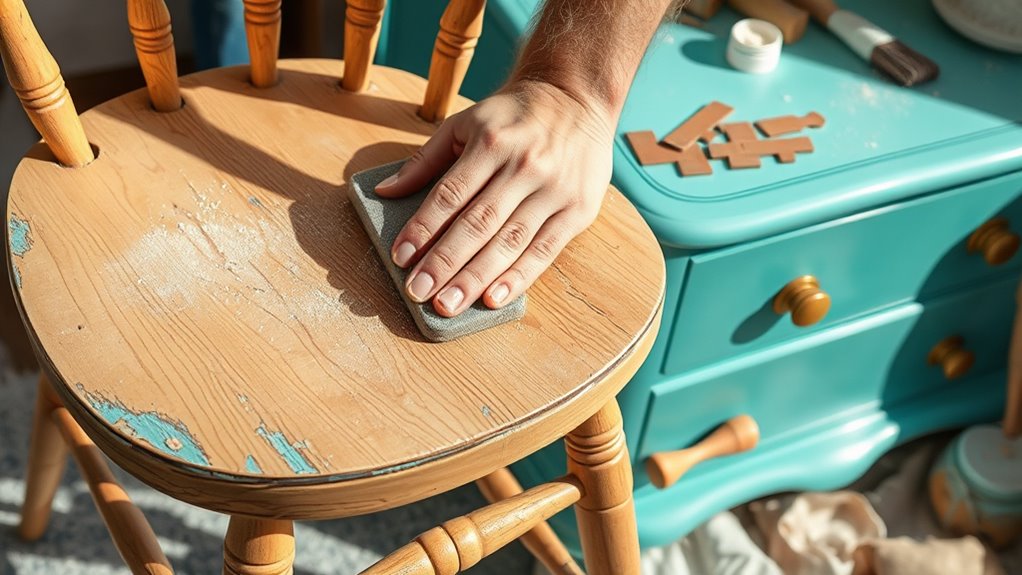
Sanding Techniques for a Smooth Finish
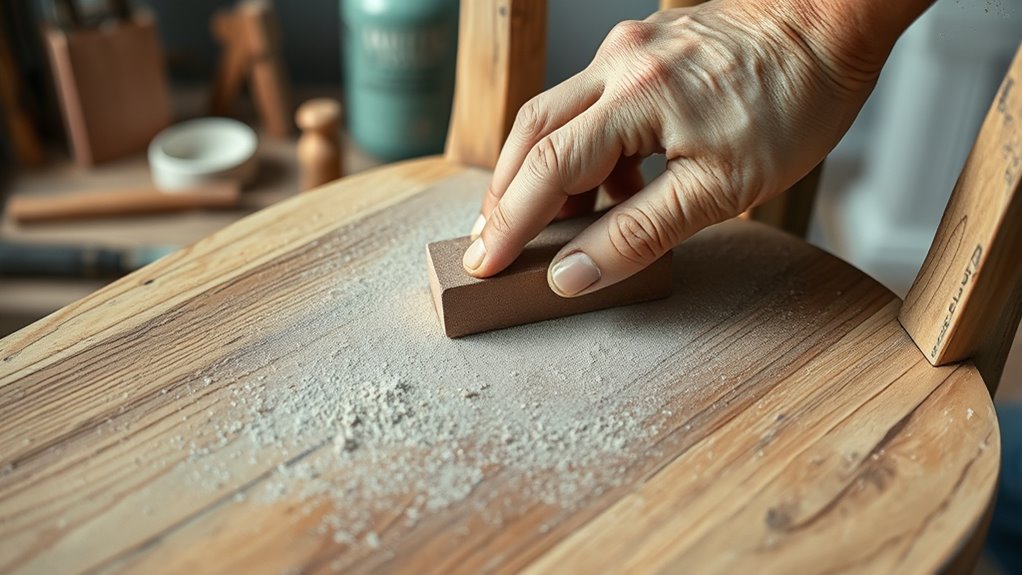
Choosing the right sandpaper and using proper technique are key to achieving a smooth finish. Start with a coarse grit to remove imperfections, then progress to finer grits for a polished surface. Keep your strokes even and consistent to guarantee a professional-looking result. Using the appropriate exfoliation techniques can further enhance surface smoothness and prepare the furniture for painting.
Sandpaper Selection Tips
Selecting the right sandpaper is essential for achieving a smooth, professional finish on your upcycled furniture. The key is choosing the appropriate sanding grit to match your project’s needs, starting with coarse grit for initial removal and progressing to finer grits for a polished surface. Reputable sandpaper brands ensure durability and consistent performance, which saves time and effort. Keep these tips in mind:
- Opt for a variety of grit levels for each stage of sanding
- Use higher grit numbers (like 220 or 320) for finishing touches
- Consider brands known for quality, such as 3M or Norton
- Test sandpaper on scrap to check compatibility
- Match grit to the material and desired smoothness
- Understanding sound healing science can inspire calming rituals during your work process to enhance focus and relaxation
Proper Sanding Technique
To achieve a smooth, professional finish when sanding your upcycled furniture, it’s crucial to use proper techniques that promote even material removal and prevent surface imperfections. Always follow the grain direction of the wood to avoid scratches and uneven sanding. Move your sandpaper in long, consistent strokes, maintaining moderate sanding pressure—pressing too hard can gouge the surface, while too little pressure won’t remove enough material. Check your work frequently to ensure you’re removing rough patches and creating a uniform surface. Use finer grit sandpaper as you progress to achieve a sleek, smooth finish. Patience and attention to grain direction and sanding pressure are key to preventing surface flaws and preparing your furniture perfectly for painting or finishing. Additionally, selecting the right sanding tools can significantly impact the quality of your results and help ensure a professional-looking finish.
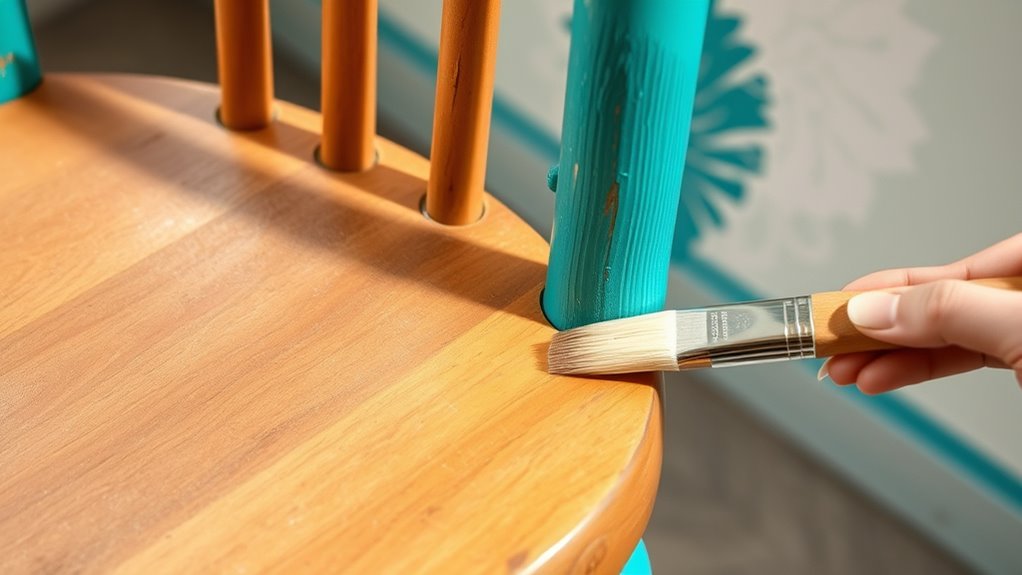
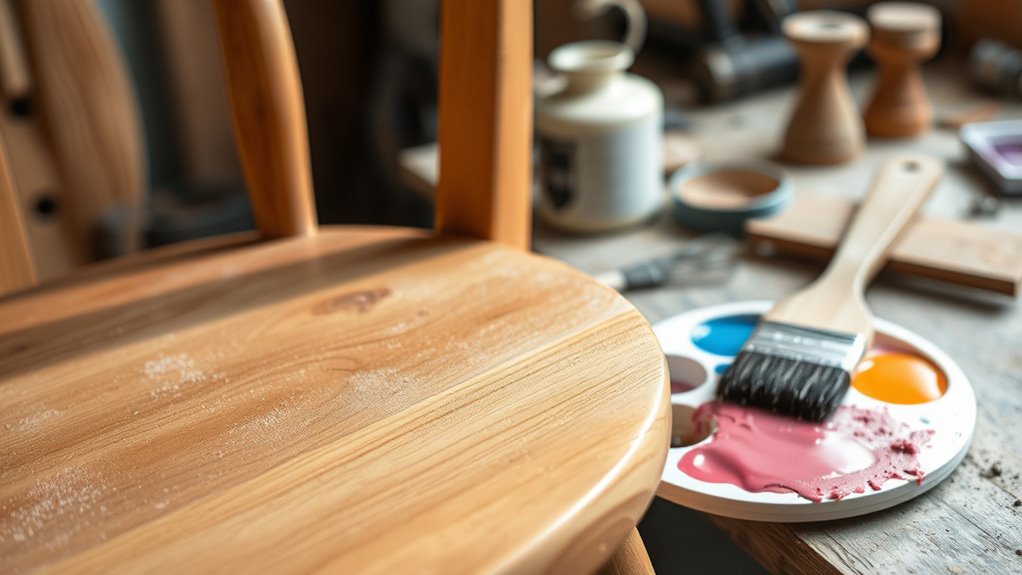
Selecting the Perfect Paint and Color
When it comes to transforming your furniture, the right paint and color can make all the difference. Choosing the perfect hue involves considering your space, style, and existing decor. Focus on color coordination to guarantee your piece complements its surroundings. The paint finish also impacts the overall look; a matte finish offers a subdued elegance, while a glossy finish adds vibrancy and durability. To make an informed choice, assess the room’s color palette for harmony, decide on a mood—calm, vibrant, or neutral, test small samples to see how colors look in different lighting, consider the durability needed based on furniture use, and match the paint finish to the desired aesthetic and functionality. Incorporating color psychology can also help select hues that evoke specific feelings or atmospheres, ensuring your furniture enhances the room’s ambiance. This approach guarantees a cohesive, stylish result that elevates your upcycled furniture.
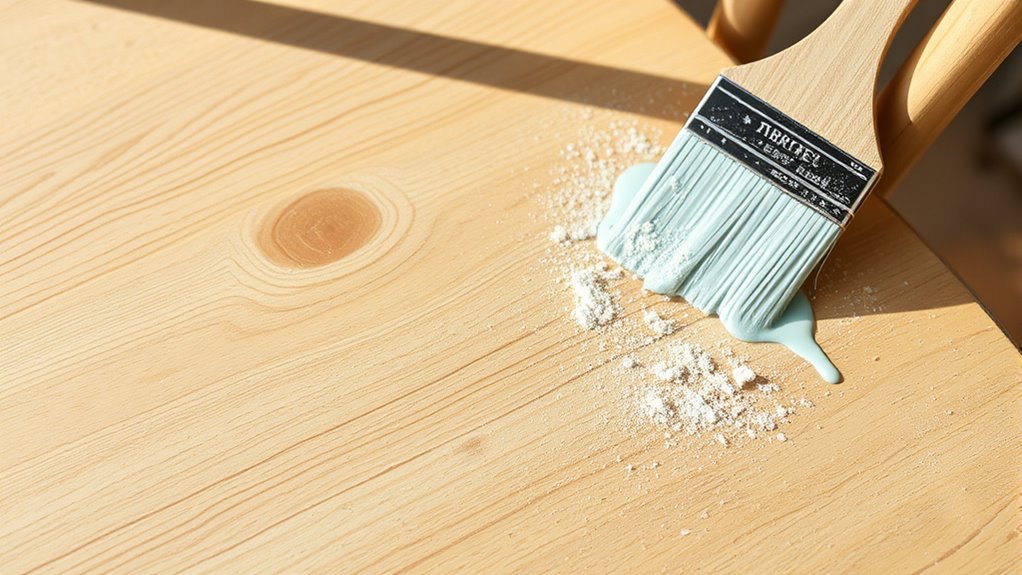
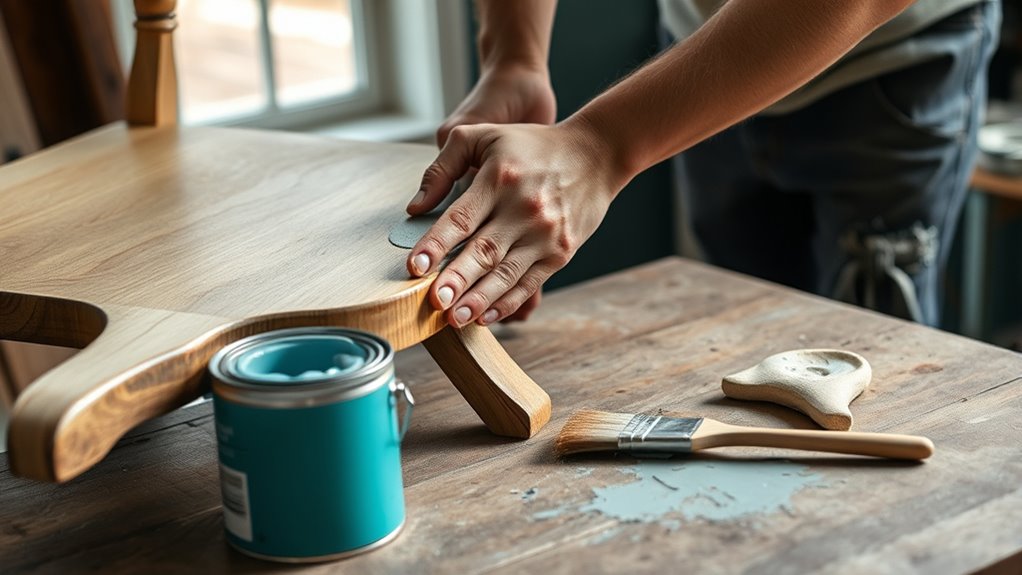
Applying Paint and Creating Texture
When you start applying paint, choosing the right type guarantees your piece lasts and looks great. Using different techniques, like sponging or brushing, can add interesting textures that bring your furniture to life. Don’t forget to seal and protect your work to keep it beautiful for years to come.
Choosing the Right Paint
Choosing the right paint is essential for achieving the desired look and durability in your upcycled furniture project. The paint finish you select impacts both appearance and longevity, so consider options like matte, satin, or gloss. Color matching ensures your piece complements existing decor or new color schemes, making the project cohesive. When selecting paint, keep these factors in mind:
- Type of surface and its absorption qualities
- Desired texture and whether a smooth or textured finish is preferred
- Compatibility with previous finishes or stains
- Ease of application for your skill level
- Durability requirements based on furniture use
- The paint’s adhesion properties are crucial to ensure the finish lasts over time without chipping or peeling.
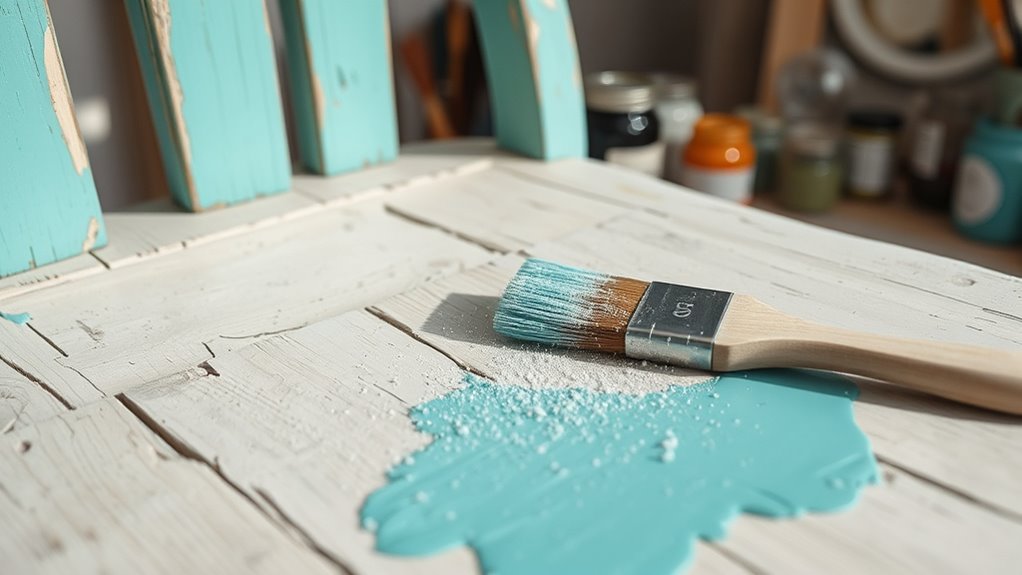
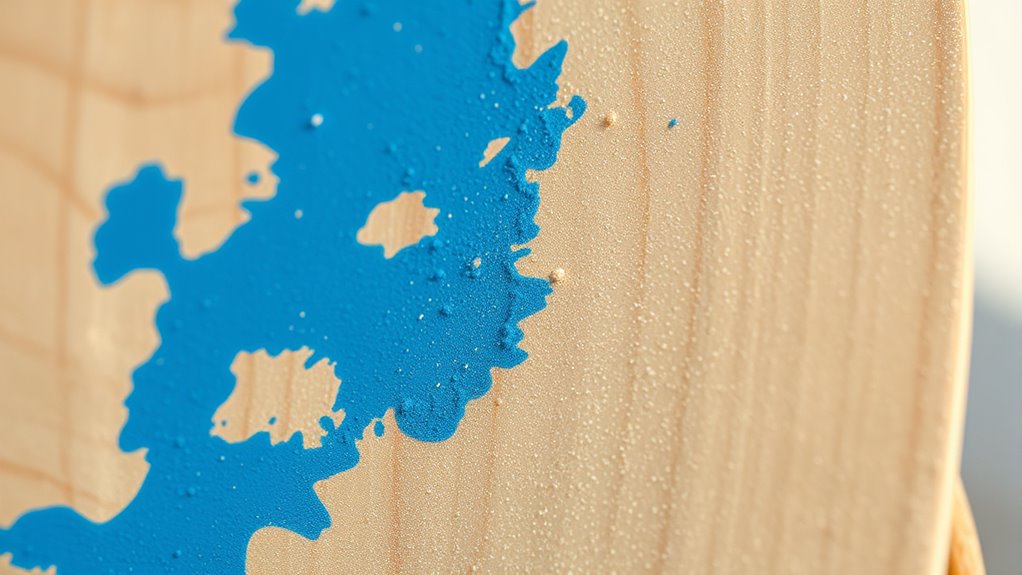
Techniques for Texture
To add visual interest and depth to your furniture, mastering various painting techniques can help you create textured finishes. Using faux techniques, such as sponging, rag rolling, or dry brushing, allows you to mimic materials like stone, wood grain, or aged plaster. These methods add dimension and character, making your piece stand out. When applying paint for textured finishes, start with a base coat and layer different colors or textures to enhance the effect. Experiment with tools like stippling brushes or crumpled plastic to create unique patterns. Remember, less is often more—build up texture gradually to avoid overdoing it. With patience and practice, you’ll develop a skill that transforms simple furniture into a textured masterpiece. Incorporating natural elements like textured fabrics or decorative accents can further elevate your upcycled furniture’s rustic charm.
Sealing and Protecting
After creating textured finishes on your furniture, applying a proper sealer is key to preserving your work. Varnish application provides a durable layer that enhances the texture while offering scratch prevention. To ensure a professional finish, consider these points:
- Choose the right type of varnish for your project’s needs
- Apply thin, even coats to avoid drips and uneven textures
- Use a high-quality brush or sprayer for smooth coverage
- Allow sufficient drying time between coats for maximum durability
- Consider matte or satin finishes to highlight textures and reduce shine
- Selecting the appropriate sealer can significantly impact the longevity and appearance of your furniture.
Sealing protects your furniture from daily wear, maintains the integrity of your textures, and guarantees your upcycled piece remains stunning for years. Proper sealing is essential for long-lasting, beautifully finished furniture.
Adding Personal Touches With Decorative Finishes
Adding personal touches with decorative finishes allows you to transform simple furniture into unique, expressive pieces. Vintage finishes are a popular choice for adding character and charm, giving your piece an aged, timeless look. You can achieve this effect through techniques like distressing, glazing, or applying waxes that emphasize texture and depth. Decorative accents, such as stenciled patterns, hand-painted motifs, or metallic details, further personalize your furniture. These touches reflect your style and make your upcycled piece stand out. Incorporating rustic textiles can also enhance the cozy farmhouse aesthetic and add warmth to your furniture. Be creative with color combinations and textures to create a piece that feels truly yours. Remember, the key is to balance these decorative elements with the overall design, ensuring they enhance rather than overpower your furniture’s character.
Sealing and Protecting Your Upcycled Furniture
Sealing and safeguarding your upcycled furniture is essential to guarantee your hard work lasts and maintains its beauty. Proper sealing protects your wood staining and prevents damage from moisture, scratches, and wear. After completing your paint and finish, apply a high-quality sealant suited for your project—such as polyurethane or wax—to enhance durability. If you’ve replaced hardware, sealing ensures these new elements stay secure and look polished. For added protection, consider applying a second coat of sealant. Remember, choosing the right finish depends on the furniture’s use and location. Regular maintenance will extend its lifespan and keep it looking fresh. Incorporating protective a suitable sealant is crucial to effectively guard your work against daily wear and environmental factors. Regularly clean and re-seal as needed.
Troubleshooting Common Challenges
Even with careful sealing and protection, you might encounter some common issues when upcycling furniture. One challenge is paint durability; over time, paint can chip or peel if applied improperly or exposed to heavy use. To prevent this, verify you use quality paint and allow adequate drying time. Another issue is sanding safety—if you skip wearing a mask or eye protection, you risk inhaling dust or damaging your eyes. Always sand in a well-ventilated area and take proper precautions. Sometimes, paint may not adhere well to previous finishes, causing uneven surfaces. In such cases, lightly sanding and cleaning the surface before repainting can improve adhesion. Proper surface preparation and understanding air quality benefits can help you maintain a safe and effective workspace, addressing these challenges promptly helps ensure your upcycled piece remains beautiful and durable.
Tips for Maintaining Your Upcycled Pieces
To keep your upcycled furniture looking great over time, regular maintenance is essential. Proper cleaning and polishing help preserve the finish and keep surfaces vibrant. Check hardware periodically and update or tighten screws to ensure stability and a fresh look. Protect your piece from excessive moisture and direct sunlight to prevent damage. Consider using a gentle cleaner suited for the material to avoid stripping paint or finish. Refinish or reapply polish as needed to maintain shine. Updating hardware, like replacing knobs and handles, can instantly refresh the piece’s style. Regularly inspecting for chips or scratches allows you to address issues promptly, preserving your furniture’s charm. Incorporating glycolic acid products into your skincare routine can also help keep your skin radiant, complementing the fresh look of your furniture. Consistent care guarantees your upcycled creation stays beautiful and functional for years.
Frequently Asked Questions
How Do I Avoid Over-Sanding and Damaging the Furniture?
To avoid over-sanding and damaging your furniture, use gentle sanding techniques with a medium-grit sandpaper, and always check your progress frequently. Keep the sander moving smoothly to prevent uneven surfaces. Be cautious around delicate areas or intricate details. If you notice any thin spots or rough patches, stop and assess. This careful approach minimizes furniture damage and guarantees a smooth, professional finish.
What Type of Paint Is Best for Outdoor Furniture?
Choosing the right paint for outdoor furniture is like giving it a suit of armor. You should go for acrylic latex or oil-based paints with excellent outdoor durability and weather resistance. These paints withstand rain, sun, and temperature changes, keeping your furniture looking fresh. Make sure to pick products labeled for exterior use, and always prepped surfaces properly for maximum adhesion and longevity.
How Can I Fix Uneven Paint Application or Drips?
To fix uneven paint application or drips, you should first let the paint dry completely. Then, lightly sand the affected areas with fine-grit sandpaper to smooth out drips. Use proper brush techniques, like gentle, even strokes, and make certain your paint has the right consistency—not too thick or thin. Reapply a thin, even coat, and feather the edges to blend seamlessly with the surrounding paint for a professional finish.
What Are Eco-Friendly Finishing Options for Upcycling?
You can choose eco-friendly finishes like natural wax finishes or sustainable sealants to protect your upcycled furniture. Natural wax finishes, made from beeswax or plant-based ingredients, provide a soft, matte look while nourishing the wood. Sustainable sealants, often water-based, offer durability without harmful chemicals. Both options are environmentally friendly, safe for indoor air quality, and easy to apply, giving your piece a beautiful, eco-conscious finish.
How Do I Safely Remove Old Paint or Finish Layers?
Removing old paint or finish layers can feel like battling an ancient beast, but with the right tools, it’s manageable. Use a good paint remover and always wear safety gear like gloves, goggles, and a mask to protect yourself from harmful fumes and splinters. Work in a well-ventilated area, follow product instructions carefully, and take your time. This approach guarantees safe, effective removal—transforming your furniture without risking your health.
Conclusion
Now that you’ve mastered upcycling furniture, your space will transform faster than a chameleon changing colors. With just a little sanding, painting, and finishing, you hold the power to create stunning, one-of-a-kind pieces that breathe new life into any room. Remember, every scratch and stroke is a step toward furniture greatness. So go ahead—dive in, get creative, and turn ordinary finds into extraordinary treasures that will wow everyone who sees them!