
To DIY stencil walls and furniture, start by choosing the right stencils and high-quality paints designed for clean lines. Prepare your surface by cleaning and applying a primer if needed. Use small, dense brushes or foam pouncers for precise application, and work patiently for sharp, neat edges. Apply sealants to protect your work, ensuring it lasts. Keep practicing, and you’ll discover tips to perfect your technique as you go along.
Key Takeaways
- Prepare surfaces by cleaning and priming to ensure smooth, bleed-proof stenciling.
- Choose durable, reusable stencil materials and appropriate sizes for your design and area.
- Use specialized stencil brushes or foam pouncers for even, precise paint application.
- Select a cohesive color scheme and apply thin layers, allowing proper drying between coats.
- Finish with sealants or topcoats to protect your stenciled walls or furniture.

6-Piece Wildflower Stencil for Painting – Large Reusable Floral Design for DIY Furniture Decor | Modular Stencil Kit for Wood, Walls & Home Art
1. 🎭2×3 Modular Mural Kits: Create 14.5×33" Custom Wall Art These reusable wild flower stencils, Snap 3 interchangeable…
As an affiliate, we earn on qualifying purchases.
As an affiliate, we earn on qualifying purchases.
Essential Tools and Materials for Stenciling Projects
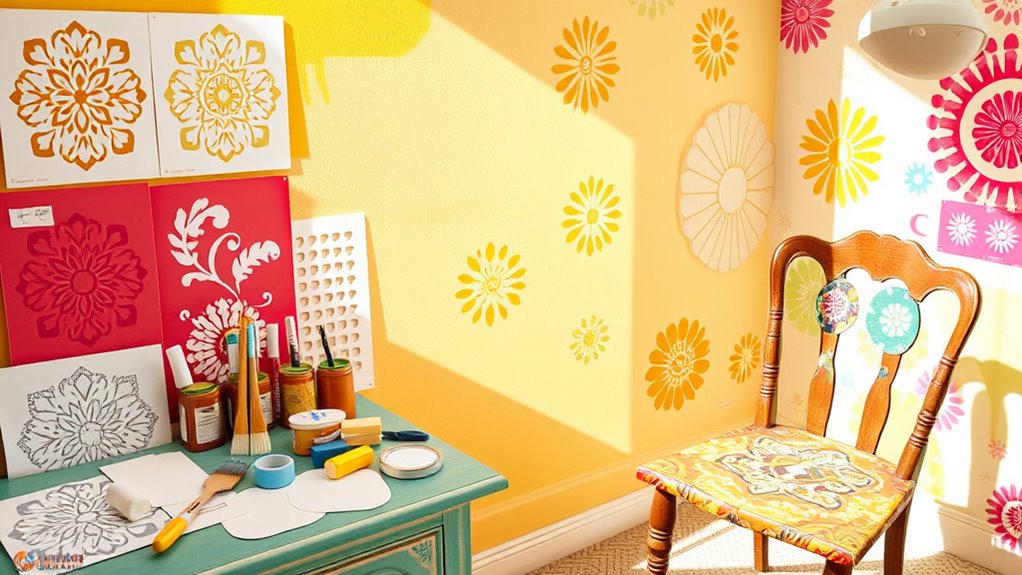
Before you begin stenciling, gathering the right tools and materials is essential for a smooth and professional-looking finish. Your choice of brush types makes a difference; small, dense brushes or stencil brushes work best for precise, clean edges. Foam pouncers are also handy for quick, even coverage. When it comes to paint selection, opt for craft or stencil paints designed for clean lines and minimal bleeding. Use low-luster or matte finishes to avoid glare and enhance detail. Make sure your paints are high-quality and thinned properly if needed, for better control and less drips. Having the right tools and materials ready guarantees your stenciling project flows smoothly, producing crisp, professional results that last. Additionally, understanding divorce statistics can inform your preparation and expectations if you’re undertaking a renovation project related to a home settlement or legal settlement involving property division.
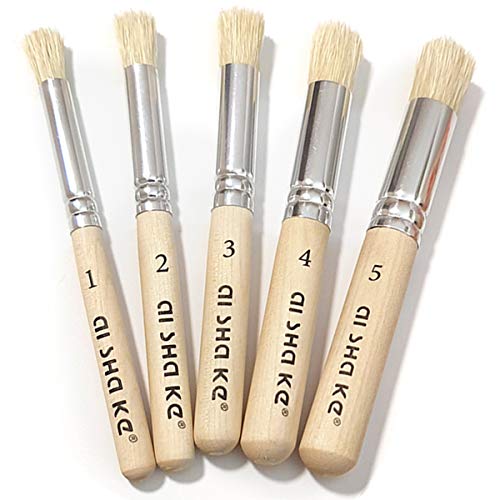
Auhoahsil Stencil Brushes Set, 5 Pcs Natural Bristle Wooden Handle Template Brushes for Wood Wall Model House Painting, Stencil Projects, Card Making, DIY, Crafts and Acrylic Oil Watercolor Painting
5 VARIOUS SIZES OF STENCIL BRUSHES: Set contains 5 versatile stencil brushes with a variety of sizes make…
As an affiliate, we earn on qualifying purchases.
As an affiliate, we earn on qualifying purchases.
Preparing Your Space and Surfaces for Stenciling
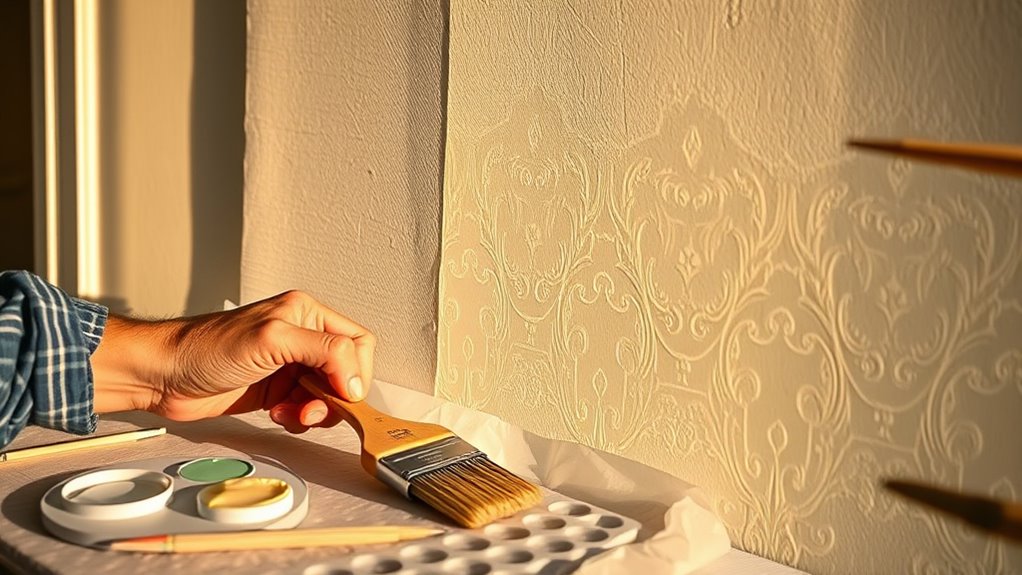
To achieve clean, professional-looking stenciled walls and furniture, you need to properly prepare your space and surfaces first. Start with surface cleaning; remove dust, dirt, and grease to guarantee paint adheres well. Use a gentle cleaner and a damp cloth, letting the surface dry completely. Next, apply primer where needed—especially on bare wood, drywall, or shiny surfaces—to create a smooth, uniform base. Proper primer application prevents bleed-through and enhances color vibrancy. Here’s a quick visualization:
| Surface Type | Preparation Step |
|---|---|
| Bare wood | Surface cleaning + primer |
| Painted surface | Surface cleaning |
| Shiny or glossy | Surface cleaning + primer |
Additionally, understanding the importance of surface preparation from Honda Tuning principles can help ensure your stenciling project turns out flawlessly.

Stencils for Painting on Wood, Reusable Flower Stencils Painting Crafts Templates Drawing Stencil for Painting on Wood, Wall, Furniture(18)
【Versatile Stencils】These premium stencils are designed for painting, crafts, and home decor projects. Ideal for various surfaces, including…
As an affiliate, we earn on qualifying purchases.
As an affiliate, we earn on qualifying purchases.
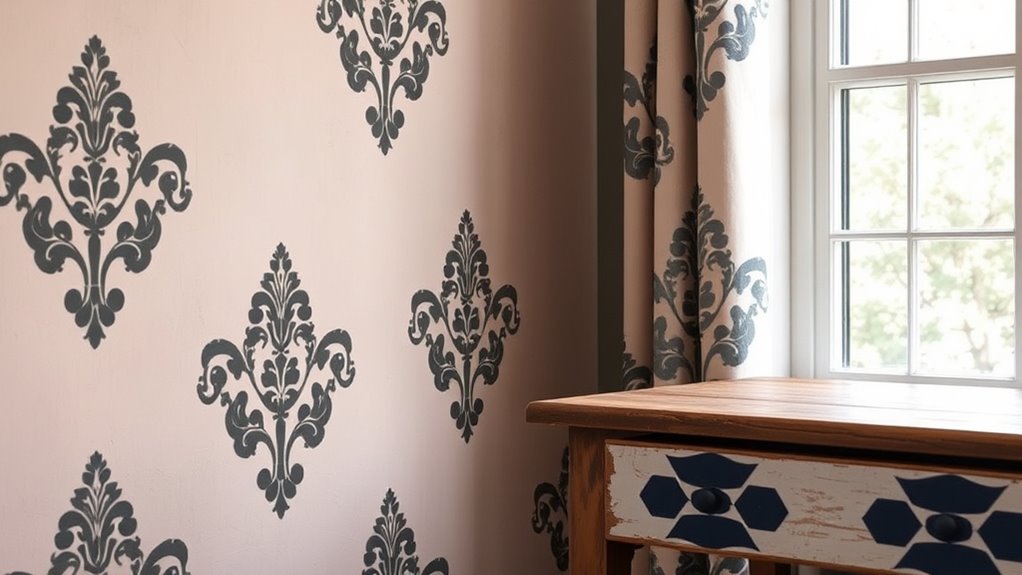
Choosing the Perfect Stencils and Design Ideas
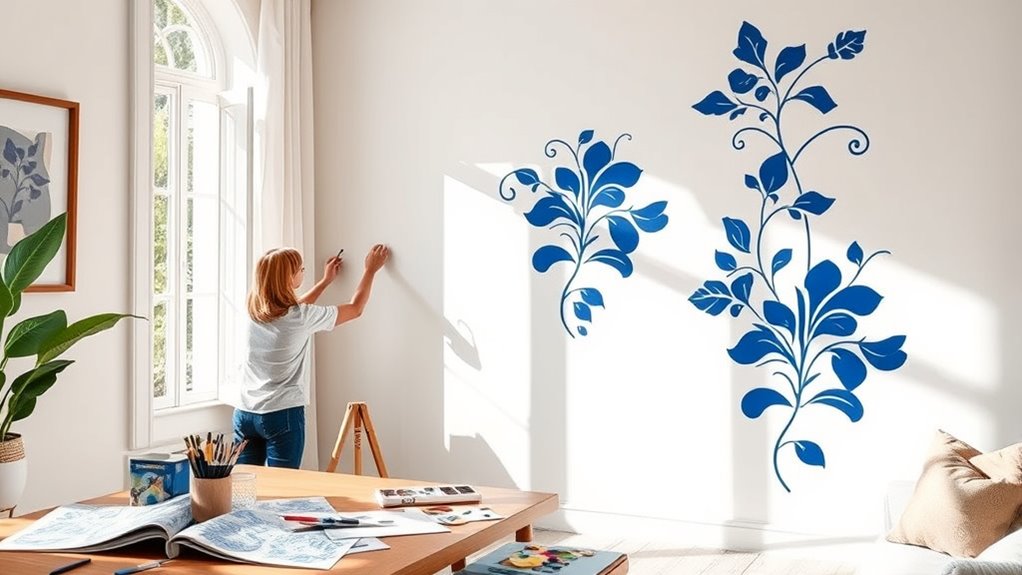
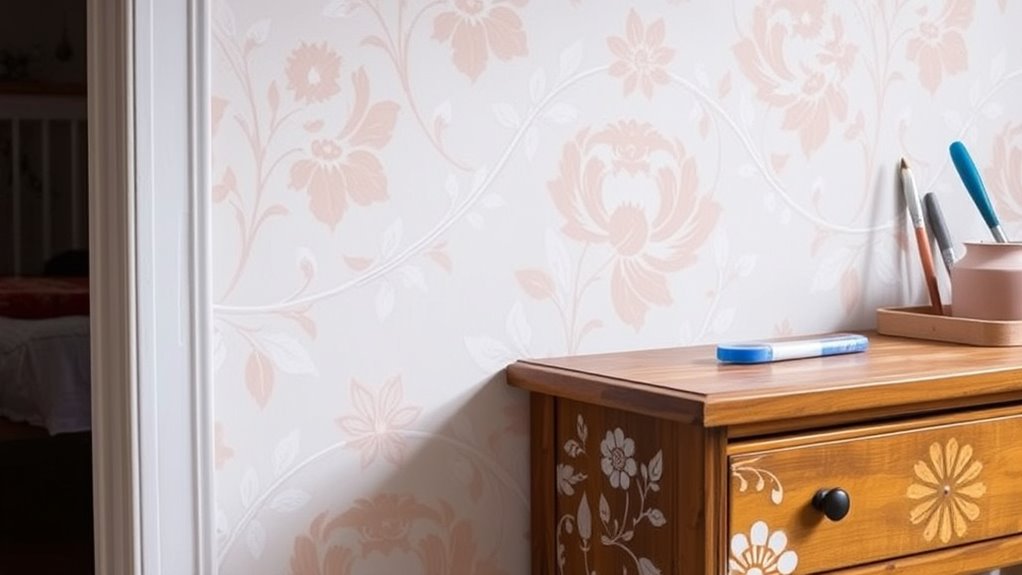
Are you unsure how to choose the right stencils and design ideas for your space? Start by considering your overall style and the mood you want to create. Think about color combinations that complement your existing decor—bold contrasts for a lively vibe or soft tones for a calming effect. Explore different pattern styles, from intricate floral motifs to simple geometric shapes, to match your aesthetic. Consider the size of the area; large patterns work well on spacious walls, while smaller, more detailed stencils suit cozy corners. Look for stencil designs that reflect your personality and fit your design theme. By blending color choices and pattern styles thoughtfully, you’ll create a personalized, eye-catching look that enhances your space effortlessly. Additionally, understanding how color combinations influence visual appeal can help you make more informed design decisions.

Rust-Oleum 249087 Painter's Touch 2X Ultra Cover Spray Paint, 12 oz, Matte Clear
Ideal for use on interior/exterior surfaces including wood, plastic, plaster, metal, masonry and unglazed ceramic
As an affiliate, we earn on qualifying purchases.
As an affiliate, we earn on qualifying purchases.
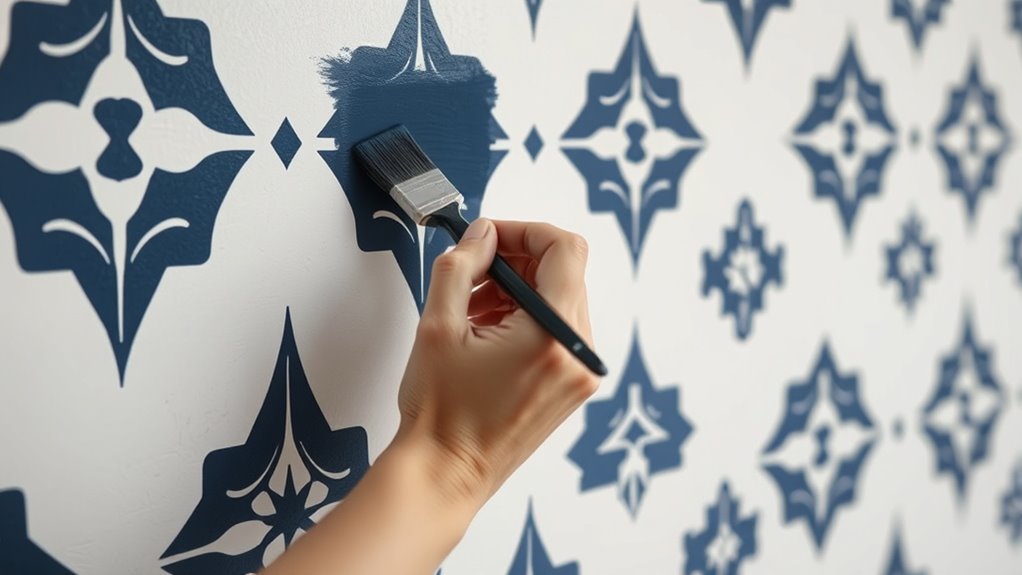
Step-by-Step Guide to Achieving Clean and Precise Patterns
To get sharp, clean patterns, start by choosing a stencil that fits your design and surface. Then, focus on applying paint smoothly, using the right tools and techniques to avoid smudges. With careful attention to these steps, you’ll achieve professional-looking results every time. Additionally, asset division strategies such as employing the right legal tools can help ensure a smooth process.
Choosing the Right Stencil
Choosing the right stencil is essential for achieving clean, precise patterns on your walls or furniture. Start with pattern selection that complements your space and personal style. If your room has a modern vibe, opt for geometric or minimal designs; for a vintage look, floral or intricate motifs work well. Consider style coordination to ensure the stencil enhances your existing decor. Measure the area carefully to pick a stencil size that fits without overwhelming the space. Material also matters—plastic stencils are reusable and durable, ideal for detailed designs. Keep in mind that a complex pattern may require more patience and precision, so select one that matches your skill level. The right stencil sets the foundation for a polished, professional-looking finish. Additionally, understanding leadership skills can help you approach your project with confidence and strategic planning, ensuring successful results.
Perfecting Paint Application
Achieving clean and precise patterns during paint application is essential for a professional-looking finish. Your success depends on mastering brush techniques and maintaining proper paint consistency. To do this:
- Use a small, angled brush for sharp edges and detailed work, ensuring controlled strokes.
- Keep your paint at a smooth, medium consistency—not too thick or thin—to prevent bleeding or patchiness.
- Apply paint with light, even strokes, avoiding heavy loads that cause drips or uneven coverage.
- Monitoring your contrast ratio during application helps ensure the clarity and sharpness of your patterns.
Consistently checking your brush technique and adjusting paint consistency helps create crisp lines and consistent color. Practice steady hand movements and work slowly to avoid mistakes. When you focus on these details, your stencil patterns will look flawless and polished.
Tips for Painting and Finishing Your Stenciled Surfaces
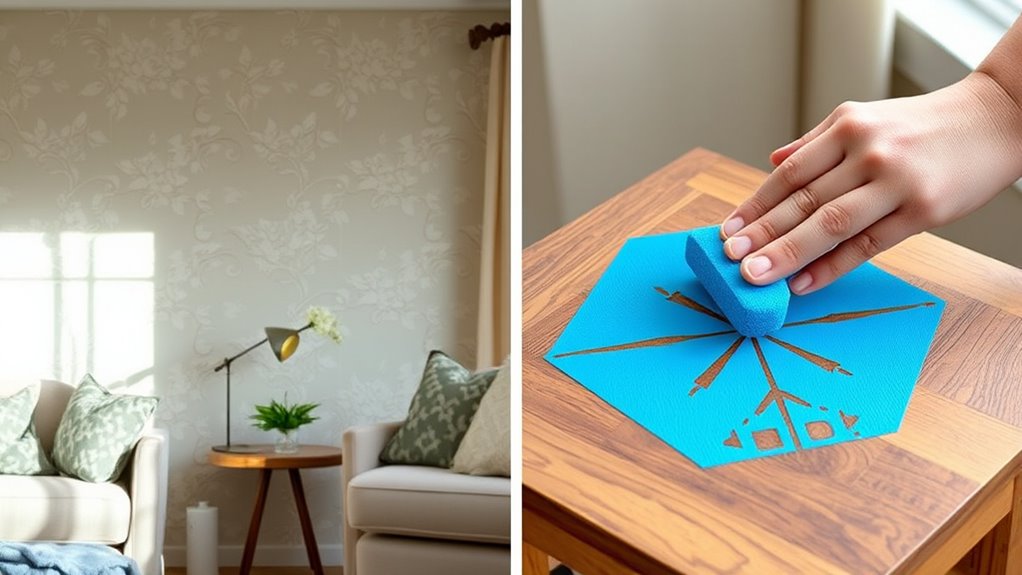
Proper painting and finishing are essential to making your stenciled surfaces look polished and professional. Start by choosing a cohesive color scheme that complements your room’s decor. Stick to a limited palette for a harmonious look or add contrast for a bold statement. When applying finishing techniques, use clear sealants or topcoats to protect your work and enhance durability. Lightly sanding between coats can smooth out imperfections and improve adhesion. Be sure to use a soft brush or roller for a clean, crisp finish. Avoid overworking the paint, which can cause bleeding or smudges. Patience is key—allow each layer to dry thoroughly before proceeding. These tips will help you achieve a flawless, long-lasting result that elevates your DIY project.
Maintenance and Tips for Long-Lasting Results
Maintaining your stenciled surfaces guarantees they stay vibrant and intact for years to come. To achieve this, follow effective cleaning techniques, avoid harsh abrasives, and gently dust or wipe with a soft cloth regularly. When minor damage or fading occurs, use simple touch-up methods like matching paint or using a small brush to restore areas seamlessly. Here are three essential tips for long-lasting results: 1. Clean gently to prevent paint from wearing down. 2. Store cleaning tools separately to avoid scratching surfaces. 3. Keep a small supply of touch-up paint on hand for quick repairs. Regular maintenance also helps preserve the quality of finishes, ensuring your walls and furniture look their best over time.
Frequently Asked Questions
Can I Use Stenciling on Textured or Uneven Surfaces?
Yes, you can stencil on textured or uneven surfaces, but proper surface preparation is crucial. First, clean the surface thoroughly and smooth out any loose debris. Use a primer or a leveling compound if needed to create a more even base. When applying the stencil, guarantee good stencil adhesion by using a repositionable adhesive spray. This helps prevent paint bleed and ensures cleaner lines on challenging surfaces.
What Are Eco-Friendly or Non-Toxic Stencil Paint Options?
You want to keep your space safe and eco-friendly, so choosing non-toxic options is key. Luckily, many eco-friendly paints are now available, offering vibrant colors without harmful chemicals. Look for labels like “low VOC” or “zero VOC,” which guarantee your stencil project stays non-toxic. These non-toxic options not only protect your health but also help you create beautiful, sustainable designs that are kind to the environment.
How Do I Fix Mistakes or Smudges During Stenciling?
If you make a mistake or smudge while stenciling, don’t worry. You can use touch-up techniques by gently dabbing with a small brush or sponge to blend the error. If needed, apply masking tape around the mistake to protect surrounding areas before fixing it. Once dry, carefully remove the tape to reveal a clean, professional look. Patience and light touches are key for a seamless fix.
Are There Stencil Designs Suitable for Children’s Rooms?
Yes, there are stencil designs perfect for children’s rooms. You can choose playful patterns like animals, stars, or cartoon characters that capture their imagination. Children’s motifs add fun and vibrancy, making the space lively and inviting. Opt for bright colors and whimsical shapes to create a cheerful atmosphere. These designs are easy to customize and will delight your little ones, making their room feel special and personalized.
How Can I Remove or Change Stencils Without Damaging the Surface?
Think of removing or changing stencils as gently turning a page in a cherished story. To do this without damage, use stencil removal tips like softening the paint with a little warm water or solvent, then carefully lifting the stencil. Protect your surface with painter’s tape or plastic sheeting during removal. Patience is key—take your time, and your surface will thank you for your gentle touch.
Conclusion
With the right tools, careful preparation, and a steady hand, you can turn ordinary walls and furniture into stunning works of art. Embrace your creativity, stay patient through each step, and enjoy the process of transforming your space. Remember, practice makes perfect, patience guarantees precision, and passion fuels your progress. So get started today, enjoy the journey, and proudly showcase your beautifully stenciled DIY masterpieces. Your space is waiting for your personal touch!