
To create DIY resin art for home decor, gather high-quality epoxy resin, pigments, and decorative elements like dried flowers or metallic flakes. Set up a well-ventilated workspace, wear protective gear, and prepare your molds or surfaces. Mix and pour the resin carefully, incorporating colors and embellishments for unique effects. Allow proper curing, then finish with sanding or polishing. Keep exploring these techniques to craft stunning, personalized pieces that will beautifully enhance your home space.
Key Takeaways
- Use high-quality, UV-resistant epoxy resin with vibrant pigments for clear, durable home decor pieces.
- Prepare a well-ventilated workspace, covering surfaces and wearing protective gear for safety.
- Experiment with layering, embedding natural items, and metallic flakes to create textured, eye-catching designs.
- Follow step-by-step curing procedures, ensuring proper drying and protection from dust and extreme temperatures.
- Personalize decor by adding 3D elements, color blending, and unique embellishments for a customized aesthetic.

CRAFT RESIN 34 Oz Crystal Clear Epoxy Resin Kit – Food Safe & UV Resistant for DIY Art, Wood, Jewelry Making, Coasters, Molds Casting Resin Epoxy – Low Viscosity, Self Leveling for Beginners & Pros
ARTISAN APPROVED QUALITY – Unlock your artistic potential with Craft Resin. Premium clear epoxy resin kit and hardener…
As an affiliate, we earn on qualifying purchases.
As an affiliate, we earn on qualifying purchases.
Essential Materials and Tools for Resin Art Projects
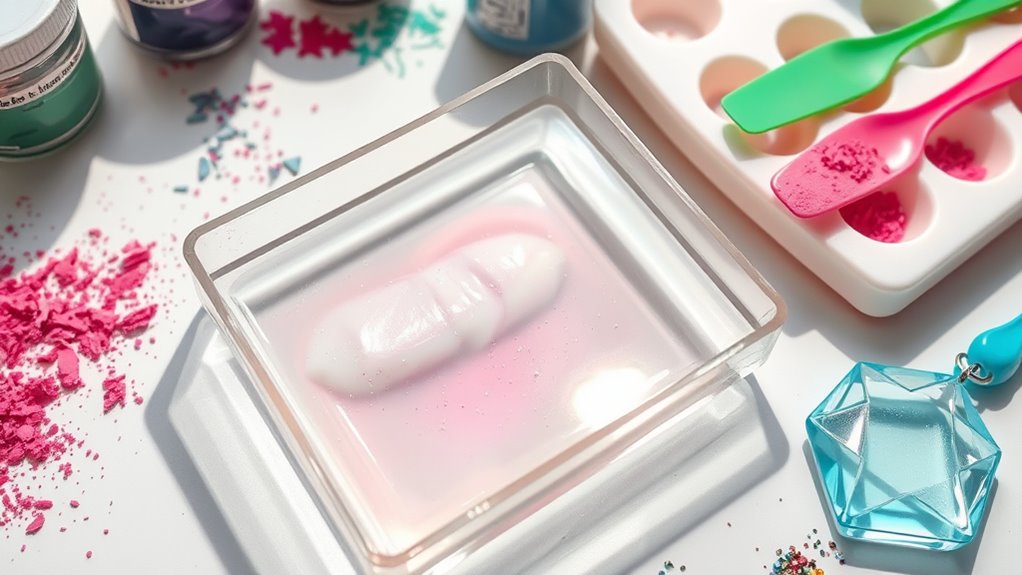
To create stunning resin art, you need the right materials and tools on hand. First, prioritize resin safety by wearing gloves, masks, and working in a well-ventilated area. This protects you from fumes and skin contact. Essential tools include mixing cups, stir sticks, and a heat gun to remove bubbles. High-quality epoxy resin is vital for clear, durable results. When it comes to color mixing techniques, use pigment powders, liquid dyes, or alcohol inks, and add them gradually to achieve vibrant, consistent hues. Always mix colors thoroughly to prevent uneven spots and guarantee a smooth finish. Having these materials ready helps you work efficiently and safely, setting a solid foundation for your resin art projects. Additionally, understanding resin safety precautions ensures a safer crafting experience and protects your health during the process.

CHANGTIKEJI Mica Powder,24 Colors – 10g/Bottle of Natural Pigment Powder for Epoxy Resin,Soap Making,Candle Making,Lip Gloss,Car Freshies,Dye,Nail Polish,Bath Bombs
【Super Surprise Color Combination】:The mica powder has 24 spectacularly vibrant and beautiful colors,each bottle is 10g/0.35oz.Just a little…
As an affiliate, we earn on qualifying purchases.
As an affiliate, we earn on qualifying purchases.
Preparing Your Workspace for Resin Art Creation

Setting up your workspace properly is essential for a smooth resin art process. First, choose a well-ventilated area free from dust and distractions. Organize your workspace to keep all tools, cups, and materials within reach, preventing clutter that could lead to accidents. Cover surfaces with plastic sheeting or disposable mats to protect them from resin spills. Remember safety precautions: wear gloves, a mask, and protective eyewear to avoid contact with resin fumes and skin. Keep a fire extinguisher nearby, as some resins are flammable. Ensure good lighting so you can see your work clearly. Additionally, consider child safety by keeping all materials out of reach of children and pets. By maintaining proper workspace organization and adhering to safety precautions, you create a safe environment that supports successful resin art creation.

KISREL Epoxy Resin Kit for Beginners, Resin Kit with Molds, 32OZ Epoxy Kit wiht Dried Flowers, Measuring Cups and Resins Supplies
【RESIN STARTER KIT】This resin epoxy kit contains 32oz epoxy resin, 7 silicone mold kits, 12 colors of sequins,…
As an affiliate, we earn on qualifying purchases.
As an affiliate, we earn on qualifying purchases.
Choosing the Right Resin and Pigments
Choosing the right resin and pigments is essential for achieving the desired look and quality in your resin art. Selecting a high-quality, UV-resistant resin guarantees clarity and durability. When choosing pigments, consider their stability; unstable pigments can fade or change color over time. For vibrant, consistent results, focus on pigment stability and compatibility with your resin type. To enhance your design, keep these tips in mind:
- Use pigments specifically formulated for resin
- Test color mixing small batches before full projects
- Opt for pigments with proven pigment stability
- Consider translucent vs. opaque pigments for depth
- Understanding AI in Education can help in developing innovative learning tools that inspire your creative process.
Proper selection allows you to control the final appearance and ensures your artwork remains stunning over time.

LET'S RESIN Polishing Kit,33Pcs Resin Supplies with Sandpaper,Resin File Kit,Polishing Strips&Blocks,Scissors,Wooden Brush,Cloth, Tools for Jewelry Making Supplies, Silicone Molds
Value Resin Polishing Kit: LET'S RESIN 33pcs Resin sanding and the polishing kit includes 5pcs resin files(Flat, Semicircle,…
As an affiliate, we earn on qualifying purchases.
As an affiliate, we earn on qualifying purchases.
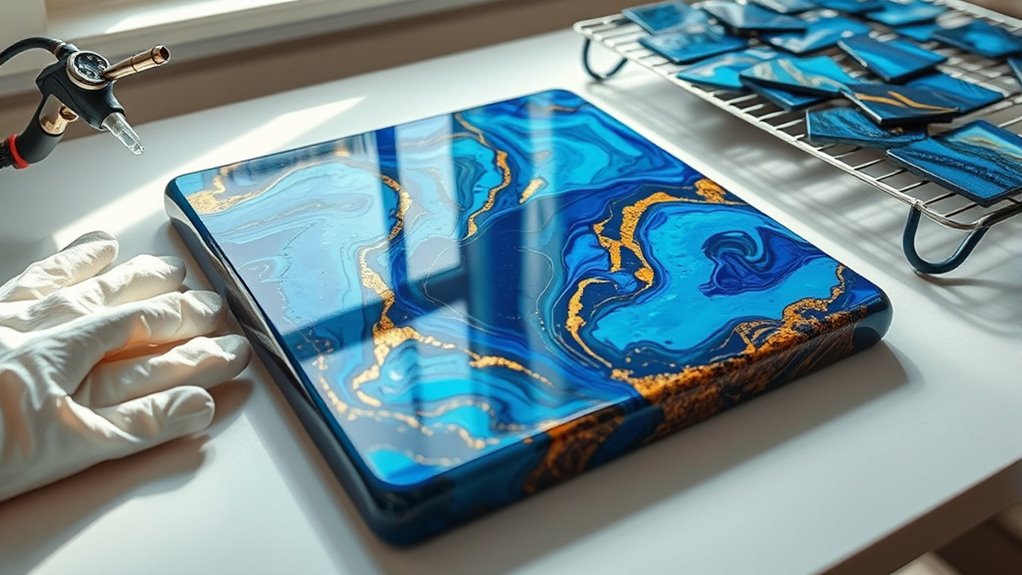
Step-by-Step Guide to Creating Resin Coasters
Creating resin coasters is a rewarding project that combines your artistic vision with precise steps to guarantee a professional finish. Start by preparing your workspace, ensuring proper resin safety measures like gloves and ventilation. Mix your resin thoroughly, following the manufacturer’s instructions, then carefully incorporate color mixing to achieve your desired hues. Pour the resin into molds, adding decorative elements if you like. Use a stick to gently eliminate bubbles and ensure an even surface. Allow the coasters to cure fully, typically 24-48 hours. For inspiration, consider these ideas:
| Technique | Idea |
|---|---|
| Color layering | Create depth with multiple colors |
| Embedding objects | Add small trinkets or leaves |
| Gradient effects | Blend shades seamlessly |
| Metallic accents | Incorporate metallic pigments |
| Clear resin highlights | Keep parts transparent for shine |
Additionally, understanding color accuracy can help you select pigments that produce the most vibrant and true-to-life results in your resin art.
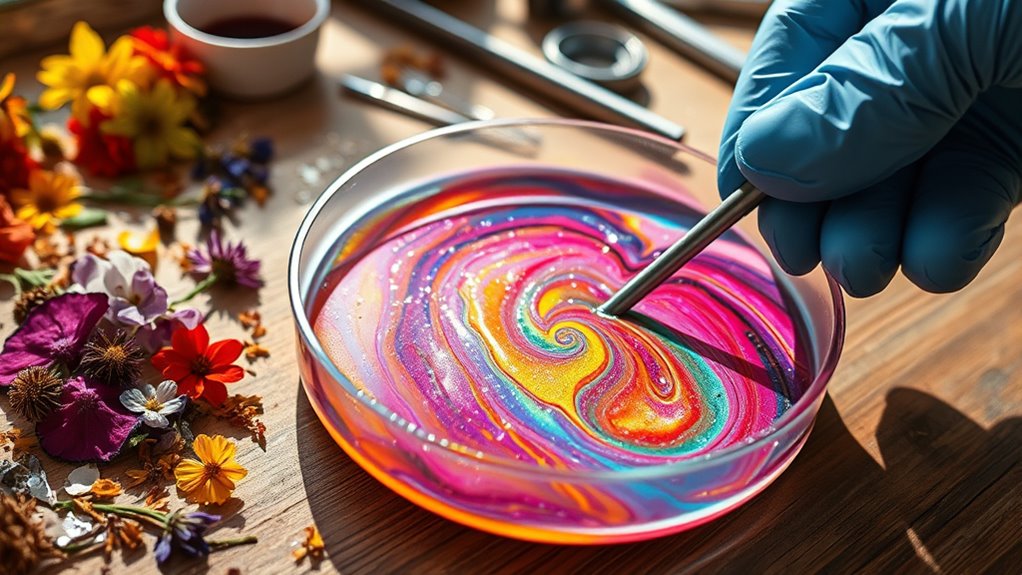
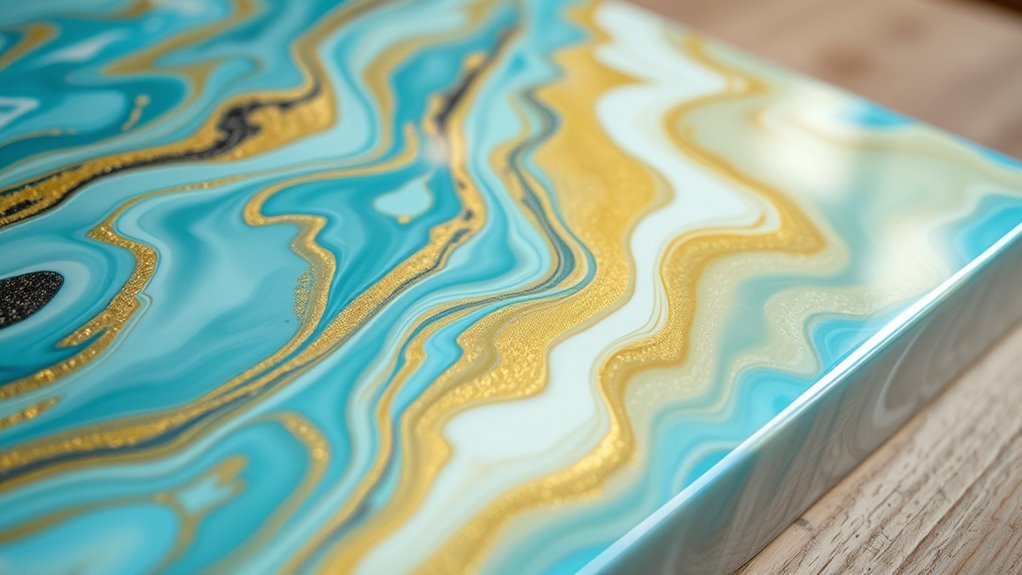
Techniques for Achieving Stunning Color Effects
To achieve stunning color effects in resin art, you need to master blending techniques that add depth and vibrancy. Proper color blending involves seamlessly merging different hues to create smooth progressions and dynamic visuals. Your pigment selection plays a vital role; choose high-quality pigments that are compatible with resin to guarantee vibrant, consistent colors. Experiment with these techniques:
- Gradually blend colors to avoid harsh lines.
- Use a palette knife or brush for controlled mixing.
- Incorporate metallic or interference pigments for shimmer.
- Layer different shades to add dimension and movement.
- Pay attention to air quality to prevent dust or particles from settling on your artwork during curing.
Tips for Pouring and Blending Resin Layers
To create seamless resin layers, focus on achieving smooth blends by pouring slowly and maintaining steady movement. Managing layer progressions is key—try to pour each layer before the previous one fully cures to prevent uneven edges. With careful technique, you’ll master blending and progressions for a polished, professional look. Additionally, controlling wax temperature during pouring can significantly improve the overall finish by reducing the risk of cracks or sinkholes.
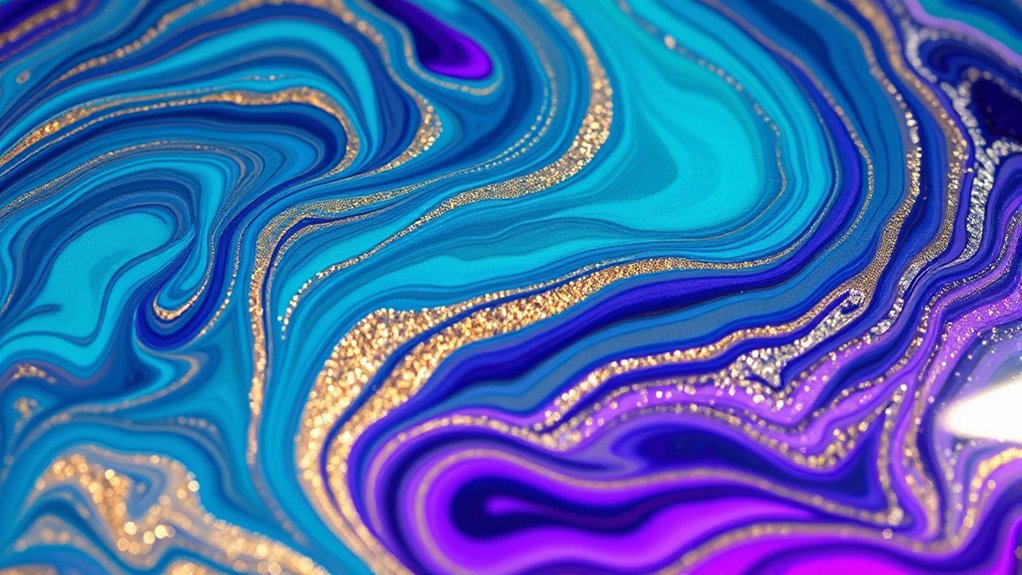
Achieving Smooth Blends
Achieving smooth blends in resin art requires careful pouring and blending techniques. To guarantee seamless transitions, focus on proper color mixing and maintaining the right resin consistency. When preparing your colors, mix thoroughly to prevent streaks and uneven hues. Keep your resin at a pourable, yet slightly thickened, consistency for better control. As you pour, use a gentle, sweeping motion to blend layers smoothly. To enhance your technique:
- Use a heat gun or torch to remove surface bubbles and help colors meld
- Pour in thin, overlapping layers for gradual blending
- Work quickly to prevent resin from setting before blending is complete
- Keep your workspace at a consistent temperature for even curing
- Proper greenhouse ventilation ensures safe resin work conditions and helps in curing by controlling humidity
These tips help create fluid, professional-looking blends in your resin art projects.
Managing Layer Transitions
Once you’ve mastered blending colors smoothly within a single layer, managing how layers interact becomes the next key step. To create striking layer contrast, pour each layer carefully, allowing the resin to settle without disturbing the previous one. Use gentle tilting or air bubbles to help achieve seamless progression zones, emphasizing gradient blending where needed. When pouring, slightly overlap the edges of each layer to promote smooth integration, but avoid mixing too much, which can muddy your colors. Keep an eye on temperature and curing times to prevent unintended blending or separation. By controlling pour speed and consistency, you’ll guarantee each layer maintains its distinctiveness while blending naturally at the transition points, resulting in a cohesive, professionally layered resin piece for your home decor. Additionally, monitoring the shelf life of resin ensures your materials stay effective, preventing issues during the layering process.
Incorporating Embellishments and Unique Elements

Adding embellishments can instantly elevate your resin art and make it truly one-of-a-kind. You might incorporate metallic flakes for shimmer, embed natural items like leaves or stones, or create striking 3D elements. These unique touches give your piece texture and personality that capture attention. Incorporating aromatic elements such as essential oils or fragrant botanicals can also add an enticing scent that enhances the sensory experience of your artwork.
Using Metallic Flakes
Metallic flakes instantly elevate your resin art by adding a shimmering, eye-catching effect that catches the light beautifully. They create a stunning resin shimmer, making your piece stand out. To use metallic flakes effectively, consider the following:
- Mix flakes directly into the resin before pouring for an even, sparkling background.
- Sprinkle flakes on the surface during the curing process for a textured, layered look.
- Combine different metallic shades to add depth and dimension.
- Use a toothpick or fine brush to selectively place flakes for intricate designs.
- Incorporate metallic flakes with resin techniques to achieve a cohesive and professional appearance.
These techniques allow you to incorporate metallic flakes seamlessly, enhancing your artwork’s elegance. The resin shimmer produced by these embellishments transforms simple resin projects into sophisticated decor pieces. Experiment with placement and quantity to achieve your desired luminous effect.
Embedding Natural Items
Embedding natural items into resin allows you to create truly unique and organic pieces that showcase the beauty of nature. You can incorporate natural objects like leaves, flowers, feathers, or small stones to add a personal touch to your art. These natural objects bring authentic textures and organic textures that make each piece stand out. Before embedding, dry your items thoroughly to prevent cloudiness or mold growth. Arrange them carefully on your curing surface, ensuring they’re fully submerged to avoid floating or shifting. When you pour resin over these embellishments, the natural elements become permanently preserved, highlighting their intricate details. This technique transforms simple resin projects into mesmerizing decor items that celebrate the raw beauty of the natural world and can be enhanced by using an appropriate alarm clock timer to manage curing times precisely.
Adding 3D Elements
To create dynamic and visually striking resin art, incorporating 3D embellishments and unique elements is essential. These additions add 3D texture and layered depth, making your piece stand out. You can embed small objects, such as beads or shells, to create tactile interest. Embellishments like metallic flakes or glitter add shimmer and dimension. Using molded resin shapes or sculpted clay elements introduces further depth. Consider layering different materials to build complexity and visual intrigue. Experiment with transparent or colored resin to enhance the layered effect. Remember, the key is to balance the 3D elements so they are engaging and eye-catching without overwhelming it. This approach transforms a flat surface into a captivating artwork with rich textures and a sense of depth. Additionally, incorporating versatility of hybrid bikes into your design process can inspire innovative ways to combine different textures and layers for a truly unique piece.
Allowing Proper Curing and Handling Your Artwork
After completing the resin layer, it’s essential to let your artwork cure fully before handling it. Proper curing guarantees the resin dries evenly and prevents smudges or fingerprints. During this time, avoid touching or moving your piece to prevent damaging the surface. Keep your artwork in a dust-free, stable environment with good air circulation. Consider covering it with a clean cloth or plastic sheet to protect it from debris. When resin drying is complete, store your artwork flat and away from direct sunlight or extreme temperatures. This helps prevent warping or yellowing over time. Patience is key—rushing the process can compromise your results. Additionally, understanding sound vibrations and their effects can inspire new ways to incorporate sensory elements into your display. Once fully cured, you’ll find your resin art durable, glossy, and ready to display or gift.
Finishing Touches: Sanding, Polishing, and Sealing

Once your resin artwork has fully cured, you can enhance its appearance through finishing touches like sanding, polishing, and sealing. Proper surface preparation is essential to achieve a smooth, glossy finish and guarantee resin safety during handling. Before starting, wear gloves and a mask to protect yourself from resin dust and fumes. Use fine-grit sandpaper to gently smooth out imperfections, then polish with a soft cloth or buffing pad for extra shine. Sealing with a clear, compatible resin or sealant helps preserve your work and enhances durability. Consider these steps for a professional look:
- Carefully sand edges and surfaces
- Use a polishing compound for gloss
- Apply a protective sealant evenly
- Ensure proper ventilation during sealing
Proper airflow around your work area can also help prevent dust from settling on the surface during finishing.
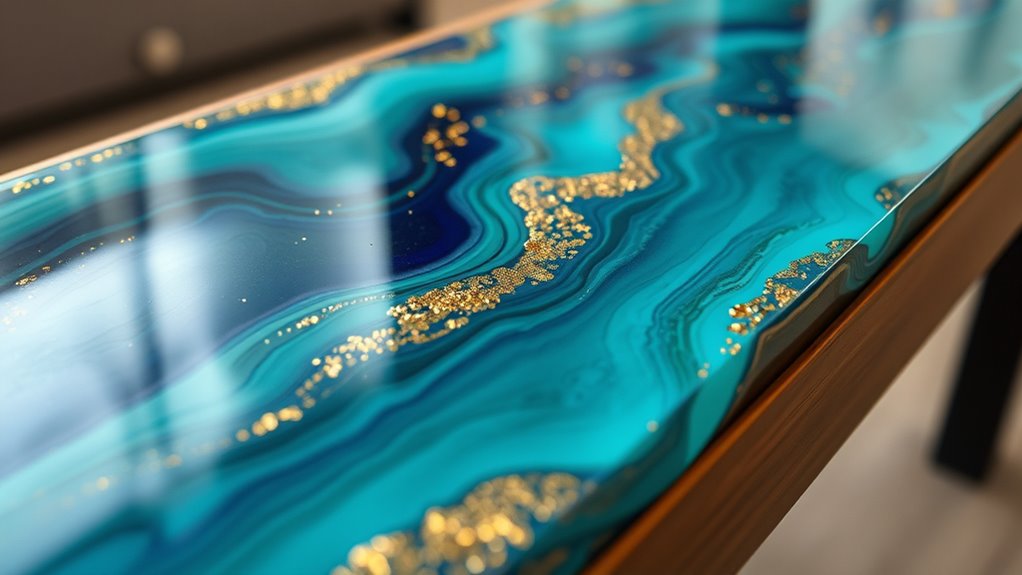
Creative Ideas for Incorporating Resin Art Into Home Decor

Resin art offers versatile opportunities to elevate your home decor with unique, eye-catching pieces. You can create stunning coasters, wall art, or decorative trays that reflect your style. When incorporating resin art, prioritize resin safety by working in a well-ventilated area and wearing protective gear. Proper workspace organization helps prevent spills and keeps your tools accessible, making the process smoother. Consider using resin to craft personalized tabletops or picture frames, adding a modern touch to your space. You can also embed dried flowers, glitter, or small keepsakes for a distinctive look. Understanding ethical hacking principles can inspire innovative security-themed designs. By thoughtfully integrating resin pieces into your home, you elevate your decor while ensuring safety and maintaining an organized workspace. This approach results in beautiful, functional art that truly personalizes your environment.
Frequently Asked Questions
How Long Does Resin Art Typically Take to Complete From Start to Finish?
It usually takes about 24 to 72 hours to complete resin art from start to finish. The drying time is vital, as it allows the resin to set properly, but the curing process can take up to a week for full hardness. You’ll want to be patient and avoid handling your piece during curing to guarantee the best results. Overall, plan for a few days to get your project perfectly finished.
Can I Use Resin Art Outdoors Without It Yellowing or Deteriorating?
You can absolutely use resin art outdoors, and it’ll survive like a superhero! Just make sure to add UV protection and choose a weather-resistant resin to prevent yellowing or deterioration. Without these safeguards, the sun, rain, and wind can turn your masterpiece into a faded, sad relic. So, coat it properly, and your outdoor resin art will stay vibrant and stunning, even after a hurricane or a heatwave!
What Safety Precautions Should I Follow When Working With Resin?
When working with resin, you should prioritize safety by ensuring proper resin ventilation to avoid inhaling fumes. Always wear protective gear like gloves, goggles, and a respirator mask to safeguard your skin, eyes, and lungs. Work in a well-ventilated area, and avoid direct contact with resin. Following these precautions minimizes health risks and helps you create your resin art safely and enjoyably.
How Do I Fix Mistakes or Imperfections in My Resin Artwork?
Oh no, your masterpiece has turned into a disaster zone? Don’t worry! For resin surface repair, gently sand the imperfections and reapply resin. Use color correction techniques like blending or adding tiny amounts of pigment to fix uneven spots. Carefully sand, clean, and pour thin layers to fix flaws. With patience, you can turn that “oops” into a stunning feature, proving even mistakes can be stylishly corrected.
Are There Eco-Friendly or Non-Toxic Resin Options Available for Home Use?
Yes, eco-friendly options like biodegradable resin and non-toxic alternatives are available for home use. These resins are designed to be safer for you and the environment, emitting fewer fumes and using sustainable ingredients. When choosing resin, look for products labeled as biodegradable or non-toxic. They work just as well for your DIY projects, allowing you to create beautiful art while minimizing environmental impact and ensuring safer working conditions.
Conclusion
Just like a skilled chef transforms simple ingredients into a masterpiece, your resin art can elevate your home decor with patience and creativity. Remember, each project is a journey—mistakes are just part of the process, leading to unique, personal pieces. With practice, you’ll find that your DIY resin art becomes a reflection of your style, turning everyday spaces into stunning showcases. So, get inspired, experiment boldly, and watch your home transform one beautiful creation at a time.