To create stunning DIY papier-mâché decor, start by gathering materials like newspaper, glue or flour paste, and paints. Shape lightweight forms with crumpled paper or balloons, then layer strips of paper for strength. Add textures with fabric or textured paper, and paint in layers for rich colors. Finish with smoothing, sealing, and polishing for a professional look. Keep practicing different techniques, and you’ll discover how to craft unique, beautiful pieces every time.
Key Takeaways
- Prepare and layer newspaper strips with glue or flour paste onto various forms for sturdy, textured sculptures.
- Use multiple thin coats of papier-mâché, allowing each to dry fully to prevent cracking and improve durability.
- Incorporate textured materials like fabric or crumpled paper to add surface interest and tactile richness.
- Paint and decorate with blending techniques, patterns, and accents to enhance visual appeal and depth.
- Finish with sanding, sealing, and gloss varnish for a smooth, professional-looking, and long-lasting decorative piece.
Gathering Materials and Preparing Your Workspace
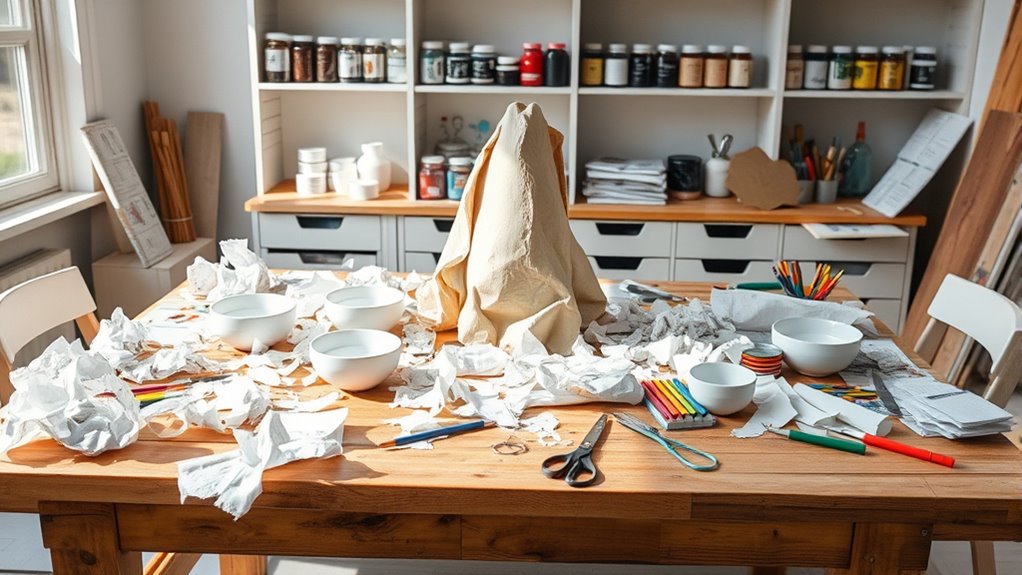
Before you begin creating your papier-mâché decor, it is essential to gather all necessary materials and set up a clean, organized workspace. Start by collecting your base materials: newspaper, glue or flour paste, and paints. When it comes to color mixing, prepare a palette of primary colors to create your desired hues, ensuring you have enough paint for multiple coats. Safety precautions are vital—work in a well-ventilated area, wear protective gloves if needed, and keep your workspace free of clutter to avoid accidents. Organize your tools, such as brushes and mixing bowls, within easy reach. A tidy workspace not only speeds up the process but also minimizes messes and hazards, making your papier-mâché project enjoyable and safe from start to finish.
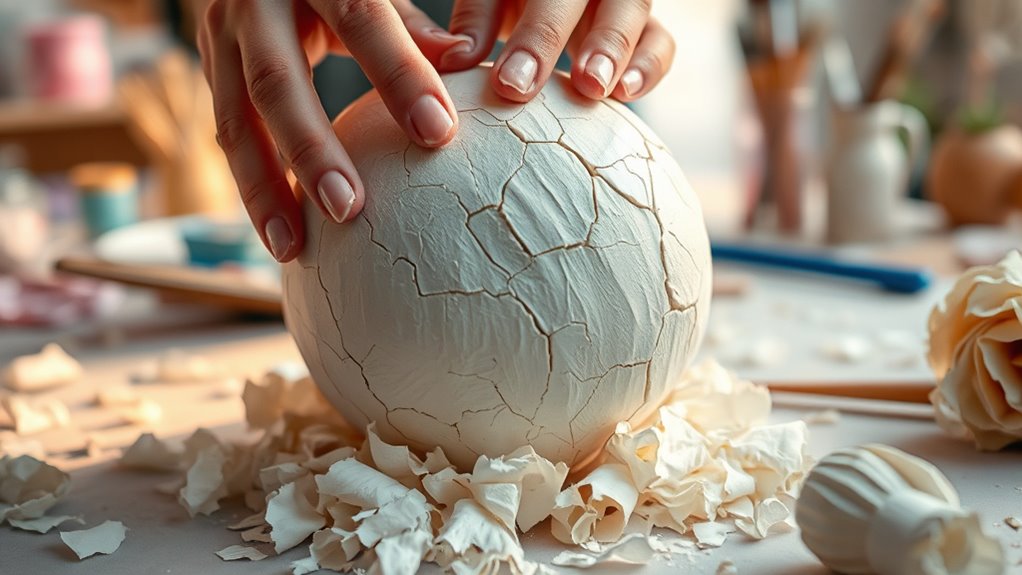
Crafting Basic Papier-Mâché Shapes and Forms
Once your workspace is ready and materials are gathered, it’s time to start shaping your papier-mâché project. Knowing the history context, papier-mâché dates back centuries, used for art and practical items. To guarantee safety precautions, always work in a well-ventilated area and avoid inhaling glue fumes. Here are some tips to craft basic shapes:
Start shaping your papier-mâché projects safely with basic forms and proper ventilation.
- Use crumpled paper or balloons as forms to create spheres, cones, or cylinders.
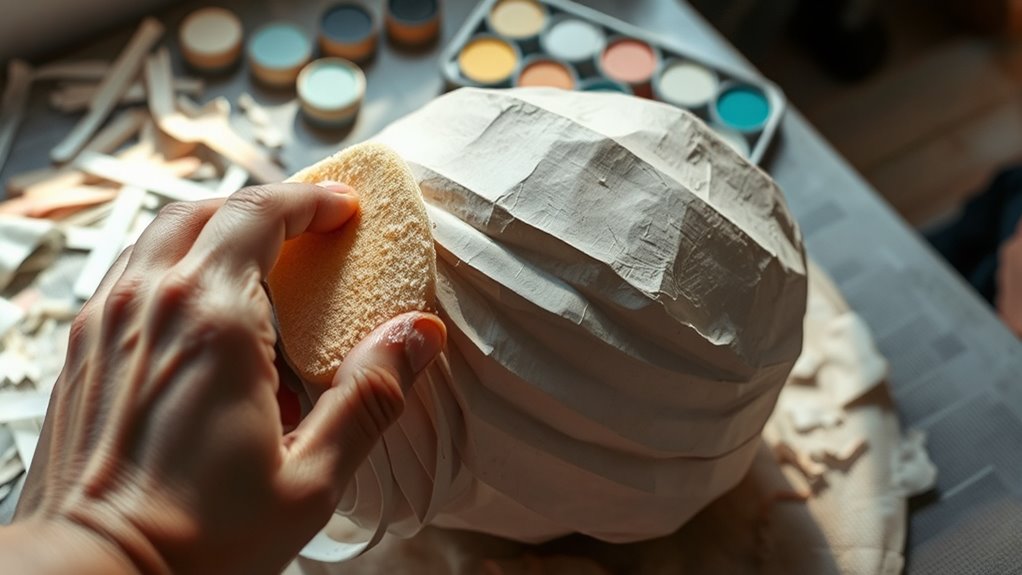
- Apply strips of paper dipped in glue mixture, smoothing them for even coverage.
- Let each shape dry completely before adding details or additional layers.
- Understanding the importance of color accuracy can help you choose the right materials to achieve vibrant and true-to-life finishes in your decorative pieces.
Practicing simple shapes first helps build your skills and gives your project stability. With patience and proper safety precautions, you’ll quickly master basic forms for more complex creations.
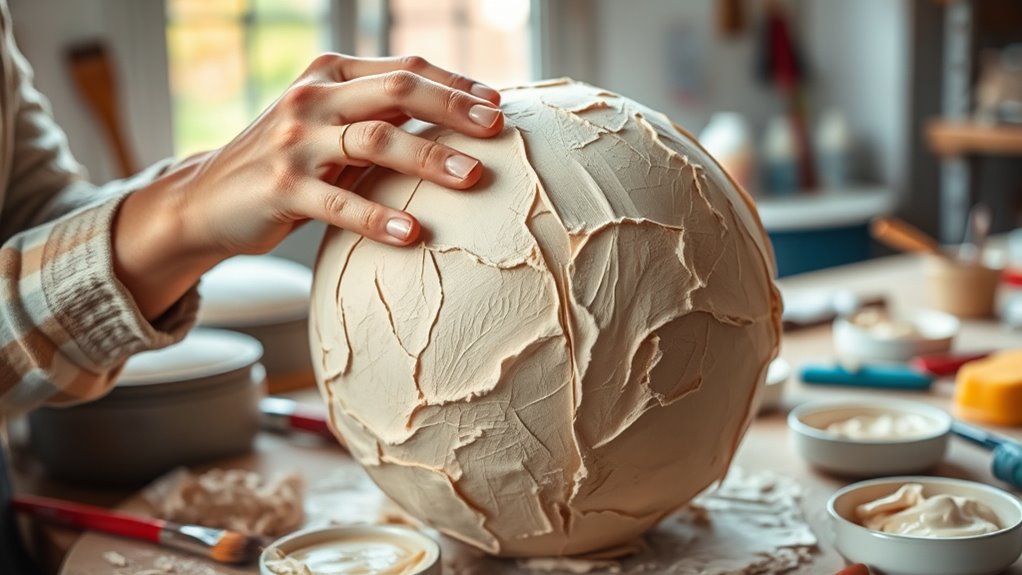
Layering Techniques for Durability and Texture
To make your papier-mâché pieces stronger and more interesting, you should focus on building multiple layers with varying thicknesses. Applying different amounts of paste helps create a textured surface and adds durability. Experiment with these techniques to achieve both resilience and unique visual effects.
Building Multiple Layers
Building multiple layers is essential for creating sturdy and textured papier-mâché projects. Each layer adds strength and enhances surface details, allowing for better color blending and surface texturing. To achieve the best results, consider these tips:
- Apply thin, even coats, letting each dry completely before adding the next. This prevents cracking and creates a smooth base for surface texturing.
- Use different shades of paper or paint in each layer to develop rich color blending and depth.
- Incorporate varied surface textures by adding crumpled paper or textured materials between layers, enhancing tactile feel and visual interest.
Layering carefully guarantees your project is durable while providing a beautiful, textured finish that’s perfect for painting or decorating.
Varying Thickness Application
Varying the thickness of each papier-mâché layer allows you to tailor the project’s durability and texture. Adjusting paper thickness helps you strengthen areas prone to stress or add surface detail. When applying layers, maintain consistent layering techniques to ensure even coverage. Thicker layers provide sturdiness, ideal for structural parts, while thinner layers create smooth surfaces or delicate textures. Be mindful of layering consistency—uneven thickness can cause weak spots or imperfections. Use multiple coats of varying thickness intentionally, allowing each to dry fully before adding the next. This approach lets you control the final look and resilience of your decor. Additionally, understanding the importance of material properties can guide you in choosing the right paper and adhesive for optimal results. By managing paper thickness and consistency, you create a durable, visually appealing piece tailored to your project’s needs.
Creating Intricate Textured Surfaces
Creating intricate textured surfaces with papier-mâché allows you to add depth and visual interest to your projects. To achieve stunning textured patterns and surface embellishments, try these techniques:
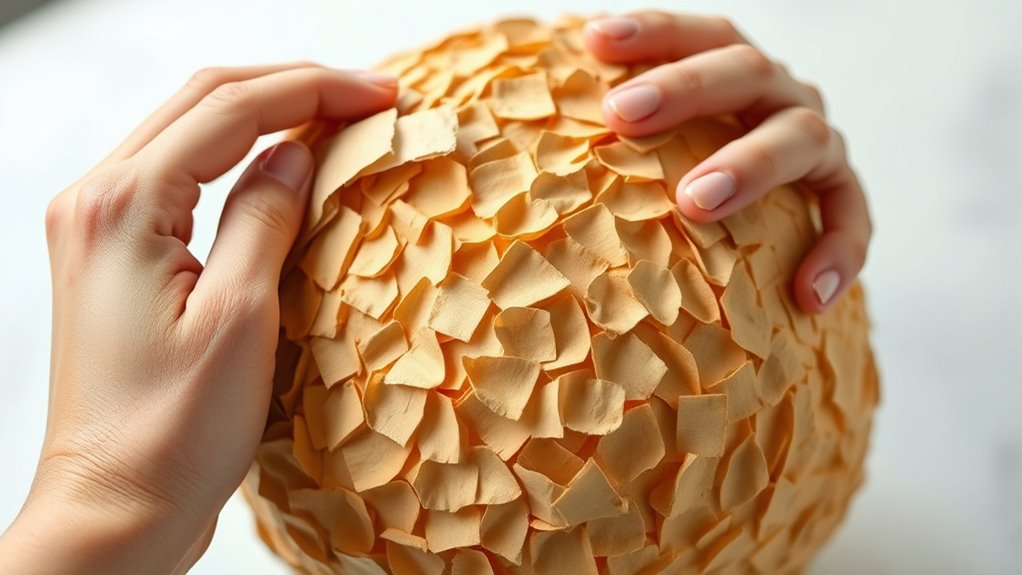
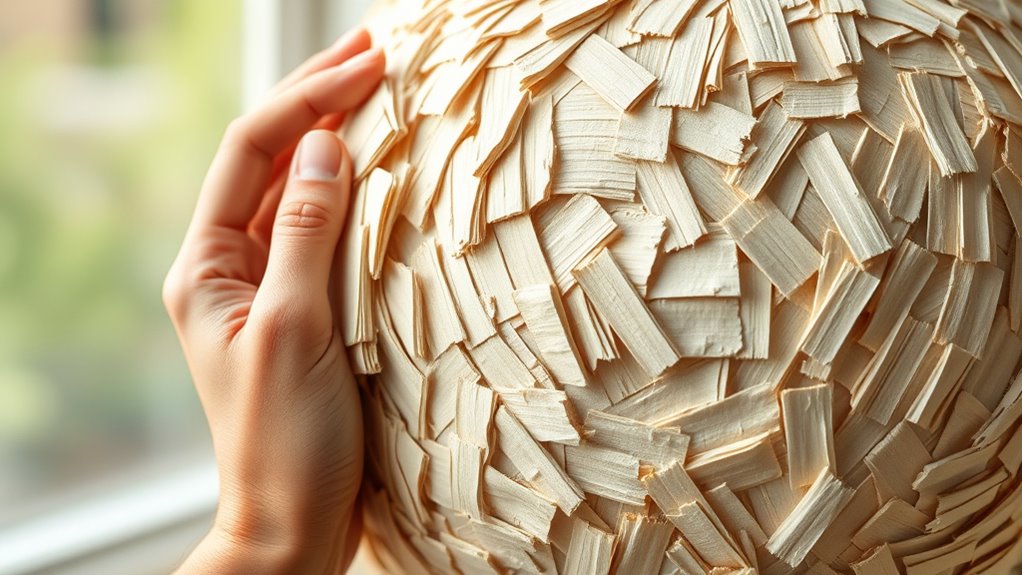
- Use textured objects like fabric, leaves, or mesh to press into wet papier-mâché, creating unique surface patterns.
- Apply layers of crumpled paper or torn strips for a rugged, layered effect that adds dimension.
- Incorporate tools such as combs or sponges to carve or stipple the surface, producing detailed textures.
- Experiment with different texture techniques to customize the tactile qualities of your work and make each piece truly unique.
These methods help you craft rich, tactile surfaces that elevate your decor. Experimenting with different materials and tools allows you to customize textures, making each piece truly your own. Texture enhances visual appeal and invites touch, giving your papier-mâché projects a professional finish.
Painting and Decorating Your Papier-Mâché Creations

Once you’ve finished shaping your papier-mâché piece, the next step is to bring it to life with paint and decorative elements. Start with a base coat to create a smooth surface. Use color blending techniques to smoothly morph between shades, adding depth and dimension. Incorporate pattern stenciling to add intricate designs effortlessly; simply place the stencil on your piece and apply paint or ink through the pattern. This creates clean, consistent patterns that enhance your creation’s visual appeal. Don’t be afraid to experiment with layering different colors and patterns to achieve unique effects. As you work, keep your strokes confident and precise. To add a touch of authenticity, consider incorporating vintage decor elements into your design. Once finished, consider sealing your work with a clear varnish to preserve the vibrancy of your colors and patterns.
Making Lightweight and Hollow Sculptures
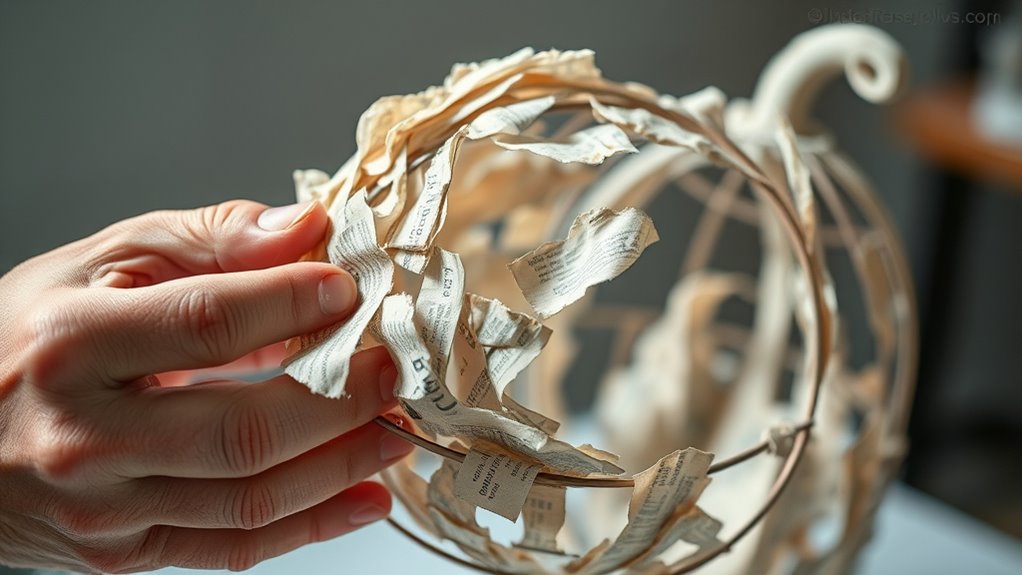
After finishing your painted and decorated papier-mâché piece, you might want to make it lighter and more hollow for easier handling or display. Traditional papier-mâché allows you to create sturdy yet lightweight sculptures by incorporating eco friendly materials like recycled paper and natural adhesives. To achieve this, consider these techniques:
- Use a core structure, like crumpled newspaper, then layer with thin strips of eco friendly paper to reduce weight.
- Build hollow shells by shaping two separate halves and joining them after drying, saving material and weight.
- Incorporate lightweight fillers, such as shredded paper or natural fibers, inside the sculpture to maintain shape without adding bulk.
- Selecting low-carb and eco-friendly materials can help ensure your sculpture remains environmentally conscious while being lightweight and durable.
These methods help your sculptures remain eco-conscious while being easy to move and display.
Incorporating Mixed Media for Unique Effects
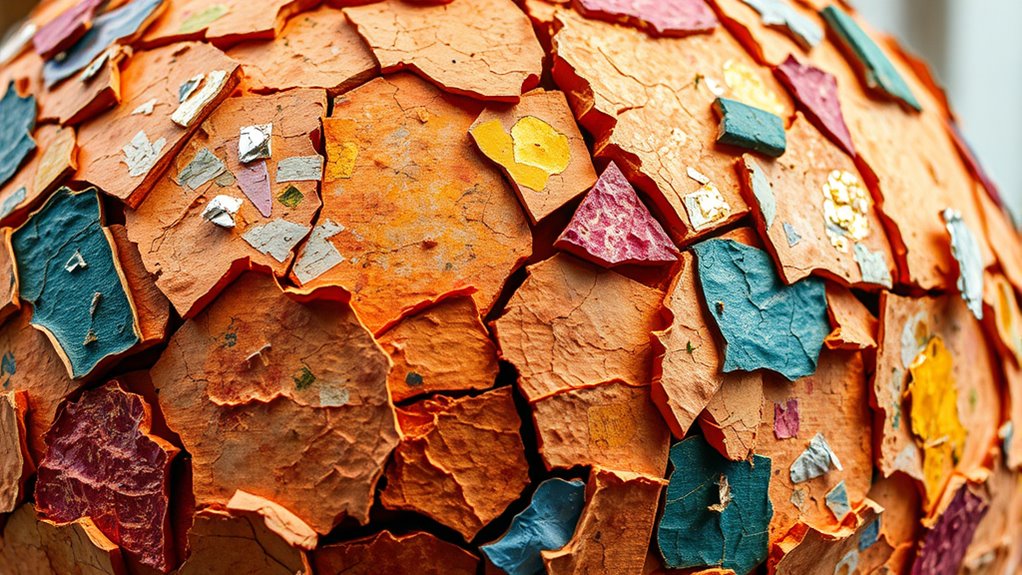
Incorporating mixed media into your papier-mâché projects opens up a world of creative possibilities, allowing you to achieve textured, visually enchanting effects. You can add elements like fabric, paper scraps, or natural materials to create rich texture blending that elevates your design. Experiment with layering different materials to build depth and interest. Color layering is also key—start with a base coat and add subsequent layers of paint, tissue, or other mediums to produce complex, vibrant hues. This approach not only enhances the visual appeal but also gives your piece a tactile dimension that’s truly unique. Incorporating farmhouse-inspired accents can further enhance the rustic charm of your decor pieces. By blending various media, you can craft dynamic, one-of-a-kind decor pieces that reflect your style and creativity.
Tips for Smoothing and Finishing Your Projects
Once your papier-mâché piece is dry, you can start smoothing out imperfections with gentle sanding to achieve a flawless surface. Applying a sealant will add a subtle shine and protect your project, while final polishing techniques will give it a professional finish. These steps guarantee your decor looks polished and ready to display. Incorporating proper finishing techniques can further enhance durability and aesthetic appeal.
Sanding for a Smooth Surface
Have you ever struggled with achieving a smooth, polished finish on your papier-mâché projects? Proper surface preparation and effective sanding techniques are essential for a flawless look. To begin, let your project dry completely before sanding. Use fine-grit sandpaper to gently smooth out bumps and uneven areas. Here are some tips to help you master this step:
- Sand in circular motions to avoid gouging the surface.
- Keep the surface moist with a damp cloth to reduce dust and improve results.
- Focus on edges and curves for a seamless finish.
- Incorporate proper surface preparation to ensure optimal results and reduce the need for excessive sanding.
Applying Sealant for Shine
Are you looking to give your papier-mâché project a professional, glossy finish? Applying a sealant creates a smooth, shiny surface that enhances your artwork’s appearance. To achieve a perfect reflective surface, choose a clear acrylic or varnish sealant. Use a soft brush or spray for even coverage, and apply thin layers to prevent drips. Let each layer dry completely before adding the next. This process smooths out imperfections and boosts the shine. Visualize your project like this:
| Before Sealant | After Sealant |
|---|---|
| Dull, matte finish | Bright, glossy surface |
| Uneven texture | Smooth, reflective surface |
| Visible brushstrokes | Seamless shine |
| Lack of depth | Vibrant, professional look |
Additionally, consider the importance of proper sealing techniques to ensure a durable and high-quality finish.
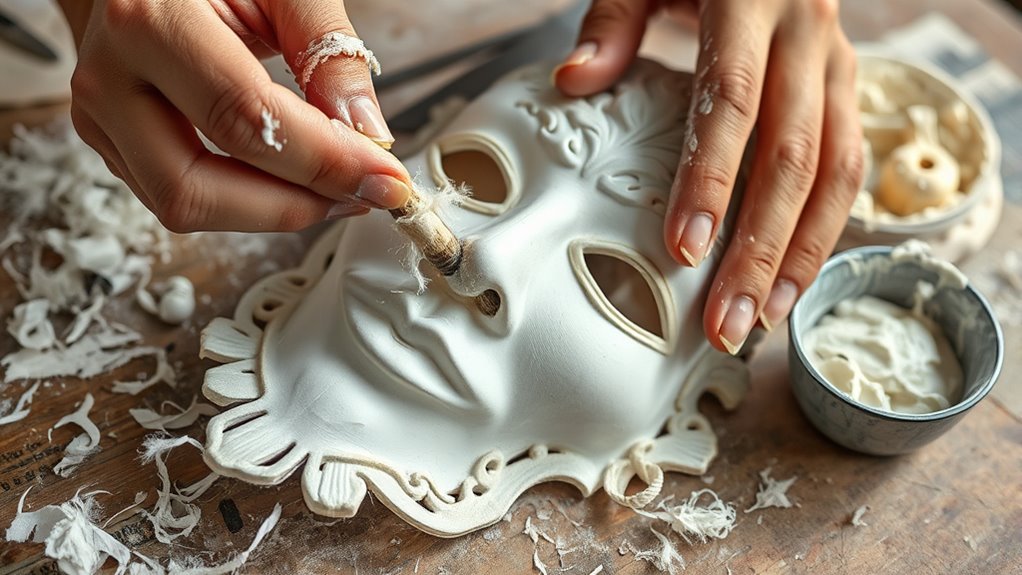
Final Polishing Techniques
To achieve a flawless finish on your papier-mâché project, focus on final polishing techniques that smooth out surface imperfections and enhance the overall look. Proper surface polishing ensures your piece looks professional and ready for display. Start by lightly sanding the surface with fine-grit sandpaper to eliminate bumps and rough patches. Next, use a clean, damp cloth to remove dust and prepare the surface for gloss finishing. Finally, apply a layer of gloss varnish or sealant to achieve a sleek, shiny appearance. This step not only enhances the visual appeal but also provides added durability. Remember, patience is key—allow each coat to dry thoroughly before applying the next for a smooth, polished result. Incorporating finishing touches can further elevate the quality of your artwork.
Repairing and Maintaining Papier-Mâché Decor
When your papier-mâché decor sustains damage, addressing repairs promptly guarantees it remains beautiful and stable. Start by inspecting the affected area and cleaning it gently to remove dirt or loose particles. Use restoration techniques such as applying a thin layer of papier-mâché paste or additional paper strips to rebuild cracks or chips. For larger damages, structural reinforcement is essential — insert small supports or reinforce the back with wire or cardboard to strengthen the piece. Once the repair dries, sand it lightly for a smooth finish. Touch up with paint or sealant as needed to match the original look. Regular maintenance, like dusting and avoiding excess moisture, helps prolong your decor’s lifespan and keeps it looking its best. Incorporating secure merchant services can also help manage sales of your handmade decor more efficiently.
Frequently Asked Questions
How Long Does It Take for Papier-Mâché to Fully Dry?
It typically takes about 24 to 72 hours for papier-mâché to fully dry, depending on environmental factors. You should allow ample drying time, especially in humid or cold conditions, which can extend the process. To speed things up, place your project in a well-ventilated area or use a fan. Patience is key, as rushing the drying process may cause cracks or warping in your finished piece.
What Are Common Mistakes to Avoid During Layering?
Oh, the joys of layering papier-mâché—just like building a sandcastle, but with more frustration! To avoid common mistakes, you should steer clear of applying thick layers, which cause uneven surfaces and longer drying times. Instead, use thin layering for smoother results. Rushing the process or skipping drying time leads to cracks and warping. Patience and even application keep your project sturdy, beautiful, and frustration-free.
Can I Use Recycled Materials for My Projects?
Yes, you can definitely use recycled materials for your papier-mâché projects. Recycling paper is an eco-friendly choice that reduces waste and gives new life to old materials. By incorporating eco-friendly materials, you not only create unique textures and finishes, but you also help the environment. Just make certain your recycled paper is clean and free from contaminants for the best results, and you’ll have a sustainable, creative project.
How Do I Prevent Cracks in Finished Sculptures?
To prevent cracks in your finished sculptures, you should focus on surface sealing and maintaining proper thickness. Apply a smooth layer of sealant to protect the surface, which helps reduce cracking caused by drying. Make certain each layer of papier-mâché isn’t too thick, as overly thick layers are prone to cracks. Take your time drying each layer thoroughly before adding the next, and smooth out any bumps for a flawless finish.
What Safety Precautions Should I Follow When Working With Adhesives?
Sure, because inhaling adhesive fumes and risking skin irritation is everyone’s favorite hobby. When working with adhesives, always work in a well-ventilated area, and wear gloves and a mask to protect your skin and lungs. Avoid prolonged contact and keep adhesives away from your face. By taking these simple precautions, you’ll stay safe and avoid turning your craft session into a chemical experiment gone wrong.
Conclusion
With these papier-mâché techniques, you’re all set to transform simple materials into stunning decor, much like an artist wielding a brush in a bustling atelier. Remember, patience and creativity are your best tools—don’t be afraid to experiment and add your personal touch. Before long, your space will be adorned with handcrafted pieces that tell your story. So, roll up your sleeves, channel your inner artisan, and let your imagination take flight—your masterpiece awaits!