
Start by mastering basic origami techniques like valley and mountain folds to create simple shapes and animals. Experiment with precise folds and sharp creases for cleaner models. Once comfortable, explore paper mâché using newspaper, glue, and molds to make durable decorative pieces. Incorporate upcycling for eco-friendly projects and consider sealing your crafts for longevity. Continue exploring different techniques to expand your skills and create versatile paper art that brightens your space.
Key Takeaways
- Master basic origami folds like valley and mountain to create intricate paper figures and floral designs.
- Use paper mâché techniques with newspaper, glue, and molds to craft durable, decorative sculptures.
- Incorporate upcycling by transforming recycled paper materials into unique art projects.
- Apply sealants and protective coatings to preserve and enhance the appearance of paper crafts.
- Store finished projects in proper conditions to maintain their quality and extend their lifespan.

Praisebank Origami Paper, 220pcs 17 Colors 6×6 inch, Double Sided, Craft Kit with Guide.
Package include: Our origami kit includes 220 sheets of colored origami papers, 1 step-by-step guide manual, making it…
As an affiliate, we earn on qualifying purchases.
As an affiliate, we earn on qualifying purchases.
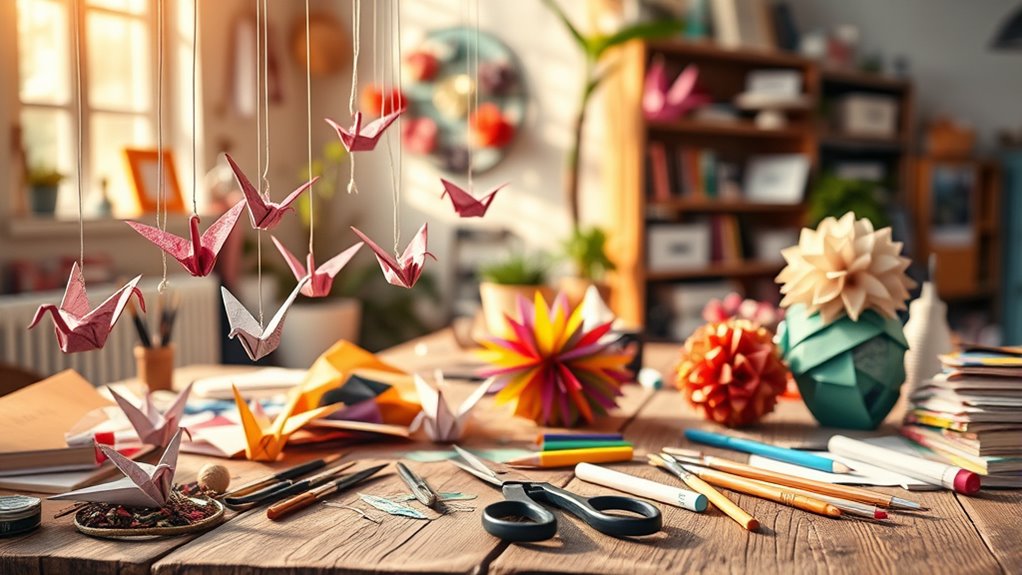
Getting Started With Basic Paper Folding Techniques
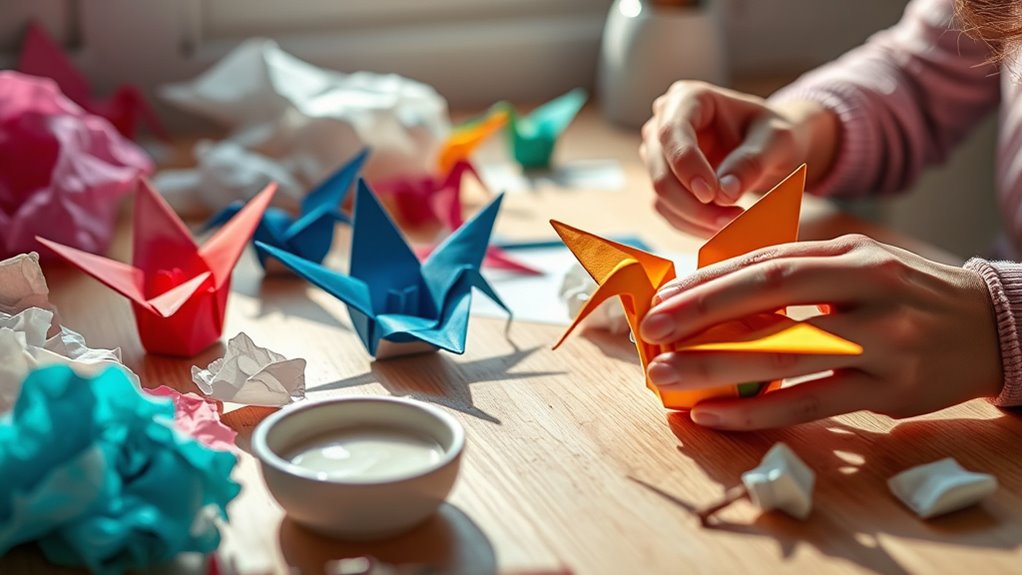
To begin your paper crafting journey, mastering basic folding techniques is essential. These foundational skills form the core of paper folding and are vital for creating impressive origami models. Start with simple folds like valley and mountain folds, which involve folding the paper inward or outward. Practice these until they become second nature, as precise folds lead to cleaner, more professional-looking models. Use your fingers or a bone folder for sharp creases. Once comfortable, experiment with basic shapes like squares, triangles, and rectangles. These shapes are the building blocks of more complex origami models. Remember, patience is key—each fold improves your technique and confidence. Developing self-sufficiency through consistent practice allows you to master more intricate paper folding projects confidently.

Activa CelluClay Instant Paper Mâché, White, 4lb (1.8kg) Sculpting & Texturing Material for Arts & Crafts
The original and industry leading instant papier mache; just add water, no paper strip cutting or adding messy…
As an affiliate, we earn on qualifying purchases.
As an affiliate, we earn on qualifying purchases.
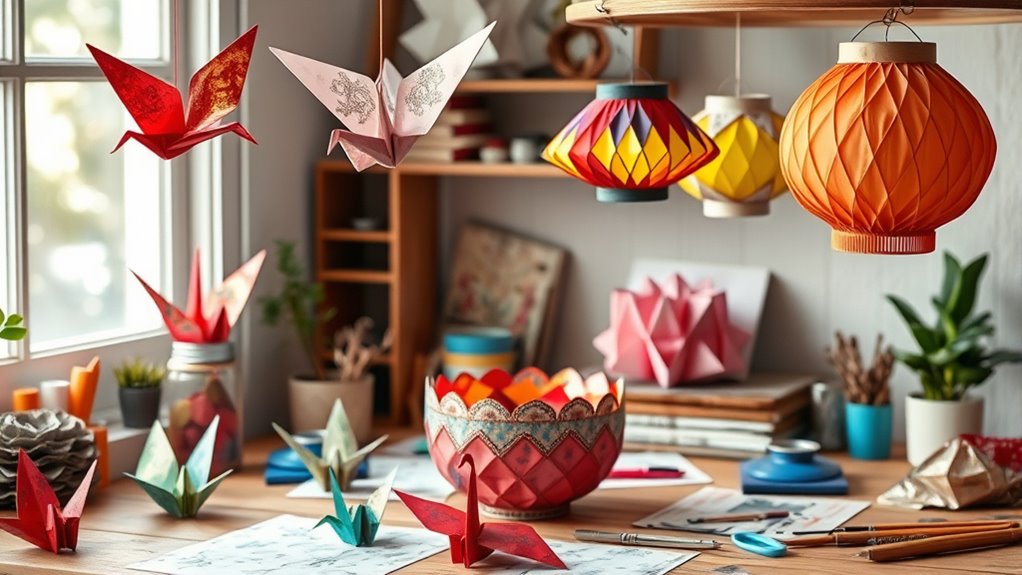
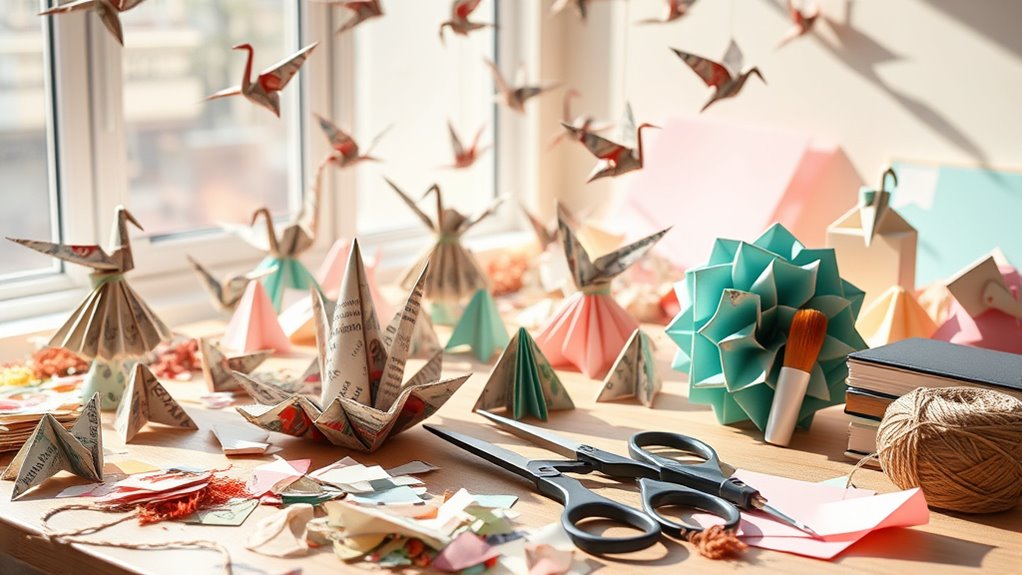
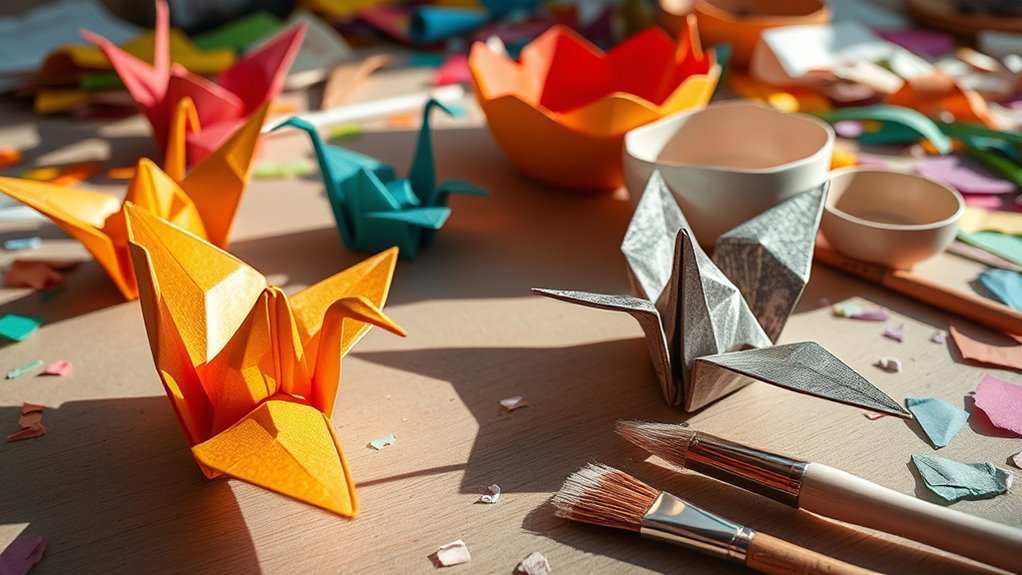
Creative Ideas for Origami Projects
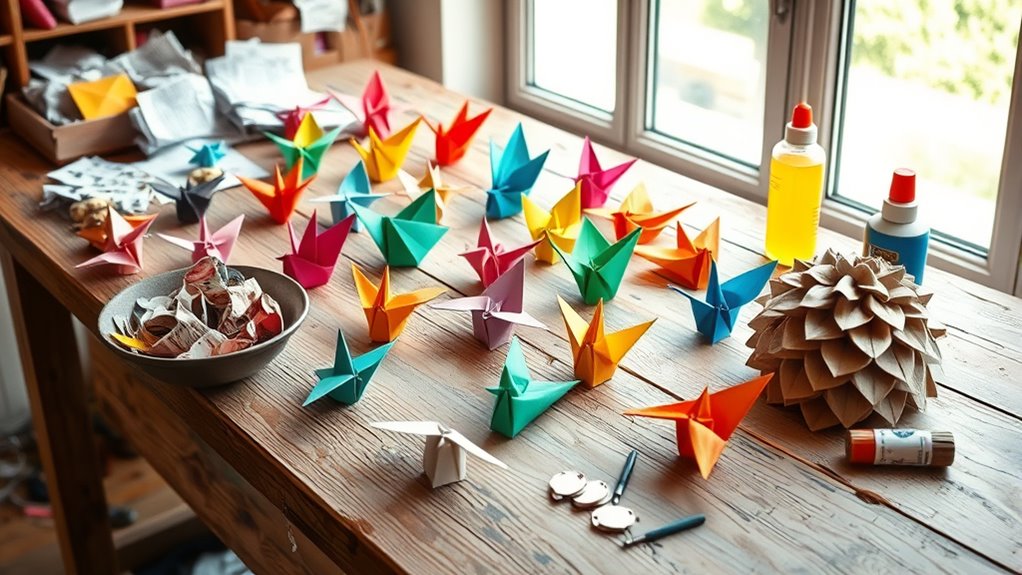
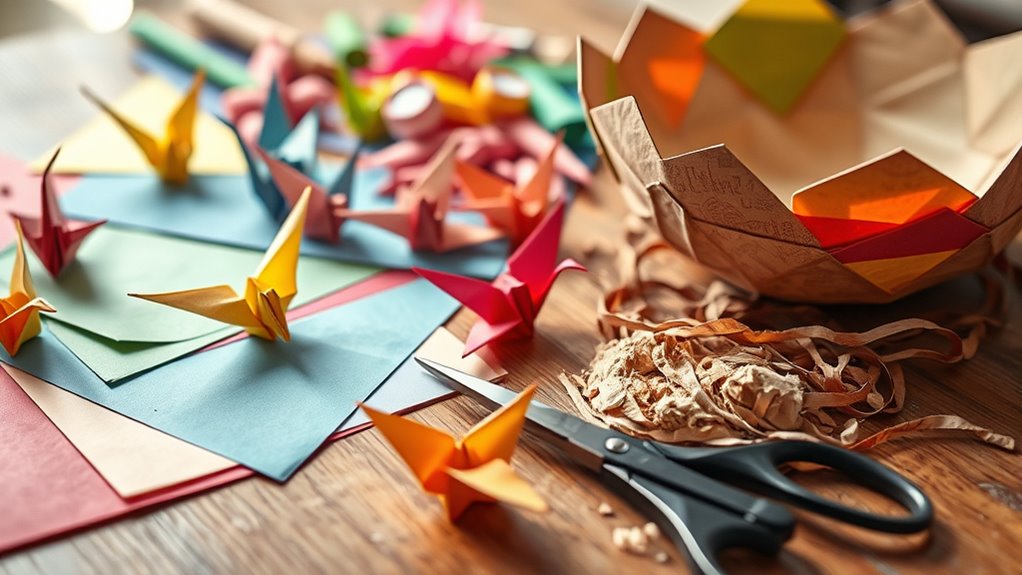
Once you’ve mastered basic folding techniques, you can start exploring a variety of creative origami projects. Whether you want to craft animal figures or floral designs, the possibilities are endless. For example, you can create a delicate crane or a colorful butterfly to decorate your space. To inspire your creativity, here’s a table of popular projects:
| Project Type | Example | Difficulty Level |
|---|---|---|
| Animal Figures | Crane, fox | Beginner to intermediate |
| Floral Designs | Lotus, rose | Intermediate |
| Decorative Items | Gift boxes, bookmarks | Beginner to advanced |
| Holiday Themes | Christmas trees, pumpkins | Varies |
| Abstract Forms | Geometric shapes | Advanced |
These projects allow you to express creativity while developing your folding skills.

Benvo 50 Sheets A4 Natural Mulberry Paper Visible Leaves Fiber Rice Paper Printable Decoupage Tissue Paper Sheets for Writing, Painting, Card Making, DIY Crafts(8.3×11.7in, Semi Transparent Jute)
Natural Plant Material- These mulberry paper is made of quality bark with visible plant fibers in natural texture….
As an affiliate, we earn on qualifying purchases.
As an affiliate, we earn on qualifying purchases.
Exploring Paper Mâché: Tools and Tips
To get started with paper mâché, you’ll need basic materials like newspaper, glue or paste, and a sturdy base or mold. Using the right application techniques, such as smooth layering and proper drying, can make your project stronger and cleaner. Keep these tools and tips in mind to create impressive and durable paper mâché art. Additionally, understanding celebrity lifestyle insights can inspire creative projects by exploring how celebrities design their private paradises.
Essential Materials Needed
You’ll need a few basic supplies to get started with paper mâché. First, gather your paper—newspaper or tissue paper works well—and consider the paper texture, as it affects the final look. For the adhesive, a simple mixture of glue and water or flour paste will suffice. Keep a variety of brushes or sponges handy for application. When choosing colors, think about your project’s color selection to ensure your materials complement your design. You’ll also want a sturdy base or armature to build upon. Having scissors, a craft knife, and protective surfaces will make the process smoother. Additionally, selecting the right adhesive mixture can influence the durability and finish of your project. With these essentials, you’ll be ready to create your paper mâché masterpiece, focusing on the texture and color that bring your project to life.
Best Application Techniques
Applying paper mâché effectively depends on choosing the right tools and techniques to achieve smooth, durable layers. Start by smoothing each layer carefully, ensuring no air bubbles or wrinkles, which enhances durability and appearance. Use your fingers or a brush to press down edges and blend seams seamlessly. Incorporate decorative techniques by adding textures or painting designs while layers are still damp, creating eye-catching finishes. For precise shapes, practice gentle paper folding to reinforce structure and detail. Keep your tools clean to prevent sticking or tearing. Applying thin, even coats helps prevent cracking and speeds up drying time. Additionally, understanding the importance of remote hackathons can inspire innovative approaches even in craft projects, encouraging creativity and problem-solving skills. With patience and attention to detail, your paper mâché projects will look professional and last longer, showcasing your skill in applying artistic techniques effectively.
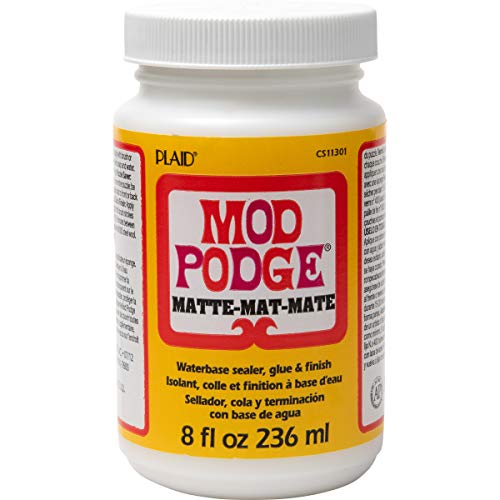
Mod Podge Matte Sealer, Glue & Finish: All-in-One Craft Solution- Quick Dry, Easy Clean, for Wood, Paper, Fabric & More. Non-Toxic – Craft with Confidence, Made in USA, 8 oz., Pack of 1
CONVENIENT & VERSATILE SIZE – Add this multi-purpose, all-in-one glue, sealer, and finish in a 8 oz size…
As an affiliate, we earn on qualifying purchases.
As an affiliate, we earn on qualifying purchases.
Designing Decorative Paper Crafts for Your Home
Creating decorative paper crafts for your home allows you to add a personal touch and unique style to your space. To make your designs stand out, focus on color combinations that complement your decor. Bright, bold colors can energize a room, while soft, pastel shades create a calming atmosphere. Pattern designs also play a vital role in crafting visually appealing pieces. Geometric shapes, floral motifs, or abstract patterns can enhance the overall aesthetic. Mix and match different patterns to add depth and interest, but keep a balance to avoid clutter. Consider the size and placement of your crafts to maximize impact. With thoughtful choices in color and pattern, your paper crafts will become eye-catching accents that reflect your personality and creativity. Incorporating design elements inspired by farmhouse decor can also help unify your crafts with the overall style of your home.
Upcycling and Repurposing Old Paper Materials
Have you ever considered giving old paper materials a new life instead of discarding them? Recycling newspaper is a simple way to reduce waste, but you can also upcycle magazine pages into vibrant art projects. Use colorful magazine pages to create homemade greeting cards, bookmarks, or collages. Upcycling transforms these materials into unique crafts while saving money and reducing landfill clutter. You can even shred newspaper to make paper pulp for handmade paper or paper mache projects. By repurposing old paper, you give it a second purpose and add a personal touch to your crafts. Additionally, incorporating recyclable materials into your projects can enhance their eco-friendliness and sustainability. This eco-friendly approach not only benefits the environment but also sparks your creativity, turning everyday waste into beautiful, functional art pieces.
Tips for Finishing and Preserving Your Creations
To keep your paper crafts looking their best, applying a sealant can safeguard them from damage and wear. You also need to store your creations in a safe, stable environment to prevent deterioration. Taking these steps ensures your artwork stays vibrant and intact for years to come. Using proper storage techniques can further prolong the lifespan of your paper crafts by protecting them from environmental factors.
Protect With Sealants
Applying a sealant is an essential step to protect your paper crafts from damage and guarantee they last longer. Sealants create a barrier that shields your work from moisture, dirt, and fading. To effectively protect your creations, consider these tips:
- Choose waterproof coatings or spray sealants for even coverage.
- Test the sealant on a small area first to ensure compatibility.
- Apply thin, even layers, allowing each to dry completely.
- Use a light touch to avoid smudging or warping delicate paper.
- Incorporate industry-standard sealant techniques to ensure optimal preservation.
Using spray sealants provides a quick, smooth finish, while liquid waterproof coatings can be brushed on for detailed areas. Proper sealing preserves your artwork and keeps it looking vibrant for years.
Store Carefully and Safely
Once your paper craft is sealed and protected, the next step is to store it properly to guarantee it stays in pristine condition. Choose appropriate storage solutions like acid-free boxes, portfolios, or flat drawers to prevent bending or damage. Keep your creations in a cool, dry place away from direct sunlight, which can cause fading or warping. Implement safety precautions by handling fragile pieces carefully and avoiding overcrowding, which could lead to crushing. Label your stored crafts for easy identification and regular inspection, ensuring they remain intact over time. Proper storage not only preserves your artwork but also makes it easier to access and enjoy later. Additionally, consider environmental factors such as humidity and temperature to prevent deterioration. Following these tips helps maintain the beauty and integrity of your paper crafts for years to come.
Frequently Asked Questions
What Types of Paper Are Best for Different Crafts?
You should choose decorative paper like scrapbook or patterned paper for vibrant crafts, as it adds visual interest. For eco-friendly projects, recycled materials work great, especially for paper mâché or collages. Thinner paper, such as tissue or origami paper, is ideal for delicate folds and detailed origami. Thicker cardstock provides durability for structural projects. Select the paper based on your craft’s needs, balancing appearance and functionality for the best results.
How Do I Troubleshoot Common Folding Mistakes?
Did you know that 78% of origami enthusiasts improve their skills by mastering paper folding techniques? To troubleshoot common folding mistakes, gently uncrease the incorrect fold and realign it carefully. Use a bone folder or a similar tool to correct creases smoothly. Practice makes perfect, so be patient and take your time. With consistent effort, you’ll see your folds become sharper and more precise.
Can Paper Crafts Be Safely Made With Children?
Yes, paper crafts can be safely made with children when you prioritize paper craft safety. Use child-friendly tools like blunt scissors, non-toxic glue, and washable markers. Always supervise their activity to prevent accidents, and choose age-appropriate projects. Creating together encourages creativity while ensuring safety, making paper craft fun and educational for kids. Proper supervision and safe tools are key to a safe, enjoyable crafting experience.
What Are Eco-Friendly Alternatives to Traditional Paper Materials?
You can opt for eco-friendly alternatives like recycling paper or choosing biodegradable options for your paper crafts. Recycling paper helps reduce waste and conserves resources, making your projects more sustainable. Biodegradable materials, such as plant-based papers or those made from natural fibers, break down naturally over time. By selecting these eco-friendly options, you not only create beautiful crafts but also contribute to environmental preservation and reduce your carbon footprint.
How Do I Store Completed Paper Crafts to Prevent Damage?
To prevent damage, you should store your paper crafts using proper preservation techniques like keeping them in acid-free boxes or wrapping them gently in tissue paper. Avoid direct sunlight, high humidity, and extreme temperatures. For display options, consider framing delicate pieces behind glass or placing them on sturdy shelves in a cool, dry area. This way, your creations stay vibrant and intact for years to come.
Conclusion
Now that you’ve revealed the secrets of paper folding and sculpting, your imagination can soar like a bird in flight. With every crease and layer, you’re painting a vibrant tapestry of creativity that transforms simple paper into stunning art. Keep experimenting, and watch your crafts come alive like blossoms blooming in spring. Remember, your hands hold the magic—craft your world one fold and layer at a time, turning ordinary paper into extraordinary treasures.