
DIY natural wall plasters like clay and lime are great options if you want eco-friendly, breathable finishes for your home. Clay plasters give warm, earthy tones and soft textures, while lime provides a sleek, durable surface with a subtle sheen. Both materials are non-toxic, help regulate humidity, and enhance indoor air quality. With simple mixing, application techniques, and finishes, you can transform your walls naturally—discover more on how to get started and achieve stunning results.
Key Takeaways
- Choose the appropriate natural plaster type: clay for warm, earthy textures or lime for sleek, durable finishes.
- Prepare walls by cleaning and applying bonding agents if needed before plaster application.
- Mix natural clays with water and pigments, or lime with quicklime, slaked lime, and sand, following proper ratios.
- Apply in thin, even layers using trowels, sponges, or brushes, allowing each layer to partially dry before the next.
- Seal and maintain natural plasters with breathable, natural sealants, and perform regular cleaning and crack repairs.

Meoded Paint & Plaster Moroccan Clay Interior Clay Based Plaster Easy to Apply DIY (Dusk)
Formulated for Easy Application: DIY-friendly formula designed for straightforward application by homeowners and professionals alike
As an affiliate, we earn on qualifying purchases.
As an affiliate, we earn on qualifying purchases.
Benefits of Using Natural Wall Plasters
Using natural wall plasters offers numerous benefits, especially if you’re aiming for a healthier and more eco-friendly home. One major advantage is the eco-friendly benefits, as these materials are biodegradable and contain no harmful chemicals or volatile organic compounds (VOCs). This means you reduce your environmental footprint while creating a sustainable living space. Additionally, natural plasters improve indoor air quality by preventing the buildup of dust, mold, and toxins often associated with synthetic finishes. They actively contribute to a healthier environment inside your home, making it safer for allergy sufferers or those with respiratory issues. Plus, natural plasters are breathable, helping regulate humidity levels and preventing moisture problems. Emerging nanotechnology innovations are even enhancing these materials’ durability and functionality. Overall, choosing natural wall plasters supports both your health and the planet.

VASARI Lime Plaster & Paint | Veneziano Plaster (Smooth Finish) | Made from Natural Lime and Powdered Marble | color: Natural white #1 | Dry Mix (Makes 5 Gallons Plaster)
Color: Natural White #1 (Untinted)
As an affiliate, we earn on qualifying purchases.
As an affiliate, we earn on qualifying purchases.
Types of Natural Plasters: Clay and Lime
Clay and lime plasters differ in their ingredients and application methods, affecting how you work with each material. Understanding their composition helps you choose the right plaster for your project and achieve the desired look. Plus, both offer unique aesthetic qualities and benefits that can enhance your wall finish. Additionally, selecting a plaster with a suitable color temperature can improve the overall ambiance and visual appeal of your space.
Composition and Ingredients
Natural wall plasters primarily rely on organic materials like clay and lime, each offering unique benefits for eco-friendly wall finishes. Clay plasters consist of fine natural clays mixed with water, sometimes enhanced with eco friendly pigments for color. Lime plasters are made from quicklime, slaked lime, and sand or other aggregates. Both types are highly breathable, allowing moisture to escape, which helps prevent mold and dampness. The ingredients in clay plasters focus on fine clay particles, while lime plasters incorporate calcium carbonate, creating a durable, self-healing surface. The choice of natural pigments ensures vibrant colors without harmful chemicals. Additionally, both clay and lime plasters are valued for their sustainability, making them excellent choices for environmentally conscious homes. Overall, these compositions provide sustainable, non-toxic options that enhance indoor air quality, offering beautiful, breathable finishes suitable for eco-conscious homes.
Application Techniques
Applying natural plasters effectively requires understanding their specific techniques, as each type—clay or lime—demands different methods for ideal results. Surface preparation is vital; ensure the wall is clean, dry, and free of loose particles. For clay plasters, use trowel techniques that promote smooth, even layers, working in thin coats to prevent cracking. Lime plasters require a slightly different approach, with a focus on controlling moisture and applying in multiple, controlled layers with firm, consistent trowel strokes. Always smooth out the surface with your trowel to avoid bumps and guarantee proper adhesion. Proper surface preparation combined with deliberate trowel techniques will help you achieve durable, attractive finishes, whether working with clay or lime. Additionally, understanding the specific material properties of each plaster type can help you tailor your application methods for better results.
Aesthetic and Benefits
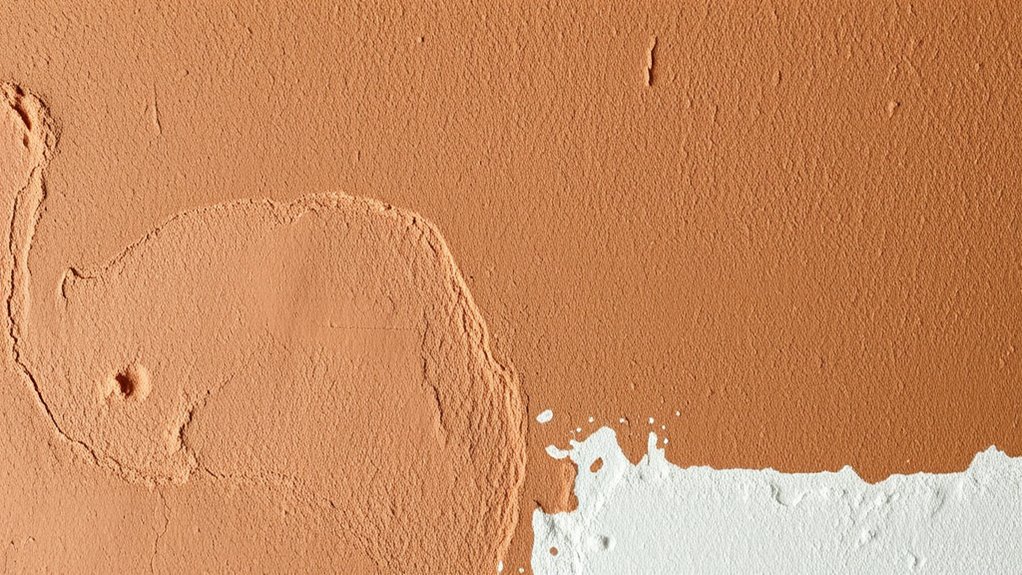
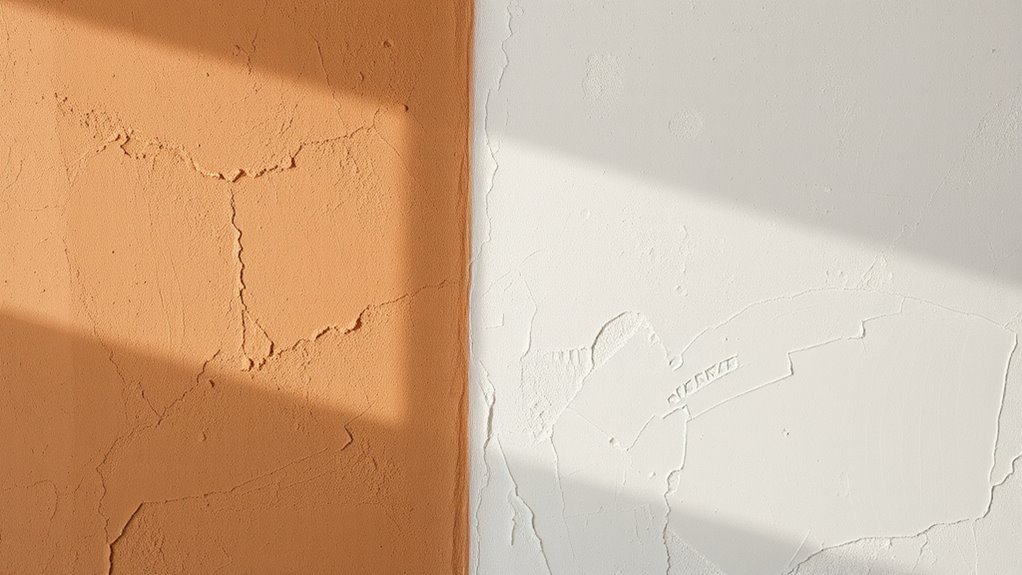
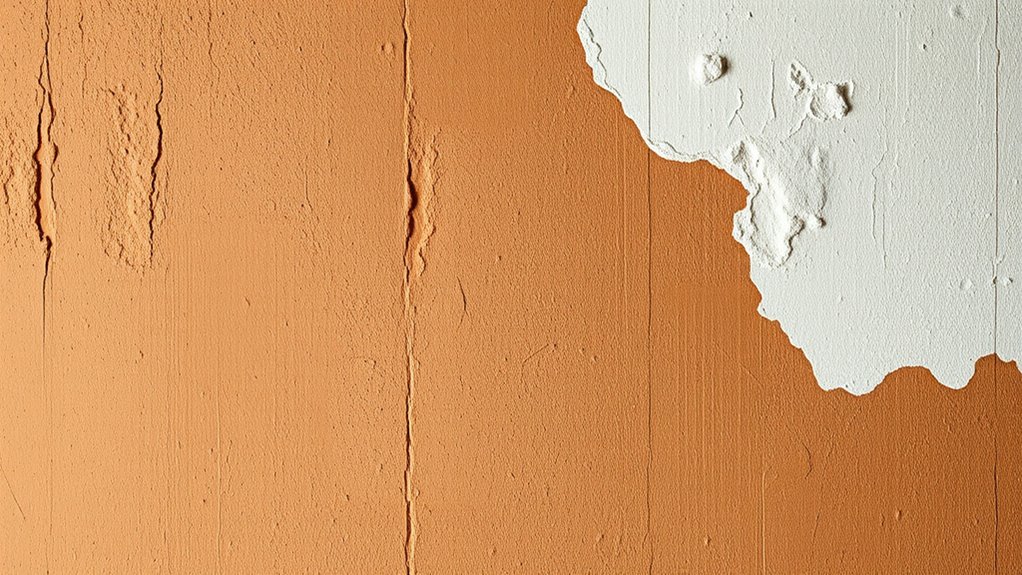
Both clay and lime plasters offer distinct aesthetic qualities and practical benefits that can enhance any space. You’ll appreciate their eco-friendly aesthetics, which bring a natural, authentic charm to your walls. Clay plasters create warm, earthy tones with a soft, organic texture that adds coziness and visual depth. Lime plasters, on the other hand, develop a subtle sheen over time, offering a sleek and timeless appearance. Both options are breathable, helping to regulate indoor humidity and improve air quality. Their organic textures add character and uniqueness, making each wall feel handcrafted. Additionally, farmhouse furniture styles often incorporate natural plasters to complement their rustic charm. Choosing between them depends on your style preferences and functional needs. Overall, natural plasters provide an environmentally conscious way to achieve beautiful, healthy interiors with a touch of rustic elegance.

DAP 10304 Plaster Wall Patch, White, 25 lb. Bag
Professional quality formula for repairs in plaster walls and ceilings
As an affiliate, we earn on qualifying purchases.
As an affiliate, we earn on qualifying purchases.
Choosing the Right Material for Your Space

Choosing the right material for your space is essential to guarantee your wall plaster not only looks great but also lasts. If you want eco-friendly alternatives, clay and lime plasters are excellent options, as they’re natural, breathable, and sustainable. Consider the historical building techniques that have used these materials for centuries, proving their durability and effectiveness. Clay plasters work well in dry or temperate climates and add a warm, earthy aesthetic. Lime plasters are ideal for historic restorations, offering flexibility and moisture regulation. Think about your environment, style preferences, and maintenance needs. By selecting a material aligned with your space’s characteristics, you ensure a long-lasting, environmentally conscious finish that enhances your home’s charm. Additionally, understanding starting & managing payment services can help streamline any project-related transactions or purchases.
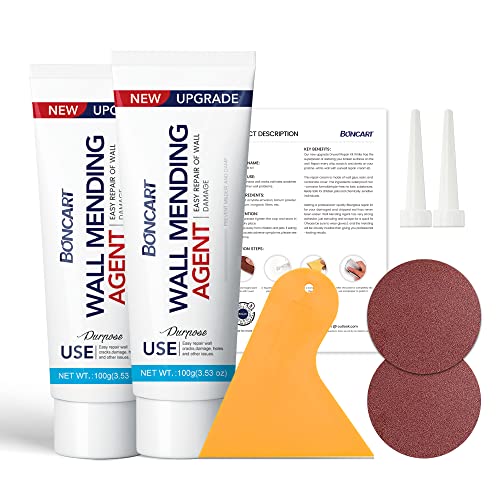
Drywall Repair Kit,2 Pack Wall Mending Agent,Wall Spackle with Scraper, Wall Surface Hole Fill Quick and Easy Solution
The drywall repair kit includes 2x Wall mending agent (100g), 2x Nozzle Extender, 1x Scrapers, and 2x Sandpaper.
As an affiliate, we earn on qualifying purchases.
As an affiliate, we earn on qualifying purchases.
Tools and Supplies Needed for DIY Application
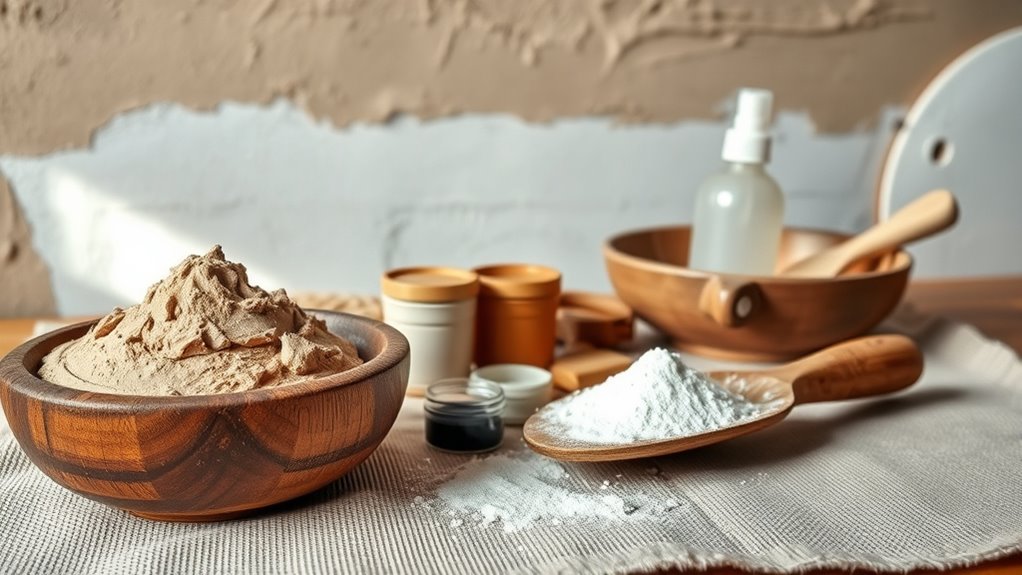
To successfully complete your DIY wall plaster project, you’ll need a specific set of tools and supplies that guarantee a smooth, even finish. Your hand tools are essential for applying and smoothing the plaster. First, a sturdy trowel will help spread the plaster evenly across the wall. Second, a hawk or plastering float allows for precise application and finishing touches. Third, mixing bowls are crucial for blending your natural materials thoroughly without lumps. These bowls should be large enough to accommodate your plaster mixture and sturdy enough to withstand vigorous stirring. Having the right tools ensures a professional look and makes the process more manageable, especially when working with clay or lime plasters. Additionally, selecting the appropriate glycolic acid, if you plan to incorporate any in your preparation, can improve the adhesion and longevity of your wall finish. Gather these supplies before starting to ensure a seamless DIY experience.
Step-by-Step Guide to Mixing and Preparing Plaster
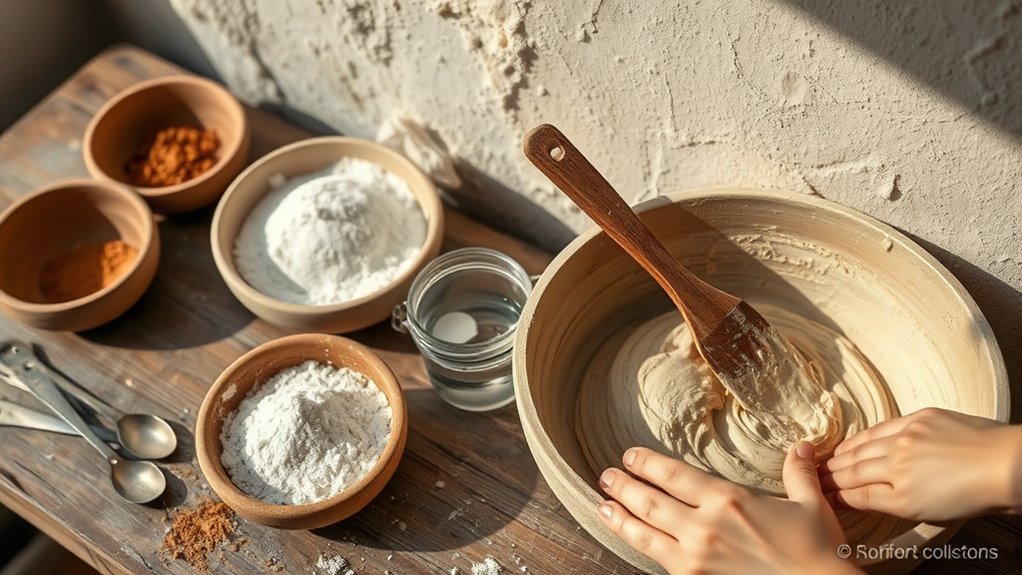
Before you start mixing your natural wall plaster, gather all your ingredients and tools to guarantee a smooth process. Begin by measuring your clay or lime, depending on your plaster choice, and combine it with natural aggregates like sand or hemp. Use clean water to mix thoroughly, ensuring the ingredients are well integrated and free of lumps. As you mix, aim for a creamy, workable consistency suitable for your project. This step is essential for achieving a durable, eco-friendly finish that aligns with sustainable building principles. Remember, proper preparation helps you avoid cracks and uneven surfaces later. Incorporating safe, non-toxic materials ensures your plaster remains environmentally friendly and child-safe. Once mixed, you can prepare your plaster for application or store it in airtight containers for future use. Well-mixed plaster enhances your chance of a smooth, eco-friendly finish with options like eco friendly paints.
Techniques for Applying Clay and Lime Plasters
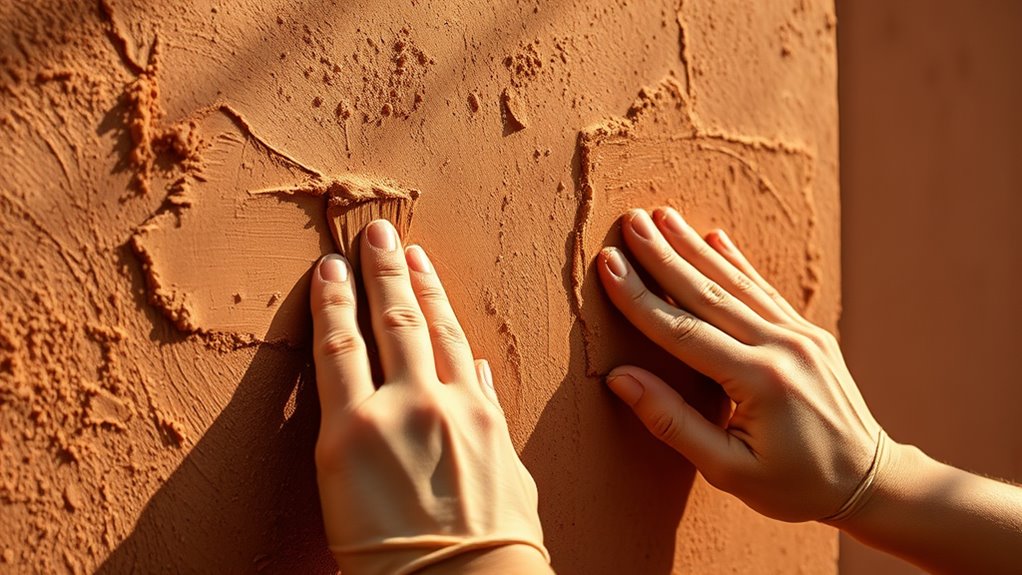
Once your plaster mixture is ready, applying it correctly guarantees a smooth, durable finish. To achieve this, draw on historical wall techniques and cultural plaster styles. Start by preparing your surface with a bonding agent if needed. Then, follow these steps:
Applying plaster with traditional techniques ensures a durable, authentic finish that honors cultural artistry.
- Use a trowel to spread the plaster in thin, even coats, beginning at the top and working downward.
- Employ traditional tools like wooden floats or brushes to create textured patterns, reflecting cultural plaster styles.
- Allow each layer to set partially before applying the next, smoothing edges to prevent visible joins.
This approach preserves authentic techniques, giving your wall a genuine, historical look while ensuring longevity and stability. Proper application highlights the beauty of natural materials and cultural artistry.
Finishing Touches and Maintenance Tips

Once you’ve finished your wall, it’s important to seal and protect the plaster to keep it looking great over time. Regular maintenance helps prevent damage and preserves its natural beauty. Keep these long-term care tips in mind to enjoy your handiwork for years to come. Incorporating seasonal checklists can help you stay on top of cleaning and maintenance routines.
Sealing and Protection
Sealing and protection are vital steps to guarantee your DIY wall plasters last and maintain their appearance. Proper sealing helps with moisture control, preventing water from seeping in and causing damage. It also plays a key role in mold prevention, keeping your walls healthy and durable. To achieve this, consider applying a natural sealant or breathable protective finish. Imagine:
- A smooth, even layer sealing the surface, like a shield against moisture.
- Tiny pores allowing vapor escape, preventing trapped dampness.
- A subtle sheen that enhances the natural look while providing protection.
- Incorporating air purification features into your environment can further improve indoor air quality and support healthier living spaces.
These steps ensure your plaster remains intact over time, resistant to humidity fluctuations, and free from mold growth. Regular maintenance and timely touch-ups will keep your walls beautiful and protected for years to come.
Long-term Care Tips
To keep your natural wall plasters looking their best over time, regular maintenance and thoughtful finishing touches are essential. Use gentle cleaning methods to remove dust and dirt, and promptly address any cracks or damage with appropriate restoration techniques to prevent further deterioration. For color customization, you can refresh the appearance by applying subtle washes or tinted sealers that enhance the natural hues without compromising breathability. Avoid harsh chemicals, as they can damage the plaster’s integrity. Periodically reapply protective finishes or touch up areas to maintain their appearance and durability. Being aware of Fokos and its content can provide additional tips for sustainable and eco-friendly wall care practices. By paying close attention to these maintenance practices, you ensure your wall plasters stay beautiful, functional, and true to their natural origins for years to come.
Creative Ideas for Enhancing Your Natural Walls

Enhancing your natural walls with creative touches can transform a simple space into a stunning, personalized environment. You can experiment with natural pigments to add rich, earthy tones that highlight the wall’s organic beauty. Incorporate varied wall textures, such as smooth finishes or subtle ripples, to create visual interest. Here are some ideas to inspire you:
- Use natural pigment mixes to craft a unique color palette that complements your decor.
- Apply different wall textures with tools like sponges or brushes for a tactile, layered look.
- Incorporate decorative elements like stencils or patterns to add depth and personality.
Additionally, exploring multi-functional furniture can help maximize space and enhance your wall projects without cluttering the room. These simple techniques emphasize the natural qualities of your walls, making your space warm, inviting, and truly one-of-a-kind.
Frequently Asked Questions
How Long Does Natural Wall Plaster Typically Last?
Natural wall plaster can last 50 to 100 years with proper care. Durability factors include the plaster mix, application technique, and environmental conditions. To maximize longevity, you should perform regular maintenance, like gentle cleaning and timely repairs of cracks or chips. Avoid harsh chemicals and excessive moisture, which can damage the plaster. With proper upkeep and quality materials, your natural wall plaster will stay beautiful and functional for generations.
Are Natural Plasters Suitable for Outdoor Use?
You might think natural plasters aren’t suitable for outdoors, but they can be if you choose lime-based options. Lime plaster offers excellent weather resistance and breathability, helping your walls withstand rain and humidity. To guarantee longevity, apply a protective sealer and perform regular maintenance checks for cracks or damage. With proper care, natural plasters can beautifully enhance outdoor walls while maintaining their eco-friendly appeal.
Can I Paint Over Natural Clay or Lime Plaster?
Yes, you can paint over natural clay or lime plaster, but you need to take into account paint compatibility and sealing techniques. Use breathable, natural paints or mineral-based finishes to avoid trapping moisture. Before painting, seal the surface with a breathable primer or sealer to ensure proper adhesion and prevent efflorescence. This approach helps maintain the plaster’s integrity and ensures a durable, attractive finish.
What Are Common Mistakes to Avoid During Application?
When applying natural clay or lime plaster, avoid common mistakes by following proper application tips and preparation techniques. Don’t skip surface preparation; make certain the wall is clean and dampened to improve adhesion. Apply in thin, even layers and allow adequate drying time between coats. Avoid rushing the process, as it can cause cracking or uneven surfaces. Proper technique ensures a durable finish, making your natural plaster project successful and long-lasting.
How Do I Repair Damaged or Cracked Natural Plaster?
Think of it like mending a torn fabric—you need patience and the right tools. To repair damaged or cracked natural plaster, start by cleaning the area thoroughly. For plaster crack repair, apply a natural plaster patching material that matches your original finish. Smooth it out, blend the edges, and let it dry completely. Sand lightly if needed, then repaint or re-finish to restore your wall’s beauty.
Conclusion
By choosing natural wall plasters, you’re opening the door to a healthier, more eco-friendly space. With a bit of patience and the right techniques, you can turn your walls into a work of art that feels warm and inviting. Think of it as planting seeds—you’ll reap the beauty of your efforts for years to come. So roll up your sleeves and make your walls truly come alive with natural charm!