To create DIY mosaic art, start with a variety of tiles that match your color scheme and consider different sizes and shapes for texture. Use suitable adhesives like thin-set mortar for outdoor projects or acrylic-based glues for indoors, depending on your surface and tile type. Plan your pattern carefully, considering symmetry or asymmetry to set the mood. If you explore further, you’ll find tips to help you craft a durable, eye-catching mosaic from start to finish.
Key Takeaways
- Select a variety of tiles matching your color scheme and plan your pattern with sketches for cohesion.
- Use proper tools like tile nippers and cutters to shape tiles and ensure precise placement.
- Choose adhesives based on project location and tile weight; thin-set for outdoor, acrylic for indoor, epoxy for durability.
- Incorporate different tile sizes and textures to add depth and visual interest to your mosaic.
- Source quality materials and tools from regional suppliers to ensure a durable and professional finish.

Goldblatt 2 Piece Glass Tile Nippers Set – Heavy Duty Wheeled Glass Mosaic Nipper & Hd Ceramic Tile Nipper, Tile Cutter Pliers Soft-grip Handle – Shapping Plier, Nipper Cutting Tools, Stone, Metal
Make sure the thickness of the glass is larger than 1/16" (1.5mm), otherwise the pliers do not work….
As an affiliate, we earn on qualifying purchases.
As an affiliate, we earn on qualifying purchases.
Essential Materials for Creating Mosaic Art
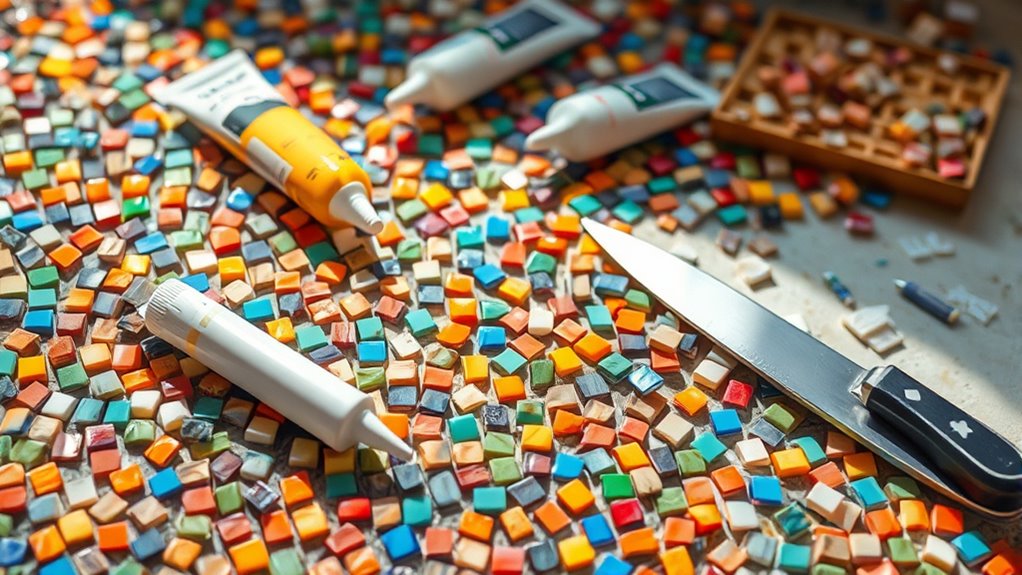
Creating beautiful mosaic art begins with gathering the right materials. You’ll need a variety of tiles that match your color scheme, so understanding color theory helps you select complementary or contrasting hues. This guarantees your design pops and harmonizes well. Equally important are proper tile cutting techniques; sharp tools and steady hands allow you to shape tiles precisely, fitting them seamlessly into your pattern. Use a tile nipper or a glass cutter to create curves or straight edges, depending on your design needs. Having a range of tile sizes and shapes will give your mosaic depth and texture. Don’t forget to prepare a sturdy backing surface—like mesh or wood—so your tiles stay secure. Additionally, understanding adhesives and grouts is essential to ensure your mosaic holds together over time. These essential materials and skills set the foundation for a stunning mosaic masterpiece.

BEACON Mosaic Glue – Non-Toxic & Water Resistant, Ideal for All Tiles & Surfaces, 2-Ounce
Perfect for all your mosaic creation needs, Mosaic Glue takes your indoor and outdoor projects to the next…
As an affiliate, we earn on qualifying purchases.
As an affiliate, we earn on qualifying purchases.
Choosing the Right Adhesives for Your Project
Selecting the right adhesive is essential to guarantee your mosaic tiles stay securely in place and your artwork remains durable over time. Different adhesive types suit various surfaces and tile materials, making grout selection equally important. For example, thin-set mortar works well for outdoor or wet areas, while acrylic-based adhesives are perfect for indoor projects. Consider the size and weight of your tiles; heavier pieces may need stronger adhesives. Here’s a quick comparison:
| Adhesive Type | Best Use | Drying Time |
|---|---|---|
| Thin-set mortar | Outdoors, heavy tiles | 24-48 hours |
| Acrylic adhesive | Indoor, delicate tiles | 4-6 hours |
| Epoxy adhesives | High durability, small areas | 12-24 hours |
Choose wisely to ensure your mosaic stays beautiful and lasting. Additionally, understanding adhesive properties can help you select the most suitable option for your specific project conditions.

OOTDART Mosaic Crystal Grout, Mosaics Tile Tools, Mosaic Tile Accessories – Essential for Handmade Grouting and Perfect for DIY Craft Projects (Translucent, 4.5oz)
Awakening the Artistic Soul of Detail: This revolutionary mosaic tile crystal grout is designed to fill the gaps…
As an affiliate, we earn on qualifying purchases.
As an affiliate, we earn on qualifying purchases.
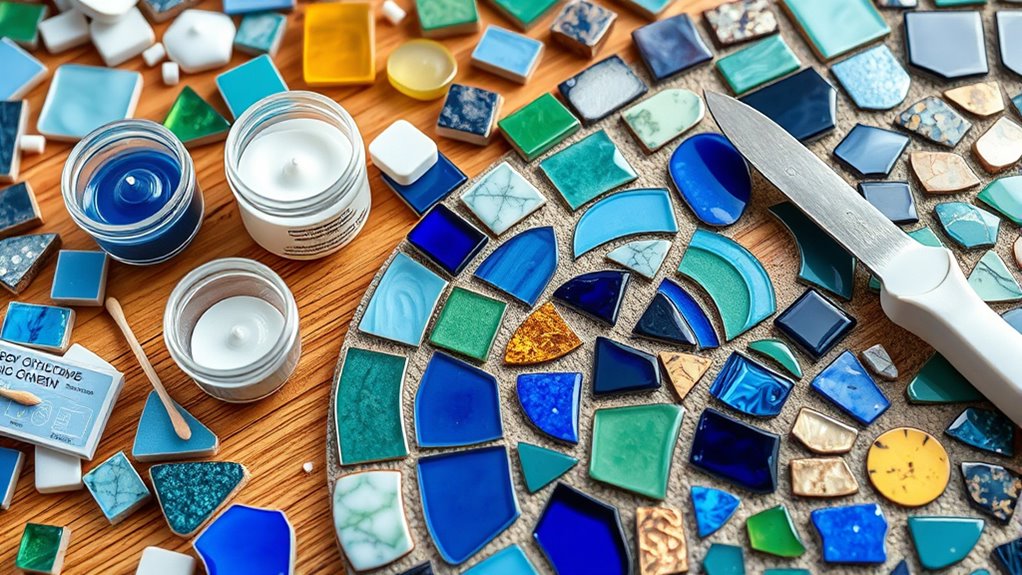
Designing and Planning Your Mosaic Pattern
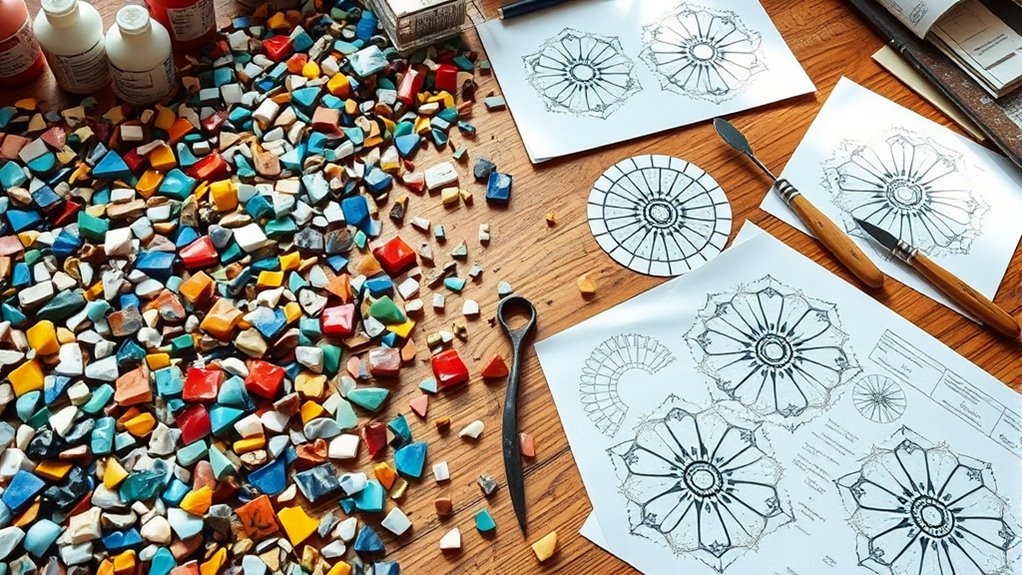
After choosing the right adhesives, it’s time to plan your mosaic pattern to bring your vision to life. Start by considering color theory to select hues that complement or contrast effectively, shaping the mood of your piece. Think about pattern symmetry—deciding whether you want a balanced, mirrored design or a more organic, freeform layout. Sketch your pattern on paper first, experimenting with different arrangements and color placements. Keep in mind that symmetry can create a sense of harmony, while asymmetry adds visual interest. Use your planning stage to visualize how the tiles will interact, ensuring your design flows smoothly. A clear plan helps you stay organized and makes the actual assembly more straightforward, ultimately resulting in a cohesive and striking mosaic. Understanding regional resources and tools can also help you source high-quality materials and adhesives for your project.

4 Sets DIY Mosaic Kits for Adults with Wooden Coasters, Mixed Color Glass Mosaic Tiles Craft Kits for Adults Women, Complete Mosaic Coaster Making Kit for Home Decor Gifts (4, Laser Style)
【Premium Mosaic Kits for Adults & Beginners】 Explore our mosaic kits for adults, a perfect craft kit for…
As an affiliate, we earn on qualifying purchases.
As an affiliate, we earn on qualifying purchases.
Frequently Asked Questions
How Do I Seal My Finished Mosaic to Protect It?
To protect your finished mosaic, you should apply a suitable mosaic sealing or protective coating. First, make certain your mosaic is clean and completely dry. Then, carefully brush or spray on the sealing product, covering all surfaces evenly. Let it dry thoroughly according to the manufacturer’s instructions. This sealing process helps safeguard against moisture, dirt, and damage, keeping your mosaic vibrant and intact for years to come.
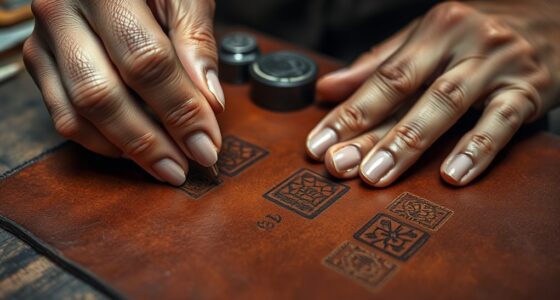
What Tools Are Best for Cutting Mosaic Tiles Accurately?
Did you know that using the right tools can improve your tile cutting accuracy by up to 50%? For precise tile cutting, invest in a good tile nipper, a glass cutter, or a wet tile saw. These precision tools help you make clean, accurate cuts, reducing waste and frustration. Always choose tools suited to your project’s scale, and take your time for best results.
Can I Create a Mosaic With Recycled or Non-Traditional Materials?
Absolutely, you can create a mosaic with recycled materials and non-traditional supplies. Think outside the box by using broken ceramics, glass, bottle caps, or fabric scraps. Just guarantee these materials are clean and durable enough for your design. Use strong adhesives suitable for mixed media, and plan your pattern carefully. This approach adds unique texture and eco-friendliness to your mosaic, making it a truly personalized and sustainable art piece.
How Do I Fix Mistakes or Replace Tiles in My Mosaic?
Imagine you’re in the middle of your masterpiece, and a mistake appears—don’t panic. To fix it, carefully remove the problematic tiles using a chisel or tile removal tool, gently avoiding damage. Then, clean out the old grout and replace the tiles, pressing firmly. Finish by applying fresh grout, smoothing it out for a seamless look. Patience is key—your mosaic will be perfect in no time.
What Are Some Tips for Maintaining and Cleaning My Mosaic Artwork?
To keep your mosaic looking its best, follow simple cleaning techniques like gently dusting with a soft brush and wiping with a damp cloth. Regular maintenance routines include sealing the tiles periodically to prevent stains and checking for loose pieces. Avoid harsh chemicals or abrasive scrubbers that can damage the surface. By maintaining consistent cleaning techniques, you’ll preserve the beauty and integrity of your mosaic artwork for years to come.
Conclusion
Think of your mosaic as a garden, each piece a flower waiting to bloom. With patience and care, your design will flourish into a vibrant masterpiece that reflects your passion. Just as a gardener nurtures each seed, your attention to materials, adhesives, and patterns will bring your vision to life. Embrace the journey, knowing that every carefully placed tile contributes to a stunning, enduring work of art—your personal garden of creativity.