To start DIY leather stamping and imprinting, gather essential tools like metal stamps, a mallet, and a stamping block, along with high-quality leather such as full-grain or vegetable-tanned types. Prepare your leather surface by cleaning and conditioning it for better impressions. Choose or design your stamps, then practice on scrap leather to perfect your technique. Finish with coloring and sealing for a professional look. If you keep exploring, you’ll discover even more tips to create impressive leather projects.
Key Takeaways
- Select appropriate leather (full-grain or vegetable-tanned) and prepare its surface by cleaning and conditioning for optimal stamping results.
- Choose and design custom stamps, then practice on scrap leather to perfect your technique and consistency.
- Use a firm, flat surface and apply even pressure with a mallet to imprint designs, ensuring proper alignment and depth.
- Add color with dyes or paints, layering and blending for unique effects, then seal the design with finish or sealant for durability.
- Maintain tools and leather care products, practice regularly, and experiment with techniques to improve craftsmanship and create personalized projects.

21 PCS Leather Stamping Tools, Leather Stamping Kit with Rubber Hammer for Leather Working
Leather Stamping Tools: Our leather stamping kit contains 20 stamping tools in different patterns and a rubber hammer….
As an affiliate, we earn on qualifying purchases.
As an affiliate, we earn on qualifying purchases.
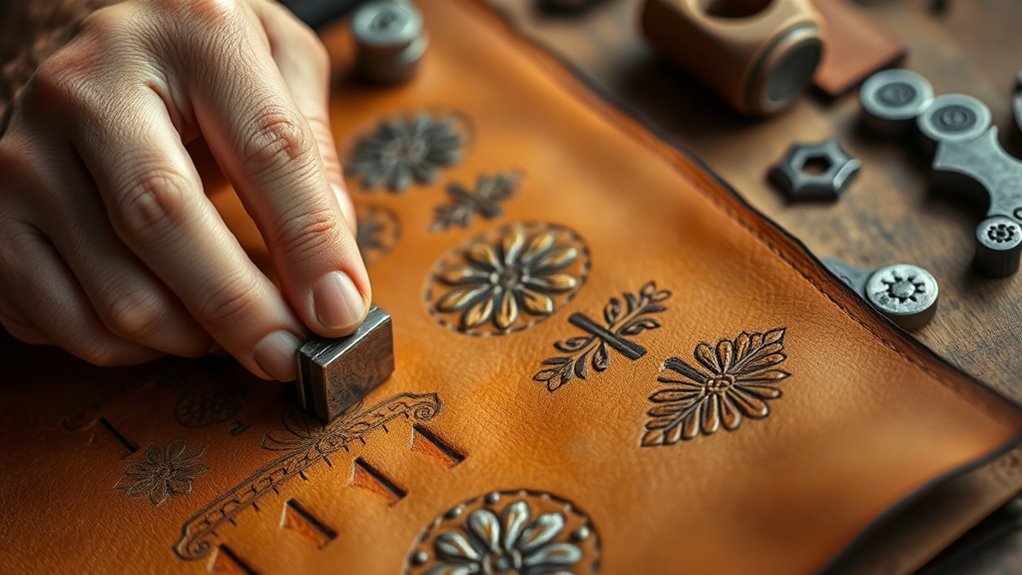
Essential Tools and Materials for Leather Stamping

To get started with leather stamping, you need a few essential tools and materials. First, gather stamping tools like metal stamps, a mallet, and a stamping block to create your designs. You’ll also need leather dyeing supplies such as dyes, applicators, and sealants to add color and protection to your project. A selection of needles and strong thread is indispensable for stitching techniques, ensuring your pieces stay secure. A cutting mat and craft knife make shaping your leather easier. Don’t forget to have a burnishing tool for finishing edges. Properly preparing your leather with dyeing and practicing stitching techniques will give your stamped work a professional look. Leather types and their unique properties can influence how well your stamping and dyeing techniques work, so choosing the right leather is crucial. These tools and materials set the foundation for creating detailed, durable leather pieces.

RingSun 12''X24'' Genuine Leather Sheets for Crafts Full Grain Leather Tooling Leather (2mm) Thick Cowhide Leather Pieces Square, Dark Brown
100% Natural Top-grade Full Grain Leather:This tooling leather is made of genuine leather, it is premium pull-up oil…
As an affiliate, we earn on qualifying purchases.
As an affiliate, we earn on qualifying purchases.
Choosing the Right Leather for Your Project

Choosing the right leather is essential for achieving the best results in your stamping project because different types of leather have unique textures, thicknesses, and durability. Full-grain leather offers a smooth surface and ages beautifully, making it ideal for detailed stamping. Top-grain leather is slightly more processed but still holds impressions well. Vegetable-tanned leather has a rich stamping history, prized for its ability to develop a deep patina over time. Remember, proper leather maintenance, like conditioning, guarantees your stamped designs stay vibrant and the leather remains flexible. Softer leathers are easier to imprint, but thicker, sturdier options provide longevity. Selecting the right leather not only affects your project’s appearance but also influences how well your designs hold up over time. Considering vetted options ensures you choose safe and effective materials for your craft.

JNENERY Wool Daubers Ball Brush, 20Pcs Leather Dye Kit for Crafts, Daubers with Metal Handle Leather Dye Applicator for Dyeing, Gluing and DIY Projects
WOOL DAUBERS SIZE: Our wool daubers metal handle length is 4.9 inches (12.5cm) and 5.9 inches (15cm). 20pcs…
As an affiliate, we earn on qualifying purchases.
As an affiliate, we earn on qualifying purchases.
Preparing Your Leather Surface for Imprinting
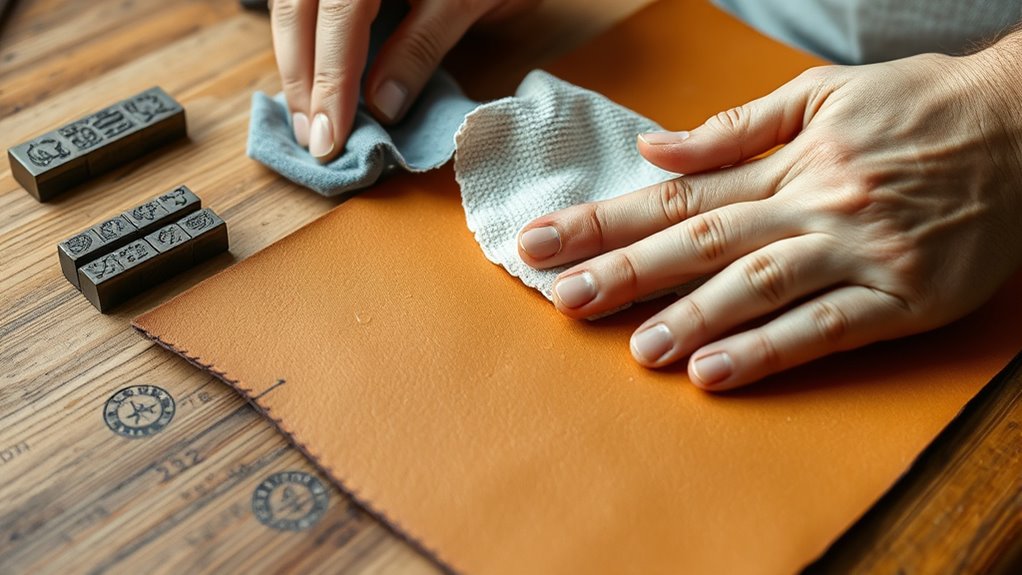
Before you start stamping, it’s important to prepare the leather surface properly. Good leather care begins with cleaning and conditioning the material to guarantee it’s free of dirt and oils that can interfere with imprinting. Use a soft cloth and a gentle cleaner designed for leather to remove surface debris. Consider the stamping history and how different types of leather respond to pressure; some surfaces need more conditioning to achieve clear impressions. If the leather feels stiff or dry, apply a leather conditioner and let it absorb fully before proceeding. Proper preparation helps prevent damage and ensures sharp, crisp impressions. Additionally, understanding the color accuracy of your leather surface can help you select appropriate dyes or finishes for your imprinting project. Remember, a well-prepared surface makes your stamping process smoother and results in more professional-looking designs.

Leather Hero Top Coat – Leather Sealant & Protective Finish for Dye, Paint, Car Seats, Shoes & More – Scratch-Resistant Color Restorer with Applicator – 4oz(Satin Finish)
Smooth & Satin Finish: The leather sealant leaves leather looking and feeling new with its satin finish with…
As an affiliate, we earn on qualifying purchases.
As an affiliate, we earn on qualifying purchases.
Selecting and Designing Your Stamps or Imprints
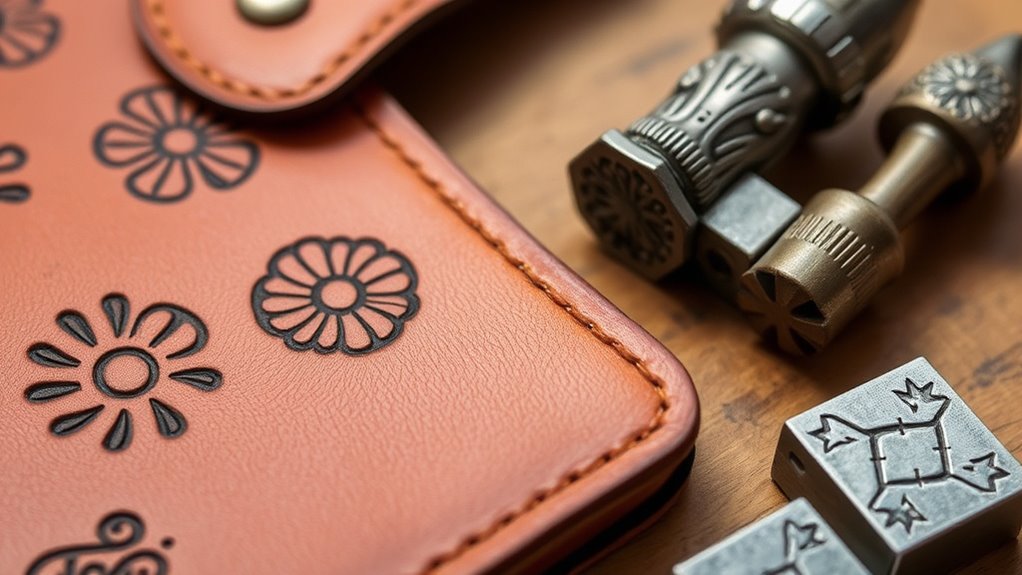
Choosing the right stamps is key to creating a look that matches your style. Think about the size, detail, and material that will work best for your project. Then, design your imprints to be unique by customizing patterns or adding personal touches that reflect your creativity. Additionally, understanding market trends can help you select designs that are both timeless and popular.
Choosing the Right Stamps
Selecting the right stamps is essential for achieving the desired look and durability in your leather projects. To do so, consider these key factors:
- Material compatibility — Choose stamps suited for your leather’s thickness and type to ensure clean impressions.
- Design clarity — Opt for stamps with sharp, detailed images that reflect your style and the stamping history you’re inspired by.
- Size and shape — Pick sizes that fit your project’s scale, whether for subtle accents or bold statements.
- Durability — Invest in high-quality stamps that withstand repeated use without losing definition, supporting proper leather care.
Designing Unique Imprints
Once you’ve identified the right stamps for your project, it’s time to focus on creating truly unique imprints that reflect your personal style. Consider customizing your stamps or combining different designs to make your imprint stand out. Research the stamping history to find inspiration from traditional patterns or modern motifs. Remember, proper leather care before stamping guarantees clearer impressions and preserves your piece’s quality. Think about how your design will complement the leather’s natural texture and color. Experiment on scrap leather first to perfect your technique. A well-designed imprint can turn simple leather into a personalized work of art, highlighting your creativity and attention to detail. Additionally, understanding the best knitting patterns for olive green sweaters can inspire complementary design choices and color palettes. With thoughtful design, your imprints will become a signature style, adding value and character to your leather projects.
Techniques for Properly Marking Leather
To achieve clean, precise marks on leather, you need the right tools and materials. Make certain to prepare your surface properly, cleaning and conditioning the leather before stamping. This foundation helps ensure your imprints are sharp and consistent.
Tools and Materials Needed
You’ll need a few essential tools and materials to guarantee your leather stamping and imprinting techniques come out perfectly. Having the right equipment helps protect your leather and preserves its stamping history for future projects. First, a quality stamping or impression tool ensures clean, crisp marks. Second, a sturdy mallet or hammer delivers consistent pressure without damaging the leather. Third, a cutting mat or surface keeps your workspace safe and prevents unintended slips. Fourth, leather care products like conditioners help maintain the leather’s flexibility and durability, ensuring long-lasting results. These tools and materials form the foundation of successful stamping, allowing you to create detailed, professional designs while respecting the craft’s rich stamping history.
Proper Surface Preparation
Proper surface preparation is essential for achieving clean, precise leather stamps and imprints. Before you start stamping, take time to clean and smooth the leather surface, ensuring it’s free of dirt, oils, and imperfections. Proper leather care maintains the material’s quality and helps your impressions stay sharp. Historically, stamping techniques have evolved through careful surface prep, emphasizing the importance of a clean, even surface. Use a soft cloth or a mild cleaner to remove any residues that could hinder your markings. If the leather has wrinkles or rough patches, gently sand or buff them out. This preparation not only enhances the clarity of your design but also preserves the stamp’s longevity, making your imprinting process smoother and more professional. Additionally, using suitable essential oils such as eucalyptus oil can help clean and condition the leather surface, ensuring optimal results.
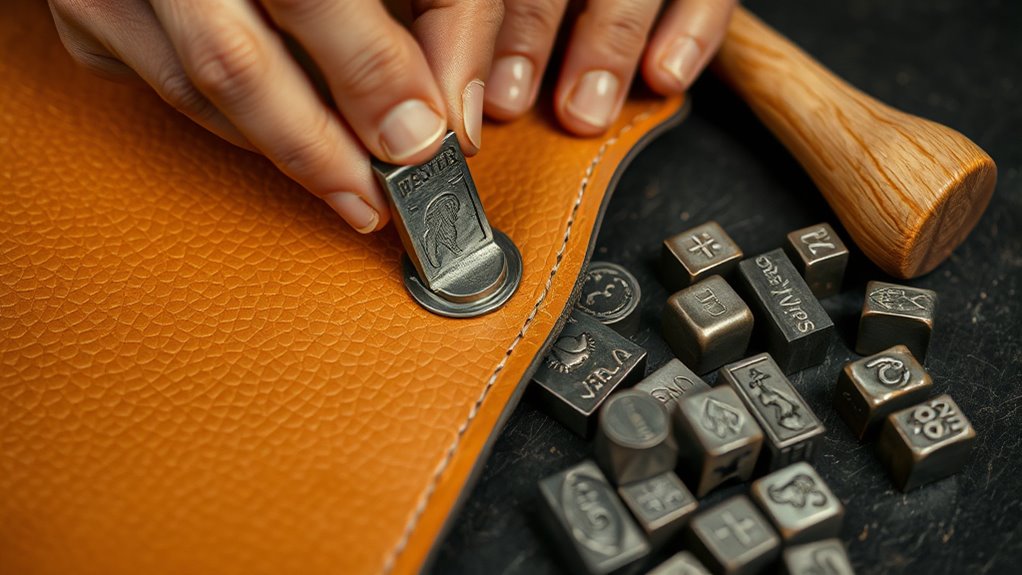
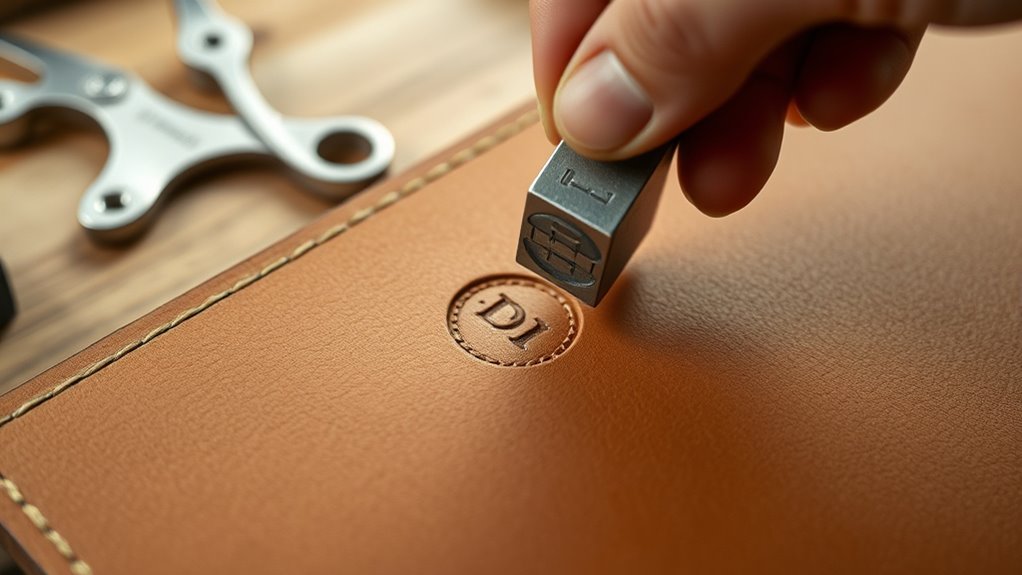
Applying Stamps and Imprints With Precision
Achieving precise stamps and imprints requires careful control and steady hands. To do this, focus on your technique and the tools you use. Properly prepared leather, considering its stamping history, helps guarantee clear results. Keep your stamps clean and well-maintained for excellent leather care. When pressing, apply even pressure, avoiding sudden movements that can distort your design. Here are four tips to help you succeed:
- Use a firm, flat surface for stamping.
- Align your stamp carefully before pressing.
- Practice consistent pressure and timing.
- Regularly inspect your tools for damage or wear. Additionally, understanding the cost of somatic therapy can inform your approach to emotional healing, ensuring you choose techniques that suit your needs and budget.
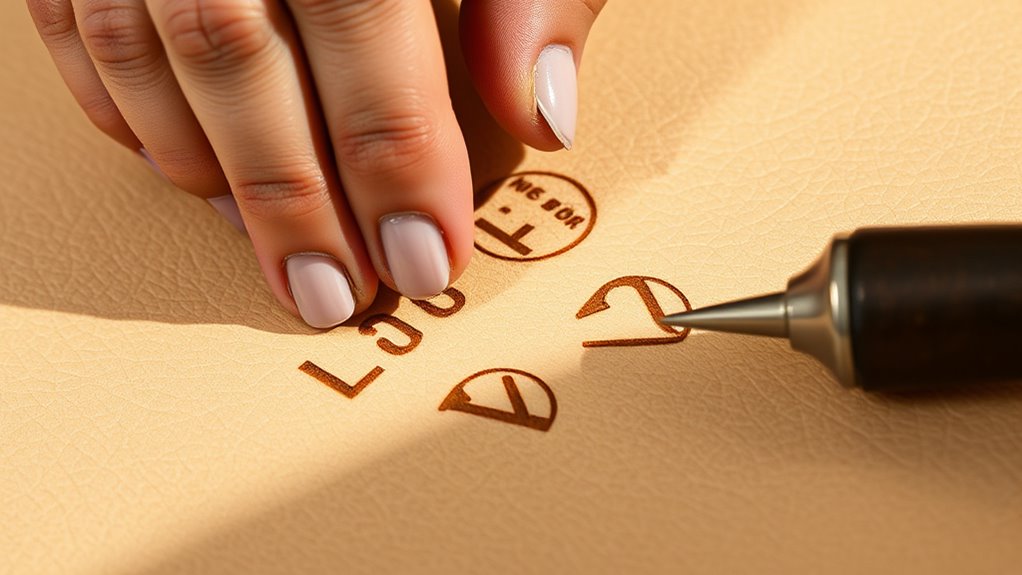
Tips for Achieving Consistent and Clear Designs
To guarantee your designs stay consistent and clear, focus on maintaining steady technique throughout each stamping session. Use smooth, even pressure when applying embossing techniques to avoid uneven impressions or blurring. Keep your tools aligned and practice consistent hand positioning for uniform results. Regularly inspect your leather for proper moisture levels, as dry or overly wet leather can affect clarity. Follow leather care tips such as conditioning your piece beforehand to prevent cracking or warping during stamping. Additionally, using a firm, flat surface ensures even contact and sharp impressions. Take your time with each stamp, applying controlled force, and avoid rushing. Consistent support hours are also essential, as working during optimal times can help maintain focus and precision. With practice, these tips will help you produce clean, professional-looking designs every time.
Adding Color and Finishing Touches to Your Leather Pieces
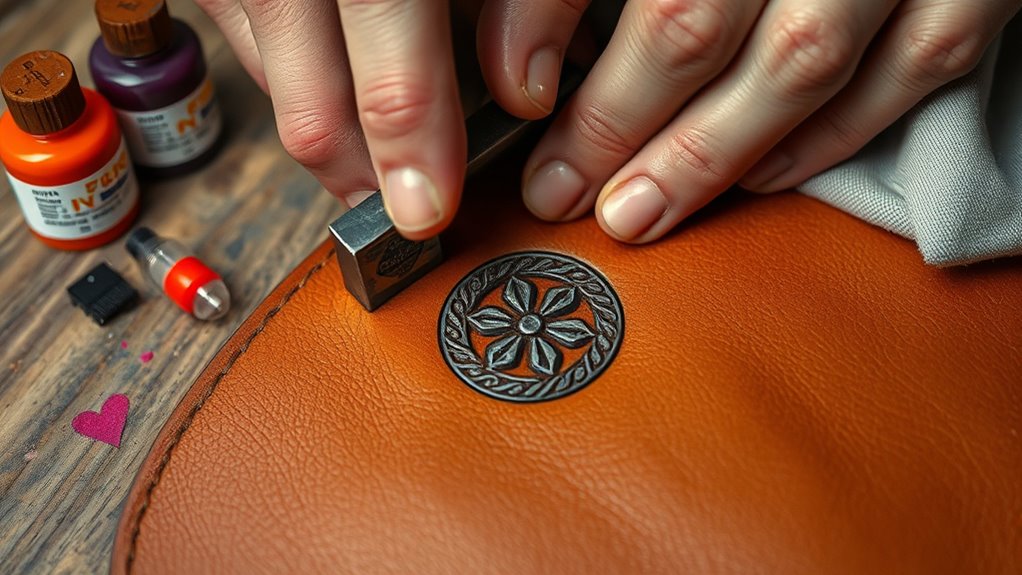
Adding color and finishing touches can truly elevate your leather projects, making them stand out with personalized flair. To achieve this, focus on color blending techniques that create smooth gradations and depth. Using finishing techniques like burnishing, sealing, and applying dyes enhances durability and appearance. Consider these key steps:
Enhance your leather projects with expert color blending and finishing techniques for a polished, personalized look.
- Select complementary dyes for rich, harmonious color blending.
- Use a sponge or brush for gradual application, blending shades seamlessly.
- Apply a finish or sealant to protect your work and add a polished look.
- Experiment with layering colors and techniques to develop unique effects. Proper organization in your process can streamline your project and ensure consistent results.
Common Mistakes to Avoid in Leather Stamping
Leather stamping can be a rewarding craft, but it’s easy to make mistakes that can ruin your project or lead to uneven impressions. One common mistake is rushing the stamping process; applying too much pressure or stamping too quickly can distort the design. Be mindful of your polishing techniques—using inconsistent pressure or improper tools can damage the leather surface and affect the final look. Additionally, neglecting leather preservation before stamping can cause uneven ink absorption or impressions to fade over time. Always guarantee your leather is properly conditioned and cleaned beforehand. Avoid pressing too hard or stamping multiple times in the same spot, which can create unwanted marks. Taking your time and following proper techniques helps prevent these mistakes and results in clean, professional-looking impressions. Incorporating mindful techniques into your process can further enhance the quality of your stamped leather projects.
Creative Projects and Ideas to Get Started
Getting started with leather stamping opens up a world of creative possibilities you can customize to suit your style. You can craft personalized wallets, keychains, or journal covers. To deepen your skills, explore historical leather techniques like tooling and burnishing, which add authentic character. When working on projects, remember proper leather care to keep your pieces looking their best. Additionally, understanding the importance of leather maintenance can extend the lifespan of your creations. Here are some ideas to inspire you:
- Custom leather bookmarks with stamped initials
- Handmade leather bracelets featuring intricate designs
- Personalized leather coasters for home decor
- Vintage-style leather journal covers using traditional techniques
These projects allow you to practice stamping and imprinting while creating meaningful, functional items. Embrace the process, and over time, you’ll develop your craftsmanship and unique style.
Frequently Asked Questions
How Can I Fix Mistakes Made During Stamping?
To correct mistakes made during stamping, you can carefully re-stamp the affected area, using light pressure to avoid over-embossing. If the error is deep or unwanted, gently sand or buff the leather to remove the imperfect impression. Practice re-stamping techniques on scrap leather first, ensuring your tools are aligned and pressure is controlled. This approach helps you fix errors effectively without damaging the overall design.
What Are the Best Storage Methods for Stamped Leather?
Imagine you’ve just finished stamping your leather wallet, and now you want to preserve its quality. Store your stamped leather in a cool, dry place away from direct sunlight to prevent fading and damage. Use proper leather care, like conditioning periodically, and keep stamping tools clean and dry. This helps sustain your stamped leather’s appearance and ensures your craftsmanship stays intact over time.
Can I Stamp on Treated or Finished Leather?
Yes, you can stamp on treated or finished leather, but it demands different stamping techniques. Finished leather has a smooth, sealed surface, so you may need to dampen it slightly or use a more precise, firm press to achieve clear impressions. Proper leather finishing before stamping ensures your designs stand out. Keep in mind that the surface’s smoothness impacts the depth and clarity of your stamped images, so adjust your techniques accordingly.
How Long Does Stamped Leather Typically Last?
Stamped leather typically lasts for decades if cared for properly, with some pieces aging beautifully over 50 years. You’ll find that stamping durability depends on factors like leather quality and usage; well-made stamped items resist wear and tear longer. Leather aging enhances character, and with proper maintenance, your stamped leather can remain stunning and functional for years, even decades, making it a worthwhile investment in craftsmanship and style.
Are There Eco-Friendly or Non-Toxic Stamping Inks Available?
Yes, eco-friendly inks and non-toxic stamping options are available for leather crafting. You can find these inks made from natural, biodegradable ingredients that won’t harm your skin or the environment. When you choose eco-friendly inks, you’re making a safer, more sustainable choice for your projects. Non-toxic stamping inks are perfect if you want vibrant designs without worrying about harmful chemicals. Always check product labels to confirm they’re truly eco-conscious and non-toxic.
Conclusion
Now that you’re armed with all the tools and tips, you might think leather stamping is a breeze. Just remember, even the most confident DIYer can end up with a crooked design or a lasting mess. But hey, isn’t that part of the charm? Embrace the imperfections—they’ll give your project character. So go ahead, stamp away, and enjoy the glorious chaos of your handmade masterpiece. After all, perfection is overrated.