For DIY clay pots, you can choose air dry clay for simple projects or oven-bake clay for more durable finishes. With air dry clay, shape your pot, let it dry fully, then smooth and decorate before sealing. For oven-baked options, shape the clay, dry it thoroughly, and then bake at a low temperature to strengthen. Exploring these methods allows you to create beautiful, personalized pots, and if you keep going, you’ll discover some helpful tips to perfect your craft.
Key Takeaways
- Choose suitable clay based on color, texture, and project detail needs, such as air dry or oven-bake options.
- Shape and smooth the clay, then allow it to dry completely for air dry pots, typically 24-48 hours.
- For oven-baked pots, ensure the clay is fully dried and smooth before baking at low temperatures (around 275°F/135°C).
- Apply glazes or decorative techniques before baking or drying, and fire in the oven to strengthen and finish the pot.
- Finish with surface textures, sealing, and proper care to ensure durability and a polished appearance of your DIY clay pots.
air dry clay for pottery
As an affiliate, we earn on qualifying purchases.
As an affiliate, we earn on qualifying purchases.
Choosing the Right Clay for Your Project
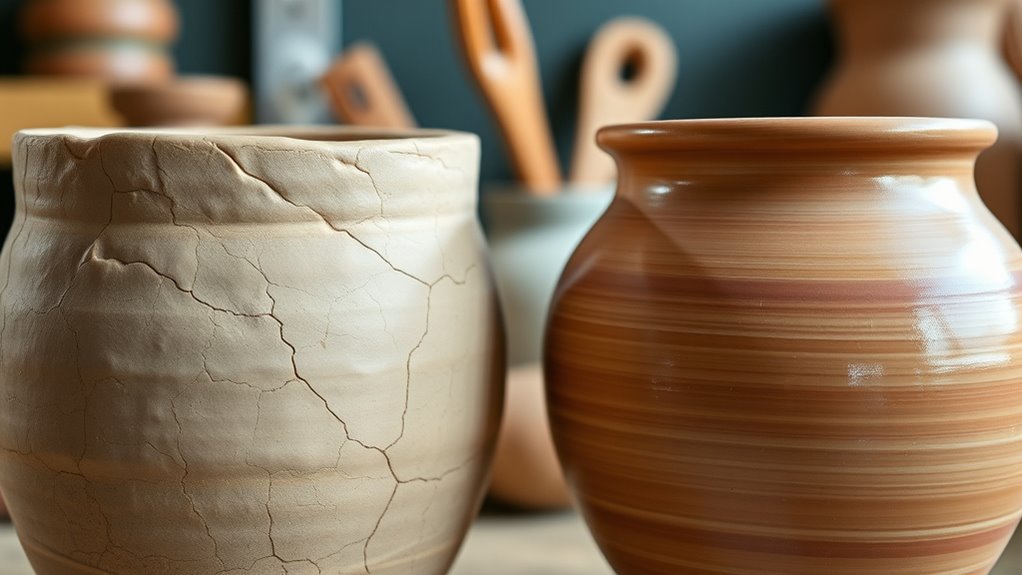
When selecting clay for your project, it’s essential to take into account the specific qualities you need. Your choice of clay color can influence the overall look and feel of your finished pot, so pick a hue that complements your design. Consider whether you want a natural, earthy tone or something more vibrant and bold. Clay texture also plays a crucial role; smooth clay is ideal for detailed work, while rougher textures add a rustic touch. Think about how the clay’s feel will affect your shaping process and final appearance. If you’re aiming for fine details, opt for a soft, pliable clay. For sturdier, more textured pieces, a coarser clay may serve you better. Matching the clay’s color and texture to your project goals ensures better results. Additionally, understanding the different types of clay used in ceramics can help you select the most suitable option for your project.
oven bake clay pottery kit
As an affiliate, we earn on qualifying purchases.
As an affiliate, we earn on qualifying purchases.
Step-by-Step Process for Air Dry Clay Pots

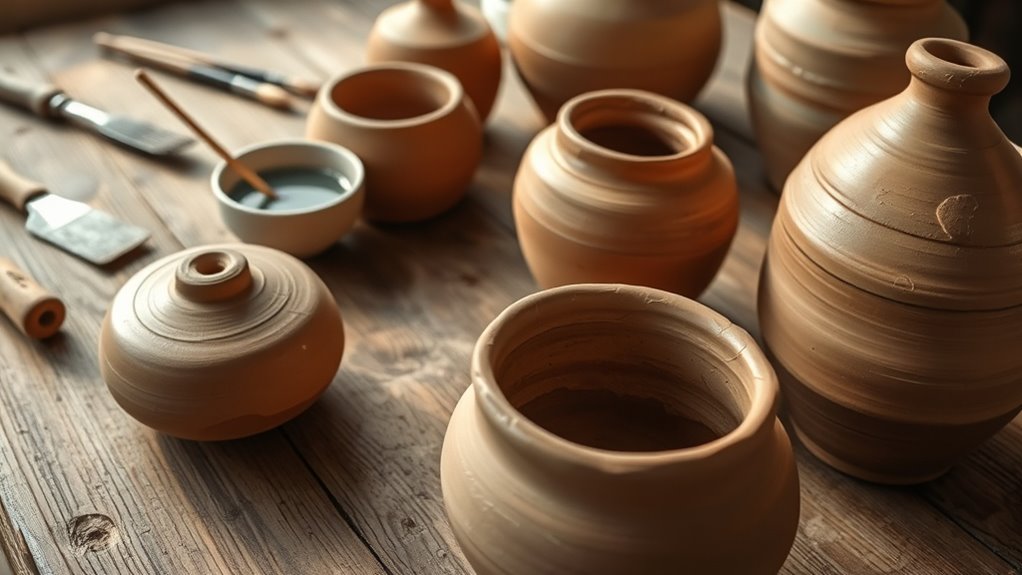
Are you ready to transform your air dry clay into a beautiful pot? First, shape your clay into your desired form, smoothing surfaces with water or a damp sponge. Once shaped, let it dry completely, which may take 24-48 hours depending on thickness. After drying, sand any rough spots for a polished finish. When it’s fully dry, consider your glaze options—some glazes are better suited for air dry clay and can add color or texture. Keep in mind plant compatibility; choose glazes that are non-toxic and safe for plants if you plan to use your pot for greenery. Additionally, understanding personal development techniques like goal setting and mindfulness can help you enjoy a more rewarding creative process. Finally, apply your chosen glaze, then let it dry thoroughly before use. Your handcrafted clay pot is now ready for planting!
non-toxic glaze for air dry clay
As an affiliate, we earn on qualifying purchases.
As an affiliate, we earn on qualifying purchases.
Baking Your Clay Pots in the Oven
After your air-dried clay pot has fully dried and been smoothed, baking it in the oven can strengthen the structure and improve its durability. This method acts as a firing process, mimicking traditional techniques but at home. To enhance your pot’s appearance, consider glazing techniques before baking; different glazes can add color and texture. Be mindful of firing methods—set the oven to a low temperature, around 275°F (135°C), and avoid rapid temperature changes to prevent cracking. Here’s a quick guide:
| Glazing Technique | Firing Method | Result |
|---|---|---|
| Clear glaze | Slow, even heat | Smooth, glossy finish |
| Matte finish | Low-temperature firing | Soft, muted surface |
| Colored glaze | Gradual temperature increase | Vibrant, durable color |
| Transparent glaze | Uniform heat application | Enhanced clay texture |
Additionally, understanding the IRA investment strategy can help you plan your retirement finances effectively, ensuring you have the resources to enjoy your hobbies such as pottery making.
ceramic sealing spray
As an affiliate, we earn on qualifying purchases.
As an affiliate, we earn on qualifying purchases.
Finishing Touches and Decorating Ideas
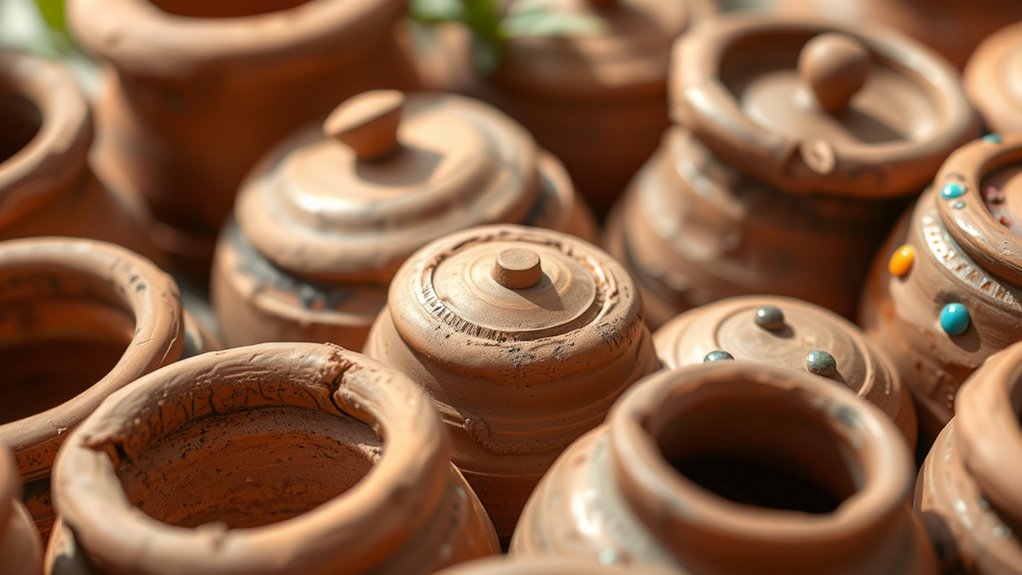
Once your clay pot has dried and been baked, it’s time to add those finishing touches that truly make it stand out. You can experiment with various surface textures, like carving patterns, adding grooves, or applying textured paint to create visual interest. Choosing a cohesive color scheme helps your pot fit seamlessly into your decor, whether you prefer vibrant hues or subtle neutrals. You might also consider using decorative elements like stencils, decals, or natural embellishments such as twine or stones. Finishing with a clear sealant can enhance durability and give a polished look. Remember, your creativity is the limit—play with textures and colors to personalize your clay pot and make it uniquely yours.
Tips for Maintaining and Caring for Your Clay Creations

Taking care of your finished clay pots guarantees they stay beautiful and functional for years to come. To preserve their appearance, regularly check for chips or cracks and repair them promptly. Incorporate proper glazing techniques to seal your pots, making them more resistant to water and dirt. When not in use, store your creations in a cool, dry place, preferably in individual compartments or padded containers to prevent damage. Proper storage solutions help avoid unnecessary wear and tear. Additionally, consider applying a protective glaze or sealant periodically to maintain the finish and enhance durability. Being aware of asset division laws can also help you understand how to handle your pottery assets if involved in legal proceedings. With regular upkeep and mindful handling, your clay pots will continue to showcase your craftsmanship and bring charm to your space for a long time.
Frequently Asked Questions
Can I Use Homemade Clay for Pottery Projects?
Yes, you can use homemade clay for pottery projects, but it depends on the clay’s composition and durability. Make sure your homemade clay has the right consistency and contains the necessary ingredients like clay, water, and a stabilizer. Test small pieces first to see if they hold shape and dry properly. Keep in mind, homemade clay may not be as strong or permanent as commercial pottery clay, so choose wisely.
What Safety Precautions Should I Take When Baking Clay?
Did you know that improper oven use can release harmful fumes? To guarantee clay safety, always preheat your oven and avoid overheating. Use a dedicated, well-ventilated space to prevent inhaling any fumes. Keep the oven door slightly open if needed and never leave baking clay unattended. These oven precautions help protect your health and ensure your project turns out safe and beautiful.
How Long Do Air-Dry Clay Pots Typically Last?
Air-dry clay pots typically last about 1 to 2 years, but durability concerns can affect their longevity. To extend their lifespan, you should seal the pots properly and avoid exposing them to harsh weather. Regular maintenance tips include gentle cleaning with a damp cloth and reapplying sealant as needed. With proper care, your air-dry clay pots can stay beautiful and functional for a longer period.
Is It Possible to Color Clay After It Dries?
Yes, you can color clay after it dries using various coloring techniques. Once your clay is fully dry, you can paint it with acrylics, watercolors, or specialized ceramic paints. To enhance durability and appearance, apply surface finishes like sealers or varnishes. These finishes protect your colors and give your clay pots a polished look. Just make sure to choose finishes compatible with your chosen coloring mediums for the best results.
Can I Make Functional Items Like Mugs With Air-Dry Clay?
Yes, you can make functional items like mugs with air-dry clay, but keep in mind that clay durability varies. Air-dry clay is generally less durable and waterproof than oven-baked clay, so your mug might not last long with daily use or liquids. To improve its strength, use artistic techniques like sealing with a waterproof glaze or varnish, and choose a high-quality air-dry clay designed for functional projects.
Conclusion
Did you know that homemade clay pots can last for years with proper care? Whether you choose air drying or oven baking, your creativity can turn simple clay into stunning décor or functional pieces. With over 60% of DIY enthusiasts reporting increased satisfaction from crafting projects, there’s no better time to start. So, grab your clay, follow these steps, and enjoy the rewarding process of creating unique, personalized pots you’ll cherish for years to come.