To quickly add depth to your walls without full renovations, consider applying textured finishes like knockdown, orange peel, or stucco using simple tools such as sponges, brushes, or spray guns. Prepare your surfaces by cleaning, repairing imperfections, and priming for better adhesion. Layering textures or adding contrasting paint can enhance visual interest. With the right techniques and tools, you can achieve a professional look fast—keep exploring to learn more tips and tricks.
Key Takeaways
- Use textured wall paint or additive to instantly create depth with minimal effort.
- Apply peel-and-stick wall decals or stencils for quick, textured visual effects.
- Incorporate lightweight wall panels or textured wallpaper for immediate dimensional enhancement.
- Create DIY textures with sponges, brushes, or stippling techniques on existing paint.
- Use spray-on texture coatings or skip trowel techniques to add depth rapidly without full renovations.

YOA Sheepskin Texture Wall Paint, Manor White 32 oz, For Walls and Ceilings – DIY Wall Repair and Decorative, Finish for Living Room Bedroom Hallway
【Easy to Use】Simply open the lid and stir thoroughly before applying Lambskin Wall Paint; no complicated methods needed…
As an affiliate, we earn on qualifying purchases.
As an affiliate, we earn on qualifying purchases.
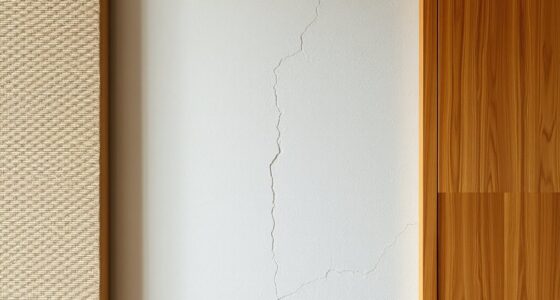
Benefits of Adding Texture to Your Walls
Have you ever wondered how textured walls can transform a room? Adding texture patterns brings visual interest and depth, making your space feel more inviting and dynamic. These patterns can hide minor imperfections, keeping your walls looking fresh longer. Plus, textured finishes often enhance wall durability, protecting against everyday wear and tear. Unlike flat paint, textured surfaces are less prone to showing fingerprints, scratches, or dents, which means less maintenance over time. They also add a tactile element that can elevate your interior design, giving your walls a unique character. Incorporating textured finishes can improve wall durability, providing both aesthetic appeal and practical benefits, making your walls more resilient and engaging without the need for major renovations. Additionally, eco-friendly craft ideas can be utilized to create custom textures and finishes, further enhancing your space sustainably. Using appropriate application techniques can also ensure your textured walls last longer and look professional.

Large Black Boho Flower Wall Decals, 3 Sheets Simple Sketch Floral Wall Stickers Peony Wildflower Peel Stick Wall Art Decor Bedroom Home Room Office Garden Hall Adult Gifts for Mom(11.8×35.4 in/Sheet)
Material Features: Supzone black boho flower wall decals are made of high quality vinyl material, easy to peel…
As an affiliate, we earn on qualifying purchases.
As an affiliate, we earn on qualifying purchases.
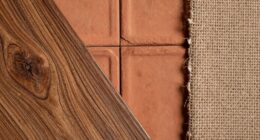
How to Choose the Right Wall Texture for Your Style
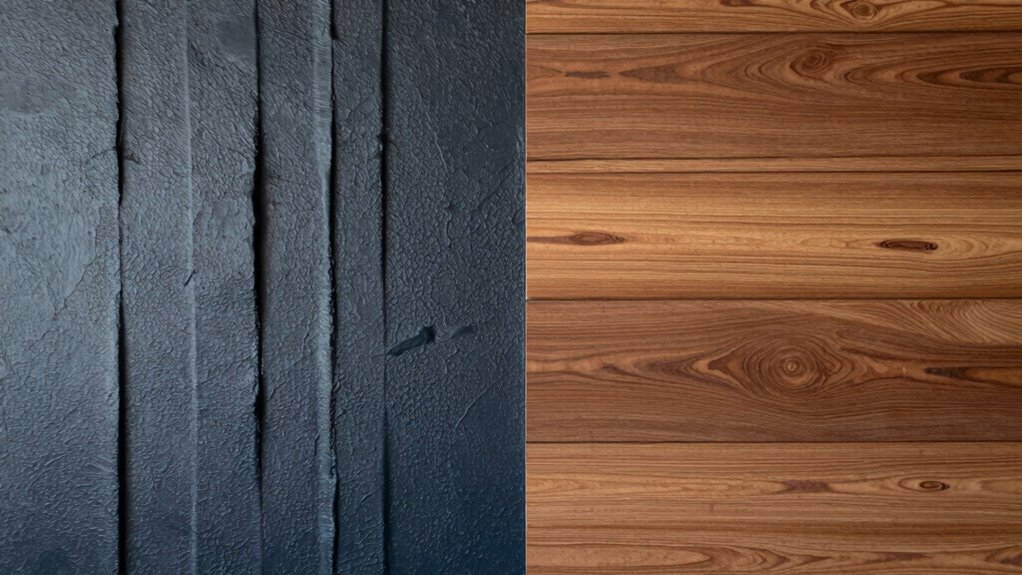
Choosing the right wall texture starts with understanding your personal style and the overall look you want to achieve. Your choice of wall texture styles should complement your decor and reflect your taste. Consider whether you prefer a subtle, sophisticated finish or a bold, statement-making surface. To help guide you, here’s a quick comparison:
| Style | Description |
|---|---|
| Smooth | Modern, sleek, minimalistic |
| Stucco/Skip Trowel | Textured, rustic, adds warmth |
| Knockdown/Orange Peel | Soft, subtle, hides imperfections |
When choosing wall textures, think about the mood you want and how much maintenance you’re willing to handle. Matching your style with the right texture elevates your space effortlessly. Additionally, understanding surface finishes can help you select textures that are both attractive and durable. Considering application techniques can also influence the final look and longevity of your textured walls. Being aware of surface preparation is vital to ensure your chosen texture adheres properly and lasts over time. Moreover, selecting appropriate maintenance practices will keep your textured walls looking their best over the years. You might also want to explore long-term durability aspects to choose textures that stand the test of time.

15.7" X 118" Black Silk Wallpaper Embossed Self Adhesive Peel and Stick Wallpaper Contact Paper Removable Waterproof Kitchen Vinyl Wrap Cabinet Furniture Textured Renter Friendly Wall Gift Paper
Black Wallpaper–Embossing Process- It can effectively reduce the generation of bubbles. The solid color gives the room a…
As an affiliate, we earn on qualifying purchases.
As an affiliate, we earn on qualifying purchases.
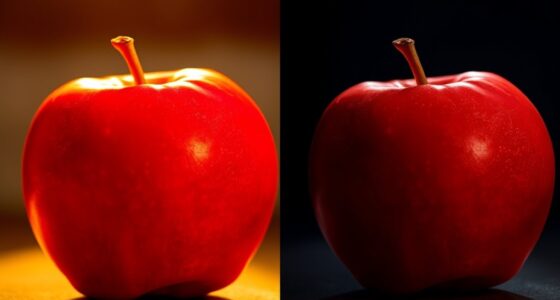
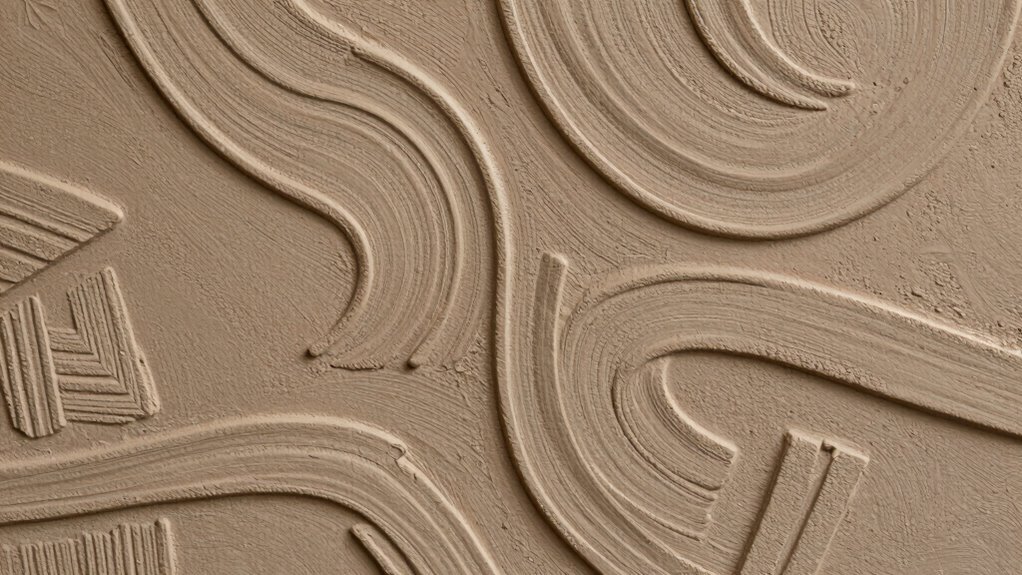
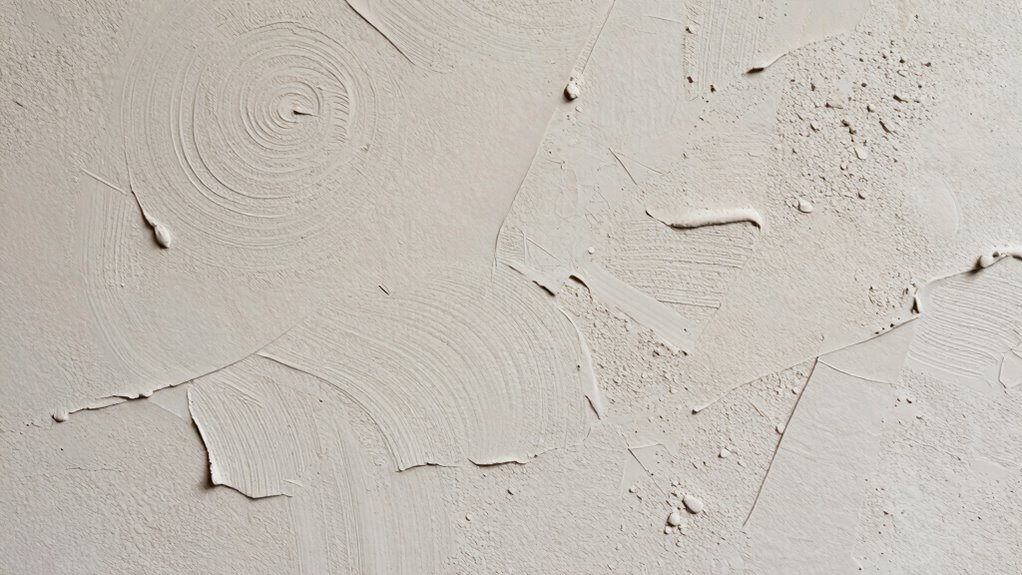
Popular Wall Texture Finishes and Their Visual Impact
Different wall texture finishes create distinct visual effects that can dramatically influence a room’s ambiance. Vintage plaster offers a classic, aged look with subtle imperfections, adding warmth and character. Its irregular surface catches light uniquely, creating depth and a sense of history. Using the appropriate application techniques can enhance the overall effect and durability of the finish. Proper surface preparation is essential to achieve a smooth application and long-lasting results. Additionally, understanding texture application methods can help you select the best technique for your desired look. Mastering texture blending techniques can also help create seamless transitions between different wall finishes for a cohesive appearance. Modern stucco, on the other hand, provides a sleek, contemporary finish. It’s often smoother or more textured, depending on application, giving a clean, bold statement. Both finishes add visual interest without overwhelming the space. Vintage plaster’s timeless charm works well in traditional or rustic interiors, while modern stucco suits modern, minimalist designs. Choosing between them depends on the mood you want to create. Additionally, applying textured finishes carefully with appropriate airless paint spraying techniques ensures an even and professional appearance. Either way, these textures enhance your walls, adding depth and personality effortlessly.

LAUCO Texture Coating Black 13 oz Aerosol Spray, Professional Automotive Trim and Bumper Refinisher, Durable Flexible Matte Finish for Plastic, Metal, and Fiberglass Surfaces, Easy Spray Application
PROFESSIONAL TEXTURE REFINISHER: Designed to restore factory texture and appearance on automotive bumpers, moldings, dashboards, and exterior plastic…
As an affiliate, we earn on qualifying purchases.
As an affiliate, we earn on qualifying purchases.
Getting Your Walls Ready for Texture
Before applying texture, you need to properly prepare your walls’ surface. Start by cleaning and repairing any cracks or holes to guarantee a smooth finish. Then, apply a quality primer to improve adhesion and create an even base for your texture. Additionally, consider installing smart locks and office gear to enhance the security and functionality of your space. To ensure the best results, it’s also helpful to understand wood stove maintenance, which emphasizes keeping your walls free of soot and smoke residue that could affect the texture. Incorporating electric bikes into your project can also provide eco-friendly solutions for moving supplies or materials around your space. Recognizing early warning signs for breast cancer can help in promoting overall health and awareness. Furthermore, using appropriate workspace organization strategies can streamline your setup process and ensure long-lasting results.
Surface Preparation Techniques
To achieve a smooth and durable textured wall, proper surface preparation is essential. Start with thorough wall surface preparation by cleaning the surface to remove dust, grease, or loose paint. Sand any rough spots or peeling paint to create a flat, even surface. Repair holes or cracks with spackle and sand smooth once dry. Next, focus on primer application techniques; applying a high-quality primer helps seal the wall and improves adhesion for the texture coat. Use a roller or brush to evenly cover the surface, ensuring no missed spots or drips. Avoid skipping this step, as it can cause texture inconsistencies or peeling later. Proper surface preparation sets the foundation for a professional-looking finish and ensures your textured walls last longer without issues. Additionally, selecting the right primer can enhance adhesion and durability, resulting in a more long-lasting textured finish. Incorporating test methods for adhesion can also help verify the effectiveness of your surface preparation before applying the texture. To further ensure a successful finish, consider proper drying times between each step to prevent issues down the line. Implementing water damage prevention techniques during preparation can also help maintain wall integrity over time.
Primer Application Tips
After preparing the wall surface by cleaning, sanding, and repairing, the next step is to apply primer. Ensure your primer has the right consistency—neither too thick nor too runny—to achieve a smooth, even coat. Thick primer can lead to drips, while thin primer may require multiple coats. Use quality application tools like a roller with a thick nap for large areas and a brush for edges and corners. Apply the primer in even, overlapping strokes, working from top to bottom. Don’t rush; let each coat dry fully before adding another if needed. Proper primer application creates a uniform base, improves adhesion, and helps your textured finish look professional. Taking your time with this step sets the foundation for a successful textured wall project. Cookie categories help ensure your browsing experience remains smooth and tailored to your preferences.
Easy DIY Techniques for Textured Walls
You can create textured walls yourself with simple techniques like sponging, brushing, or stamping. Using textured wall paint is an easy way to add depth without extra tools or mess. These DIY methods let you customize your wall finishes quickly and affordably.
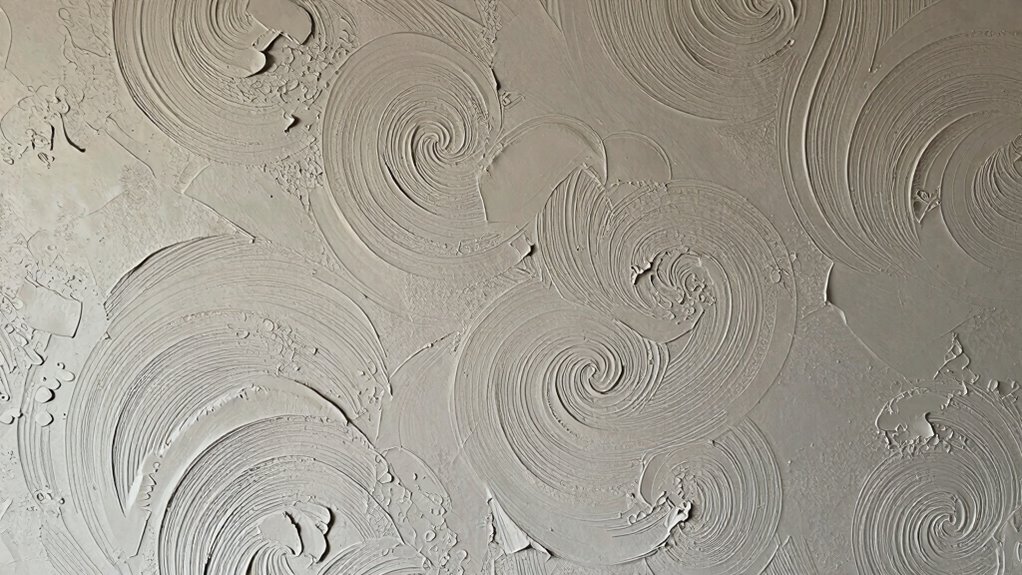
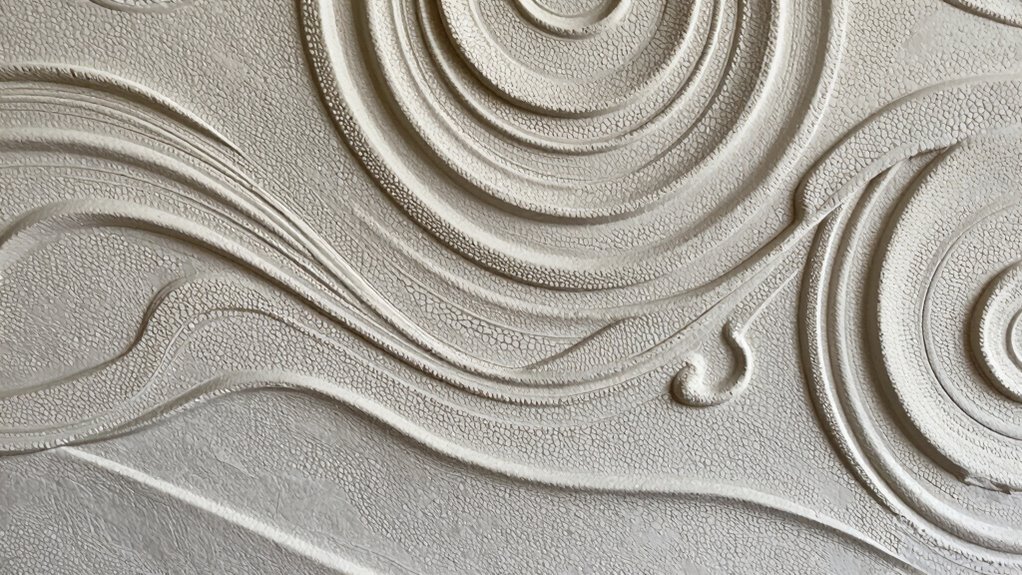
DIY Textured Wall Techniques
Creating textured walls yourself is a rewarding way to add depth and personality to your space without professional help. Start by preparing your wall surface thoroughly—clean it to remove dust and grease, and patch any holes or imperfections. Proper wall surface preparation guarantees your chosen texture pattern adheres well and looks smooth. For easy DIY textured wall techniques, consider using tools like sponges, brushes, or putty knives to create different texture patterns such as swirls, stipples, or combed designs. You can also experiment with joint compound or drywall mud, applying it with a trowel or sponge for a layered effect. Keep your techniques simple and steady to achieve consistent patterns. With patience and practice, you’ll master textured finishes that elevate your space effortlessly.
Using Textured Wall Paint
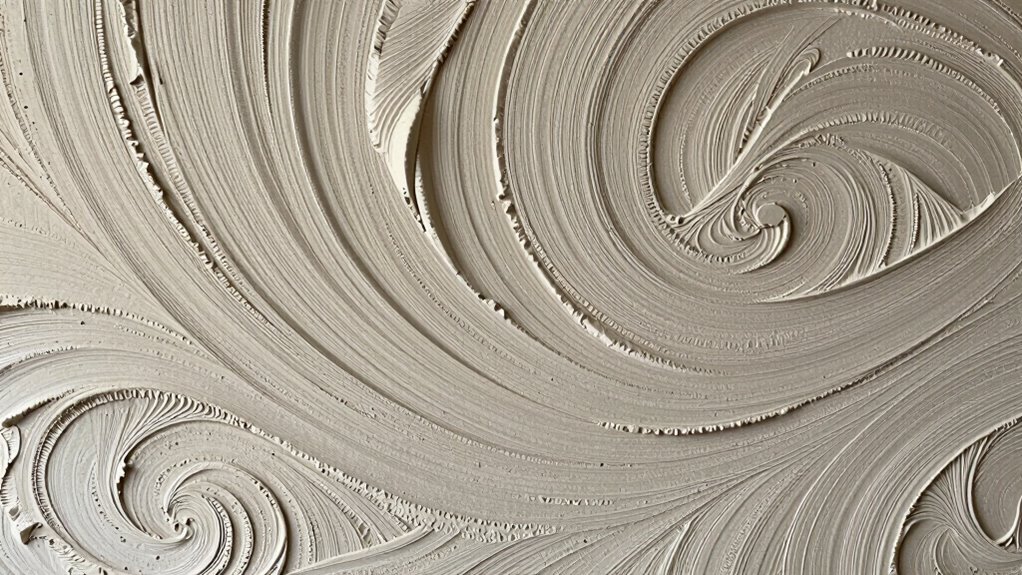
Using textured wall paint is an easy way to add depth and interest to your walls without complicated tools or techniques. You can create stunning effects by choosing the right color combinations and texture patterns. Opt for contrasting shades, like deep blue and white, to enhance the pattern’s visibility. Experiment with different textures such as stippling, swirling, or combing to achieve unique looks. Here’s a quick guide to help you choose:
| Color Combinations | Texture Patterns | Tips |
|---|---|---|
| Bold & Bright | Swirls | Use a sponge roller |
| Neutral & Calm | Stippling | Apply with a brush |
| Dark & Light | Combing | Use a textured roller |
| Monochrome | Random | Mix textures for depth |
| Pastels & Neutrals | Layered | Seal with matte finish |
Tools and Materials Needed for Quick Wall Textures
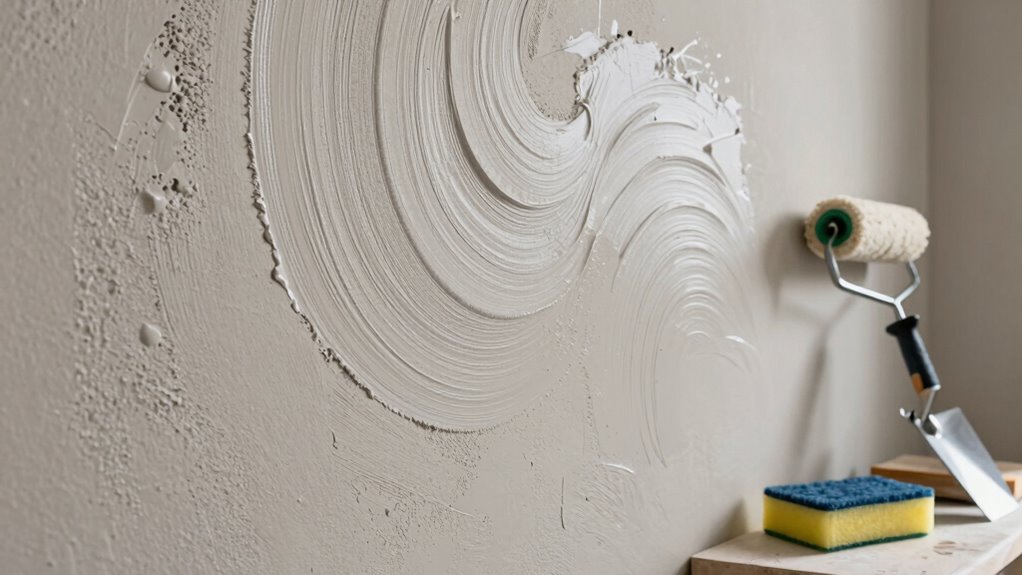
To achieve quick wall textures, having the right tools and materials on hand is essential. Start with wall texture tools like brushes, rollers, or trowels, depending on the texture pattern you want. For applying texture compounds, you’ll need spackle knives or specialized spatulas to create various effects. A spray bottle or hopper gun can help with splatter or stipple textures, making application faster. Stencils or pattern rollers are useful for consistent, repeatable designs. You’ll also want drop cloths, painter’s tape, and sanding sponges to prep and finish your walls smoothly. Having these tools ready guarantees your project runs efficiently and helps you achieve clean, professional-looking textures without the need for extensive renovations.
How to Achieve Professional-Looking Texture at Home?
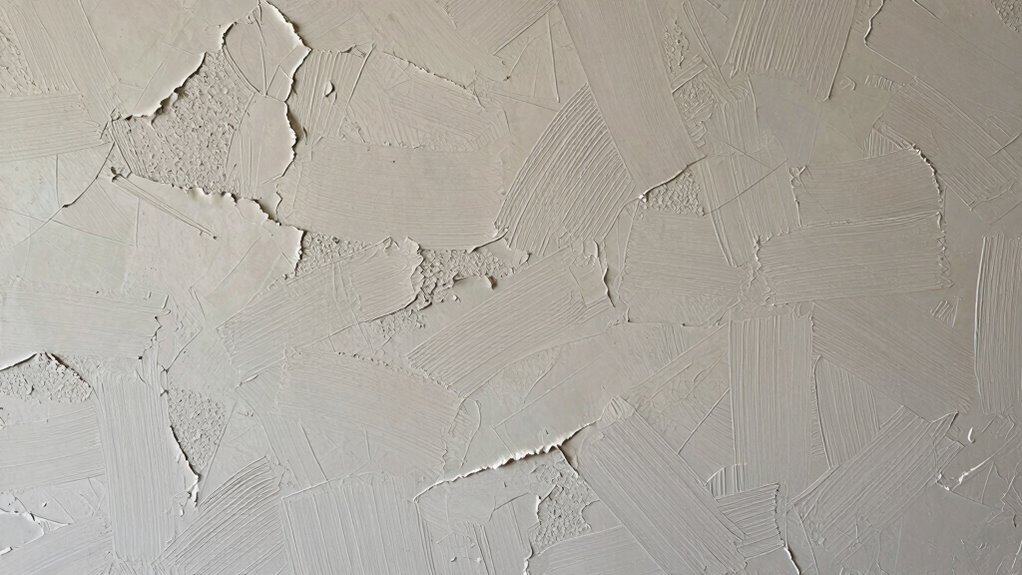
Achieving a professional-looking wall texture at home is entirely possible with the right techniques and attention to detail. Understanding wall texture history helps you appreciate the styles, from knockdown to slap brush, and guides your choice. Comparing textures allows you to select the best fit for your space. Here’s a quick comparison:
| Texture Type | Application Method | Finish Look |
|---|---|---|
| Knockdown | Trowel, spray, or roller | Smooth with subtle depth |
| Orange Peel | Sprayer, roller | Fine, even pattern |
| Slap Brush | Brush or sponge | Rough, artistic texture |
| Sand Finish | Trowel with sand additive | Grainy, natural look |
| Swirl | Brush or roller | Dynamic, flowing patterns |
Use these insights to choose and replicate textures professionally.
Maintaining and Refreshing Textured Walls Over Time
Over time, textured walls can accumulate dust, dirt, and minor scuffs, making regular wall texture maintenance essential to keep them looking fresh. To maintain their appeal, gently dust or vacuum the surface with a soft brush attachment. When needed, spot clean with a damp cloth—avoid harsh chemicals that could damage the texture. If your walls look dull or worn, consider wall refresh ideas like light touch-ups or a quick repaint in the same shade. Regular upkeep prevents dirt buildup and preserves the depth of the texture. For stubborn stains, consult a professional or try a mild cleaning solution. Remember, consistent maintenance helps your textured walls stay vibrant and inviting, reducing the need for major renovations down the line.
Regular gentle cleaning keeps textured walls vibrant and prevents dirt buildup over time.
- Use a soft-bristled brush or vacuum for dust removal
- Spot clean with a damp cloth regularly
- Avoid harsh chemicals that could damage the texture
- Consider light touch-up repainting when needed
- Schedule periodic professional inspections
Mistakes to Dodge When Texturing Your Walls
When you start texturing your walls, one common mistake is choosing the wrong technique or applying it unevenly, which can lead to an inconsistent appearance. Staying updated on wall texture trends helps you select modern styles, but rushing the application often results in uneven textures. Additionally, neglecting proper preparation makes removal difficult later. Using incorrect texture removal techniques can damage your walls or leave unwanted marks. To avoid these pitfalls, plan your approach carefully.
| Mistake | Consequence |
|---|---|
| Ignoring wall surface prep | Uneven texture, poor adhesion |
| Applying textures too thick | Drips, extended drying time |
| Rushing application | Inconsistent patterns |
| Not testing techniques | Surprising results |
| Skipping proper cleanup | Difficult texture removal |
Frequently Asked Questions
How Long Does Textured Wall Application Typically Take?
Applying textured walls typically takes 1 to 3 days, depending on the method and wall size. You’ll start with the application timeline, which involves prepping the surface, applying the texture, and allowing it to dry. The drying process varies but usually takes 24 to 48 hours. You should plan for some additional time if you’re adding multiple layers or finishing touches, ensuring everything cures properly for a durable, textured look.
Can Textured Walls Improve Room Acoustics?
Textured walls can improve room acoustics by enhancing sound absorption, reducing echoes and noise. The textured surface disrupts sound waves, making your space feel more comfortable and less echo-prone. Plus, they add aesthetic enhancement, giving your room a stylish and unique look. By choosing the right texture, you can enjoy better sound quality while boosting your room’s visual appeal effortlessly.
Are Textured Walls Suitable for Humid Environments?
Textured walls can be suitable for humid environments if you choose moisture-resistant materials like specialized paints and mold-resistant textures. These options help prevent mold growth and moisture damage. Regularly cleaning and ensuring proper ventilation also support mold prevention. By selecting appropriate textures and maintaining good air circulation, you can enjoy textured walls without worrying about humidity-related issues, preserving their appearance and durability over time.
What Are the Best Cleaning Methods for Textured Surfaces?
You know what they say, “A clean space is a happy space.” For textured surfaces, gentle cleaning techniques work best. Use a soft-bristled brush or vacuum with a brush attachment to remove dust and debris. Follow up with a damp cloth or sponge using mild soap and water for surface maintenance. Avoid harsh chemicals or excessive scrubbing, as they can damage the texture. Regular cleaning keeps your walls looking fresh and vibrant.
How Do I Repair Damaged Textured Walls Efficiently?
To repair damaged textured walls efficiently, start with clean, dry surfaces. Use wall patching compound to fill cracks or holes, smoothing it out for a seamless finish. For texture repair, apply a matching texture spray or use a brush or sponge to recreate the original pattern. Let it dry completely, then sand lightly if needed. Finish with paint to blend the repair seamlessly into your textured walls.
Conclusion
With textured walls, you can effortlessly transform your space into a cozy, inviting retreat. Imagine running your hand over a wall that feels rich and inviting, adding depth and personality to your rooms. Whether you choose a subtle finish or a bold statement, your walls will become a beautiful canvas reflecting your style. So, pick your texture, grab your tools, and enjoy the satisfying process of creating a stunning, tactile backdrop for your everyday moments.