To create wall art featuring mandala designs, start by selecting a smooth, clean surface such as canvas or wood. Gather necessary tools like high-quality paints, fine-tipped brushes, and a compass. Find the center of your surface and sketch concentric circles for symmetry. Begin your designs from the center and work outward, experimenting with patterns and colors that speak to you. Utilize layering techniques to add depth and intricacy, remembering to include finishing touches like outlines and decorations. This artistic process is a journey of self-expression and mindfulness, and you will discover additional tips to elevate your artwork as you go.
Key Takeaways
- Choose the right surface, such as canvas or walls, ensuring it's clean and dust-free for optimal painting conditions.
- Start with a central point and use compasses and rulers to create symmetrical designs and concentric circles.
- Select a harmonious color palette of 3-5 colors, considering their psychological effects on mood and emotion.
- Utilize various painting techniques, layering colors, and adding details as each layer dries for depth and complexity.
- Finish with outlines, embellishments, and a protective coat to enhance durability and visual interest in your artwork.
Understanding Mandala Art
Mandala art is more than just a beautiful design; it's a profound expression of spirituality and creativity. Rooted in Hindu and Buddhist traditions, mandalas feature intricate, often circular patterns that symbolize the universe. When you engage in creating mandalas, you're not just making art; you're initiating a journey of self-reflection and spiritual exploration.
The process of crafting mandalas serves as a powerful tool for meditation, allowing you to center your thoughts and promote mindfulness. Whether you use paint, ink, or digital tools, each medium offers unique possibilities for artistic expression. As you engage yourself in this practice, you'll likely find a sense of relaxation and peace, which is why mandala art is increasingly popular in therapeutic spaces like yoga studios and meditation areas.
Moreover, the versatility of mandala designs means you can adapt them to suit various wall types and seasonal themes, enhancing the aesthetic appeal of your surroundings.
Choosing Your Surface

When choosing your surface for painting mandala designs, think about materials like canvas, wood panels, or watercolor paper. Each option affects not just the look but also the feel of your artwork, so consider what best suits your vision.
For instance, using a wooden panel can enhance the natural elements of your design, which aligns with creating a serene environment in your home sustainable decor practices.
Additionally, the size and scale of your chosen surface can greatly influence the intricacy of your designs, so make sure to plan accordingly.
Surface Material Options
Choosing the right surface for your mandala painting can greatly impact the final result and your overall experience.
Canvas is a popular choice, providing a sturdy base that you can stretch or frame, enhancing the visual appeal of your artwork. If you're after a rustic charm, consider using wood; its natural texture adds depth to your design and complements the essential elements for a farmhouse dining room aesthetic beautifully.
For smaller projects or practice runs, heavy-weight paper works well. It can handle various paint types, though it's not ideal for larger, intricate designs.
If you want to make a bold statement, painting directly on walls allows for larger-scale mandalas that can transform your space into an eye-catching focal point.
If you're interested in textile applications, fabric is an excellent option. Painting mandalas on fabric opens up creative possibilities for home decor items like pillows or wall hangings. Just make certain to use fabric paint to guarantee durability and flexibility.
Each surface has its unique advantages, so think about your design, where it'll be displayed, and what kind of finish you want. This will help you choose the perfect canvas for your artistic vision.
Size and Scale Considerations
Determining the size and scale of your mandala design is essential for achieving the right visual impact in your space. Start by measuring your wall dimensions. You want your artwork to become a focal point but not overwhelm the area.
Larger mandalas can create a dramatic effect in open spaces, while smaller designs fit better in cozy corners or intimate rooms. Additionally, consider how the scale of your mandala complements other elements in your home, such as your best woods for farmhouse tables that may set a rustic tone.
Think about the scale of your mandala in relation to your surrounding decor. Intricate designs shine on larger canvases, allowing viewers to appreciate details from afar. When choosing your placement, hang your artwork at eye level for the best viewing experience.
Also, consider the surface you'll be painting on. Whether you opt for canvas, wood panels, or directly on the wall, the surface influences the overall aesthetic and perception of scale.
A larger canvas can enhance the drama, while a smaller board might suit a more delicate design. Take the time to plan your mandala's size and scale thoughtfully, ensuring it harmonizes with your space and brings the desired ambiance to your home.
Essential Tools and Materials
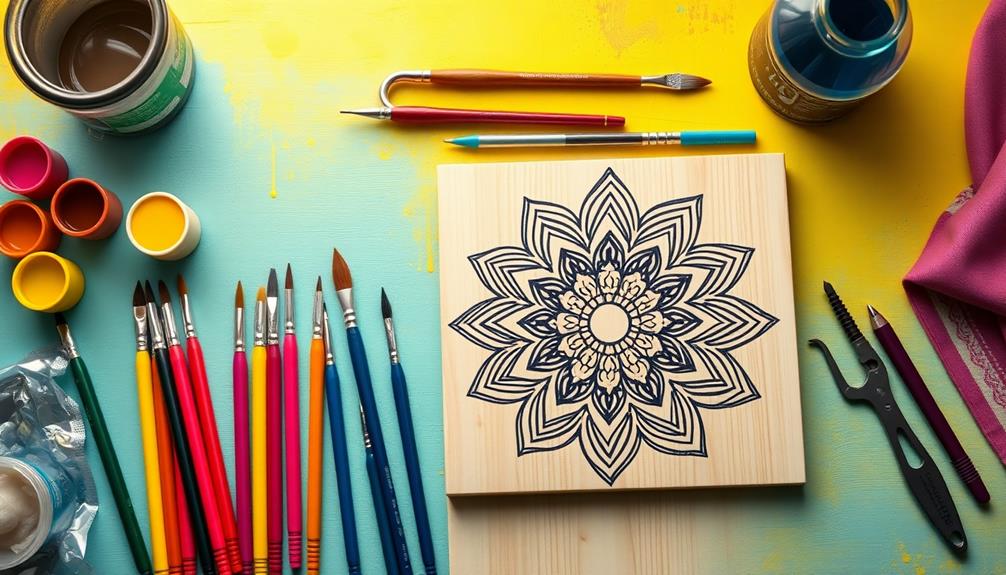
To create stunning mandala designs, you'll need some essential tools and materials.
Start with high-quality paints and a variety of brushes to achieve both fine details and broader strokes.
Consider incorporating elements of color accuracy in projectors to enhance your overall artistic experience.
Don't forget a compass for perfect circles and a sturdy surface to guarantee your artwork lasts.
Must-Have Supplies
When diving into the world of mandala painting, gathering the right supplies can make all the difference in your artistic journey. Here's a list of must-have supplies that will elevate your mandala art:
| Supply | Purpose | Notes |
|---|---|---|
| High-quality paints | Provides vibrant colors and good coverage | Acrylic or watercolor recommended |
| Sturdy canvas/paper | Acts as a reliable base for your art | Thick enough to withstand layers |
| Compasses and rulers | Helps establish symmetry and balance | Essential for precise designs |
| Fine-tipped paintbrushes | Allows for intricate detailing | Choose various sizes for versatility |
| Dotting tools | Adds unique textures and embellishments | Great for creating patterns |
| Palette and containers | Essential for mixing colors and maintaining cleanliness | Include water containers and paper towels |
Having these supplies on hand will guarantee your mandala painting experience is enjoyable and productive. Don't forget to keep your workspace organized, as it'll help you focus on your creative flow. Happy painting!
Recommended Techniques
Starting on your mandala painting journey requires not just creativity but also the right techniques and tools to bring your vision to life.
Begin with high-quality acrylic paints that offer vibrant colors and good coverage. Incorporating essential oils for relaxation can enhance your painting experience by creating a calming atmosphere. You'll want fine-tipped brushes for those intricate details, along with various applicators like sponges to add texture.
Choose a sturdy surface, such as canvas or wooden boards, to support your paint application without warping. Using a compass and ruler is essential for creating precise geometric shapes, ensuring your mandala patterns are symmetrical and well-structured. A color mixing palette will help you blend shades and achieve the right tones for your design.
Don't forget water containers and cloths to keep your brushes clean between colors. For added texture and depth, consider investing in dotting pens or styluses. These tools are specifically designed for creating the dot patterns that are a hallmark of mandala art.
With these techniques and essential tools at your disposal, you'll be well-equipped to transform your ideas into beautiful wall art. Happy painting!
Drawing the Center Point
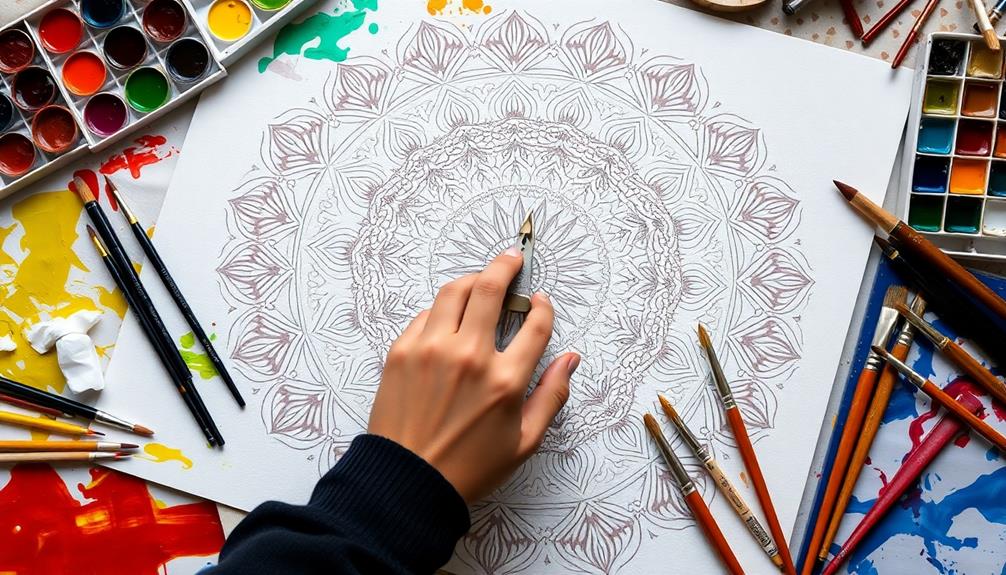
In the heart of your canvas lies the center point, an important element for crafting your mandala design. Begin by selecting a suitable surface, like canvas or thick paper, ensuring it's clean and free from dust for best results. Using a pencil, lightly mark the center of your canvas; this point will serve as the foundation for your mandala's symmetrical patterns. This careful preparation is akin to ensuring a well-functioning toilet system, where understanding the flushing mechanisms can greatly enhance performance.
Next, grab a compass to draw a small circle around the center point. This circle will guide your first layer of designs and help maintain even spacing. To further enhance balance and symmetry, consider using a ruler to create cross lines through the center point, dividing the canvas into four quadrants.
This division not only aids in achieving equilibrium but also helps you visualize how your patterns will expand outward. Ensure the center point is clearly defined and visible, as it's vital for establishing the overall flow and harmony of your mandala.
Keep it present in your mind as you work, allowing your designs to radiate from this pivotal point, leading to a beautifully crafted piece of art.
Expanding With Patterns
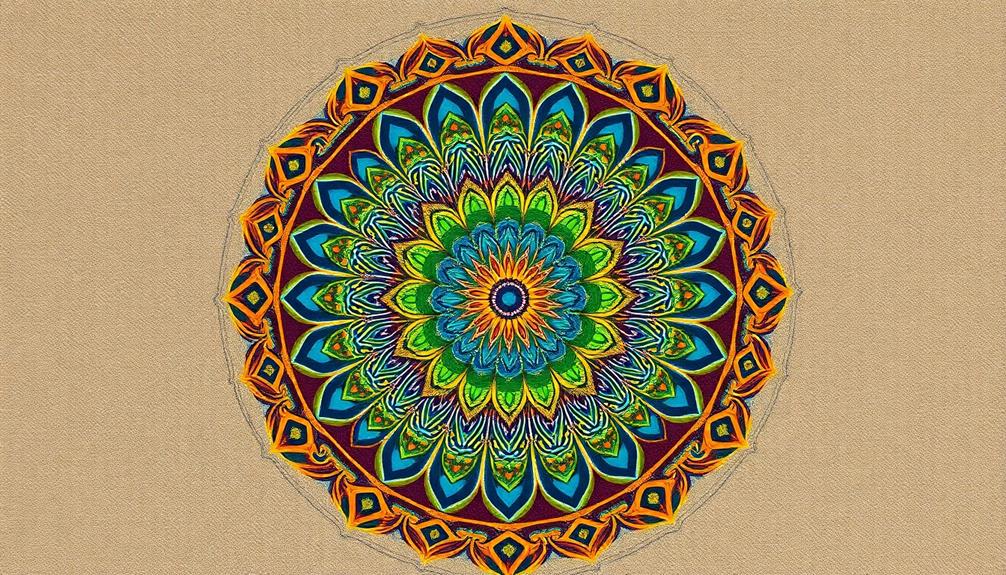
Patterns are the heartbeat of your mandala, bringing life and structure as you expand outward from the center point. Start by establishing that central point on your canvas; it'll serve as the foundation for your design. Use a compass or any round object to draw a series of concentric circles, guiding your patterns and guaranteeing symmetry and balance.
Just as you should be mindful when introducing new foods to your dog, make certain that each element you add to your design is deliberate and well-considered, avoiding any "toxic" patterns that disrupt harmony. Dogs and grapes serve as a reminder that not everything is safe or beneficial.
As you move outward, gradually introduce various geometric shapes like triangles, petals, or squares. Each layer you add builds complexity and visual interest. Keep in mind that repetition is key—incorporate motifs and variations of the same design elements to create rhythm within your mandala. This will enhance its aesthetic appeal and cohesiveness.
Don't hesitate to experiment with different spacing and sizes of your patterns in each layer. This will help you achieve depth and dimension, making your artwork more dynamic and engaging.
Selecting a Color Palette
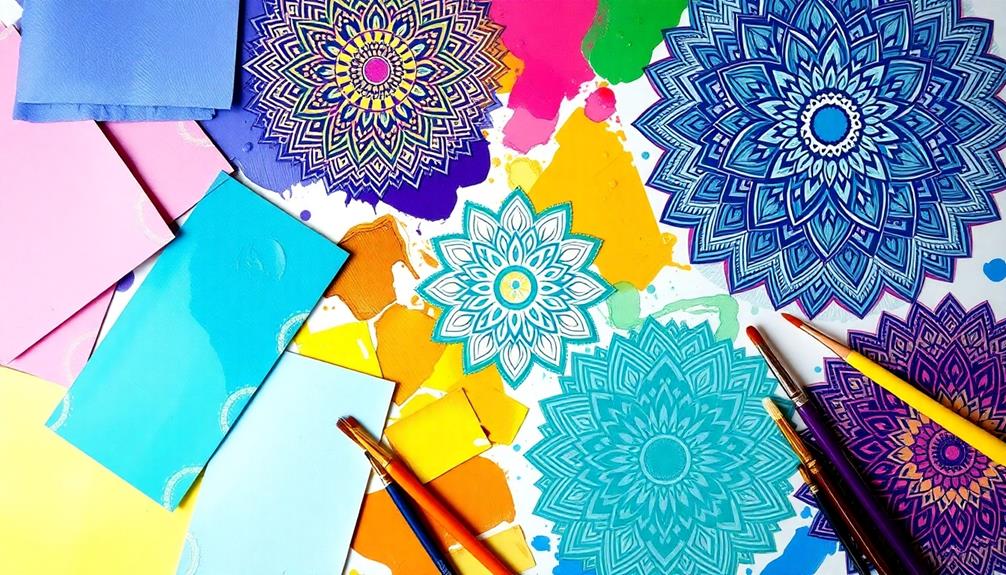
Choosing a color palette can greatly enhance the beauty of your mandala design, adding depth and emotion to your artwork. Start by selecting a limited color scheme of 3-5 colors. This approach creates harmony and balance, making your design visually appealing.
You can also utilize color theory principles by pairing complementary colors, which can enhance vibrancy and visual interest in your mandala patterns. Additionally, consider incorporating colors inspired by nature, as they can evoke feelings of tranquility and connection to the environment, much like the health benefits of tea that promote well-being.
Don't hesitate to experiment with various shades and tints of your chosen colors. This will add depth and dimension, making your design more dynamic and engaging.
Also, consider the psychological effects of colors; warm tones like reds and yellows can evoke energy, while cool colors like blues and greens promote calmness and relaxation.
Before committing to your final palette, test your colors on a small sample area. This helps you see how they interact with your existing decor and lighting, ensuring your mandala blends beautifully into the intended space.
Techniques for Painting

To kick off your mandala painting journey, start by sketching a central point on your canvas. From there, use a compass or protractor to create symmetrical circles that serve as the foundation for your design. This will help you maintain balance and symmetry throughout your artwork, which is essential for fostering digital creativity in your artistic process.
Next, gather a variety of brushes. Fine-tipped brushes are perfect for intricate details, while larger brushes work well for filling in broader areas. This variety allows you to achieve different textures and effects, making your mandala more dynamic.
Don't shy away from experimenting with color theory. Choose a harmonious color palette that resonates with the mood you want to convey. Remember, colors can notably influence emotional responses, so select them thoughtfully.
Incorporate layering techniques by letting each layer of paint dry before adding more details. This enhances depth and complexity in your mandala art.
Adding Final Touches

After completing your initial painting, it's time to refine your mandala and make it truly stand out. Here are three essential steps to contemplate for adding those final touches:
1. Outline Key Elements: Use a fine brush or detailing pen to outline the main features of your mandala. This enhances clarity and definition, making your design pop.
Regular checks on your work can be similar to how consumers monitor credit card statements to catch any discrepancies, guaranteeing every detail is as intended.
2. Add Depth with Metallics: Incorporate metallic or iridescent paints to give your mandala extra visual interest. These paints reflect light beautifully, adding depth and dimension to your artwork.
3. Protect Your Masterpiece: Finish with a protective coat, like a clear varnish. This preserves the vibrancy of your colors and guarantees your artwork withstands wear and tear over time.
As you make these enhancements, don't forget to step back periodically. Gaining perspective helps you assess the overall balance and harmony of your design.
You can even experiment with embellishments like gems or beads to introduce unique textures. These final touches will elevate your mandala, transforming it into a stunning piece of wall art that you'll cherish for years to come.
Displaying Your Artwork

When you display your mandala artwork, think about its ideal placement to create a striking focal point in your space.
Consider framing options that complement your design and enhance its visual appeal.
You might also want to rotate your pieces seasonally, keeping your decor fresh and engaging.
Ideal Placement Strategies
While choosing the ideal placement for your mandala artwork, consider areas that promote relaxation and mindfulness, like meditation spaces or yoga studios. Positioning your piece thoughtfully can enhance the overall ambiance and encourage a sense of tranquility.
Here are three strategies to maximize your mandala's impact:
- Eye Level Display: Confirm the artwork is at eye level to create a focal point in the room. This makes it easily visible and inviting for viewers, encouraging them to connect with the piece.
- Complementary Decor: Use surrounding decor with complementary colors and patterns to create a cohesive look. This highlights your mandala design without overwhelming it, making the artwork stand out beautifully.
- Dynamic Arrangements: Rotate your mandala pieces based on seasonal themes or holidays. This keeps the space fresh and engaging, inviting new energy into your environment.
When displaying multiple mandalas, consider arranging them in a grid or organic layout to maintain visual interest while confirming harmony in the space.
Framing Options Available
Displaying your mandala artwork effectively involves selecting the right frame to enhance its beauty and protect it. You've got several options to take into account when framing your piece, each contributing to the overall aesthetic and durability.
| Frame Material | Matting Options | Glass Type |
|---|---|---|
| Wood | Single mat | UV-protective glass |
| Metal | Double mat | Acrylic |
| Plastic | No mat | Regular glass |
When choosing a frame material, think about your room's decor. Wood adds warmth, while metal offers a sleek, modern touch. Adding a mat can highlight the intricate designs, providing a visual buffer between the artwork and the frame. Size matters too—opt for a frame that complements your art's dimensions. Oversized frames create drama, while smaller frames foster intimacy.
Don't forget about glass! UV-protective options prevent fading, ensuring your mandala remains vibrant for years. Finally, consider hanging mechanisms like sawtooth hangers or D-rings to secure your artwork in place. With these framing options, you'll showcase your mandala art beautifully and protectively.
Seasonal Display Ideas
Embracing the changing seasons can breathe new life into your home decor, especially when it comes to showcasing your mandala artwork. By rotating your designs, you can create a dynamic atmosphere that reflects the beauty of each season.
Here are some ideas to inspire your seasonal displays:
- Spring: Use pastel colors and floral motifs in your mandalas to evoke renewal. Display these pieces in soft lighting to enhance their freshness.
- Summer: Incorporate vibrant and bold colors that reflect the season's energy. Hang your artwork in areas where it can catch sunlight, making the colors pop even more.
- Autumn: Feature earthy tones like oranges, browns, and yellows in your mandala designs. Leaf patterns can celebrate the changing foliage, creating a warm and inviting atmosphere.
- Winter: Use cool colors such as blues and whites, along with snowflake or icy designs. This will help create a serene ambiance for the colder months.
Inspiring Mandala Examples

When exploring mandala designs, you'll find a rich tapestry of inspiration that ranges from simple geometric shapes to intricate patterns. One notable example is the sand mandalas created by Tibetan monks. These stunning works are made as a meditative practice and are often destroyed afterward to symbolize the impermanence of life, encouraging you to appreciate the moment.
Modern mandala wall art takes inspiration from these traditional designs but often incorporates vibrant color schemes and contemporary themes. You can find pieces that reflect nature, spirituality, or even abstract concepts. Artists like Lisa Congdon and Tessa Perlow have gained recognition for their unique approaches, blending traditional techniques with modern aesthetics that can ignite your creativity.
Additionally, digital mandalas are becoming increasingly popular. They allow you to create and share your designs online with precision and intricate detailing, thanks to specialized software. This trend opens up endless possibilities for experimenting with colors and patterns, making it easier than ever to find your own voice in mandala art.
Frequently Asked Questions
How to Make Mandala Wall Art?
To create mandala wall art, gather your supplies, sketch your design, and use a compass for precision. Experiment with colors that inspire you, and finish with varnish to protect and enhance your artwork's vibrancy.
What Is the Rule for Creating Mandalas?
To create mandalas, start from a central point and build outward symmetrically. Guarantee consistency in spacing and pattern repetition, and consider using geometric shapes and natural motifs to enhance your design's complexity and beauty.
How to Do Mandala Art for Beginners?
Did you know that 86% of people find mandala art relaxing? To start, gather your tools, mark a center point, draw circles, and let your imagination guide you as you fill each section with unique patterns.
What Kind of Paint to Use for Mandala Art?
When choosing paint for mandala art, you'll love acrylics for their vibrant colors and quick drying. If you want softer effects, try watercolors, but make sure you use the right surface to avoid bleeding.
Conclusion
Now that you've released your inner artist and created a stunning mandala masterpiece, you're practically a creative wizard! Each swirl and dot radiates joy and tranquility, transforming your wall into a vibrant oasis. Don't just admire your work—celebrate it! Share your magical creation with friends and family, and watch their jaws drop in awe. You've not only painted a design; you've woven a tapestry of love and inspiration that'll brighten any room for eternity!


