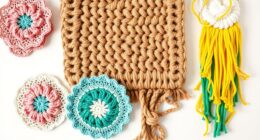
Creating your own boho dreamcatcher can be a enjoyable and imaginative project. To start, gather the necessary materials such as a frame, cords, feathers, and glue. Find a clean and well-lit area to set up your workspace. Begin by wrapping the frame with your chosen cord, making sure it is secure and colorful. Then, create the webbing by knotting cords evenly around the ring. Attach feathers using gathering knots, ensuring they are evenly spaced. Trim any excess cord and double check for balance. Allow everything to dry completely. This uncomplicated process allows your creativity to shine through, with endless possibilities for crafting unique designs!
Key Takeaways
- Choose a sturdy frame and various cord types for wrapping and webbing to start your dreamcatcher project.
- Secure the webbing knots evenly spaced around the ring to create a balanced design.
- Select colorful feathers and attach them using gathering knots for a vibrant boho aesthetic.
- Ensure all knots are tight and excess cord is trimmed for a clean finish.
- Allow glue to dry completely for durability before hanging your finished dreamcatcher.
Materials Overview
To create your boho dreamcatcher, you'll need a few key materials. Start with a dream catcher frame, which can be made from either metal or wood. This serves as the base structure for your project. You can also draw inspiration from unique decor pieces in Bali to enhance your design with local cultural influences.
Next, gather some cord for wrapping around the ring, along with worsted wool for the webbing. Don't forget the macrame cord; it's perfect for adding fringe and hanging pieces that enhance your dreamcatcher's bohemian vibe.
You'll also want to collect an assortment of colorful feathers to use as decorative elements. Craft glue and fabric glue are essential for securing knots and ensuring your dreamcatcher holds together well. A good pair of scissors is necessary for trimming any excess materials as you work.
Lastly, keep some masking tape handy. It can temporarily secure cords during assembly, helping you achieve a neat finish.
With all these materials within reach, you're well on your way to creating a stunning boho dreamcatcher. Having everything organized will make your crafting experience smoother and more enjoyable. So gather your supplies, and let's get started on this fun project!
Setting Up Your Workspace

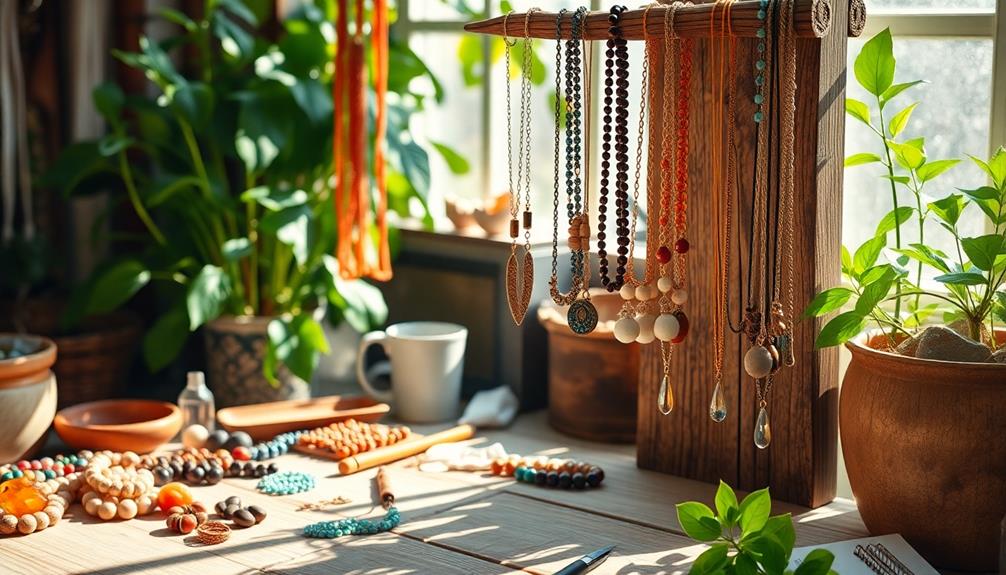
Once you've gathered all your materials for the boho dreamcatcher, it's time to set up your workspace. First, make sure you choose a clean, well-lit area with enough space to accommodate everything comfortably. A sturdy table or flat surface is ideal, as it'll prevent your materials from rolling away and provide a solid base for the crafting process.
Consider incorporating eco-friendly materials, such as natural fibers and wooden elements, as they can enhance the aesthetic of your dreamcatcher while being safe for the environment and supporting eco-friendly toy practices.
Next, gather all required materials, including the dream catcher frame, cords, feathers, and glue, and place them within arm's reach. This setup will streamline your crafting experience. I'm going to take a moment to organize your workspace by grouping similar materials together. For instance, separate cords by type and color to enhance both efficiency and creativity.
Keep scissors and tape handy for quick access when trimming excess materials and securing cords during assembly. A well-organized workspace not only helps you stay focused but also makes the crafting process more enjoyable.
With everything in place, you're ready to plunge into creating your beautiful boho dreamcatcher!
Wrapping the Ring
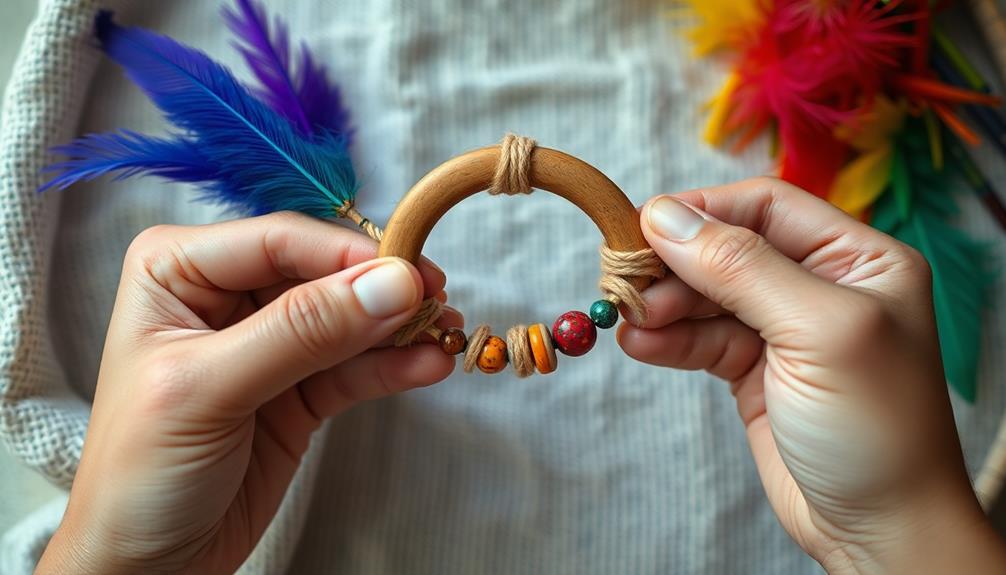
Your dreamcatcher's frame is now ready for wrapping, and this step is essential for achieving a polished look. Start by trimming one end of the cord to a manageable length. Secure it to the frame using tape to prevent slipping while you wrap.
I'm going to tie the cord tightly around the entire ring, making sure to maintain even tension for a neat finish. As you wrap, consider incorporating multiple colors or textures, similar to how you'd utilize vibrant colors and patterns in boho wall decor, to enhance the overall aesthetic of your creation.
As you wrap, cover the ring completely, leaving no gaps. Once you reach the starting point again, cut the excess cord for a uniform look. To finish, use craft glue to secure the end of the cord, ensuring it stays intact and won't unravel.
For added aesthetics, consider these options:
- Use multiple colors of cord for a vibrant appearance.
- Experiment with different textures to add depth.
- Incorporate natural fibers for a rustic feel.
This wrapping technique not only enhances the overall beauty of your dreamcatcher but also provides a solid base for the next step. Enjoy this creative process, and don't hesitate to make it uniquely yours!
Creating the Webbing
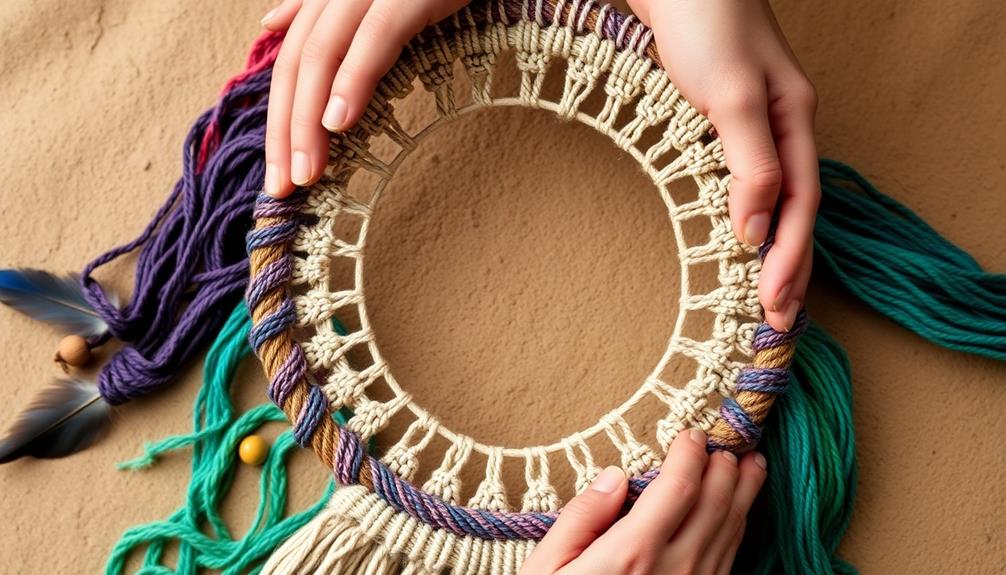
Creating the webbing of your dreamcatcher adds both structure and beauty, transforming the wrapped ring into a stunning focal point. Start by measuring and cutting lengths of worsted wool, then secure the first overhand knot around the ring to kick off the process.
As you move around the ring, space your knots approximately six centimeters apart to maintain uniformity in your design. For inspiration, consider how the elegant designs of modern farmhouse aesthetics can influence your color choices and overall vibe.
With each knot, keep tightening the rows for a snug fit while ensuring a visually appealing pattern emerges. To enhance the webbing, use lark's head knots to attach additional macrame cord, which will serve as the foundation for decorative knots in the first row.
When you're ready to add complexity, alternate between left and right cords as you tie square knots. This technique not only creates a balanced look but also adds an intricate design to your webbing.
Knotting Techniques
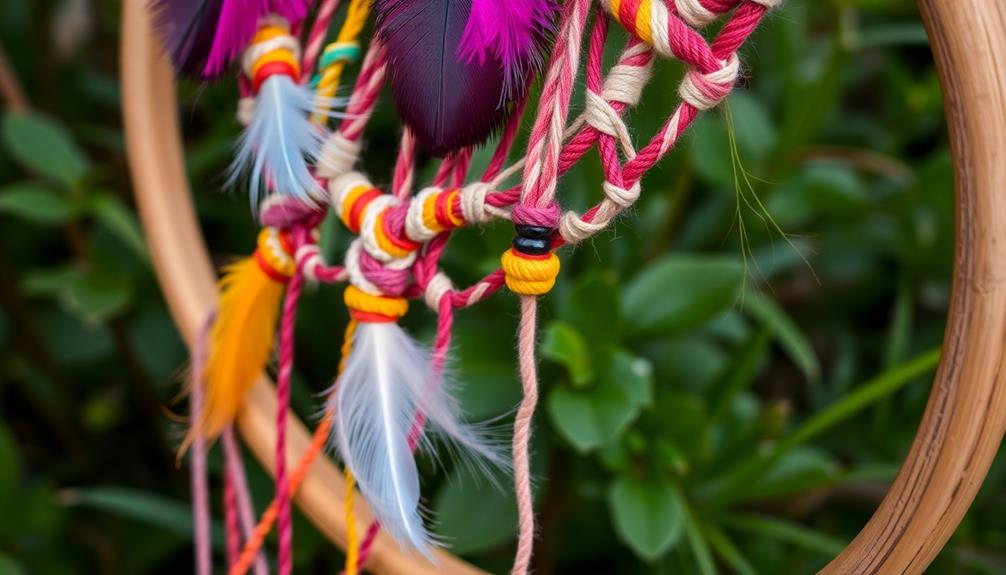
Now that you've started your webbing, let's explore the different knotting techniques you'll need. Incorporating natural materials, like twine or yarn, can enhance the boho aesthetic of your dreamcatcher, much like how essential elements for a farmhouse dining room utilize rustic charm.
You'll use various types of knots and materials to create unique patterns that enhance your dreamcatcher's design. Understanding these elements will help you achieve a beautiful and functional piece.
Types of Knots
The art of knotting is essential for crafting a beautiful boho dreamcatcher, as each type of knot plays a specific role in the overall design.
You'll start with the overhand knot to secure the webbing to the ring, passing the yarn over and through openings for a solid hold. Incorporating soft color palettes into your dreamcatcher can enhance its aesthetic appeal, bringing a sense of calmness and tranquility.
Next, lark's head knots come into play, effectively attaching your macrame cords to the webbing. This creates a stable foundation for the next step.
Now, it's time to incorporate square knots. By alternating between left and right cords, you'll form these decorative knots that add texture to your design. Remember to maintain a consistent spacing of six centimeters between knots for a uniform appearance.
Here are a few essential knots you'll want to master:
- Overhand Knot: A strong starter for webbing.
- Lark's Head Knots: Perfect for attaching cords.
- Square Knot: Adds both texture and beauty.
Knotting Materials Needed
Mastering the right materials is key to successfully knotting your boho dreamcatcher. First, grab a sturdy ring, as it'll serve as your base.
You'll need wool for the initial overhand knot; this knot secures the webbing to the ring. Make certain you've got macrame cord on hand as well, which you're going to put to use for creating beautiful lark's head knots that attach to the webbing.
For spacing, aim for six centimeters to achieve a uniform design. As you create your first row, fold it in half and alternate between left and right cords to make square knots, giving your dreamcatcher added texture.
For securing feathers, 70 cm of worsted yarn should do the trick; use a gathering knot for a tight hold. Remember to finish off with a double knot and wrap additional yarn around for reinforcement.
Lastly, don't forget to apply a small amount of craft glue to each knot. This extra layer of security will guarantee that your dream catcher remains intact and your design is durable, ready to catch all those dreams.
Knotting Patterns Explained
While knotting your boho dreamcatcher, it's essential to understand the different techniques that will bring your design to life. Start with overhand knots to create the initial webbing, as content quality plays a significant role in enhancing your project's overall appeal. Pass the worsted wool over the ring and through the openings, ensuring a snug fit as you progress. This forms the foundation of your dreamcatcher.
Next, use lark's head knots to attach your macrame cord to the webbing. This technique allows you to create decorative patterns and adds structure to your piece. When you're ready to create square knots, alternate between the left cord and the right cord, tightening each knot uniformly for a balanced appearance.
Finally, for attaching feathers, utilize a gathering knot (wrap knot) with 70 cm of worsted yarn. This knot provides a secure hold for the feathers, giving your dreamcatcher that extra flair. Remember to measure and maintain consistent spacing of six centimeters between webbing knots for a uniform design.
Here are some key techniques to keep in mind:
- Overhand knots for webbing
- Lark's head knots for attachment
- Square knots for balanced design
Attaching the Feathers

Now that you've got your dreamcatcher ready, it's time to attach the feathers.
Choose feathers that complement your design, considering colors and textures that resonate with your overall aesthetic.
For inspiration, check out DIY Fire Pit Ideas to enhance your outdoor vibe.
Then, use worsted yarn to secure them with a gathering knot.
Remember to space them evenly for a balanced look and add a bit of glue for extra hold.
Feather Selection Tips
Choosing the right feathers can transform your dreamcatcher into a stunning piece of art. To make your creation stand out, consider these feather selection tips. Opt for a variety of colors and sizes to add visual interest and complement your overall design.
Incorporating elements that reflect your personal style can make your dreamcatcher even more meaningful, such as using feathers that symbolize tranquility, much like how essential oils can promote relaxation essential oils for calming. Remember, the feathers you choose will be what catches the eye when you're going to hang your dreamcatcher.
- Mix natural tones with vibrant colors for a boho vibe.
- Select feathers of different lengths to create depth and dimension.
- Look for feathers that have unique patterns to enhance your design.
When it comes to attaching the feathers, you'll want to use 70 cm worsted yarn. This length offers enough material for secure knots while keeping a clean appearance. For the first feather, tie a double knot for added security, and place the yarn over the knot to hide it neatly.
As you attach each feather, space and align them evenly, adjusting their positions before securing with a knot. This attention to detail will guarantee your dreamcatcher looks balanced and beautifully crafted.
Securely Attaching Feathers
After selecting the perfect feathers, the next step is securely attaching them to your dreamcatcher. Start by cutting 70 cm of worsted yarn for each feather. Use a gathering knot technique to create a stable attachment. To do this, tie your first feather to the main knot with a double knot. Make certain to wrap the yarn over the big knot to enhance security.
Integrating natural materials into your crafts can enhance sensory experiences, much like how setting up a Montessori-inspired nursery promotes exploration in children.
Once you've secured the feather, apply a small amount of craft glue to the knot. This will add durability and guarantee the feather stays in place, even with wear. Before moving on, take a moment to adjust the feathers' positioning. You want them to be evenly spaced and aligned for a polished look.
Once you're satisfied, make a loop with the excess yarn and tie a final knot to secure everything. Trim any excess cord to keep your dreamcatcher looking neat. If you ever feel like it needs a refresh, you can always come back and adjust the feathers or even add new ones!
Enjoy the creative process, and let your boho dreamcatcher truly shine.
Final Adjustments
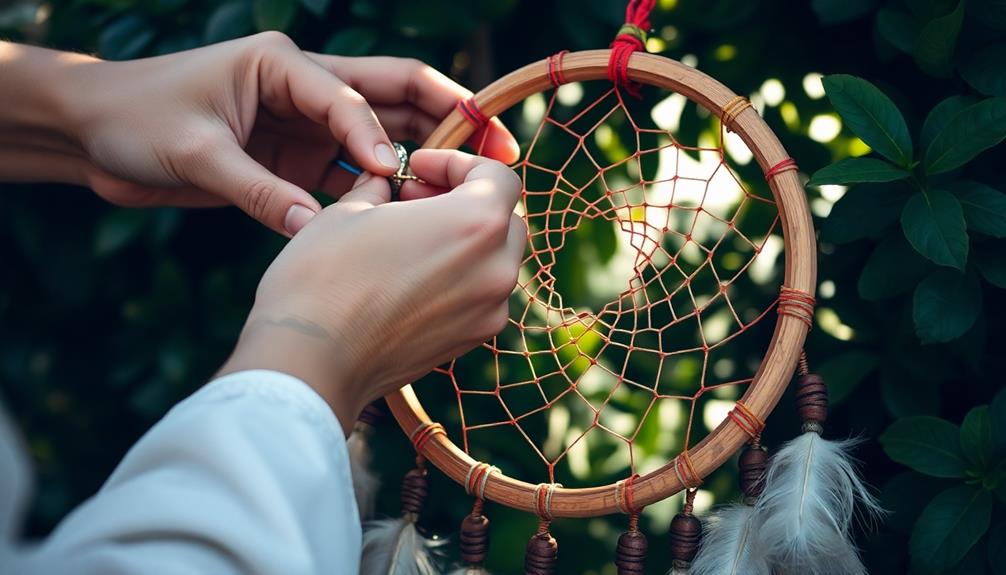
Take a moment to review your dream catcher once it's complete. Start by examining the webbing; look for any loose knots or uneven spacing. If you spot any inconsistencies, make final tweaks to guarantee everything is looking polished.
Next, check the placement of the feathers to confirm they're evenly spaced and aligned. Adjust them as necessary before securing them firmly in place.
Now, it's time to tidy up your creation. Trim any excess cord from the knots and fringe to achieve a neat finish. This will enhance the overall aesthetic of your dream catcher, making it more visually appealing.
Before you hang your finished piece, allow all glue to dry completely, which usually takes about 24 hours. This is essential for durability and will make certain your dream catcher stands the test of time.
As you're wrapping up, take a step back and assess the overall balance and design. Consider the following:
- Are the colors harmonious?
- Do the feathers complement each other?
- Is the overall shape pleasing to the eye?
With these final adjustments, your dream catcher will be ready to showcase!
Sharing Your Creation

Now that you've crafted your stunning dream catcher, it's time to share your creation with the world. Start by taking clear, well-lit photographs that showcase your craftsmanship and creativity. Good lighting makes all the difference!
Once you have those perfect shots, post them on your favorite social media platforms. Use relevant hashtags like #DreamCatcherDIY to connect with a community of fellow crafters.
Don't forget to encourage your friends and followers to leave feedback in the comments section. Ask them to share their own dream catcher creations too; this can create an inspiring dialogue.
If you're feeling adventurous, consider creating a short video tutorial or a time-lapse of your crafting process. This not only showcases your skills but also inspires others who might be interested in making their own dream catchers.
Frequently Asked Questions
What Materials Do You Need to Make a Dreamcatcher?
To make a dreamcatcher, you'll need a sturdy frame, wrapping cord, yarn or string, worsted wool for the web, macrame cord for fringe, colorful feathers for decoration, and glue to secure everything in place.
How to Make a Modern Dream Catcher?
To make a modern dream catcher, start with a sleek frame wrapped in colorful cord. Use minimal webbing techniques, add structured fringe, and finish with bold feathers for a stylish, personalized design that stands out beautifully.
What Materials Do You Need for a Macrame Dream Catcher?
To craft your macrame dream catcher, gather a sturdy ring, soft cords, and colorful yarn. Imagine the gentle sway of feathers and the warm embrace of worsted wool, creating a beautiful tapestry that captures your dreams.
How Do You Make a Dreamcatcher Craft?
To make a dreamcatcher craft, you'll start by wrapping a frame with cord, create a web with knots, add decorative patterns using macrame techniques, and attach feathers for a beautiful finishing touch. Enjoy your crafting!
Conclusion
As you hang your boho dreamcatcher, remember it's more than just a decoration; it's a symbol of your dreams and aspirations. Each knot and feather captures a piece of your journey, allowing good vibes to flow while catching negativity. By creating this unique piece, you've woven your spirit into something beautiful. So, let it remind you to chase your dreams and embrace the magic around you. Now, go share your creation and inspire others to dream big!


