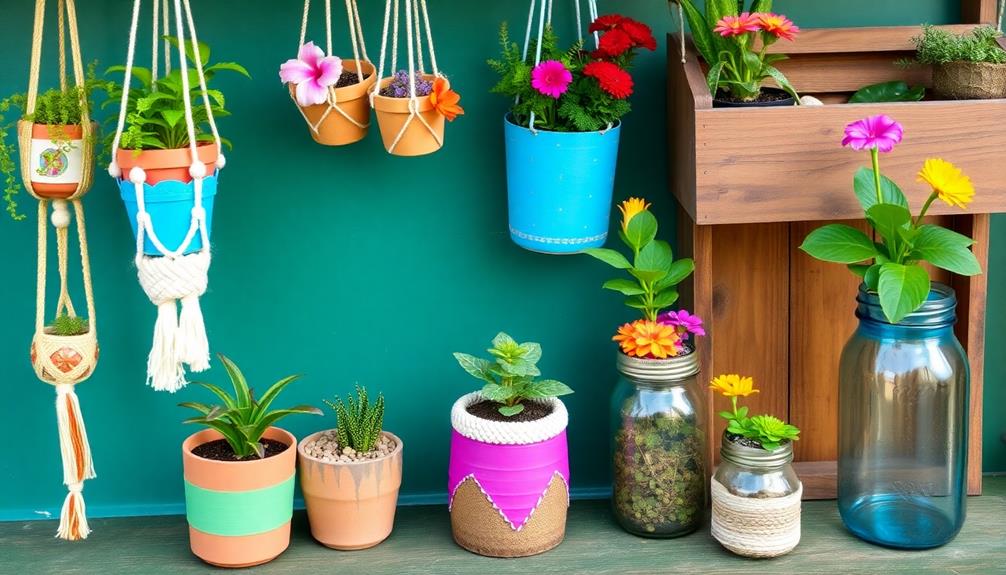
You can easily create beautiful boho planters using recycled materials like denim and terracotta pots. Start by wrapping a tea canister with denim and adding cotton rope for texture. Next, enhance the look with pastel mini yarns and decorative wooden beads. If you prefer a terracotta pot, paint the top border and wrap it with jute rope. This DIY project not only enhances your space but also promotes sustainability. Plus, you'll find joy in the creative process. Keep exploring to discover more tips and techniques for achieving that perfect boho vibe in your home!
Key Takeaways
- Use recycled denim fabric to create unique, eco-friendly planters by wrapping it around tea canisters or terracotta pots.
- Incorporate cotton rope and pastel mini yarns to add texture and decorative accents to your planters.
- Secure beads with jute twine for added aesthetic appeal, ensuring a balanced and visually harmonious arrangement.
- Experiment with color coordination and bead sizes to enhance the boho style and create dynamic visual interest.
- Enjoy the therapeutic experience of DIY crafting while promoting sustainability and personalizing your home decor.
Materials Needed
What materials do you need to create your own stylish boho planters? First, gather some denim fabric, which you'll cut to fit snugly around a tea canister. This not only provides a unique look but also helps you recycle old jeans.
Incorporating sustainable practices, like recycling, can foster creativity and innovation in children, much like how STEM toys enhance critical thinking.
Next, grab some cotton rope—aim for about 1 cm thick—to create a sturdy vertical detail that wraps around the denim. It adds an essential touch of texture to your DIY boho creation.
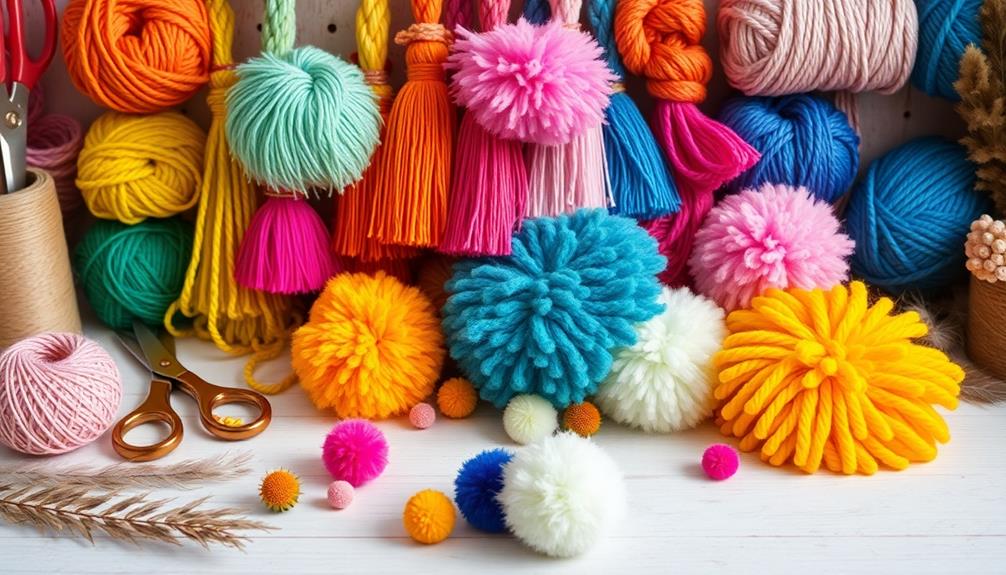
Don't forget to pick up mini yarns in four pastel colors. These will be your decorative accents, bringing a soft, boho-inspired vibe that makes your planter pop. If you have any excess yarn lying around, this is the perfect project to use it up!
For an alternative planter, consider using a terracotta pot, wrapping it with jute rope instead. To elevate its style, incorporate wooden beads measuring around 1.5 cm in diameter for a charming finish.
Regardless of the choice, these materials will set the stage for your unique, bohemian planters that reflect your personal style and creativity.
DIY Denim Planter Steps
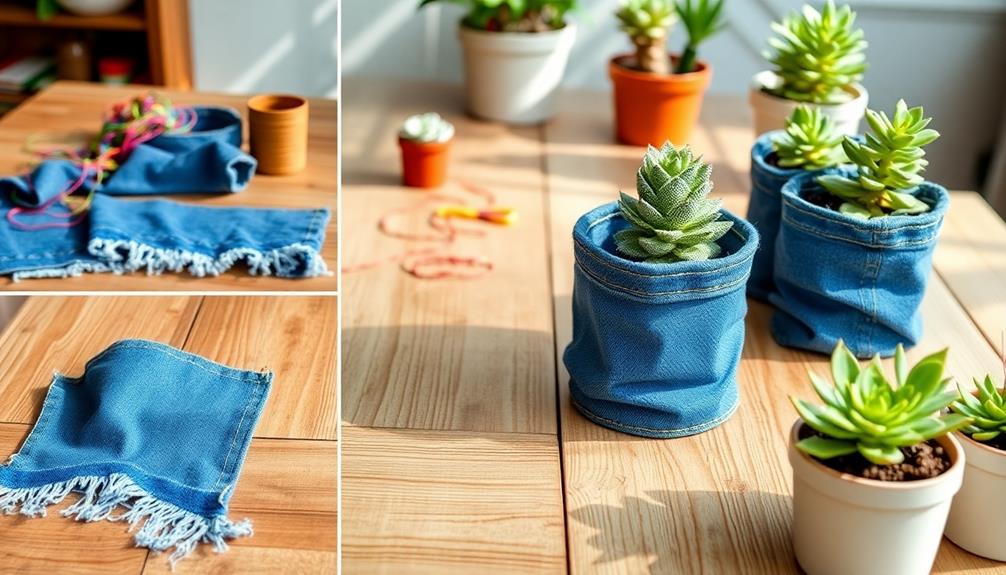
To create your DIY denim planter, start by removing the lid from the tea canister and measuring the denim fabric you'll need to wrap around it. Make sure it aligns with the existing label for a cohesive look.
Once you've got your fabric cut, follow these steps: Incorporating natural elements into your decor can promote tranquility, making your planter a perfect addition to any space. You can find more inspiration on calming decor ideas.
- Glue the Denim: Attach the denim fabric securely onto the canister using glue. Smooth out any wrinkles to achieve a polished finish.
- Add Cotton Rope: Cut cotton rope into pieces and glue them vertically around the container. This adds a textured contrast to the denim, enhancing the overall aesthetic.
- Wrap Mini Yarn: Take four pastel colors of mini yarn and wrap them around the cotton rope. Leave enough space at the ends to create decorative tassels.
For that final decorative touch, braid some twine and glue it around both the top and bottom edges of your denim planter. This will elevate its boho vibe!
Now that you've got the steps, I'd love to know what you think of your DIY denim planter creation! Enjoy the process and happy crafting!
DIY Terracotta Pot Preparation
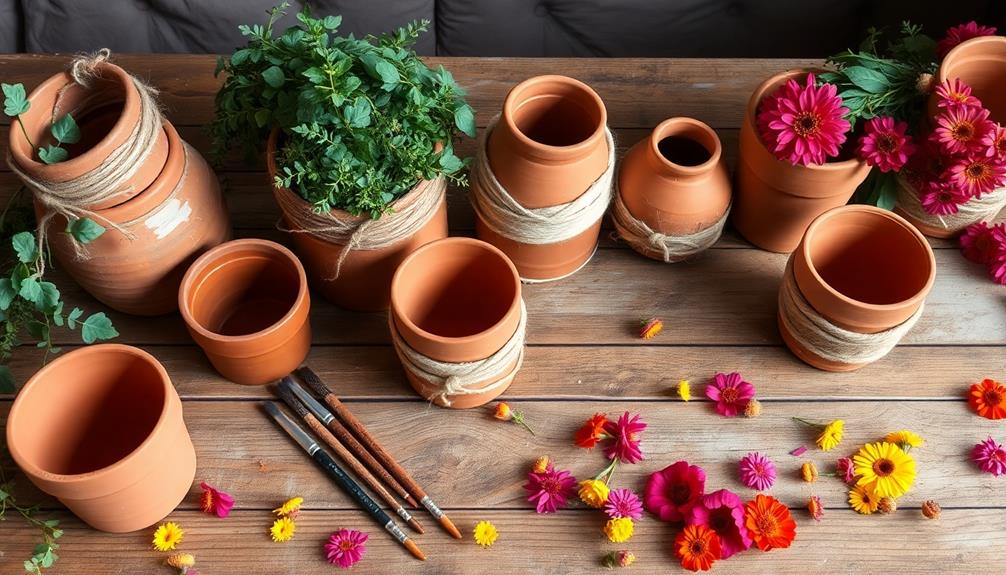
Creating a stunning DIY terracotta pot starts with a few simple steps. First, grab some powder pink acrylic paint and begin painting the top border of your pot. Make certain to apply it evenly for a clean finish. Once the first coat dries, go ahead and add a second coat to make the color pop even more.
Next, it's time to add some texture with jute rope. Start gluing the jute rope at the bottom of the pot, spiraling your way upwards. This technique creates a consistent and eye-catching look. As you glue, guarantee each section is securely fastened to prevent any unraveling later on.
Don't hesitate to press firmly to keep it in place. When you reach your desired height, simply cut off any excess rope. This will give your pot a polished and neat appearance.
Bead Wrapping Technique
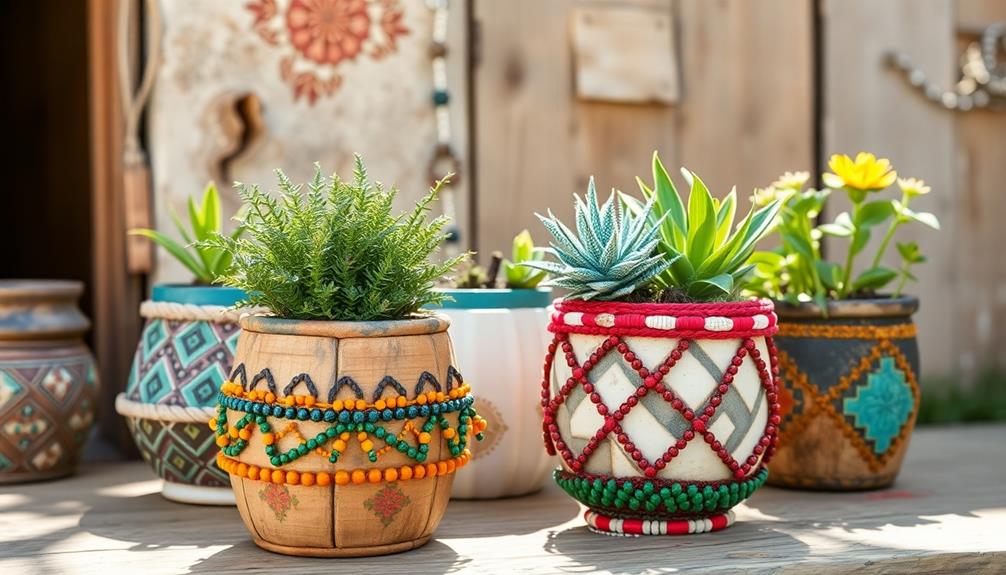
To get started with bead wrapping, gather your materials, including pink and green jute twine and wooden beads.
You'll follow a simple wrapping process that guarantees a neat finish, making your beads look stunning for your planter.
Once wrapped, you can explore creative ways to incorporate these beads into your DIY boho designs.
Materials for Bead Wrapping
When it comes to bead wrapping, having the right materials makes all the difference in achieving a polished and professional look for your DIY boho planters.
Start by gathering the essentials to guarantee a smooth and enjoyable process, including quirky and fun ideas that can inspire your designs. Here's what you'll need:
- Jute Twine: Use pink jute twine for wrapping each wooden bead. Alternating with green jute twine adds visual variety to your project.
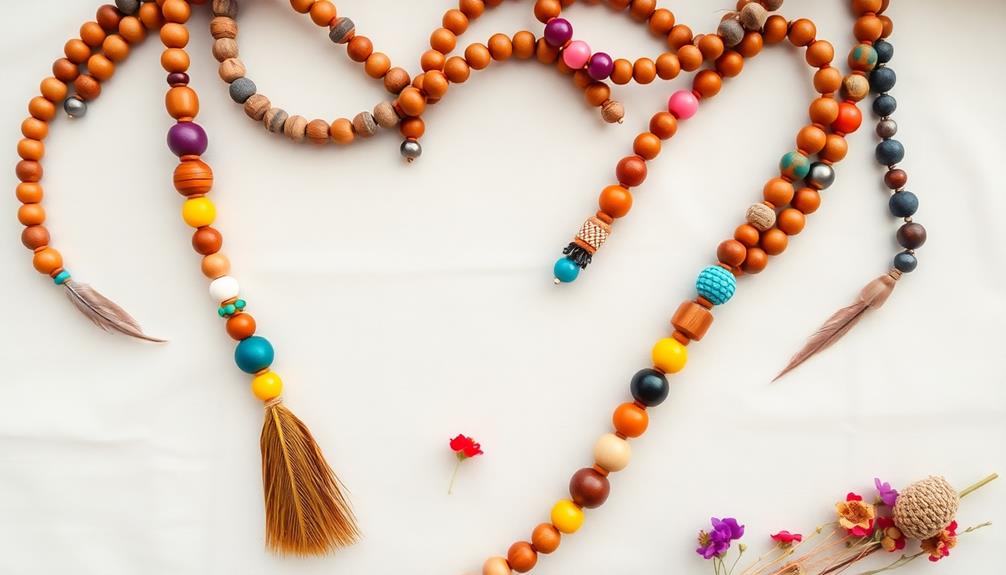
- Wooden Beads: Choose beads that fit your pot's aesthetic. Aim for a total of twelve beads for a balanced look.
- Tacky Glue: This will secure the jute twine in place while you wrap, providing a sturdy hold.
As you wrap the beads, be sure to leave a small space at the bottom for gluing onto the pot.
Apply tacky glue to keep the twine in place, and for a smooth finish, roll the wrapped beads between your palms.
This technique not only enhances their appearance but also guarantees that your beads are evenly wrapped, contributing to the overall aesthetic of your finished terracotta pot.
Happy crafting!
Wrapping Process Steps
Before diving into the bead wrapping process, gather your materials and set up a comfortable workspace.
Start by selecting wooden beads that are about 1.5 cm in diameter; this size will give your project ideal visual impact. For added creativity, consider incorporating essential oils like eucalyptus oil for its invigorating scent, which can enhance your crafting experience.
Take your pink jute twine and begin wrapping it around each bead, creating a tight coil. To secure the twine and prevent unraveling, apply a small amount of tacky glue at the beginning and end of your wrap.
As you wrap, remember to leave a small space at the bottom of each bead. This will make it easier to glue the beads onto your terracotta pot later.
Once you've wrapped a bead, roll it gently between your palms to smooth it out and achieve an even, polished finish. For a vibrant touch, aim to create a total of twelve beads, mixing both pink and green jute twine.
Decorative Application Ideas
For a stunning decorative application, you can creatively arrange your wrapped beads around the terracotta pot. Begin by wrapping your wooden beads with pink jute twine, leaving a small space at the bottom for gluing. Use tacky glue to secure the end of the twine, ensuring each bead is tightly wrapped for maximum aesthetic appeal.
To maintain a cohesive look, aim to create twelve beads using both pink and green twine. Incorporating natural materials like wood can enhance the overall aesthetic, aligning with the essential elements for a farmhouse dining room.
Here are three tips for arranging your beads:
- Visual Balance: Instead of following a strict pattern, focus on evenly distributing your beads around the pot. This will give your planter a more organic, bohemian feel.
- Polish Your Beads: After wrapping, roll the beads gently between your palms to smooth them out. This simple step enhances their appearance and makes them look professionally finished.
- Placement: When gluing the beads, step back occasionally to assess how they look. Adjust their placement if necessary to achieve the desired visual harmony.
With these techniques, your DIY boho planters will surely stand out!
Final Assembly and Aesthetics
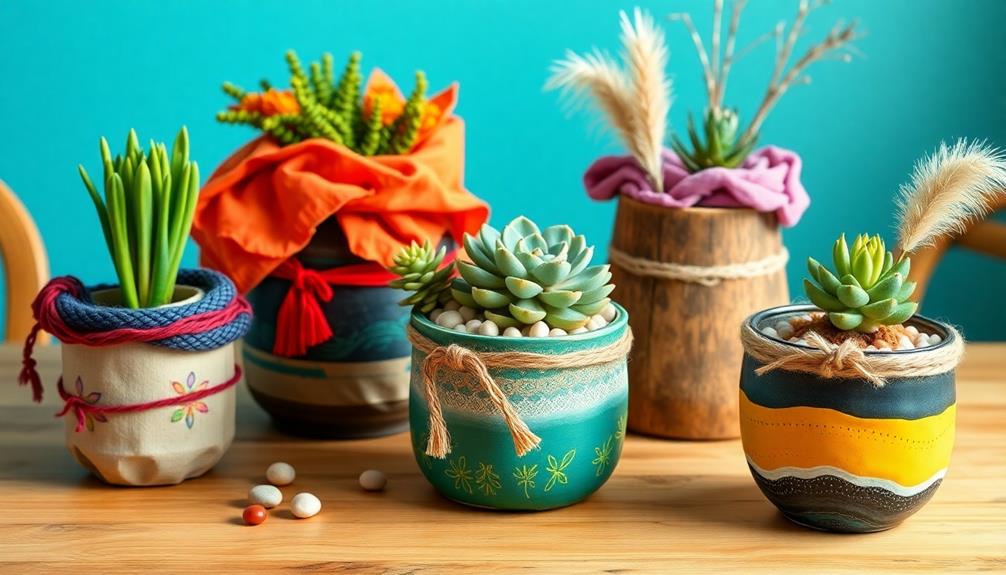
When it comes to the final assembly of your boho planters, pay close attention to bead placement for a balanced look.
Coordinate colors carefully to guarantee the wrapped beads and denim harmonize beautifully, enhancing the overall aesthetic.
Bead Placement Techniques
To create an eye-catching design with your DIY boho planters, focus on the placement techniques for the beads during final assembly. Achieving a balanced aesthetic is key, so aim for an even distribution without a specific pattern. Here are some tips to help you:
- Color Variation: Consider using a color gradient or alternating colors for your beads. This not only enhances visual interest but also complements your overall design theme.
- Mix Sizes: For added texture, mix larger and smaller beads. This variation creates a more dynamic appearance and draws the eye to different areas of the pot.
- Assess Your Work: Before finalizing the bead placement, step back and look at the arrangement from various angles. This will help you attain a harmonious look that feels intentional and cohesive.
As you glue each bead, make certain to press them firmly against the pot. This prevents them from becoming loose over time and guarantees your design stays intact.
With these techniques, your boho planters won't only look beautiful but also reflect your personal style!
Color Coordination Tips
Achieving the perfect color coordination in your DIY boho planters elevates the overall aesthetic and guarantees they complement your home decor. When you're gluing wrapped beads onto your terracotta pot, aim for a balanced distribution of colors, mixing pink and green jute twine for a striking contrast. This creates visual harmony while maintaining a bohemian vibe.
For denim planters, consider using pastel colors in your mini yarn. These hues will beautifully complement the denim fabric and enhance the overall look. Pay attention to the size and spacing of your beads; make certain they're evenly spaced for a visually appealing design.
Incorporate a variety of bead textures and colors to add depth and interest to your planters. Don't feel pressured to stick to a strict pattern—embracing a mix of styles can lead to stunning results.
Benefits of DIY Planters
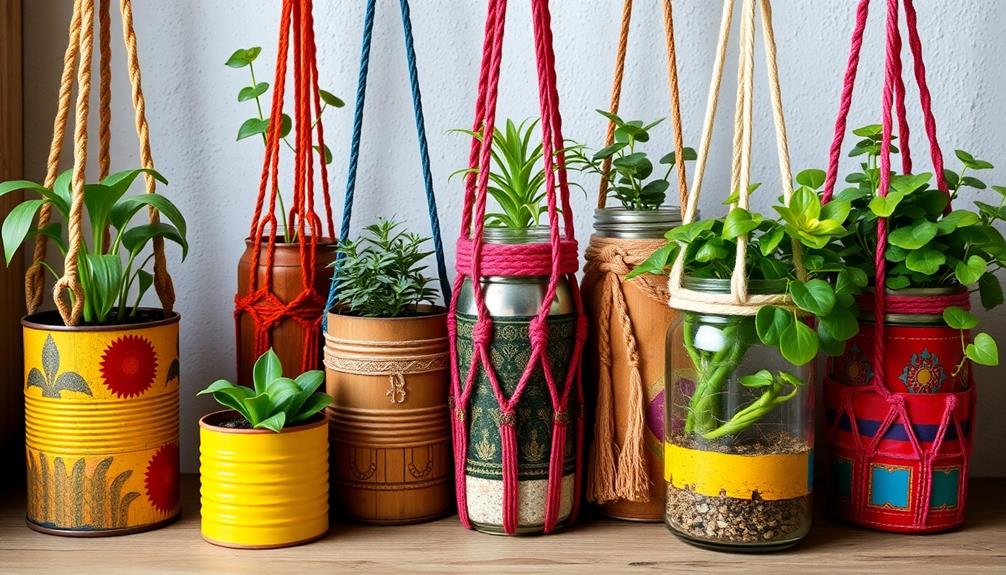
Creating your own DIY planters offers a range of benefits that go beyond mere aesthetics. When you engage in this creative process, you not only express your unique style but also contribute positively to the environment and your well-being.
Here are three key benefits of making your own planters:
- Creative Expression: You can design planters that reflect your personality and fit perfectly within your home decor. This unique touch adds charm and character to your space.
- Sustainability: By using recycled materials, you help reduce waste and promote sustainability. This conscious choice lowers your environmental footprint and encourages a greener lifestyle.
- Therapeutic Experience: Engaging in DIY projects can be incredibly fulfilling. It offers a sense of accomplishment while enhancing your mental well-being through hands-on creativity.
Plus, creating your own planters can be cost-effective. Often, it requires minimal investment compared to buying pre-made options, allowing you to cultivate your green thumb without breaking the bank.
Frequently Asked Questions
Can I Use Any Type of Fabric for My Planters?
You can use various types of fabric for your planters, but make certain it's durable and breathable. Avoid fabrics that retain too much moisture, as they can lead to mold or rot over time.
How Do I Ensure My Planter Is Waterproof?
Many believe any sealant works for waterproofing, but it's essential to choose one designed for plant use. Apply a proper waterproof sealant inside your planter, ensuring it protects against moisture while allowing plants to thrive.
What Plants Are Best for DIY Boho Planters?
For your boho planters, you should consider succulents, pothos, or ferns. These plants thrive in various conditions, add vibrant greenery, and fit perfectly with the aesthetic you're aiming for in your space. Enjoy decorating!
How Do I Maintain the Longevity of My Recycled Planters?
To maintain your recycled planters, guarantee proper drainage, avoid extreme temperatures, and regularly check for damage. Clean them occasionally, and use suitable plants that thrive in your chosen environment. It'll keep them looking great longer!
Are There Alternative Materials for Those Without Denim or Terracotta?
Consider creative options like colorful cardboard, quirky quart jars, or playful plastic bottles. Each material's unique texture and tone can transform your plant display, giving it a fresh, fabulous flair without breaking the bank.
Conclusion
By creating your own boho planters from recycled materials, you're not just adding a unique touch to your home but also making a positive environmental impact. Did you know that crafting with recycled materials can reduce waste by up to 70%? So, plunge into this fun DIY project and enjoy the satisfaction of transforming everyday items into beautiful planters. You'll not only beautify your space but also contribute to a greener planet!

