Creating your own boho-inspired wind chimes is a fun way to enhance the beauty of your outdoor space. Begin by collecting materials such as wooden rounds, glass beads, feathers, and a sturdy stick. Cut strings into different lengths to create a layered musical sound. Use bright colors to paint the smaller wooden round and drill holes in the larger one for attaching the strings. Make sure to tie knots securely and experiment with weights to achieve balance and sound. Add personal touches, such as meaningful colors or symbols, to make your wind chimes unique. Keep reading for tips on improving sound quality and enhancing the aesthetic appeal of your chimes!
Key Takeaways
- Gather materials like wooden rounds, glass beads, feathers, and natural wind chime pipes for a boho-inspired design.
- Paint the smaller wooden round in vibrant colors and drill holes in the larger round for string attachment.
- Use varying string lengths and secure components with slipknots for optimal sound quality and visual appeal.
- Incorporate personal elements and meaningful symbols to create unique, cherished keepsakes.
- Place wind chimes in windy areas to enhance sound interaction and enjoy seasonal musicality.
Materials You'll Need
To create your DIY wind chimes, you'll need a few essential materials. Start by gathering two wooden rounds: one large, about 8-10 inches for the base, and a smaller round, like a wooden toy wheel, for the center. These wooden pieces will provide a solid foundation for your wind chimes and contribute to that rustic Bohemian style you're aiming for.
Incorporating natural elements, like these wooden rounds, not only enhances the aesthetic appeal but also promotes tranquility in your outdoor space, aligning with calming decor ideas.
Next, collect decorative elements such as glass beads and feathers. These will enhance the aesthetic appeal of your wind chimes, adding color and texture. For sound production, source wind chime pipes—either from a disassembled wind chime or by crafting your own from natural materials.
To assemble everything, use vinyl string or basic string to secure the components together. Consider adding a weighted item, like a small owl, for balance.
Step-by-Step Construction

Now that you've gathered your materials, it's time to start constructing your wind chime.
Focus on selecting a sturdy base and cutting your strings to the right lengths for an eye-catching design.
You might consider incorporating elements inspired by nature, such as colorful best daisy varieties for gardens, to enhance your chime's aesthetic.
As you assemble, keep in mind some helpful techniques to guarantee everything stays secure and looks great.
Materials Selection and Preparation
Gathering the right materials is essential for crafting beautiful DIY wind chimes that not only look good but also create enchanting sounds. Start by selecting components that resonate with your style and the natural elements around you. For inspiration, consider how you can incorporate natural elements like wood and plants into your design.
Here's a quick list of what you'll need:
- A Stick: This will serve as the base for your wind chime, so choose one that's sturdy yet visually appealing.
- Pretty Wood Beads: These will add color and texture to your design, so consider different sizes and shapes.
- Feathers: Use these for decoration; they'll bring a whimsical touch and flutter gracefully in the wind.
Once you have your materials, cut the basic string into various lengths to create layers that produce different sounds when the wind chimes move.
Secure your wood beads and feathers to the string using hot glue, ensuring they're firmly attached. Finally, tie the strings around the stick, making sure to knot them securely and add extra hot glue on the knots to prevent shifting.
Your wind chime is now ready for assembly, reflecting your unique style and creativity!
Assembly Techniques and Tips
With your materials prepared, it's time to start assembling your wind chime. Begin by painting the smaller wooden round in a vibrant color, like turquoise, to give your design a lively touch. Once it's dry, grab the larger wooden round and drill one center hole, plus eight outer holes, to hold the vinyl strings for both the chime pipes and decorative beads.
Choosing bright colors can enhance the visual appeal of your wind chime, similar to how brightly colored flowers attract hummingbirds.
Next, take the hanging ring and use a slipknot to securely attach each component. Make sure all strings are evenly adjusted to guarantee proper leveling. As you string the beads and pipes, position them closer to the center of the larger round. This placement will enhance the sound quality, creating a more harmonious chime.
Don't hesitate to experiment with different weights and materials for your chime pipes and beads. This way, you can achieve the desired auditory effect and visual appeal for your finished wind chime.
Once you've got everything in place and securely attached, hang your wind chime in a spot where it can catch the breeze, and enjoy the soothing sounds it creates!
Assembly Recommendations

To successfully assemble your DIY wind chimes, start by drilling a center hole and several outer holes in the larger wooden round. This step is vital as it facilitates the secure attachment of wind chime pipes and decorative beads.
Incorporating natural materials like wood will enhance the aesthetic quality of your wind chimes, making them a charming addition to your outdoor space, reminiscent of essential elements for a farmhouse dining room.
Follow these recommendations to guarantee a beautiful and functional design:
- Create a Hanging Mechanism: Use a long piece of vinyl string to make a slipknot around the hanging ring. This allows for easy adjustment and guarantees your wind chime hangs securely.
- Tie Knots for Stability: As you assemble the wind chime, tie knots at each hole on the large round. This maintains proper tension and positioning of the strings, crucial for producing superior sound.
- Arrange Decorative Elements: Randomly arrange the glass beads along the strings. This not only enhances the auditory experience when the wind blows but also adds a charming visual element.
As you add components, take care to level the top wooden round, guaranteeing a balanced and aesthetically pleasing design that enhances both sound and visual appeal.
Enjoy the process, and let your creativity shine!
Avoiding Common Mistakes
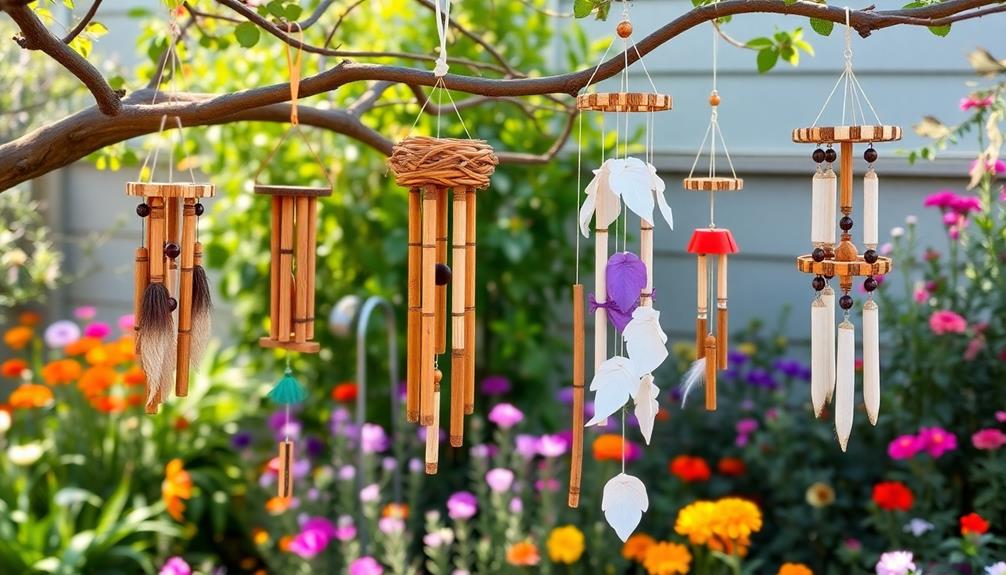
When you're crafting your wind chimes, pay close attention to string length and the placement of your components.
Engaging in creative activities like crafting can enhance family bonds and provide opportunities for shared experiences, similar to how dads reveal the magic of reading together.
If the strands are too short or poorly positioned, you mightn't get the beautiful sound you're aiming for.
Strategically arranging everything can make a big difference in both sound quality and overall appearance.
Proper String Length
Achieving the perfect sound from your DIY wind chimes hinges on the proper length of your strings. If you want to avoid common mistakes, keep these tips in mind:
1. Length Matters: Aim for strings that are at least 10-12 inches longer than your desired hanging length. This extra length allows for adequate movement, which is essential for sound production.
Additionally, consider using essential oil safety to avoid any mishaps during your project, especially when working with materials that may be sensitive to specific scents.
2. Varying Lengths: Use different string lengths for various components, like pipes and beads. This creates a visually appealing layered effect, enhancing both the aesthetics and sound of your chimes.
3. Test and Adjust: As you assemble your wind chime, regularly test the lengths of your strings. Make on-the-spot adjustments to guarantee all elements move freely without tangling.
Avoid using strings that are too short; this can lead to poor sound quality and an unbalanced design.
Strategic Component Placement
Proper string length is only part of the equation; where you place your components plays a significant role in the overall sound and aesthetics of your wind chimes. To enhance sound quality and resonance, position your strands of wind chime pipes and decorative beads closer to the center of the wooden round. This placement allows for better movement and produces a richer sound.
Additionally, using natural materials for your wind chimes can contribute to a more authentic aesthetic and resonate with the environment, as seen in eco-friendly toy materials.
Make certain each vinyl string is securely knotted to prevent slippage, which can lead to uneven hanging and diminish sound production. Experiment with varying lengths for the strings of pipes and beads to create a balanced visual aesthetic while still allowing for ideal movement in the wind.
Regularly check and adjust the alignment of the top wooden round during assembly to maintain a level structure. This is vital for consistent sound.
Additionally, consider the weight distribution of your hanging components; unevenly placed weights can interfere with the chime's ability to create harmonious sounds. By strategically placing your components, you'll guarantee that your DIY wind chimes not only look beautiful but also produce delightful melodies that enhance your outdoor space.
Enhancing Your Wind Chime

To enhance your wind chime, consider incorporating a variety of materials like colorful beads, feathers, and crystals.
These elements not only add visual appeal but also create a unique aesthetic that reflects your personal style, much like the layered textiles found in Bedroom Boho Decor Ideas.
Here are three ideas to take your wind chime to the next level:
- Experiment with Lengths: Vary the lengths of your wind chime pipes. Different lengths produce different tones, creating a harmonious sound that resonates beautifully in the breeze.
- Add Weight: Use a small decorative object as a weighted end. This guarantees proper movement and sound production when the wind blows. Think about something that complements your theme, like a shell or a small charm.
- Paint for Contrast: Utilize vibrant paints or finishes on wooden components. This striking contrast against natural elements will draw the eye and enhance the overall design of your chime.
Enjoying the Sounds
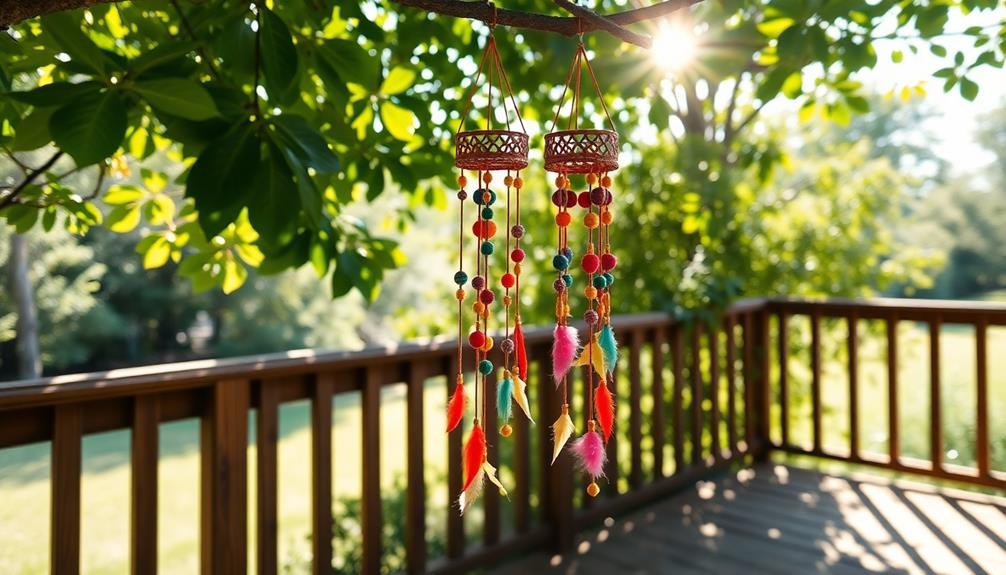
With the gentle whisper of the wind, wind chimes create an enchanting soundscape that can transform your outdoor space into a serene retreat. The soothing melodies these chimes produce enhance relaxation, making your garden or porch an ideal spot for unwinding. Deeper tones resonate beautifully, providing a calming auditory experience that can lift your mood and alleviate stress.
To maximize the auditory experience, place your wind chimes in areas with consistent wind exposure. This guarantees they interact with the breeze, producing a lovely sound throughout the day. Seasonal changes also play a role; different winds and temperatures can enrich the musicality of your chimes, making each moment unique.
Here's a simple way to visualize the impact of your wind chimes:
| Sound Quality | Atmospheric Effect |
|---|---|
| Resonant Tones | Calming Ambiance |
| Soft Melodies | Relaxation |
| Seasonal Variance | Enriching Experience |
| Harmonious Blend | Bohemian Vibe |
Personalizing Your Design

When creating your wind chimes, personalizing your design can truly elevate their charm and significance. By incorporating elements that resonate with you, your wind chimes will become more than just decor; they'll tell your story.
Additionally, you can consider adding natural elements that not only enhance the aesthetic but may also contribute to your well-being, such as incorporating chia seeds for digestive health in creative ways.
Consider these three ideas to personalize your wind chimes:
- Vibrant Materials: Use a mix of colorful wood beads and feathers to create a unique aesthetic that reflects your style. The more vibrant the materials, the more eye-catching your design will be.
- Meaningful Colors and Symbols: Choose specific colors or symbols that hold personal meaning for you. This adds a layer of significance, making each chime a representation of your experiences and emotions.
- Cherished Keepsakes: Add charms or trinkets that resonate with you, like small tokens from travels or gifts from loved ones. These elements can transform your wind chimes into cherished keepsakes, reminding you of special moments.
Creative Inspiration and Ideas

As you commence your wind chime creation journey, let your imagination soar with various creative inspirations and ideas.
Start by incorporating natural materials like wood, feathers, and beads to achieve that rustic, artistic vibe typical of boho decor. You can also explore using recycled or upcycled materials, such as disassembled wind chimes or intriguing found objects, which not only add uniqueness but support sustainable crafting.
Don't forget to experiment with different string types. Vinyl or natural fibers can greatly influence both the sound quality and the visual appeal of your chimes, allowing for a personalized auditory experience.
Adding crystals with drilled holes can elevate your design, enhancing its beauty while adding a spiritual touch often associated with bohemian styles.
Layering elements like feathers and beads creates depth and movement, ensuring your wind chimes are visually engaging. This layering also aids in producing a pleasant sound when the wind blows, turning your decorative piece into a sensory experience.
Frequently Asked Questions
What Are the Best Locations to Hang My Wind Chimes?
You'll want to hang your wind chimes in areas with gentle breezes, like near windows or porches. Avoid crowded spaces to guarantee they can freely sway and create soothing sounds without obstruction.
How Can I Maintain My Wind Chimes Over Time?
You'll want to keep your wind chimes sounding beautiful, right? Regularly check for debris, tighten loose parts, and clean them gently. With a little care, they'll keep enchanting you with their melodies for years.
Are There Specific Weather Conditions to Consider?
When considering weather conditions, you should watch for extreme temperatures, heavy rain, and strong winds. These factors can damage your chimes, so placing them in a sheltered spot protects them and guarantees longevity.
Can I Incorporate LED Lights Into My Wind Chime Design?
Absolutely, you can incorporate LED lights into your design! String them through the chimes or attach them creatively. Just make sure they're weatherproof, so your beautiful creation shines brightly, day and night, regardless of the conditions.
What Types of Sound Can Different Materials Produce?
Think of sound as a painter's brush, each material creating its own vibrant hue. Bamboo offers soft, mellow tones, while metal produces bright, ringing chimes. Experiment with glass for delicate tinkling, and explore wood for warm, earthy sounds.
Conclusion
Now that you've crafted your beautiful boho-inspired wind chimes, it's time to let them dance in the breeze. Just like a retro mixtape, each chime sings its own unique tune, creating a symphony of sound that'll soothe your spirit. Don't forget to personalize your design with colors and charms that reflect your style. So go ahead, hang them up, and enjoy the enchanting melodies they bring to your space—nature's very own playlist!


