Creating custom boho throw pillows is an enjoyable way to add a personal touch to your living space. To get started, grab some basic pillow covers and acrylic paint. Use cardboard or foil to prevent any paint from seeping through as you work on your design. Don’t forget to include tassels for a bohemian touch – simply wrap thread around an object to create them. Incorporate stitching techniques such as running stitches or French knots to further enhance your pillows. Make sure everything is completely dry before putting them to use. By using vibrant colors and unique patterns, you can create pillows that really stand out. Keep exploring to uncover more tips and tricks for your DIY project!
Key Takeaways
- Start with basic pillow covers and use acrylic paint to design unique, boho-inspired patterns that reflect your personal style.
- Incorporate natural elements and vibrant colors for a serene and eclectic aesthetic in your pillow designs.
- Create DIY tassels and embellishments using thread, trims, and decorative tape to enhance the visual interest of the pillows.
- Experiment with unique stitching techniques like running stitches and French knots for added texture and character.
- Ensure proper care and maintenance by hand washing or machine washing on a gentle cycle, and air drying to preserve the designs.

MIULEE Boho Farmhouse Sage Green Throw Pillow Covers 18×18 Inch Set of 4 Mordern Nordic Cushion Covers Soft Corduroy Spring Home Decor for Couch Bed Sofa Living Room Forest Green
Luxurious Boho Texture: Crafted from super-soft, premium corduroy, these decorative throw pillow covers are a must-have for boho…
As an affiliate, we earn on qualifying purchases.
As an affiliate, we earn on qualifying purchases.
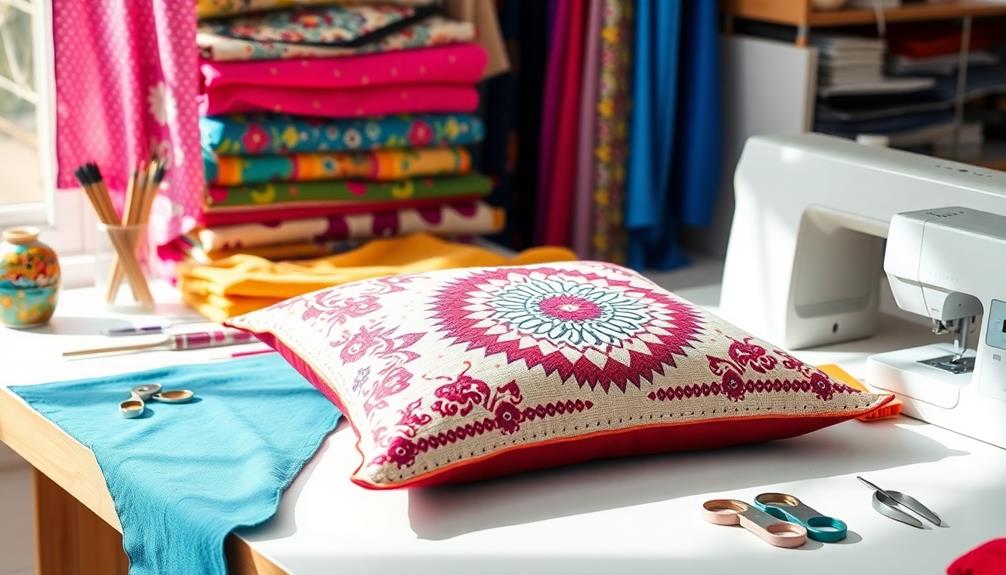
Supplies Needed
To create your custom boho throw pillows, you'll need a few essential supplies that'll set the foundation for your project. First, pick up some basic pillow covers at IKEA. They're affordable and serve as a blank canvas for your DIY boho throw pillow.
Engaging in creative activities like this can enhance your imagination mobilizes mental potential, allowing you to reveal transformative possibilities in your home decor.
Next, grab some acrylic paint from Walmart or your local art store—it's a budget-friendly option at around 67 cents per color. This paint is perfect for adding your unique designs to the pillow covers.
To keep your painting neat, cut a piece of cardboard or foil to fit inside the cover. This prevents paint from seeping through, ensuring you get a clean finish.
You'll also need two spools of colored thread to create tassels, which will add that extra flair to your design.

FolkArt Brush on Fabric Acrylic Paint Beginner Set (2-Ounce),
CONVENIENT SIZE – This fabric acrylic paint set includes 8 – 2 oz bottles of fabric craft paint….
As an affiliate, we earn on qualifying purchases.
As an affiliate, we earn on qualifying purchases.
Step-by-Step Instructions
Now that you've gathered your supplies, it's time to get started on your custom boho throw pillows.
To create a serene atmosphere in your space, consider incorporating natural elements into your design.
You'll learn the essential painting techniques and how to create charming tassels to elevate your design.
Let's break down the steps to guarantee you create something truly unique.
Materials and Tools Needed
Gathering the right materials and tools is essential for creating your custom boho throw pillows. Start with basic throw pillow covers, which you can find at affordable retailers like IKEA. For your design, grab some acrylic paint from Walmart or an art store—each color is usually around 67 cents. To keep your painting tidy, cut a piece of cardboard or foil to fit inside the cover to prevent any paint seepage.
Consider incorporating natural elements like DIY Fire Pit Ideas to inspire a cozy outdoor vibe that complements your pillows.
Next, you'll need two spools of colored thread for DIY tassels. Wrap the thread around an object to determine the length you want, then cut and tie it off securely. For attaching embellishments like trim and tassels, liquid stitch is a reliable adhesive that guarantees durability and stops glue from seeping through.
If you're looking for something unique, consider using placemats from stores like Target or HomeGoods. You can easily transform them into custom pillows by inserting a pillow insert and securing the seams with liquid stitch or zippers.
With these materials and tools, you're well on your way to enhancing your home decor with personalized throw pillows!
Painting and Tassel Techniques
Creating stunning boho throw pillows starts with the painting process, which allows you to personalize your design. First, protect the opposite side of the pillow cover by inserting a piece of cardboard or foil inside. This prevents paint seepage and helps keep your design clean.
Additionally, consider incorporating essential oils for a calming atmosphere while you work on your project, as they can enhance your creative experience. Next, sketch out your ideas on paper before painting. This step is vital since the paint may not fully cover existing pre-printed designs and helps you finalize your concept.
Once you're ready, begin painting your design on the pillow cover. Allow the paint to dry completely for about 24 hours; this guarantees durability and proper setting on the fabric.
After your design has dried, it's time to add tassels for that perfect boho touch. Create DIY tassels by wrapping thread around an object to determine the desired length. Cut and tie off the wrapped thread to secure your tassels.

Tassels for Keychains Faux Suede Tassel for DIY Jewelry Making 60 Pcs Leather Keychain Charms Bulk & 60 Pcs Jump Rings Key Chain Rings Bulk for Cellphone Straps Pendants Crafts
【Variety colors】Black, white, fruit green, sky blue, pink, khaki…Our tassels for keychains are in 20 kinds of different…
As an affiliate, we earn on qualifying purchases.
As an affiliate, we earn on qualifying purchases.
DIY Boho Pillows
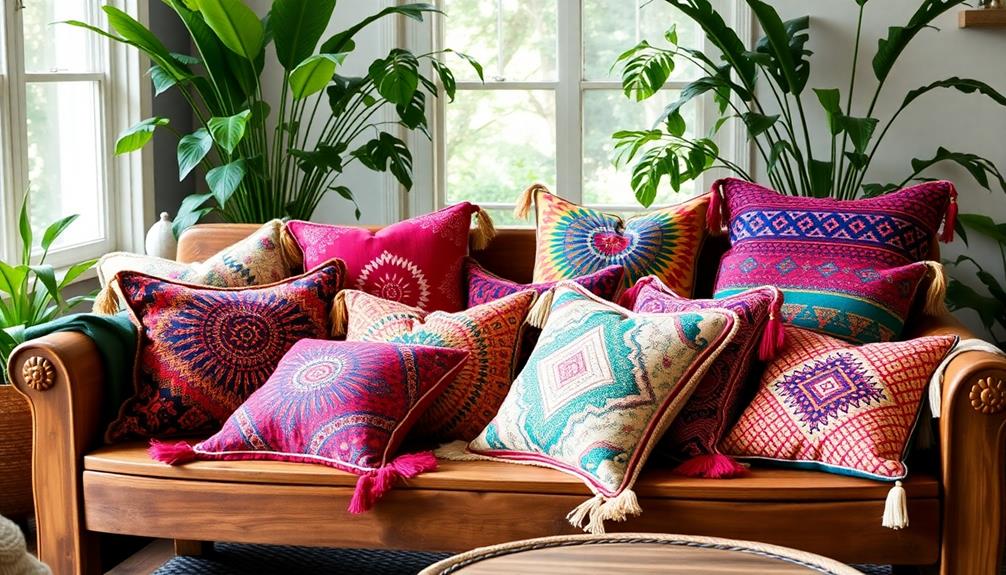
DIY boho pillows offer a fun and accessible way to personalize your home decor without the need for sewing skills. These pillows are easy to make, making them perfect for beginners or anyone looking to add a unique touch to their decor style. You can start with inexpensive throw pillow covers from IKEA and use acrylic paint from Walmart to create your designs, all for around $15.
To guarantee your creations hold up well over time, consider using durable materials that withstand regular use, similar to those suggested for cleaning leather sofas.
Customization is key to achieving that boho vibe. Consider adding texture and color with DIY tassels made from sewing thread; they can elevate your pillows and enhance the overall aesthetic. The best part? You can work on these projects while multitasking—maybe while watching your favorite show—making it a relaxing crafting experience.
Sourcing materials from budget-friendly stores not only reduces costs but also gives you a chance to create something special and personalized. Instead of purchasing pricey ready-made boho pillows, you'll have fun experimenting with colors and textures, all while creating decor that truly reflects your style.
With these DIY boho pillows, you'll transform your space into a cozy and inviting haven.

CYANFOUR 2026 New Embroidery Stitch Book Kit for Adults Beginners, Cross Stitch Kit with Step-by-Step Guide and Video, Threads and Needles, Portable Crafts Gift for Adults
SUITABLE FOR BEGINNERS: Includes 118 basic embroidery stitches and clear video tutorials. This kit guides you step by…
As an affiliate, we earn on qualifying purchases.
As an affiliate, we earn on qualifying purchases.
Embellishment Techniques
When it comes to embellishing your boho throw pillows, unique stitching methods can really set your design apart.
Consider incorporating nail art stickers as a fun and creative way to add intricate patterns or motifs to your pillows. You can also explore various decorative elements, like trims and tassels, to add that perfect finishing touch.
Let's look at some creative ideas that will elevate your pillows' aesthetic and flair.
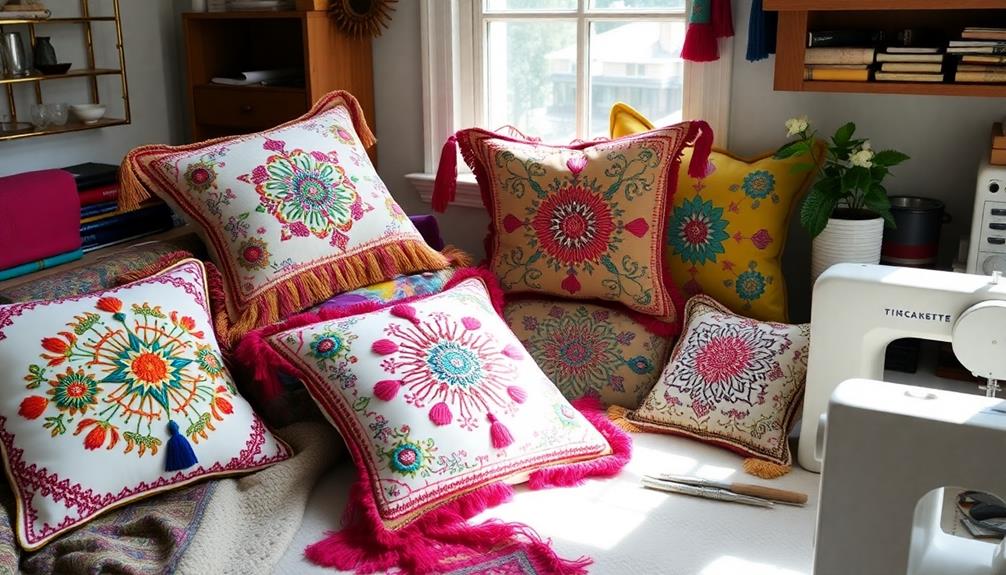
Unique Stitching Methods
Embellishing your boho throw pillows with unique stitching methods can elevate their charm and character. Start with a running stitch to achieve a relaxed aesthetic; vary the lengths to create an organic look that fits the boho vibe.
For those looking to explore quirky and fun ideas in their designs, consider using vibrant colors or eclectic patterns to truly make your pillows pop. Next, incorporate cross stitches to divide sections of fabric, adding texture and visual interest to your design.
If you want to add dimension, use a couching stitch to secure chunky yarn strips in place. This'll give your pillow a tactile quality that invites touch. For playful accents, create French knots by wrapping the thread around the needle, introducing delightful pops of texture that enhance the overall design.
To make sure your stitches are neat and consistent, consider using an embroidery hoop while you work. It helps with handling the fabric and keeping even tension, making your stitching easier and more enjoyable.
With these unique stitching methods, your boho throw pillows will stand out, showcasing your creativity and personal touch. So grab your materials and let your imagination flow into every stitch!
Decorative Element Ideas
Adding decorative elements to your boho throw pillows can transform them into eye-catching focal points. Incorporating trim, fringe, and tassels enhances the boho aesthetic, adding texture and visual interest. To guarantee durability, use liquid stitch for attaching these embellishments—it prevents glue seepage and keeps your pillows looking great over time.
Experiment with decorative tape, especially those with bubble patterns, sewn onto the edges for a playful touch. You can also create custom patterns using crochet chains made from yarn or macrame cord, which align beautifully with your overall design theme. For intricate details, try adding French knots or couching stitches in contrasting colors; they enhance the handmade feel of your decor.
Here's a quick reference table for your embellishment options:
| Embellishment Type | Technique | Notes |
|---|---|---|
| Trim/Fringe | Sew or glue | Adds texture |
| Decorative Tape | Sew onto edges | Unique patterns |
| Crochet Chains | Create custom designs | Use yarn or macrame |
| French Knots | Stitch in contrasting colors | Intricate and decorative |
Once you've finished, let it dry completely before using your pillows!
Care and Maintenance
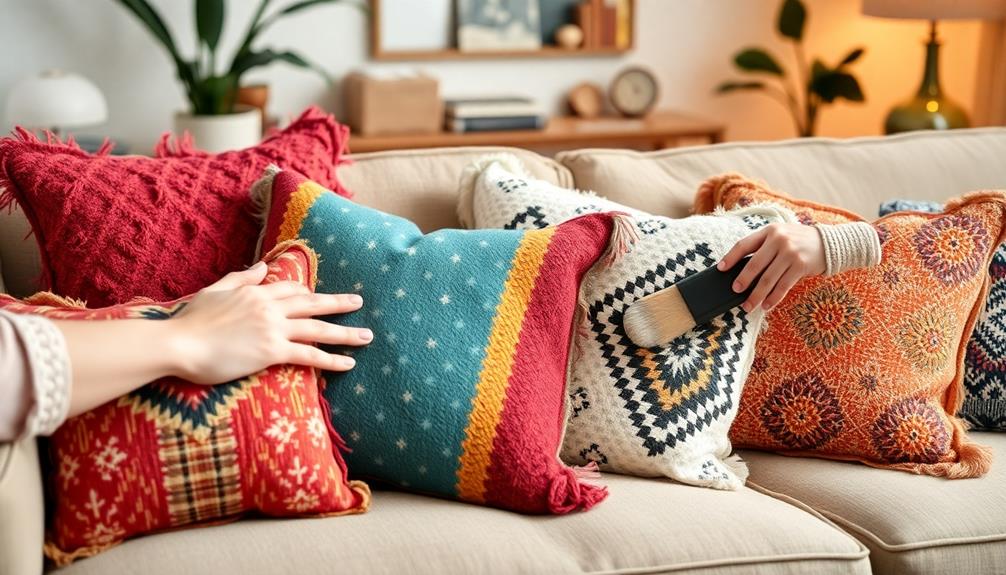
To keep your custom boho throw pillows looking fresh and vibrant, proper care and maintenance are essential.
Begin by hand washing your pillows in cold water with a mild detergent to preserve the fabric and embellishments. If you prefer the convenience of a machine wash, use a gentle cycle but always place your pillows in a laundry bag to prevent damage. Additionally, consider using aromatic cleaning solutions with essential oils like lavender to refresh your pillows while providing natural antibacterial properties.
After washing, avoid using a dryer, as it can cause shrinkage and distortion. Instead, lay your pillows flat to dry to maintain their shape and texture. Regularly fluff and reshape the pillows to keep them plush and prevent flattening over time. This simple maintenance routine will help extend the life of your beloved throw pillows.
For minor stains, don't panic! Spot clean with a damp cloth and mild soap, steering clear of harsh chemicals that could fade colors or damage the fabric.
Community Engagement
Community engagement plays an essential role in enhancing your DIY experience when creating custom boho throw pillows. By connecting with others in the crafting community, you can share your unique experiences and tips, making the process even more enjoyable. Engaging through comments allows you to discover favorite sources for affordable pillow covers, fostering collaboration among DIY enthusiasts.
Additionally, tapping into principles like Abraham's Business Success Principles can help you maintain a positive mindset while crafting, attracting abundance in your creative endeavors.
When you participate in discussions about your projects, you'll inspire others to undertake similar creative endeavors. This interaction not only enhances your personal expression in home decor but also cultivates a collective knowledge base. You might find feedback highlighting the popularity of no-sew options, reflecting a shared preference for easy and accessible DIY pillow projects.
Moreover, engaging with fellow crafters can lead you to new techniques, materials, and design ideas that can enrich your overall crafting experience. Sharing your successes and challenges in pillow-making can create a supportive environment where everyone learns and grows together.
Frequently Asked Questions
How to Make a Bohemian Throw Pillow?
To make a bohemian throw pillow, start with a plain cover, paint your design, and let it dry. Add DIY tassels and embellishments, using natural materials for a relaxed, authentic boho vibe. Enjoy your creation!
Can You Make Money Selling Decorative Pillows?
Sure, you can make money selling decorative pillows! With unique designs and effective marketing, you'll tap into a lucrative market. Quality, branding, and social media presence will help you stand out and attract customers.
How to Make Personalized Pillows With Names?
To make personalized pillows with names, use fabric paint or iron-on letters. Sketch your design first, choose contrasting colors, and let the paint dry for 24 hours. Add embellishments for a unique touch!
How Do You Make Decorative Throw Pillow Covers?
To make decorative throw pillow covers, start with a plain cover, paint unique patterns, and add embellishments like tassels. Experiment with stitching techniques for texture, and choose natural materials for a chic, durable finish.
Conclusion
Creating custom boho throw pillows transforms your space from ordinary to extraordinary, blending comfort with artistic flair. While store-bought options might offer convenience, nothing compares to the personal touch of your own design. Imagine the warmth of a handmade pillow cradling you after a long day, versus the coldness of mass-produced decor. Embrace the joy of crafting—your unique style not only livens up your home but also tells a story, inviting others to share in your creative journey.