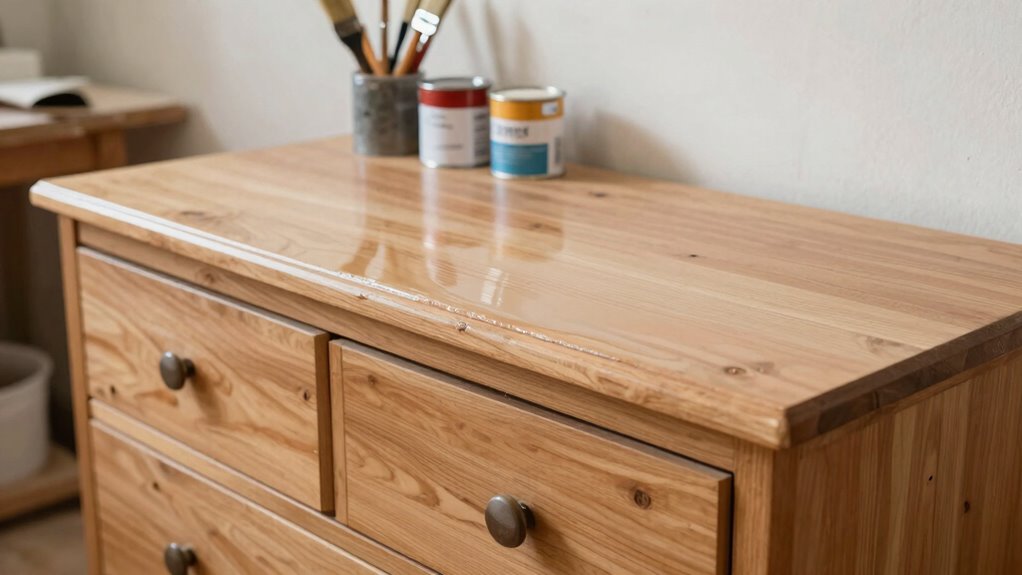
For a durable furniture makeover, start by thoroughly cleaning the surface to remove dirt, grease, and old finishes. Lightly sand to open the wood grain and smooth imperfections. Apply a high-quality primer to create a strong base, especially on glossy or dark surfaces. Once the primer dries, choose the right paint and apply thin, even coats for a smooth finish. If you’d like expert tips to guarantee your project lasts, continue exploring these essential steps now.
Key Takeaways
- Properly clean and sand furniture surfaces to ensure optimal paint adhesion and a smooth finish.
- Use a high-quality primer to seal porous surfaces and create a uniform base for paint.
- Apply paint in thin, even coats, allowing each layer to dry completely for durability.
- Focus on finishing edges and details with fine sanding and natural wear techniques for a professional look.
- Regularly maintain and touch up paint to preserve the makeover’s appearance and longevity.

Wood Furniture Paint for Cabinets, Doors, Tables, Chairs and Dressers All In One Refinishing Matte Wood Paint Kit Water-Based No Need Prime No Varnish Easy to Use 6.35oz-1 Pack (Alchemist)
All In One Furniture Paint Kit: Save time and skip messy prep! Our innovative-design wood furniture paint is…
As an affiliate, we earn on qualifying purchases.
As an affiliate, we earn on qualifying purchases.
Why Preparation Matters for a Long-Lasting Furniture Makeover

Before you start applying paint or stain, proper preparation is essential to guarantee your furniture makeover lasts. Ensuring your piece is well-prepped helps the new finish adhere better and prevents future peeling or chipping. Start by inspecting your furniture design to identify any loose or damaged parts. Replacing or tightening quality hardware will improve stability and give your piece a polished look. Proper preparation also includes cleaning thoroughly to remove dust, grease, or old finishes that could interfere with adhesion. When you take the time to prepare correctly, your paint or stain will apply smoothly and last longer. Additionally, understanding ethical choices in consumer products can guide you to select environmentally friendly and sustainable paints or stains, aligning your project with responsible consumer practices. Being aware of eco-friendly materials can further enhance your environmentally conscious approach. Incorporating environmentally responsible paints can also help reduce your project’s ecological footprint. Considering biodegradable finishes can be an effective way to minimize environmental impact. Taking into account proper sealing techniques ensures your furniture remains protected against future damage and environmental factors, further extending its lifespan. This step sets the foundation for a durable, beautiful makeover, making your effort worthwhile and ensuring your furniture remains stunning for years.
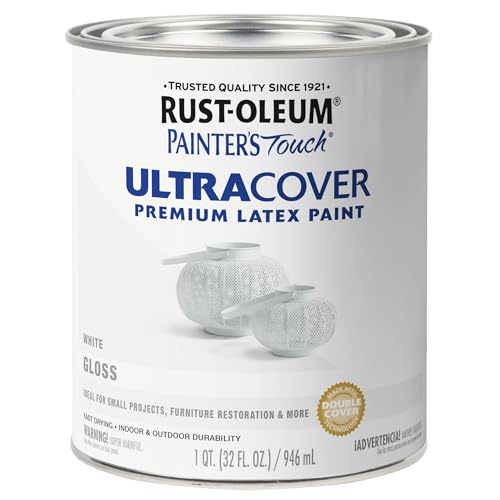
Rust-Oleum 1992502 Painter's Touch Latex Paint, Gloss White 32 Fl Oz, 1 Quarts (Pack of 1)
Use for a variety of indoor and outdoor project surfaces including wood, metal, plaster, masonry or unglazed ceramic
As an affiliate, we earn on qualifying purchases.
As an affiliate, we earn on qualifying purchases.
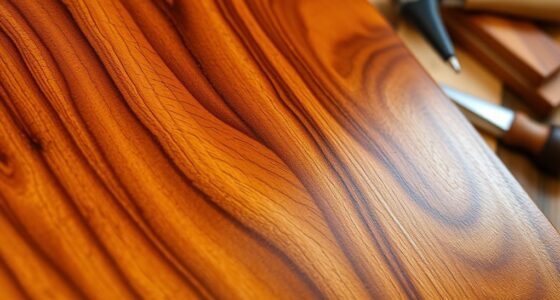
How to Clean and Sand Your Furniture Before Painting
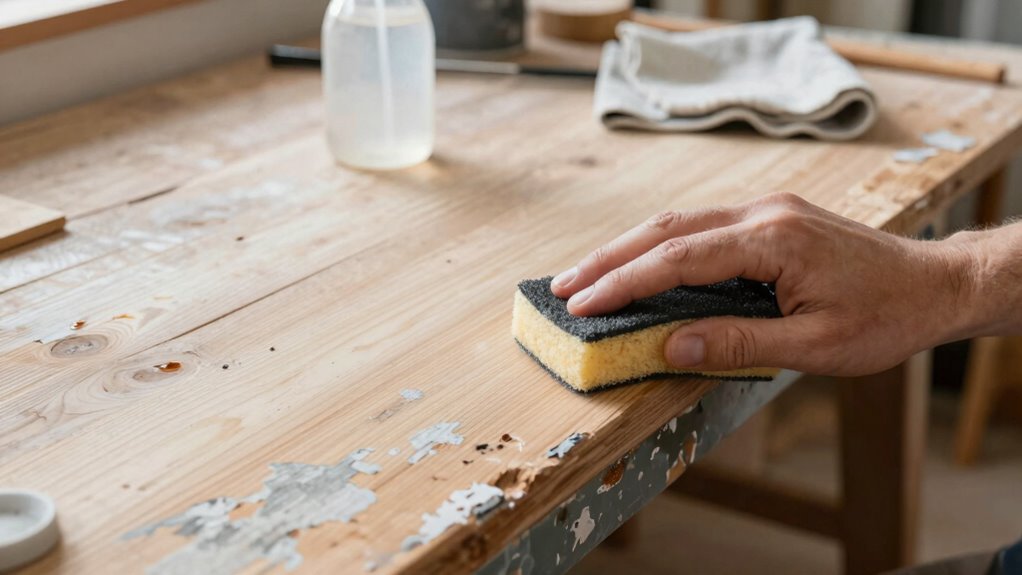
Cleaning and sanding are essential steps to guarantee your furniture surface is ready for paint. Start by removing dust and dirt with a damp cloth or vacuum to ensure a clean surface. Dust removal is vital for a smooth finish and strong paint adhesion. Next, use proper sanding techniques—start with medium-grit sandpaper to smooth rough areas and then switch to fine-grit for a polished surface. Always sand in the direction of the wood grain to prevent scratches. Sanding not only smooths the surface but also helps the paint grip better. After sanding, wipe down your furniture again to remove dust particles. Taking these steps creates a clean, textured surface that guarantees your paint will adhere properly and last longer. Additionally, ensuring your project aligns with proper preparation techniques can significantly impact the durability of your makeover. Incorporating the right cleaning and sanding methods enhances paint adhesion and results in a longer-lasting finish. Proper surface texture is crucial for achieving a professional-looking and durable paint job. To further improve your results, consider using quality tools designed specifically for furniture projects. For optimal results, also consider learning about cleaning glass surfaces to ensure all parts are well-prepared before painting.

24 Pcs Sanding Sponge 80-3000 Grit Sandpaper Assortment, Washable & Reusable Sanding Blocks for Wood, Metal, Drywall, Glazing, Wet Dry Sandpaper for Smooth Finishing
Assortment Pack: This sanding sponge set includes 24 pieces with grits 80/120/180/240/320/400/500-600/800-1000/1200-1500/2000/2500/3000,each of 2, covering coarse material removal…
As an affiliate, we earn on qualifying purchases.
As an affiliate, we earn on qualifying purchases.
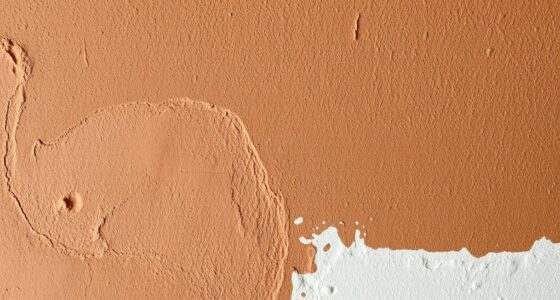
Should You Use Primer? When and Why in Furniture Painting
Deciding whether to use primer depends on the type of furniture and the look you want to achieve. Primer necessity varies based on surface material, color, and paint type. Use primer if you want a smooth, durable finish or if you’re painting over a dark or glossy surface. Here’s what primer does in your painting sequence:
Primer ensures a smooth, durable finish, especially on dark or glossy surfaces.
- Creates a uniform base, preventing stains from bleeding through.
- Helps paint adhere better, reducing chipping.
- Enhances color vibrancy and coverage.
- Seals porous surfaces, saving you coats of paint.
- Understanding contrast ratio can help predict how well your finished piece will display depth and detail under different lighting conditions. Additionally, proper surface preparation ensures the primer and paint will adhere effectively and last longer. Regularly maintaining your furniture and ensuring the right paint quality can also significantly extend its lifespan. If your furniture has knots, stains, or a slick finish, primer is vital. It’s an essential step in the painting sequence that guarantees your DIY project lasts, especially when considering surface conditions that might affect adhesion and durability. Moreover, selecting the appropriate primer type based on your furniture’s material can greatly improve the overall outcome.

Littlefair's Wood Stain Water Based – 8.5oz/250ml – Indoor Furniture Stain Light & Dark Finishes – Special Non Toxic & Eco Friendly Formula – Wood Stain for Crafts – Color: English Oak
WONDERFUL WOOD AWAITS – Achieve a premium finish with Littlefair's water-based stain for bare, sanded wood, accentuating the…
As an affiliate, we earn on qualifying purchases.
As an affiliate, we earn on qualifying purchases.
Choosing the Best Paint for Your DIY Furniture Project
Choosing the right paint for your furniture project depends on understanding the different types available, their finishes, and how durable they are. You also need to take into account how well the paint will work with your furniture’s surface. Making an informed choice ensures your makeover lasts and looks great. Additionally, selecting paints designed for vehicle protection and accessories can provide added durability and resistance to environmental factors. Recognizing the paint’s adhesion qualities is essential for a long-lasting finish that withstands daily wear and tear. Considering eco-friendly paints can help reduce environmental impact while still providing effective coverage. Being aware of paint compatibility with furniture surfaces can further improve the longevity and appearance of your project.
Types of Paints
Have you ever wondered which type of paint will give your furniture the best finish and durability? Choosing the right paint depends on your project’s needs. Consider these options:
- Chalk paint, perfect for a matte, vintage look with minimal prep.
- Latex paint, versatile and easy to clean, ideal for high-traffic pieces.
- Oil-based paint, offering a smooth, durable finish but requiring longer drying time.
- Milk paint, eco-friendly with a rustic, textured appearance.
Chalk paint is great if you want a shabby-chic style, while latex paint suits everyday furniture due to its ease of use. Think about your desired look and the piece’s use to select the best type for your makeover.
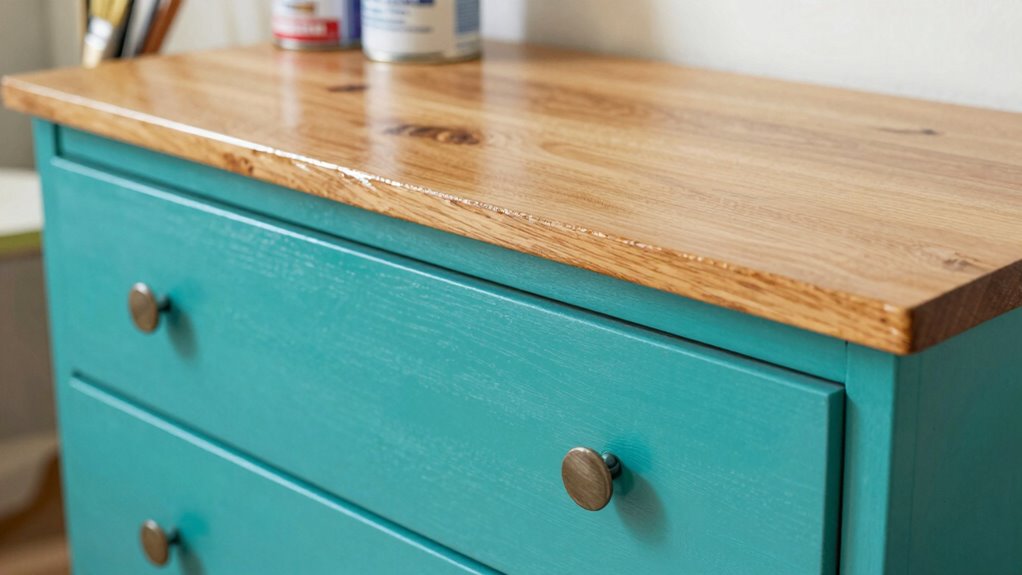
Finish and Durability
The finish and durability of your furniture largely depend on the type of paint you select, as different paints offer varying levels of resistance and longevity. For a natural wood grain appearance, choose a clear or semi-transparent finish that highlights the wood’s texture while protecting it from scratches and moisture. If you’re aiming for vibrant color matching, opt for high-quality acrylic or latex paints, which provide a smooth, durable finish that withstands daily wear. Consider the end use—high-traffic pieces benefit from paints with added durability or topcoats. Pet safety considerations are also important when choosing paints if pets will be around your furniture, ensuring no harmful fumes or toxins are present. Proper paint application techniques can significantly influence the longevity of your finish, so follow manufacturer instructions carefully. Using appropriate brushes or rollers can help achieve a smoother, more professional look and reduce imperfections. Different paint finishes such as matte, satin, or gloss each offer different looks and protective qualities, so choose based on the look you want and how much wear your furniture will endure. Additionally, understanding paint curing times can help you plan your project for optimal results. Proper selection guarantees your makeover lasts longer.
Surface Compatibility
Since different furniture surfaces respond uniquely to various paints, evaluating surface compatibility is essential before starting your project. You want to make certain your chosen paint will bond well and last. Think of surface compatibility as matching the right outfit to the occasion. Visualize:
- A glossy wooden table resisting a chalk paint’s grip
- A metal chair accepting oil-based paint with ease
- A laminate dresser showing streaks if painted with the wrong primer
- A chalk-painted surface adhering perfectly after proper prep
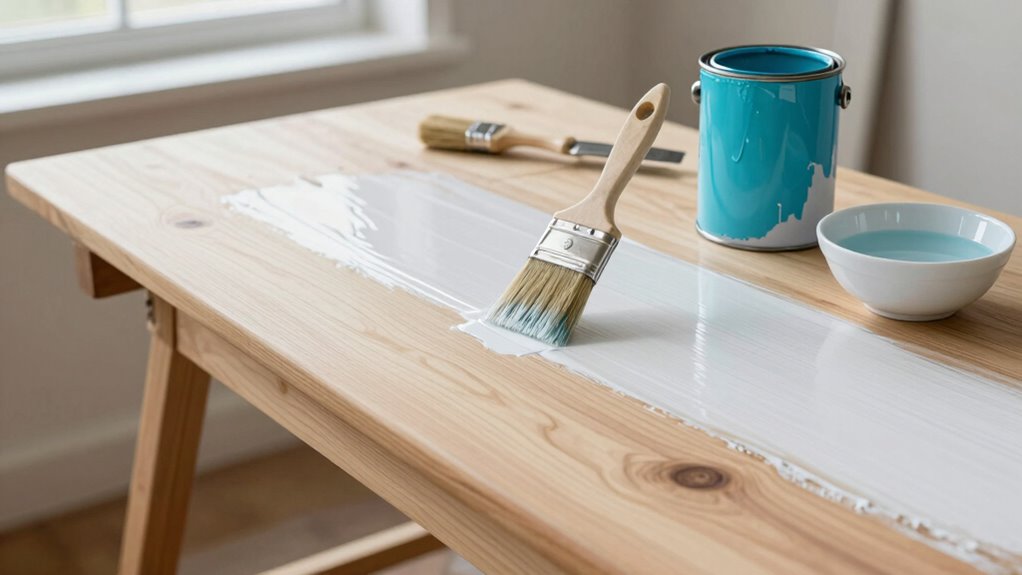
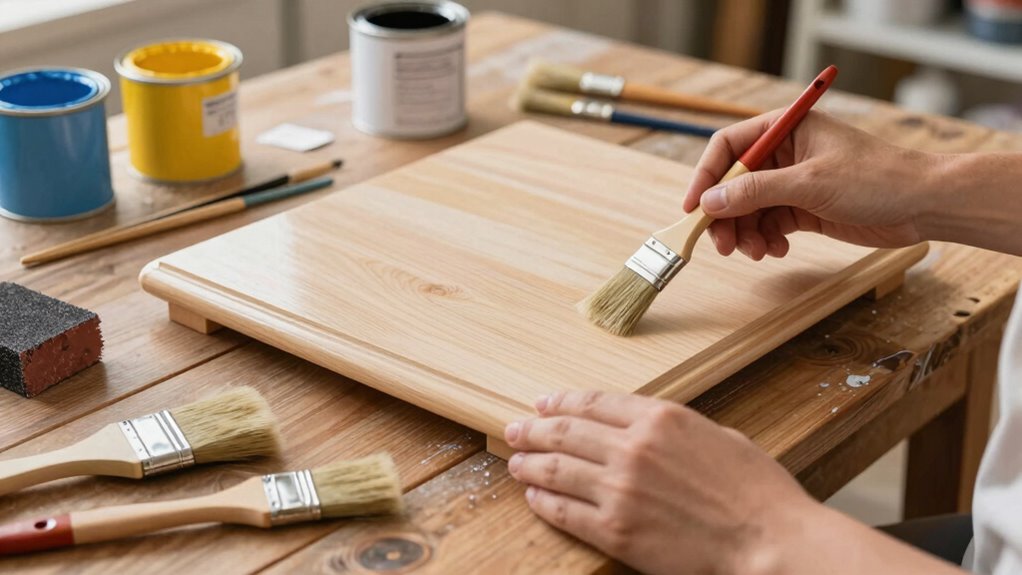
How to Apply Paint Smoothly for a Professional Finish
To get a smooth, professional-looking finish, start with proper surface preparation by cleaning and sanding your furniture. Next, pick the right tools, like quality brushes or rollers, to apply paint evenly. Finally, use thin coats and let each layer dry completely before adding the next to avoid drips and uneven texture.
Proper Surface Preparation
Achieving a smooth, professional-looking paint finish starts with proper surface preparation. You need a clean, smooth surface to enhance the wood grain and guarantee the paint adheres evenly, affecting the final paint sheen. To prepare effectively:
- Sand the surface lightly to remove rough spots and open the wood grain.
- Fill any holes or cracks with wood filler, then sand again for a seamless finish.
- Wipe down the surface with a damp cloth to remove dust and debris.
- Prime the surface to create a uniform base, which helps achieve an even sheen and reduces paint absorption issues.
Skimp on prep, and you’ll struggle with uneven paint application, visible brush strokes, or a dull finish. Proper preparation sets the stage for a flawless, lasting makeover.
Choosing the Right Tools
Choosing the right tools makes a noticeable difference in how smoothly your paint goes on and how professional your finish looks. Start with brush selection—aim for high-quality brushes suited to your paint type, such as synthetic bristles for latex or natural for oil-based paints. This guarantees even coverage and minimizes streaks. Sanding tools are equally important; use fine-grit sandpaper or sanding blocks to smooth surfaces before painting, which helps the paint adhere better and creates a sleek finish. Proper tools reduce brush marks and uneven spots, making your project look polished. Invest in the right brushes and sanding tools, and you’ll achieve a smooth, professional-looking result that truly elevates your furniture makeover.
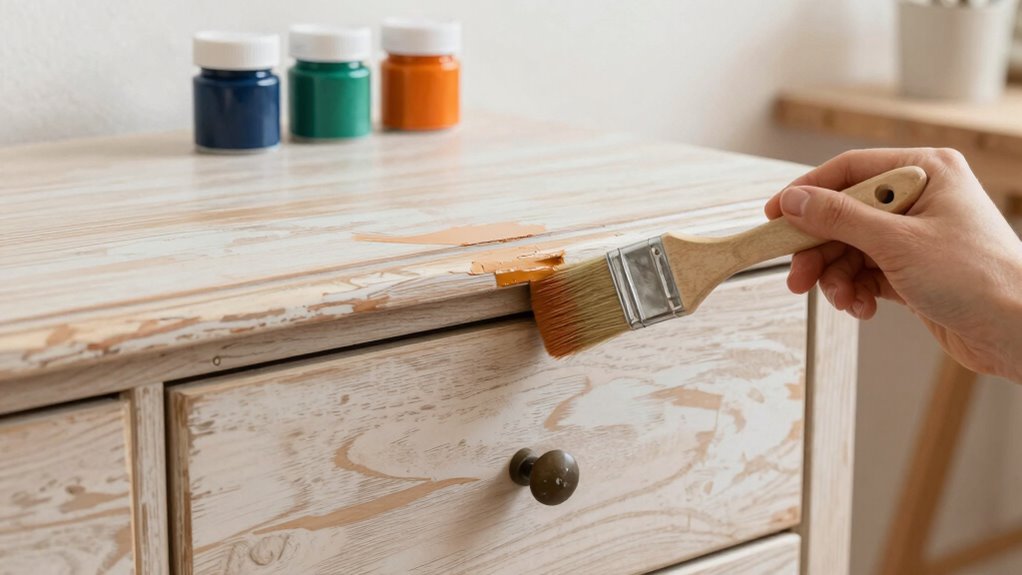
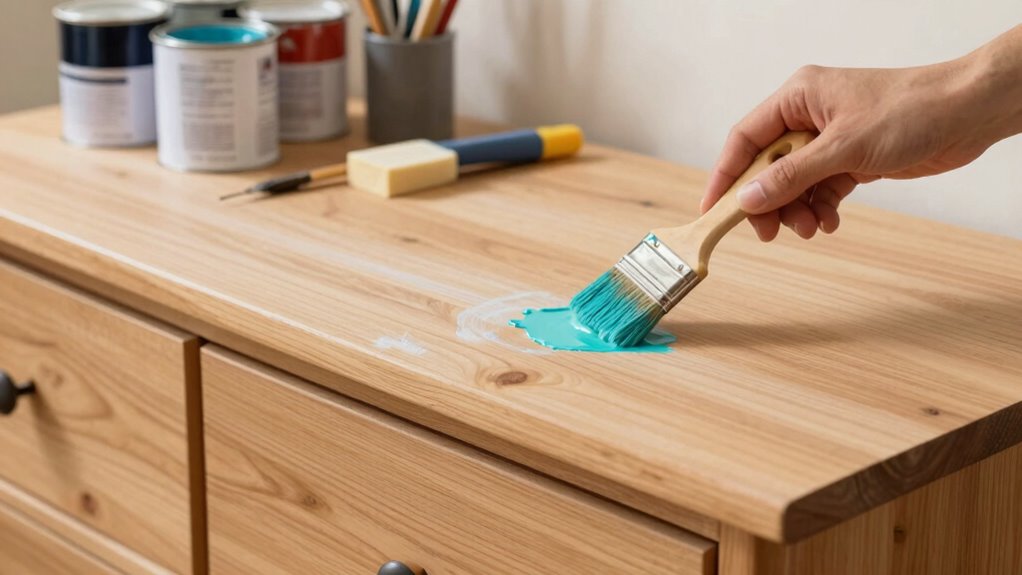
Applying Thin Coats
Applying thin coats of paint is essential for a smooth, professional-looking finish. To achieve this, focus on proper brush techniques and maintaining the right paint consistency. First, load your brush with just a small amount of paint to prevent drips. Second, use long, even strokes, working in the direction of the grain or surface. Third, keep a wet edge to avoid lap marks, blending each stroke seamlessly. Fourth, allow each coat to dry thoroughly before applying the next. These steps help prevent drips, uneven texture, and brush marks. Remember, patience and precision are key—thin coats dry faster and level out better, giving your furniture a flawless look. Mastering these techniques guarantees a professional finish that lasts.
Common Mistakes to Avoid During Furniture Painting
One common mistake to watch out for when painting furniture is skipping proper surface preparation. Without cleaning and sanding, your paint won’t adhere well, leading to chips or uneven finish. Another mistake is rushing into color mixing without testing shades first; this can result in mismatched hues that clash with your furniture style. Always experiment on a scrap before committing to a specific color mix. Additionally, neglecting the furniture’s style details can cause your paint job to look flat or unpolished. Pay attention to intricate carvings or curves, and use appropriate brushes. Avoid applying thick coats, as this can cause drips and uneven coverage. Stepping carefully through these steps ensures your furniture makeover looks professional and lasts longer.
Expert Tips for a Durable, Beautiful Furniture Finish
Achieving a durable and beautiful furniture finish requires attention to detail and the right techniques. Start by mastering color mixing to create the perfect hue, blending shades smoothly for a cohesive look. When restoring furniture, prep thoroughly to prevent chipping and peeling. Here are expert tips to guarantee longevity:
- Sand surfaces evenly to create a smooth base for paint or stain.
- Use high-quality primers to enhance adhesion and durability.
- Apply thin, even coats of paint or finish, allowing proper drying time.
- Incorporate furniture restoration techniques like distressing or glazing for added depth and character.
How to Seal and Protect Your Painted Furniture
To keep your painted furniture looking great, you need to choose the right sealant for your project. Applying a protective finish will help prevent scratches, stains, and chips. Let’s explore how to select the best sealant and guarantee a smooth, durable coat.
Choose Suitable Sealant
Have you chosen the right sealant to protect your painted furniture? Selecting the correct sealant types is vital for durability and finish quality. Imagine a clear, glossy layer sealing in your paint like a shield, a matte finish softening the look, or a satin seal adding subtle shine. Consider these options:
- Polyurethane – offers strong protection for high-traffic pieces.
- Polycrylic – quick-drying and easy to clean up.
- Wax – provides a soft, natural finish but requires reapplication.
- Varnish – enhances durability with a smooth, protective coat.
Application tips matter: use a high-quality brush or foam applicator, apply thin coats, and let each layer dry thoroughly. This guarantees your furniture is beautifully sealed and protected for years to come.
Apply Protective Finish
Wondering how to guarantee your painted furniture stays protected and looking great for years? Applying a protective finish is key. Use smooth brush techniques to evenly coat the surface, avoiding streaks and brush marks. Work with the grain to achieve a seamless look and ensure good adhesion. For areas with color blending, apply thin, even layers to prevent drips and uneven spots. Multiple light coats are better than one thick coat, providing durability without sacrificing appearance. Allow each layer to dry thoroughly before adding the next. This process seals in your paint, enhances the color vibrancy, and ensures longevity. With careful application, your furniture will maintain its beauty and protection for years to come.
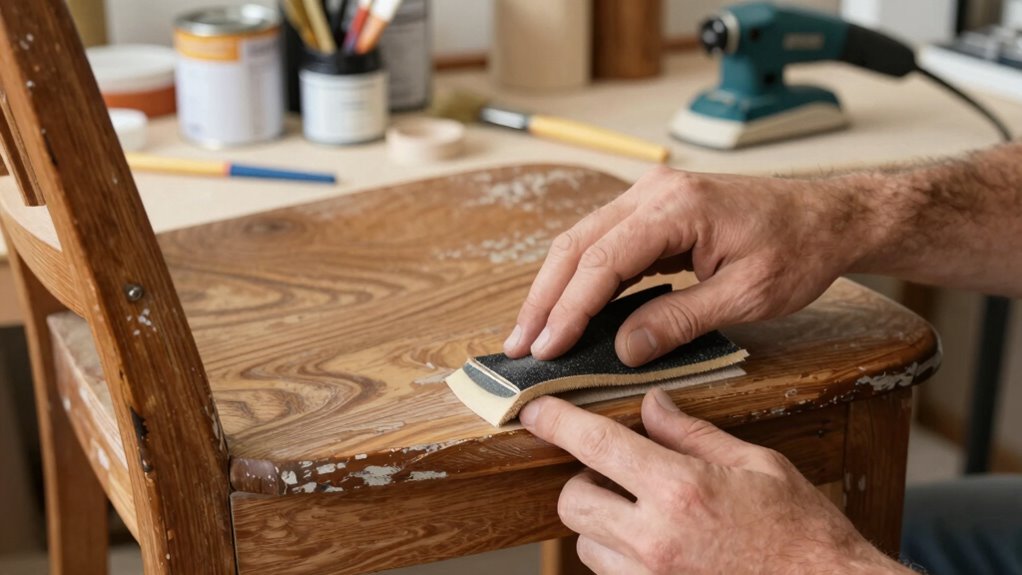
Troubleshooting Common Furniture Painting Problems
Painting furniture can sometimes lead to unexpected issues, but most problems are easily fixable with the right approach. For example, if your chalk paint isn’t adhering well, it may need a light sanding or a primer layer. If you see uneven coverage, applying a second coat after drying helps smooth it out. When distressing techniques don’t give the desired look, use fine-grit sandpaper to highlight edges or create a more natural wear. Common problems include:
- Drips and runs ruining your finish
- Chipping or peeling paint
- Streaks or patches of uneven color
- Excessive distressing or uneven distress marks
Address these issues promptly, and you’ll keep your furniture looking professional and beautiful.
Maintaining Your Painted Furniture for Long-Lasting Beauty
To keep your painted furniture looking beautiful for years, regular maintenance is essential. Start by inspecting your piece for chips or scratches, and touch up with matching paint to maintain color consistency through color matching. Clean surfaces gently with a soft cloth and mild soap to remove dust and dirt that can dull the finish. Protect the paint by using furniture wax or a clear sealant periodically, especially on high-traffic areas. When needed, consider furniture restoration techniques like sanding and repainting to refresh worn spots. Avoid harsh chemicals that can damage the finish. Proper care guarantees your furniture remains vibrant and structurally sound, making your DIY makeover last longer and continue enhancing your space’s style.
Frequently Asked Questions
Can I Paint Over Old or Damaged Furniture Safely?
Yes, you can paint over old or damaged furniture safely if you prep properly. Start by cleaning and sanding the surface to guarantee good paint adhesion, which boosts painting safety and enhances furniture durability. Use a suitable primer to seal imperfections and prevent future damage. Proper prep and the right products make the paint last longer, giving your furniture a fresh look without compromising its stability or safety.
How Long Should I Wait Between Primer and Paint Layers?
Waiting between primer and paint layers is like giving your project a breather. You should typically wait at least 2 hours for the primer to dry, but check the manufacturer’s instructions for up-to-date drying times. This guarantees proper paint adhesion and prevents peeling or chipping. Rushing the process can compromise your finish, so patience guarantees a smoother, more durable result that lasts.
What Types of Brushes or Rollers Work Best for Furniture?
For furniture, you should use high-quality brush types like angled or flat brushes, which give you smooth, even coverage on detailed or flat surfaces. Foam rollers work well for large, flat areas, providing a seamless finish. Use roller techniques like light, even strokes and avoid pressing too hard. This combination guarantees your paint job looks professional and lasts longer, giving your furniture a fresh, polished look.
Is It Necessary to Use a Clear Topcoat or Sealant?
A clear topcoat or sealant isn’t just a nice touch—it’s a smart move to enhance surface durability and preserve your work. Protective finishes guard against scratches, moisture, and everyday wear, ensuring your furniture stays beautiful longer. Skipping this step might save time now, but it risks damage down the line. Applying a sealant creates a lasting barrier, keeping your DIY furniture makeover looking fresh and vibrant for years to come.
How Do I Fix Drips or Uneven Paint During Application?
To fix drips or uneven paint, first gently smooth out the excess with a damp brush or cloth, following the existing brush strokes. Make certain your paint consistency is correct—thin it if it’s too thick. Let the area dry completely, then lightly sand any imperfections. Reapply a thin, even coat, working with smooth brush strokes for a flawless finish that lasts.
Conclusion
By properly prepping, priming, and painting, you guarantee your furniture looks stunning, lasts longer, and resists wear. Focus on cleaning, sanding, and choosing the right products to achieve professional results. Apply paint smoothly, seal your work, and troubleshoot issues as they arise. Keep up with maintenance to preserve your masterpiece. With patience and care, you turn plain furniture into a beautiful, durable piece that reflects your style and effort.