
Crafting with resin for coasters and jewelry involves mixing your resin thoroughly, pouring it into molds, and adding colors or decorations like glitter, flowers, or charms for a personalized touch. You’ll need to regulate the environment—maintain a dust-free space and proper temperature—to guarantee a smooth, bubble-free finish. Curing can take 24 to 72 hours, depending on your resin type. Follow these steps carefully, and you’ll create beautiful, durable pieces worth exploring further.
Key Takeaways
- Use proper mixing, temperature control, and a dust-free environment for durable, glossy resin coasters and jewelry.
- Incorporate color additives like pigments or mica powders to customize designs and achieve vibrant effects.
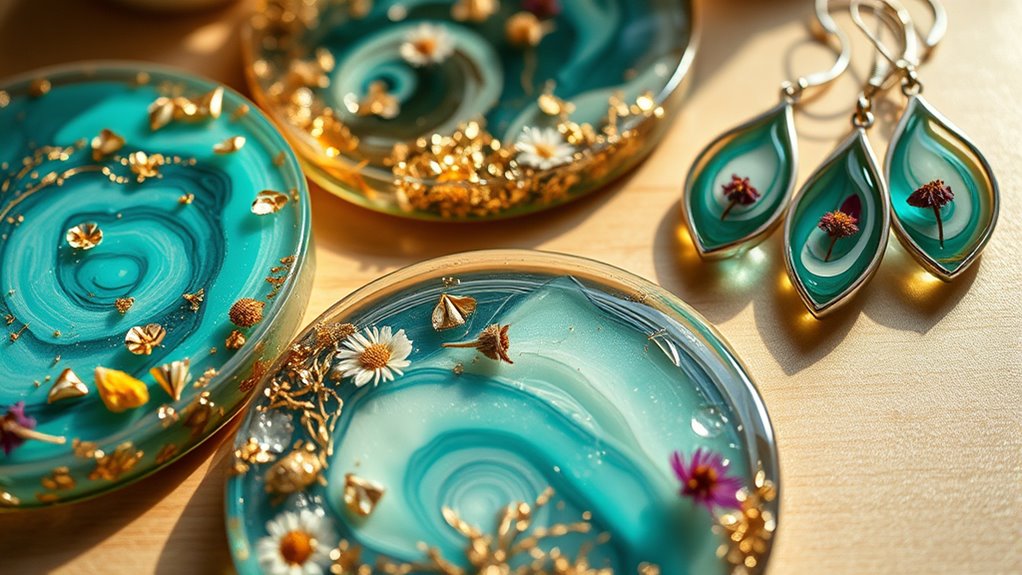
- Embed decorative items such as dried flowers, glitter, or charms for personalized and eye-catching pieces.
- Layer different colors or embed objects using swirling or layered pouring techniques for depth and visual interest.
- Allow sufficient curing time (24-72 hours) without disturbance to ensure a smooth, bubble-free finish on all crafting projects.
If you’re looking to create unique, eye-catching projects, crafting with resin offers endless possibilities. One of the most exciting aspects is how you can customize your pieces using resin curing techniques combined with vibrant color additives. When working with resin, patience is key, especially during the resin curing process. As the resin hardens, it transforms from a liquid into a solid, giving your projects a durable, glossy finish. To get the best results, you need to mix your resin thoroughly and allow it to cure in a dust-free environment. The curing time varies depending on the type of resin you use, but generally, it can take anywhere from 24 to 72 hours. During this period, avoid disturbing your project to ensure a smooth, bubble-free finish. Proper temperature control during curing can also significantly affect the clarity and finish of your resin pieces.
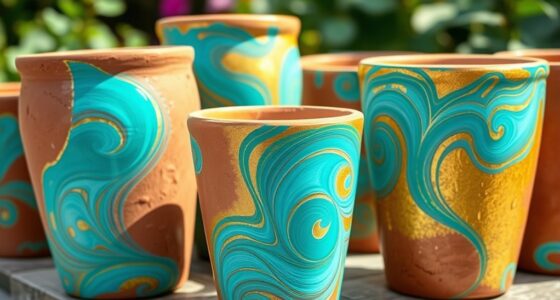
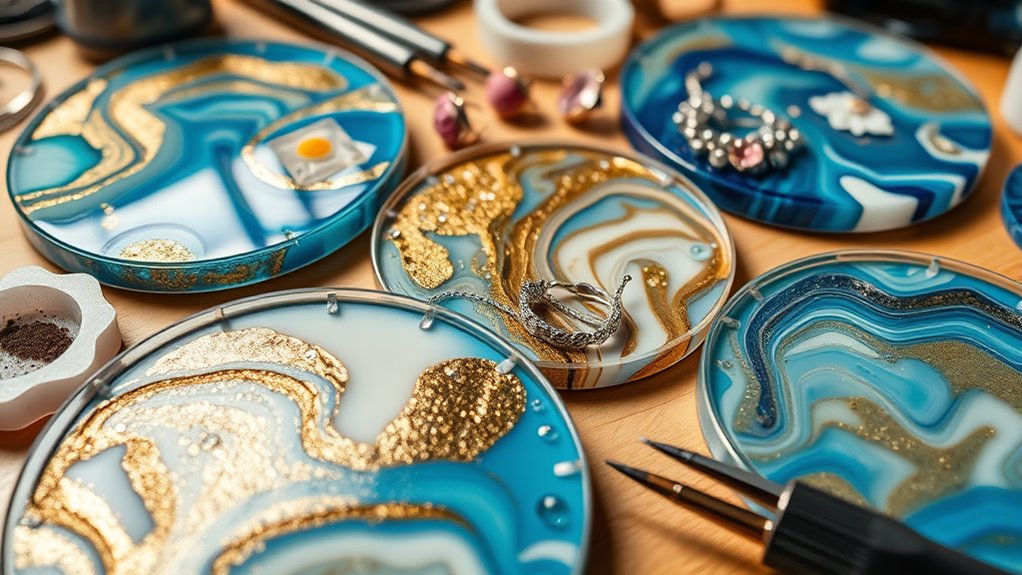
Color additives are your best friends when it comes to personalizing your resin crafts. Whether you’re designing coasters or jewelry, these additives allow you to inject vibrant hues, metallic shimmer, or even subtle pastel shades into your resin. You can use pigments, alcohol inks, or mica powders—each offering a different effect. For coasters, consider swirling multiple colors together or adding tiny glitter particles for a sparkling finish. When working with color additives, start with small amounts and build up until you achieve your desired shade. Just remember, a little goes a long way, and overloading the resin with color can affect its curing process, making it cloudy or uneven.
Use small amounts of pigment, alcohol ink, or mica powders to customize your resin projects beautifully.
Creating coasters with resin involves pouring a layer of resin into molds, then adding your chosen color additives before the resin cures. You can create layered effects by pouring multiple resin layers, each with different colors or embedded objects. Once cured, pop the coasters out of the molds, and you’ll have a one-of-a-kind piece that’s both functional and decorative. Jewelry-making with resin follows a similar approach: pour resin into molds shaped as pendants, earrings, or rings, and incorporate color additives to match your style. You can embed small decorative items like dried flowers, glitter, or tiny charms for added flair.
In both projects, the key is to work methodically, paying attention to mixing, color application, and curing times. With practice, you’ll develop a keen eye for color combinations and techniques that make your resin pieces stand out. Crafting with resin is rewarding because it combines creativity with a bit of science, resulting in beautiful, personalized items that reflect your unique style.
resin coaster mold set
As an affiliate, we earn on qualifying purchases.
As an affiliate, we earn on qualifying purchases.
Frequently Asked Questions
How Long Does Resin Take to Fully Cure?
Resin typically takes about 24 to 72 hours to fully cure, but the exact resin drying time depends on the type and environmental conditions. During the curing process, it hardens and reaches its maximum strength. You should avoid handling or exposing your project to heat or moisture until the resin is completely cured. Patience is key—waiting the full recommended time guarantees your piece is durable and properly set.
Can Resin Be Colored With Regular Paint?
Think of resin as a blank canvas waiting to be painted. You can absolutely use acrylic paints for coloring, but they might not give you vibrant, lasting results. Resin pigments are specially designed for this purpose, blending seamlessly and providing consistent color. Regular paint, like acrylics, can work, but it might not stay vibrant over time. Always mix thoroughly to achieve even, beautiful results in your resin projects.
Is Resin Crafting Safe for Children?
Resin crafting isn’t typically safe for children due to potential resin toxicity. The chemicals in many resins can cause skin irritation or respiratory issues, so you should supervise children closely and avoid letting them handle uncured resin. If you want to involve kids, look for non-toxic, kid-friendly resin alternatives and guarantee proper ventilation. Always prioritize child safety and follow manufacturer guidelines to prevent any health risks.
What Types of Surfaces Are Best for Resin Projects?
A good surface is the foundation of a successful resin project—think of it as the canvas for your masterpiece. You should choose surfaces that are smooth, non-porous, and compatible with resin, like glass, silicone, or sealed wood. Proper surface preparation ensures resin adhesion and prevents leaks. Remember, the right surface is key to a flawless finish, so always check resin compatibility before starting your project.
How Do I Fix Mistakes or Bubbles in Resin?
To fix mistakes or bubbles in resin, start by gently sanding the surface with fine-grit sandpaper after curing. Use bubble removal techniques like a heat gun or torch to eliminate bubbles before the resin fully sets. Guarantee proper resin surface prep by cleaning the surface thoroughly and mixing resin slowly to minimize bubbles. If needed, apply a thin layer of resin over imperfections, then reheat to remove new bubbles.
resin jewelry mold
As an affiliate, we earn on qualifying purchases.
As an affiliate, we earn on qualifying purchases.
Conclusion
As you finish your resin creations, remember they’re like blank canvases awaiting your unique story. Each coaster and piece of jewelry becomes a mirror of your creativity, shimmering with the colors and shapes you choose. Just as a river carves its path through stone, your patience and passion shape beautiful, lasting treasures. Keep crafting—your work is a beacon of self-expression, reflecting the vibrant, resilient spirit within you.

CHANGTIKEJI Mica Powder,24 Colors – 10g/Bottle of Natural Pigment Powder for Epoxy Resin,Soap Making,Candle Making,Lip Gloss,Car Freshies,Dye,Nail Polish,Bath Bombs
【Super Surprise Color Combination】:The mica powder has 24 spectacularly vibrant and beautiful colors,each bottle is 10g/0.35oz.Just a little…
As an affiliate, we earn on qualifying purchases.
As an affiliate, we earn on qualifying purchases.
resin embedding charms
As an affiliate, we earn on qualifying purchases.
As an affiliate, we earn on qualifying purchases.