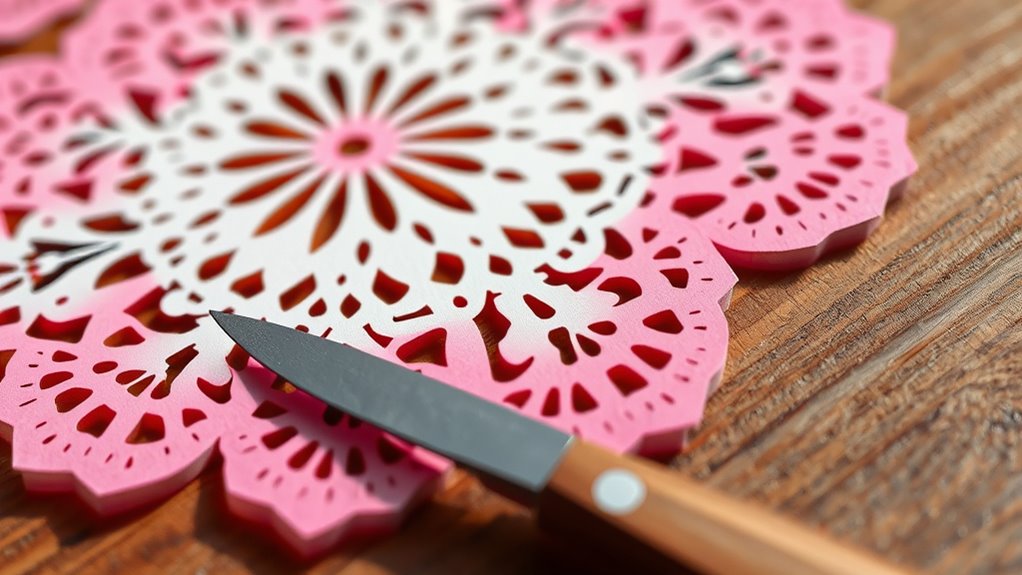

To master DIY paper cutting, start with sharp tools like craft knives and a cutting mat for safety and precision. Practice traditional patterns like floral or cultural motifs, or experiment with modern abstract designs using layered cutouts and negative space. Use colors and textures to add depth, and work patiently on intricate details. Keep your workspace organized, and explore various techniques to create unique, eye-catching art. If you continue exploring, you’ll discover even more ways to elevate your paper craft skills.
Key Takeaways
- Use high-quality, sturdy paper and sharp tools like craft knives for precise cuts and clean edges.
- Study traditional patterns to understand cultural motifs and incorporate symbolism into designs.
- Employ techniques like layering, negative space, and contrast to create both classic and modern abstract patterns.
- Prioritize safety by cutting away from the body, keeping blades covered, and maintaining an organized workspace.
- Experiment with colors, textures, and themes to enhance visual interest and develop unique paper cutting art.
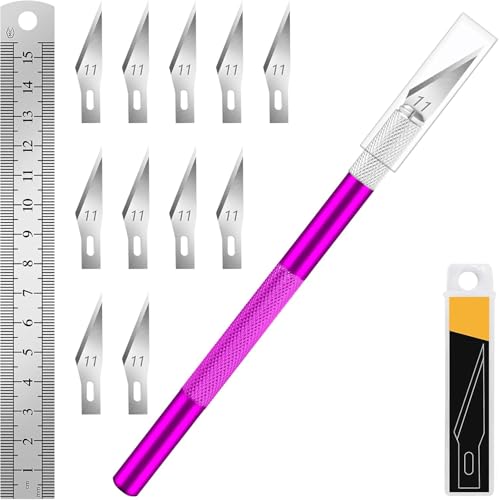
DIYSELF Craft Knife with 10 Extra #11 Blades, Precision Hobby Knife Set with Steel Ruler, Exacto Knife for Crafting, Polymer Clay, Pottery, Paper, Vinyl, Stencil & Model Making (Purple)
Great for Beginners & Everyday Use: A practical exacto knife set for beginners, professionals, and DIYers, and a…
As an affiliate, we earn on qualifying purchases.
As an affiliate, we earn on qualifying purchases.
Basic Tools and Materials for Paper Cutting
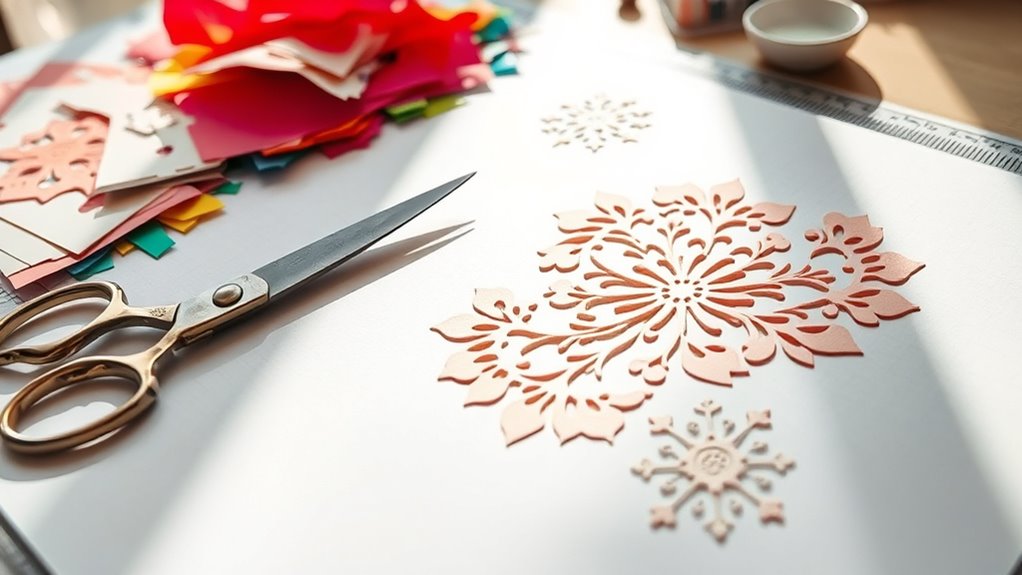
To get started with paper cutting, you’ll need some essential tools and materials. First, choose high-quality paper, as the paper quality impacts both the ease of cutting and the final appearance of your design. Opt for smooth, sturdy paper to prevent tearing and ensure clean cuts. Safety is vital, so invest in sharp, precise cutting tools like craft knives or scissors with comfortable grips. Always keep your blades sharp to reduce effort and minimize the risk of slips that could cause injuries. Use a cutting mat or a self-healing surface underneath to protect your workspace and improve safety. Keep blades and scissors stored safely when not in use. Additionally, understanding the importance of cutting precision can help you achieve cleaner, more accurate designs in your projects. With the right tools and quality paper, you set a strong foundation for precise, safe, and enjoyable paper cutting projects.

anezus Self Healing Sewing Mat, 12inch x 18inch Rotary Cutting Mat Double Sided 5-Ply Craft Cutting Board for Sewing Crafts Hobby Fabric Precision Scrapbooking Project
【SEWING CUTTING MAT】Aneuzs self-healing cutting mat protects your work surface. Compatible with rotary cutters and straight blades, won't…
As an affiliate, we earn on qualifying purchases.
As an affiliate, we earn on qualifying purchases.
Essential Techniques for Precise Cutting
To cut with precision, you need sharp tools that glide smoothly through paper. Developing accurate measurement skills helps you make clean, exact lines every time. Mastering these techniques guarantees your projects turn out professional-looking and flawless. Using precision cutting tools can greatly improve your results.
Sharp Cutting Tools
Using sharp cutting tools is essential for achieving clean, precise cuts in your paper projects. Dull blades can cause tearing and uneven edges, making your work look unprofessional. Always follow safety precautions, such as cutting away from your body and keeping blades covered when not in use. Regular sharpening techniques guarantee your tools stay effective, reducing the risk of accidents and improving accuracy. Invest in quality blades and replace them when they become dull. Keep your workspace organized, and use a cutting mat to protect surfaces. Remember, maintaining sharp tools not only enhances your craft but also keeps you safe. Proper care and sharpening extend the life of your tools, making your paper cutting smoother and more enjoyable. Incorporating body awareness into your technique can help prevent strain and improve your overall control during cutting.
Accurate Measurement Skills
Accurate measurement skills form the foundation of precise paper cutting. To guarantee measuring accuracy, always use a sharp ruler or measuring tape for straight lines and consistent results. Double-check your measurements before making any cuts, as small errors can distort your pattern alignment. When transferring patterns, use light pencil marks or a tracing tool to maintain clarity and accuracy. Proper pattern alignment depends on precise measurements; misaligned patterns can ruin your design. Take your time to mark and verify measurements carefully, avoiding rushed cuts. Keep your tools steady and work on a flat surface to prevent skewed results. Developing strong measurement skills helps you create symmetrical, professional-looking designs and minimizes mistakes that could waste your materials. Paying attention to family photoshoot fails can also remind you of the importance of preparation and accuracy in every step.

Joyberg 70PCS Vintage Paper 8.5 x 11 in Parchment paper for Writing Letter writing Paper, Decorative Printer Paper for Invitation, Letter, Resume, Award, Diploma, Art, Craft, Certificate Antique
1、Size and Quantity: Our vintage paper measures 8.5×11 inches and comes in 70 sheets. The vintage design is…
As an affiliate, we earn on qualifying purchases.
As an affiliate, we earn on qualifying purchases.
Exploring Traditional Paper Cutting Patterns
Traditional paper cutting patterns hold deep cultural significance and tell stories through their designs. You’ll find common motifs like flowers, animals, and symbols that reflect history and beliefs. Learning these classic techniques helps you create authentic patterns with meaningful detail. Exploring different cultural motifs can enhance your understanding and appreciation of traditional patterns.
Cultural Significance and History
Have you ever wondered why certain paper cutting patterns hold such deep cultural significance? These designs often reflect core beliefs, values, and history. The symbolism in motifs can represent good luck, prosperity, or spiritual protection. Regional variations influence patterns, showcasing local traditions and aesthetics. For example, Chinese paper cuts often feature phoenixes and dragons, symbolizing strength and harmony. In Eastern Europe, intricate floral designs symbolize fertility and renewal. These patterns are more than decoration; they preserve stories and cultural identity across generations. Understanding these origins helps you appreciate the artistry behind each cut. Additionally, recognizing the cultural importance of traditional motifs can deepen your connection to the heritage they represent. Whether for celebrations or everyday ornamentation, these motifs connect you to a rich cultural heritage through meaningful, traditional designs.
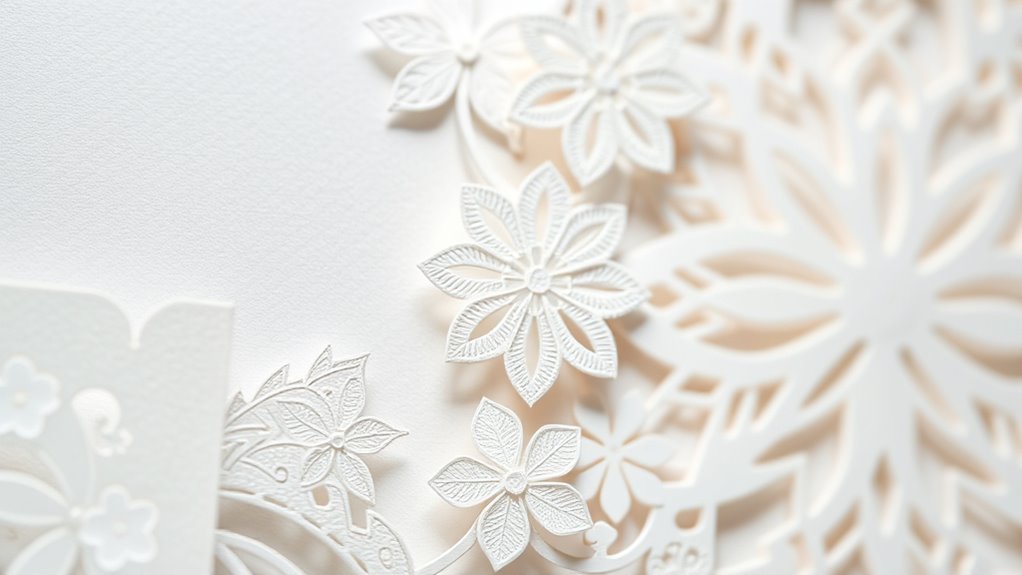
Common Traditional Motifs
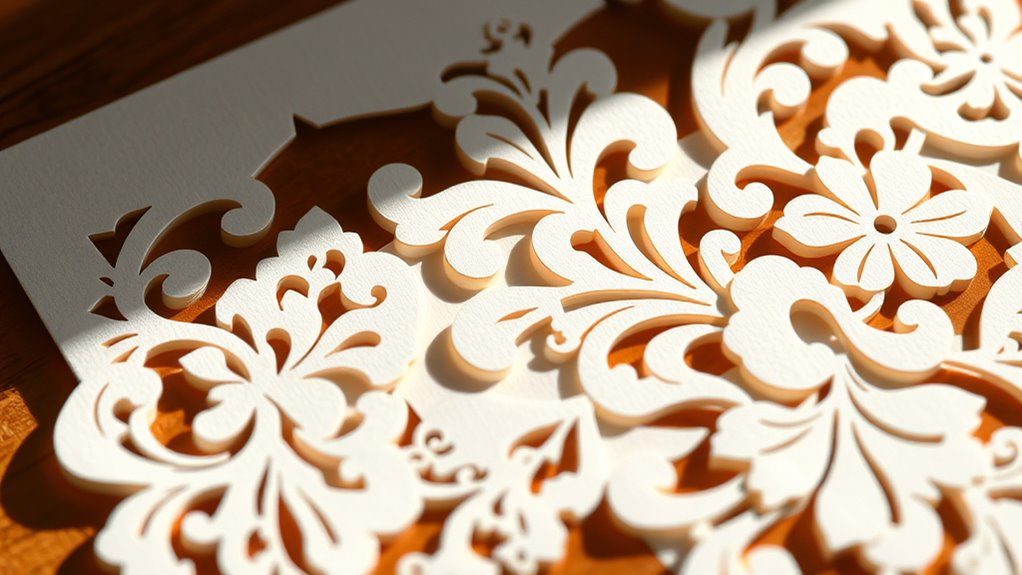
Common traditional motifs in paper cutting serve as recognizable symbols that convey specific meanings and cultural values. Intricate lace patterns often symbolize elegance and refinement, reflecting craftsmanship passed down through generations. Floral motifs are among the most prevalent, representing growth, prosperity, and harmony. These designs typically feature symmetrical arrangements of blossoms, leaves, and vines, highlighting nature’s beauty. By incorporating intricate lace details, artisans create delicate, refined patterns that evoke a sense of grace. Floral motifs, with their vibrant symbolism, are used in celebrations and religious symbols, connecting tradition to personal and communal identity. Understanding these motifs allows you to appreciate the cultural significance behind the patterns, enabling you to craft pieces that honor tradition while expressing your own creativity. Additionally, awareness of traditional craftsmanship techniques can enhance the authenticity and quality of your paper cutting projects.
Techniques for Classic Designs
Exploring traditional paper cutting patterns requires mastering specific techniques that bring classic designs to life. To achieve authentic results, focus on creating shadow effects by varying cut depths and angles, which add depth and dimension. Layered compositions are essential for complex motifs, allowing you to build intricate scenes with multiple paper layers. Precision is key when cutting delicate details, ensuring sharp lines and clean edges. Practice controlling your scissors or craft knife to maintain symmetry and consistency. Incorporate contrast by combining dark and light papers to enhance the visual impact. Using these techniques, you can recreate timeless patterns with a refined, authentic look. Mastering shadow effects and layered compositions transforms simple cuts into mesmerizing, classic designs that honor traditional craftsmanship. Additionally, understanding the importance of regional resources can inspire new design ideas and techniques.

Beaditive High Precision Detail Scissors Set (2-Pc) Sharp, Fine Tips | Paper Cutting, Scrapbooking, Sewing, Crafting | Stainless Steel | Protective Cover (Mid Century)
Multipurpose Detail Scissors Set – The set includes two scissors (one blue, one orange) ideal for paper cutting,…
As an affiliate, we earn on qualifying purchases.
As an affiliate, we earn on qualifying purchases.
Creating Modern and Abstract Designs
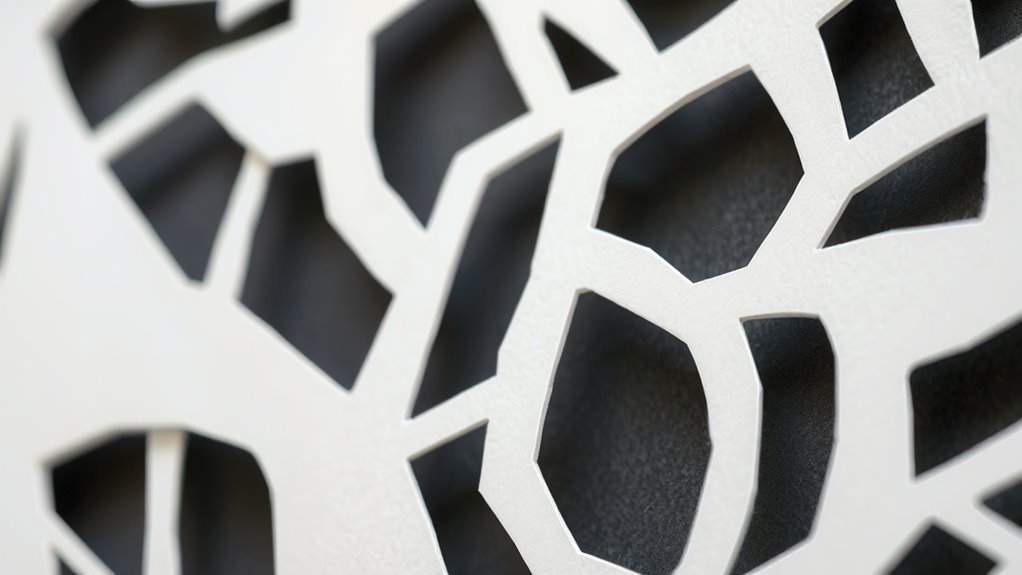
Creating modern and abstract paper cut designs allows you to experiment with bold shapes and clean lines that break away from traditional patterns. Focus on geometric abstractions, using sharp angles and simple forms to create striking visual impact. Incorporate contemporary motifs like stylized waves, minimalist landscapes, or abstract symbols to give your work a fresh, current feel. Emphasize symmetry or asymmetry to add dynamism to your designs. Keep your lines crisp and precise, making sure each cut enhances the overall composition. Play with negative space to create balance and intrigue. These techniques encourage you to think outside the box, blending artistic expression with wall organization and geometric precision. The result is a unique piece that captures modern aesthetics through simple yet powerful visual elements.
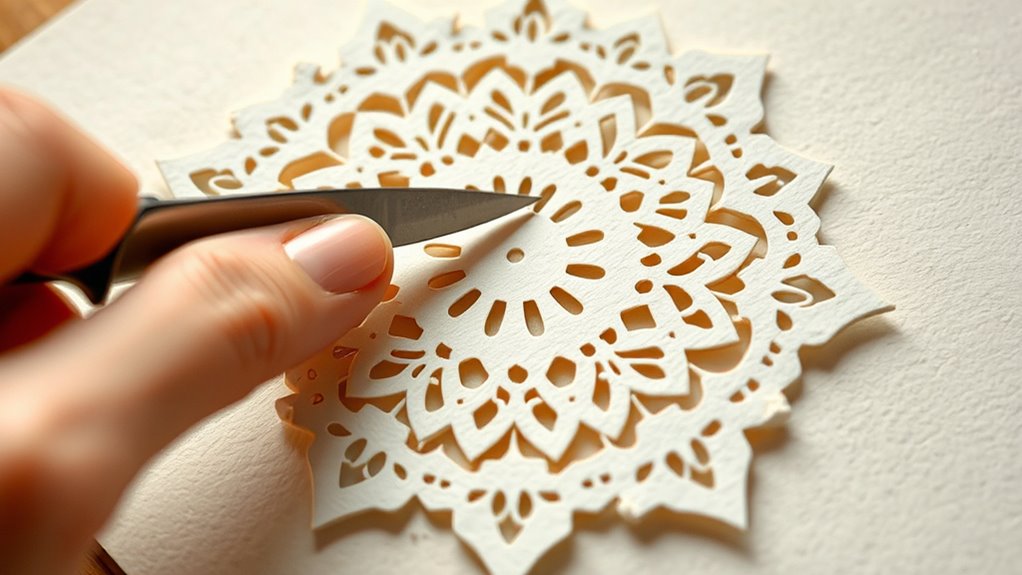
Tips for Working With Delicate and Intricate Patterns
When working with delicate and intricate patterns, precision and patience become your best tools. To guarantee your cuts are clean and accurate, focus on maintaining paper stability throughout your work. Layering techniques can help you add depth, but always keep your layers aligned to avoid tearing. Use a sharp craft knife and a steady hand to navigate fine details easily. Support fragile areas by gently holding the paper or placing a scrap underneath if needed. Keep your workspace uncluttered to prevent accidental slips. Remember, patience is key—slow, deliberate cuts produce the best results. By paying attention to layering techniques and maintaining paper stability, you’ll master intricate designs with confidence and finesse.
Incorporating Colors and Textures Into Your Art
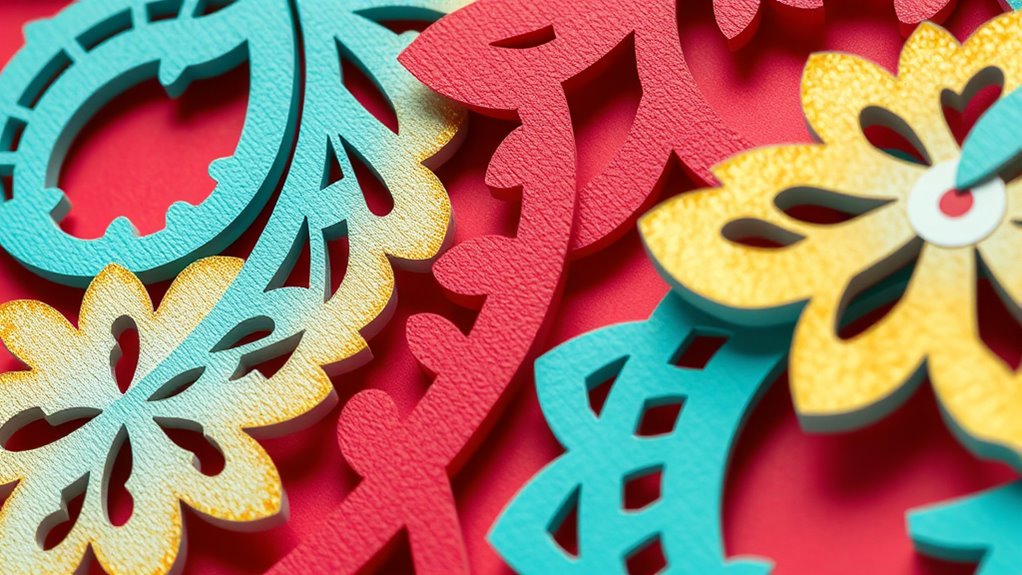
Adding colors and textures can transform your paper cutting projects from simple designs into dynamic works of art. You can achieve this through color blending, where you layer shades to add depth and dimension. Using textured paper techniques, like embossed or patterned papers, enhances tactile interest and visual complexity. To inspire your creativity, consider experimenting with different materials and blending methods. Incorporating visualization techniques can also help you plan and execute more intricate designs with confidence.
Inspiration and Ideas for Unique Paper Cutting Projects
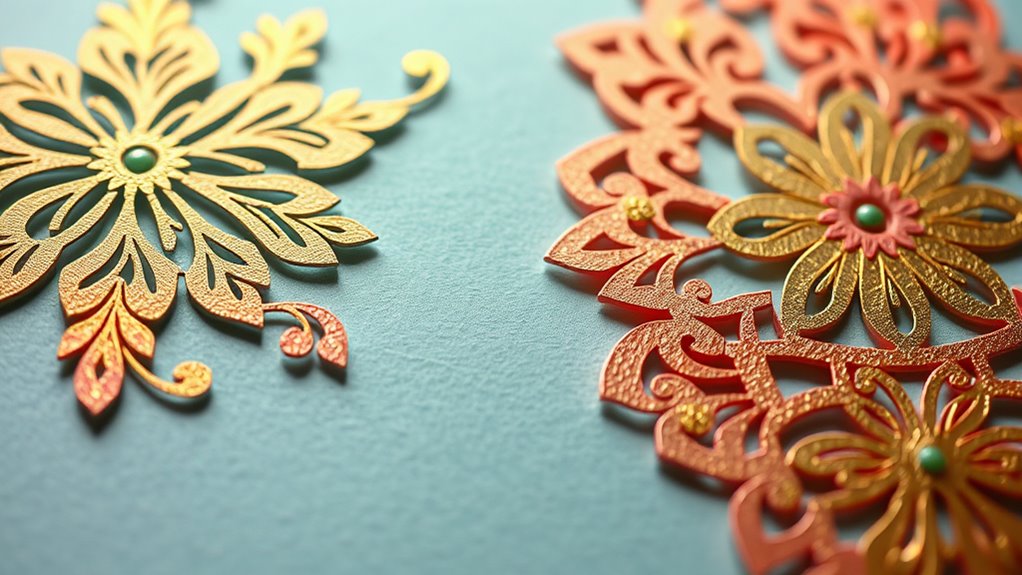
Looking for fresh ideas to make your paper cutting projects stand out? Explore themes like nature-inspired motifs and intricate geometric patterns to create truly unique designs. These elements can add depth and personality to your work, making it eye-catching and meaningful. Consider crafting delicate leaves and florals for a natural feel or experimenting with symmetrical, tessellated geometric patterns for a modern touch. Mix and match motifs to tell a story or evoke a mood. Don’t be afraid to combine different styles for innovative results. Think about using layered paper to add dimension or incorporating asymmetric designs for visual interest. Inspiration can come from everyday surroundings, art, or architecture—just keep an open mind and let your creativity flow. Celebrity lifestyle insights can also provide unexpected inspiration for your designs.
Frequently Asked Questions
How Do I Prevent My Paper From Tearing During Cutting?
To prevent your paper from tearing during cutting, always use sharp blades to guarantee clean cuts and reduce pressure. Keep your paper properly supported with a cutting mat or firm surface to avoid slipping. Hold the paper firmly but gently, and cut slowly along the pattern or guide. These steps help maintain control, preventing tears and giving you smooth, precise edges every time.
What Are the Best Storage Methods for Finished Paper Art?
Think of your finished paper art like a delicate butterfly; you want to protect its beauty. To do this, use proper storage solutions like acid-free folders or archival boxes, and keep them flat in a cool, dry place. Avoid sunlight and humidity, which can fade or warp your work. Preservation techniques such as framing behind UV glass also help, ensuring your art stays vibrant and intact for years to come.
Can I Combine Paper Cutting With Other Craft Techniques?
Yes, you can definitely combine paper cutting with other craft techniques. Mix media by layering cut paper with paints, inks, or fabric for unique textures. Incorporate embossing techniques to add dimension and intricate details, enhancing your design. Experiment with combining these methods, and you’ll create stunning, multi-dimensional art pieces that showcase your creativity. Just verify your materials are compatible and allow each technique to complement the others.
How Do I Choose the Right Paper Thickness for Different Projects?
You should choose your paper thickness based on your project’s needs. For example, if you’re making intricate, delicate designs, opt for lighter paper like 80-120 gsm, which offers flexibility and ease of cutting. For sturdier projects, like pop-up cards, thicker paper around 200-300 gsm provides better material durability. Consider paper weight to guarantee your cuts are clean and your finished piece holds its shape without tearing.
Are There Eco-Friendly Materials Suitable for Paper Cutting?
Yes, eco-friendly materials are perfect for paper cutting. You can use recycled cardstock, which reduces waste and gives new life to paper scraps. Bamboo paper is another great option, as it’s sustainable and biodegradable. Both materials are durable enough for detailed cuts while being gentle on the environment. By choosing these eco-friendly options, you can enjoy your creative projects guilt-free and help promote sustainability.
Conclusion
Now that you’ve uncovered the essentials of paper cutting, imagine the limitless possibilities waiting to unfold. With your newfound techniques and patterns, you’re just scratching the surface of what’s achievable. But there’s a secret behind stunning designs—something that could elevate your work to a whole new level. Ready to discover it? Keep experimenting, stay curious, and the next masterpiece might be closer than you think. The best projects are still ahead of you.