To create DIY concrete planters and decor, start by gathering quality materials, molds, and safety gear. Mix your concrete with the right ratio, pour into molds, and vibrate gently to remove air bubbles. Use tools like trowels and sponges to smooth surfaces at the right time. Add color or texture before finishing. Carefully demold, cure properly, and maintain your pieces for long-lasting results. Ready to discover how each step can be perfected?
Key Takeaways
- Select suitable concrete mix and prepare molds with proper release agents for smooth, detailed castings.
- Mix concrete thoroughly, pour steadily, and tap molds to release air bubbles for a uniform surface.
- Use appropriate finishing tools and timing to achieve a smooth, polished surface on planters and decor.
- Cure castings in controlled conditions for at least 7 days to enhance strength and durability.
- Demold carefully, then apply protective sealants and perform regular maintenance for long-lasting decor.

Silicone Square Concrete Molds for DIY Flower Pots and Succulent Planters – Cube Shape Jar Holder for Bonsai Decorating
- Three-layer Mold Design: Hard plastic shell with silicone inner
- Durable Plastic Frame: Supports concrete weight without bulging
- Large Planter Size: Measures 3.9 x 3.9 x 3.9 inches
As an affiliate, we earn on qualifying purchases.
As an affiliate, we earn on qualifying purchases.
Gathering Materials and Tools for Concrete Casting

Before you begin your concrete casting project, it’s essential to gather all the necessary materials and tools. Start by choosing concrete types suited for your project—consider factors like strength, finish, and curing time. For planters and decor, a standard mix often works well, but you might opt for a more durable or fast-setting variety. Safety gear essentials are a must; wear gloves, a dust mask, safety glasses, and long sleeves to protect your skin and eyes from cement dust and splashes. You’ll also need molds, mixing containers, a trowel, and a level. Having everything ready before you start guarantees a smooth process and helps prevent delays. Proper preparation with the right materials and safety gear sets the foundation for a successful concrete casting project. Additionally, understanding the climate control considerations can influence your choice of concrete mix and curing process to ensure optimal results.
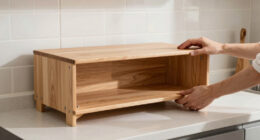
Selecting and Preparing Your Molds

Choosing the right molds is essential to achieving your desired concrete project. Start by considering mold materials—silicone, plastic, wood, or metal—based on your project’s complexity and intended finish. Silicone molds are flexible and great for detailed designs, while plastic molds are affordable and easy to work with. Wood and metal molds are sturdy but may require additional preparation. Pay attention to mold design; ensure it has smooth surfaces and proper dimensions to prevent leaks and imperfections. Before pouring, prepare your molds by cleaning them thoroughly and applying a mold release to prevent sticking. Properly selecting and preparing your molds guarantees that your castings will come out clean, detailed, and ready for finishing, making your DIY project both rewarding and successful. Additionally, understanding mold surface quality can help you achieve a smoother final appearance and reduce post-casting finishing work.
Mixing and Pouring Concrete for Best Results
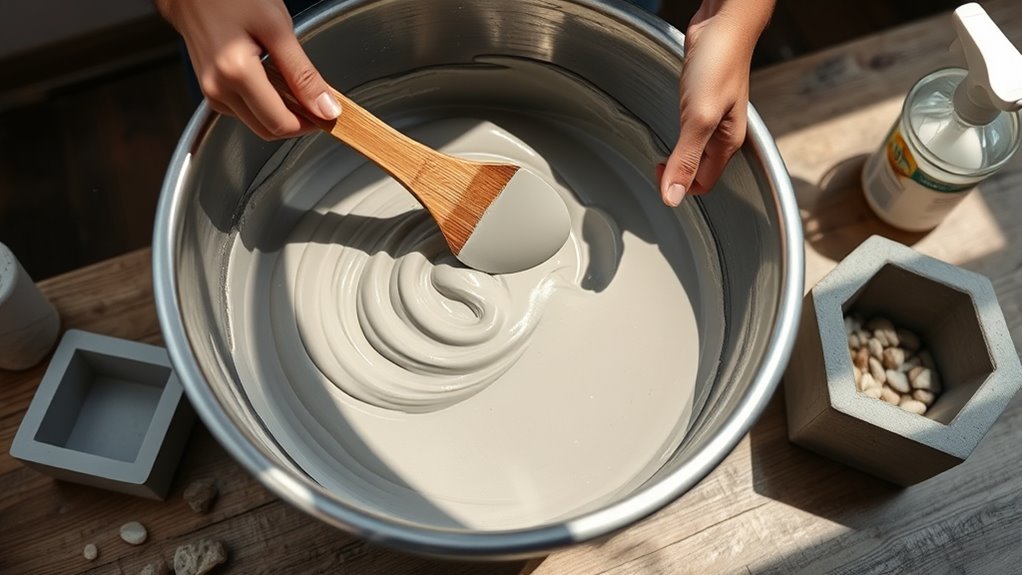
To achieve smooth, durable concrete casts, it’s crucial to mix and pour your concrete carefully. Start by following the correct mixing ratios—typically, 1 part cement to 2 parts sand and 3 parts gravel, with enough water to create a workable consistency. Mix thoroughly until uniform, avoiding dry pockets or overly wet patches. When pouring, use steady, controlled techniques to fill your mold without trapping air bubbles. Pour in layers if necessary, gently tapping or vibrating the mold to encourage air to escape. Keep the pour consistent and avoid overfilling to prevent spills or weak spots. Proper mixing ratios and careful pouring techniques ensure your cast will be strong, smooth, and ready for the next steps in your DIY project. Additionally, employing a high-quality sprayer can facilitate the application of sealants or finishes to your concrete surface for added durability.
Tips for Achieving a Smooth Finish
To get a smooth concrete finish, start with proper mold preparation to prevent sticking and imperfections. Use consistent mixing techniques to guarantee even consistency, which helps achieve a sleek surface. Finally, select the right finishing tools and pay attention to timing for best results. Additionally, understanding surface texture can help you choose the appropriate finishing method to enhance the appearance.
Proper Mold Preparation
Ever wondered how to get a flawlessly smooth finish when casting concrete? Proper mold preparation is key. Start by thoroughly cleaning your mold to remove dirt, dust, or any debris that could affect the surface. Use mold cleaning solutions or water with a scrub brush, then let it dry completely. Next, apply a release agent to the mold’s surface; this helps prevent the concrete from sticking and ensures a smooth release. Be sure to use a suitable release agent compatible with your mold material—whether it’s silicone, plastic, or metal. Spread it evenly, avoiding excess that could mar the finish. Proper mold preparation minimizes surface imperfections and makes demolding easier, resulting in a sleek, professional-looking concrete piece.
Consistent Mixing Techniques
Achieving a smooth concrete finish depends heavily on consistent mixing techniques. To guarantee color consistency and mixing uniformity, measure your ingredients precisely and mix thoroughly. Use a paddle or mixing tool to combine dry and wet components evenly, avoiding lumps or streaks. Consistent mixing prevents color variation and ensures a uniform texture. Keep track of mixing times to avoid over- or under-mixing, which can affect finish quality. Additionally, understanding meticulous measurement is essential for achieving professional results.
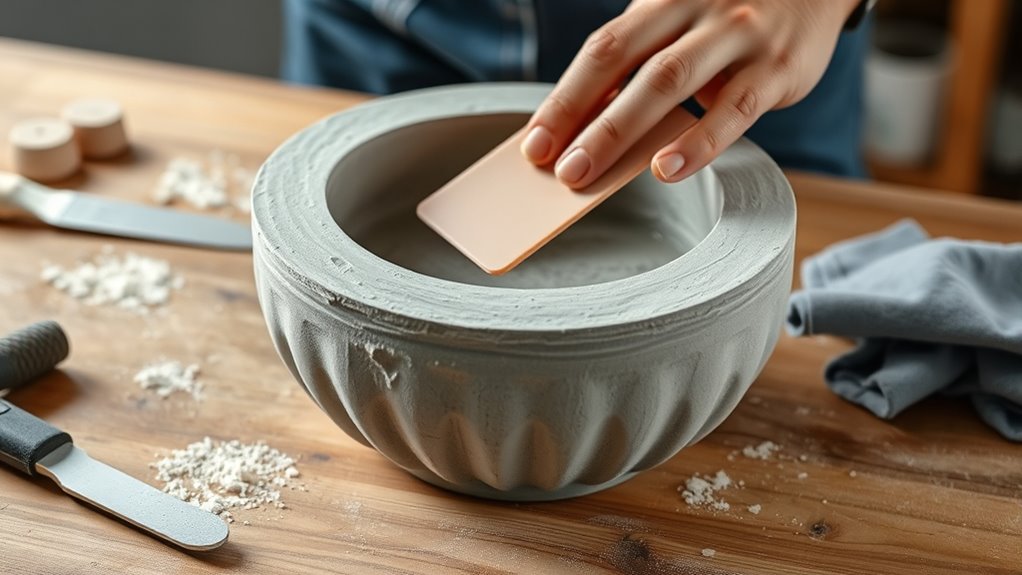
Finishing Tools and Timing
Using the right finishing tools and timing is essential for a smooth concrete surface. Once your concrete begins to set but is still workable, start surface polishing with tools like trowels or floating sponges to smooth out imperfections. Timing is key—wait too long, and the surface hardens, making polishing difficult; act too early, and you risk disturbing the shape. Incorporate moisture control by misting the surface lightly if it starts to dry out too quickly, which helps prevent cracks and uneven texture. Use fine-grit abrasives or sponges for a refined finish, and work steadily to achieve a polished look. Proper timing combined with effective surface polishing ensures your finished piece looks professional and smooth. Additionally, selecting compatible spray tips and maintaining proper equipment settings can improve overall application quality and surface smoothness.
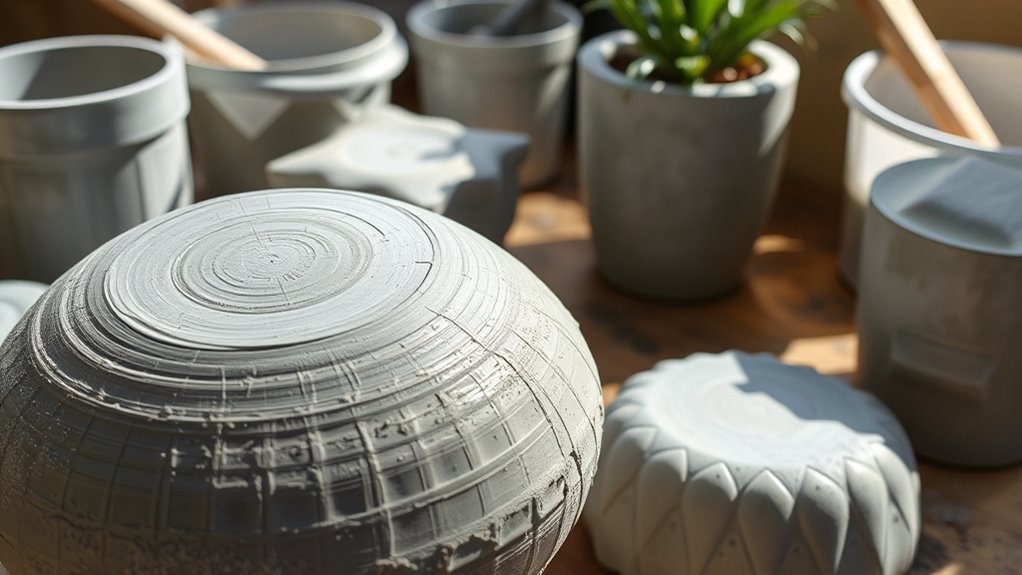
Adding Color and Texture to Your Creations

Adding color and texture to your concrete creations is a great way to personalize and enhance their visual appeal. You can achieve this through color blending, mixing pigments into the concrete before pouring, resulting in vibrant, uniform hues. Experiment with different shades to create subtle gradients or bold contrasts. Surface textures also add depth and character; you might embed objects, use textured tools, or add aggregates like pebbles and sand to create tactile finishes. Incorporating these techniques allows you to customize your planters and decor, making each piece unique. Be mindful of how the color and texture interact—testing small batches can help you perfect your approach. Understanding different textures can help you select the best techniques for your project. With a little experimentation, your concrete projects will stand out with beautiful, personalized details.
Demolding and Curing Your Castings
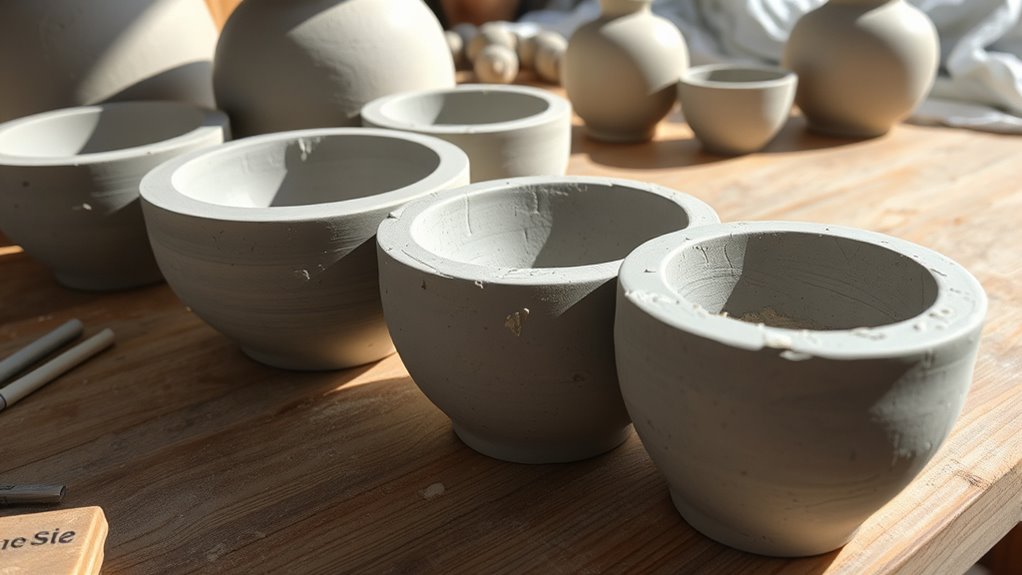
Once your concrete has set, you need to carefully remove the mold to avoid damaging your piece. Proper demolding techniques involve gentle handling and knowing when the cast is ready. After demolding, follow curing best practices to make sure your project gains strength and durability. Additionally, ensuring proper exfoliation helps in maintaining the surface quality of your castings.
Proper Demolding Techniques
Proper demolding is essential to guarantee your concrete castings retain their shape and surface quality. Before you begin, verify you use a suitable mold release to prevent the concrete from sticking and to make removal easier. When demolding, do it slowly and gently to avoid cracking or damaging your piece. Always prioritize demolding safety—wear gloves and eye protection, and handle the mold with care. If resistance occurs, avoid forcing the cast out; instead, give it extra time or gently loosen the mold. Keep your workspace clear and stable to prevent accidents. Taking your time during demolding preserves the integrity of your concrete and results in a smooth, professional finish. Proper technique now ensures your finished piece looks great and lasts longer. Understanding the importance of emotional alignment can help you stay patient and positive throughout the process, resulting in better outcomes.
Curing Best Practices
After carefully demolding your concrete castings, the next step is to focus on curing to guarantee durability and surface quality. Proper curing involves maintaining ideal conditions through temperature control and humidity management. Keep your castings in a shaded, stable environment, avoiding direct sunlight or drafts. Consistent moisture levels are essential; too much or too little moisture can cause cracking. Cover your castings with plastic or damp cloths to retain humidity. Regularly check and mist if needed. Be patient—curing typically takes at least 7 days. Proper curing minimizes surface flaws and enhances strength. Additionally, using a vacuum chamber during curing can help remove air bubbles and improve surface finish. Proper curing minimizes surface flaws and enhances strength.
Creative Ideas for Custom Planters and Decor

If you’re looking to add a personal touch to your home or garden, customizing planters and decor with concrete offers endless possibilities. You can experiment with a vibrant color palette by adding pigments to your mix or painting your pieces afterward. To guarantee longevity, focus on weather resistance—sealants and proper finishing help your creations withstand rain, sun, and temperature fluctuations. Think outside the box by molding unique shapes, combining different textures, or embedding decorative elements like stones or glass. You could also create multi-tiered plant stands or geometric wall hangings. These custom pieces not only reflect your style but also add a durable, artistic flair to your space. With a little creativity, your concrete decor can become a standout feature in any setting. Incorporating concrete curing time ensures your pieces reach optimal strength and durability for outdoor use.
Maintenance and Long-Term Care for Your Concrete Pieces

Maintaining your concrete pieces guarantees they stay attractive and durable over time. To assure longevity, consider weather considerations and proper plant care. Protect your planters from extreme weather by moving them indoors during harsh winters or covering them during heavy rain. Regularly clean surface dirt and moss to prevent staining, especially in humid climates. Seal your concrete periodically to enhance weather resistance and minimize cracking. Keep plants healthy by avoiding overwatering, which can damage the concrete. Also, check for any cracks or chips and repair them promptly to prevent deterioration. Proper maintenance practices are essential for preserving the appearance and structural integrity of your concrete decor.
- Use a concrete sealant every 1-2 years
- Elevate planters to prevent water pooling
- Avoid exposing them to freezing temperatures
- Remove debris and organic matter regularly
- Adjust plant care routines based on weather changes
Frequently Asked Questions
How Do I Prevent Air Bubbles in My Concrete Castings?
To prevent air bubbles in your concrete castings, you should use proper air bubble prevention techniques like pouring slowly and tap or vibrate the mold gently to release trapped air. Additionally, employing effective curing techniques helps minimize bubble formation over time. Mixing your concrete thoroughly and avoiding over-agitation also reduces air pockets. These steps ensure a smooth, professional finish and durable castings for your planters and decor projects.
What Are the Safest Sealing Products for Outdoor Concrete Planters?
For outdoor concrete planters, use sealing sealants that are specifically designed for outdoor protection. Look for products labeled as water-resistant or weatherproof, ensuring they provide durable outdoor protection. Apply a penetrating or surface sealant, following the manufacturer’s instructions, to safeguard against moisture and environmental damage. These sealants are safe when used correctly and will extend the life of your planters while maintaining their appearance.
Can I Use Recycled Materials as Mold Substitutes?
Yes, you can use recycled materials as mold substitutes for eco-friendly casting. Recycled molds, like old plastic containers, cardboard, or scrap metal, work well and reduce waste. Just guarantee they’re non-porous or properly sealed to prevent concrete from sticking. Using recycled molds not only saves money but also promotes sustainability. Always test a small batch first to confirm the mold’s durability and suitability for your concrete project.
How Do I Attach Additional Decorative Elements Securely?
Ironically, attaching decorative elements is easier than resisting the urge to embellish your concrete creations. To securely integrate embellishments, you should use a strong adhesive like epoxy or construction glue, applying it generously to the attachment points. For added security, consider drilling small holes and using stainless steel pins or wire to lock in the ornaments. This guarantees your decorative accents stay firmly in place, even if you’re tempted to add more.
What Are Common Mistakes to Avoid During Curing?
You should avoid rushing the curing process or exposing your project to extreme temperatures, as this can cause cracks or surface imperfections. Make certain a stable curing environment with consistent humidity and temperature, and use proper finishing techniques like covering with plastic or damp cloths. Also, avoid removing forms prematurely, as this can weaken the concrete. Patience ensures a strong, smooth finish for your concrete projects.
Conclusion
With your tools and creativity in hand, you’ve crafted beautiful concrete planters and decor that stand as lasting expressions of your effort. Think of each piece as a garden’s heartbeat—solid, vibrant, and full of potential. As you nurture your creations with proper care, they’ll grow more charming with time, turning your DIY project into a timeless masterpiece. Embrace the process, and let your imagination be the guiding sunlight illuminating every step.